Page 225 of 273

CAUTION!
When replacing a blown fuse, it is important to use
only a fuse having the correct amperage rating. The
use of a fuse with a rating other than indicated may
result in a dangerous electrical system overload. If a
properly rated fuse continues to blow, it indicates a
problem in the circuit that must be corrected.
Interior Fuses
Cavity Fuse Circuits
1 10 Amp Red Transmission Controller,
Gauges, Autostick
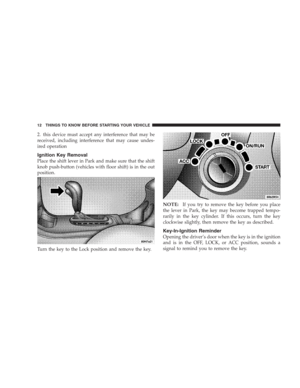
2 10 Amp Red Right High Beam Headlight
3 10 Amp Red Left High Beam Headlight
4 10 Amp Red Radio, CD Player
5 10 Amp Red Washer Motor
6 15 Amp Lt.
BluePower Outlet
7 20 Amp Yel-
low
Tail, License, Parking, Illumina-
tion Lights, Instrument Cluster
8 10 Amp Red Airbag
Cavity Fuse Circuits
9 10 Amp Red Turn Signal Lights, Turn
Signal/Hazard Indicator
10 15 Amp Lt.
BlueRight Low Beam
11 20 Amp Yel-
lowHigh Beam Relay, High Beam
Indicator, High Beam Switch
12 15 Amp Lt.
BlueLeft Low Beam Headlight
13 10 Amp Red Fuel Pump Relay, Power Train
Control Module
14 10 Amp Red Cluster, Day/Night Mirror,
Sunroof, Overhead Console,
Garage Door Opener, Body
Control Module
15 10 Amp Red Daytime Running Light Mod-
ule (Canada)
16 20 Amp Yel-
lowFog Light Indicator
17 10 Amp Red ABS Control, Back Up Lights,
Daytime Running Lights, A/C
Heater Control,
MAINTAINING YOUR VEHICLE 225
7
Page 226 of 273

Cavity Fuse Circuits
18 20 Amp Yel-
lowPower Amplifier, Horn
19 15 Amp Lt.
BlueOverhead Console, Garage
Door Opener, Trunk, Over-
head, Rear Reading, and Visor
Vanity Lights, Trunk Release
Solenoid, Power Mirrors,
Power Door Locks, Body Con-
trol Module, Aspirator Motor
20 20 Amp Yel-
lowBrake Lights
21 10 Amp Red Leak Detection Pump, Low
Rad Relay, High Rad Relay,
A/C Clutch Relay
22 10 Amp Red Airbag
23 30 Amp
GreenBlower Motor, ATC Power
Module
24 20 Amp
C/BRKRPower Window Motors
25 20 Amp
C/BRKRPower Door Lock Motors,
Power SeatsREPLACEMENT LIGHT BULBS
Interior Light Bulbs Bulb No.
Turn Signal...........................PC194
Climate Control.......................... 330
Overhead Console, Front Reading, Courtesy, Grab
Handle................................ 192
Trunk................................. 906
Exterior Light Bulbs Bulb No.
Low Beam Headlights....................9006
High Beam Headlights................9005XSLL
Park, Turn, & Side Marker................3157A
Fog Lights.............................9040
Center Stop Light........................ 921
Tail, Stop, & Turn......................3157K
Back-Up............................... 921
License................................ 168
Front Sidemarker......................... 168
Tail.................................. 916
226 MAINTAINING YOUR VEHICLE
Page 227 of 273
BULB REPLACEMENT
Headlight, Parking Light Replacement
1. Open the hood.
2. Remove the upper crossmember attachments on both
sides of the vehicle; 6 in total.
MAINTAINING YOUR VEHICLE 227
7
Page 228 of 273
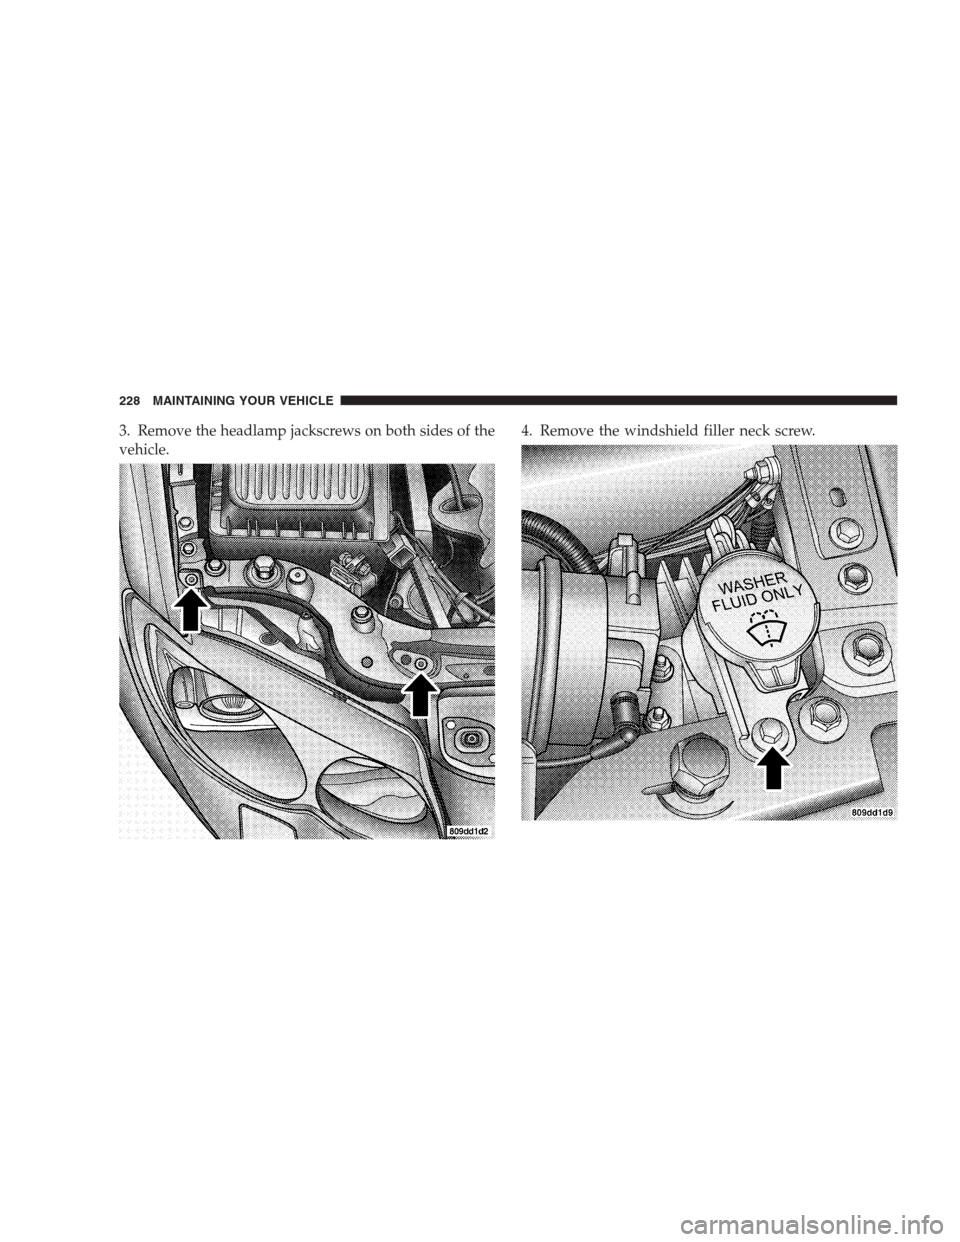
3. Remove the headlamp jackscrews on both sides of the
vehicle.4. Remove the windshield filler neck screw.
228 MAINTAINING YOUR VEHICLE
Page 229 of 273
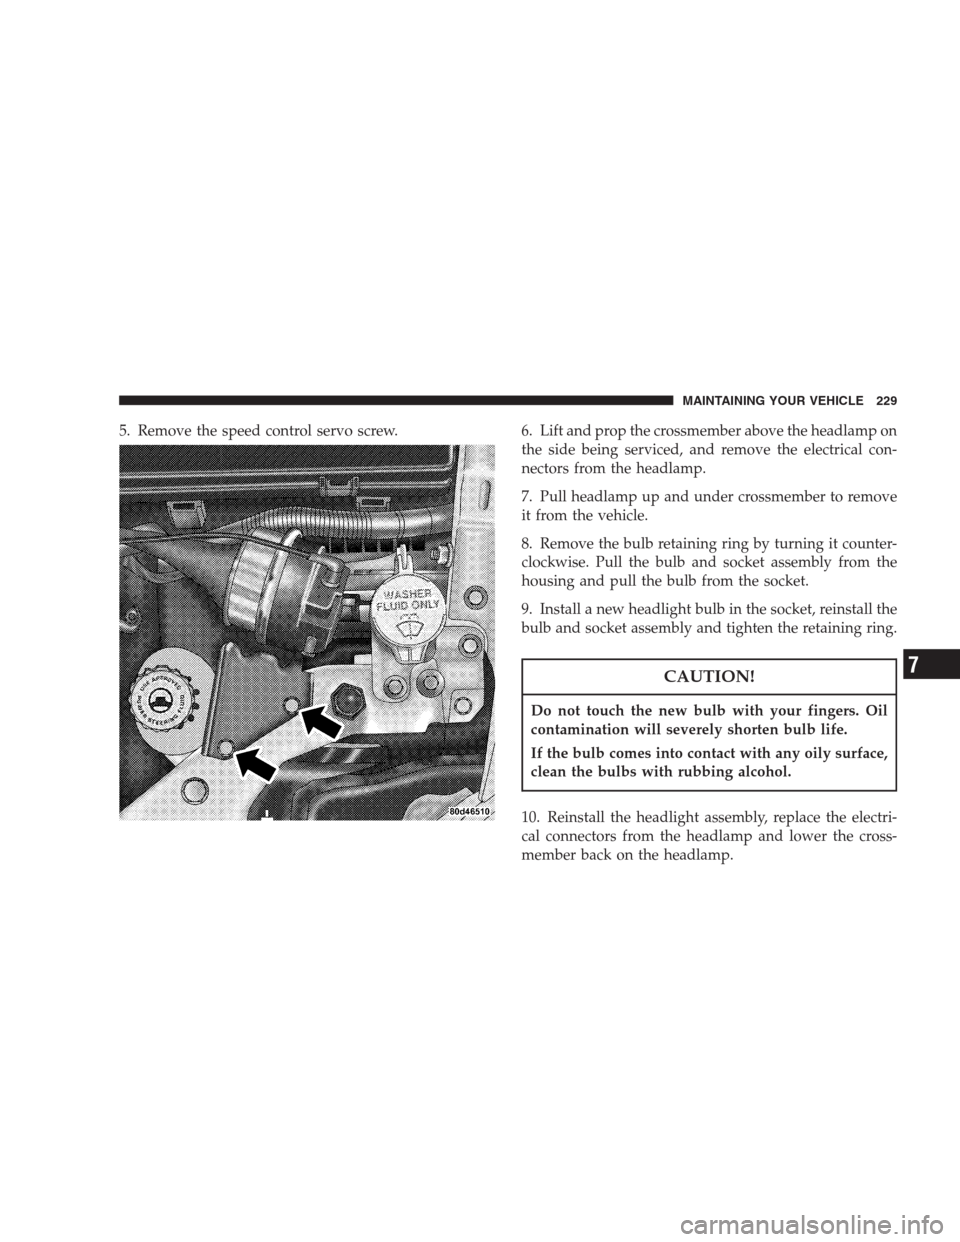
5. Remove the speed control servo screw. 6. Lift and prop the crossmember above the headlamp on
the side being serviced, and remove the electrical con-
nectors from the headlamp.
7. Pull headlamp up and under crossmember to remove
it from the vehicle.
8. Remove the bulb retaining ring by turning it counter-
clockwise. Pull the bulb and socket assembly from the
housing and pull the bulb from the socket.
9. Install a new headlight bulb in the socket, reinstall the
bulb and socket assembly and tighten the retaining ring.
CAUTION!
Do not touch the new bulb with your fingers. Oil
contamination will severely shorten bulb life.
If the bulb comes into contact with any oily surface,
clean the bulbs with rubbing alcohol.
10. Reinstall the headlight assembly, replace the electri-
cal connectors from the headlamp and lower the cross-
member back on the headlamp.
MAINTAINING YOUR VEHICLE 229
7
Page 230 of 273

11. Reinstall the upper crossmember attachments, head-
lamp jackscrews, windshield filler neck screw and speed
control servo screw.
Front Park and Turn Signal Light
1. Remove the headlight assembly from the vehicle.
2. Turn the park/turn signal bulb and socket assembly
counterclockwise and remove it from the housing.
3. Pull the bulb from the socket and install a new bulb.
4. Reinstall the bulb and socket assembly.
5. Reinstall the headlight assembly.
Front Sidemarker Light
1. Reach up under the fascia and grasp the light bulb
socket.
2. Turn the socket counterclockwise to remove it from
the housing.
3. Pull the bulb out of the socket.
4. Replace the bulb and reinstall the socket. Turn the
socket clockwise to secure it in the housing.
Fog Light
1. Remove the screw securing the fog light to the fascia
and pull the light away from the vehicle to expose the
bulb.
2. Remove the bulb by turning counter-clockwise. Pull
the bulb out of the light housing.
3. Remove the wiring connector from the bulb.
4. Insert new bulb and turn clockwise.
230 MAINTAINING YOUR VEHICLE
Page 231 of 273
5. Connect the wiring connector to the new bulb and
reinstall the assembly.
Center Stop Light
1. Open the trunk and reach up under the package shelf.
2. Turn the bulb socket counterclockwise and remove it
from the housing.
3. Pull the bulb from the socket and replace the bulb.
4. Reinstall the bulb and socket assembly.
Tail, Stop, Back Up, and Turn Signal Lights
1. Open the trunk and remove the fasteners securing the
light housing to the body.
2. Pull the light housing from the body to expose the
wiring socket.
3. Turn the bulb socket counterclockwise to remove from
the housing. Pull the bulb out of the socket and remove
the bulb.
4. Replace the bulb, reinstall the bulb and socket assem-
bly and reattach the light housing.
MAINTAINING YOUR VEHICLE 231
7
Page 232 of 273
License Plate Light
1. Remove the screws securing the light to the rear fascia.
2. Remove the bulb and socket assembly and pull the
bulb from the socket.3. Replace the bulb and reinstall the bulb and socket
assembly.
4. Reattach the light to the rear fascia.
SPECIFICATIONS
ENGINE ALL
Oil Filter Mopar 5281090 or equivalent
Thermostat 180°F (82°C)
Spark Plug See Underhood Label
Spark Plug Gap See Underhood Label
Firing Order 1-2-3-4-5-6
232 MAINTAINING YOUR VEHICLE