Page 190 of 516
Turn Signal/Multifunction Lever
The lever on the left side of the steering column
includes the following:
GTurn and Lane-Change Signals
2Headlamp High/Low-Beam Changer
Flash-to-Pass
NWindshield Wipers
LWindshield Washer
ICruise Control
Turn and Lane-Change Signals
The turn signal has two upward (for right) and two
downward (for left) positions. These positions allow you
to signal a turn or a lane change.
To signal a turn, move the lever all the way up or down.
When the turn is �nished, the lever will return
automatically.
An arrow on the instrument
panel cluster will �ash in
the direction of the
turn or lane change.
To signal a lane change, just raise or lower the lever
until the arrow starts to �ash. Hold it there until you
complete your lane change. The lever will return by itself
when you release it.
As you signal a turn or a lane change, if the arrow
�ashes faster than normal, a signal bulb may be burned
out and other drivers will not see your turn signal.
3-8
Page 194 of 516

Cruise Control
Your vehicle may have cruise control. With cruise
control, you can maintain a speed of about 25 mph
(40 km/h) or more without keeping your foot on
the accelerator. This can really help on long trips.
Cruise control does not work at speeds below about
25 mph (40 km/h).
When you apply your brakes, the cruise control
disengages.
{CAUTION:
Cruise control can be dangerous where you
can not drive safely at a steady speed. So, do
not use your cruise control on winding roads
or in heavy traffic.
CAUTION: (Continued)
CAUTION: (Continued)
Cruise control can be dangerous on slippery
roads. On such roads, fast changes in tire
traction can cause needless wheel spinning,
and you could lose control. Do not use cruise
control on slippery roads.
If your vehicle is in cruise control when the optional
traction control system begins to limit wheel spin, the
cruise control will automatically disengage. SeeTraction
Control System (TCS) on page 4-10. When road
conditions allow you to safely use it again, you may turn
the cruise control back on.
3-12
Page 195 of 516
Setting Cruise Control
{CAUTION:
If you leave your cruise control on when you
are not using cruise, you might hit a button
and go into cruise when you do not want to.
You could be startled and even lose control.
Keep the cruise control switch off until you
want to use cruise control.
1. Move the cruise control switch to ON.
2. Get up to the speed you want.3. Press the SET button at the end of the lever and
release it.
4. Take your foot off the accelerator pedal.
3-13
Page 196 of 516

Resuming a Set Speed
Suppose you set your cruise control at a desired speed
and then you apply the brake. This, of course, shuts
off the cruise control. But you do not need to reset
it. Once you are going about 25 mph (40 km/h) or more,
you can move the cruise control switch from ON to
resume/accelerate (R/A) brie�y. You will go back up to
your chosen speed and stay there.
If you hold the switch at R/A, the vehicle will keep going
faster until you release the switch or apply the brake.
So unless you want to go faster, do not hold the switch
at R/A.
Increasing Speed While Using Cruise
Control
To increase your speed while using cruise control,
do one of the following:
Use the accelerator pedal to get to the higher
speed. Press the SET button at the end of the lever,
then release the button and the accelerator pedal.
You will begin to cruise at the higher speed.
Move the cruise switch from ON to R/A. Hold it
there until you get up to the speed you want,
and then release the switch. To increase your speed
in very small amounts, move the switch to R/A
brie�y and then release it. Each time you do this,
your vehicle will go about 1 mph (1.6 km/h) faster.
The accelerate feature will work whether or not you have
set an initial cruise control speed.
Reducing Speed While Using Cruise
Control
To reduce your speed while using cruise control, do one
of the following:
Press the SET button at the end of the lever until you
reach the lower speed you want, then release it.
To slow down in very small amounts, press the SET
button brie�y. Each time you do this, you will go
about 1 mph (1.6 km/h) slower.
3-14
Page 197 of 516

Passing Another Vehicle While Using
Cruise Control
To pass another vehicle while using cruise control, use
the accelerator pedal to increase your speed. When
you take your foot off the pedal, your vehicle will slow
down to the cruise control speed you set earlier.
Using Cruise Control on Hills
How well your cruise control will work on hills depends
upon your speed, load and the steepness of the
hills. When going up steep hills, you may have to step
on the accelerator pedal to maintain your speed.
When going downhill, you may have to brake or shift to
a lower gear to keep your speed down. Of course,applying the brake takes you out of cruise control. Many
drivers �nd this to be too much trouble and do not
use cruise control on steep hills.
Ending Cruise Control
To turn off the cruise control, do one of the following:
Step lightly on the brake pedal.
Move the cruise switch to OFF.
Erasing Speed Memory
When you turn off the cruise control or the ignition, your
cruise control set speed memory is erased.
3-15
Page 314 of 516

Traction Control System (TCS)
Your vehicle may have a traction control system that
limits wheel spin. This is especially useful in slippery
road conditions. The system operates only if it senses
that one or both of the front wheels are spinning or
beginning to lose traction. When this happens,
the system works the front brakes and reduces engine
power to limit wheel spin.
The TRACTION ACTIVE message will come on when
the traction control system is limiting wheel spin.
SeeTraction Active Message on page 3-42. You may
feel or hear the system working, but this is normal.
If your vehicle is in cruise control when the traction
control system begins to limit wheel spin, the cruise
control will automatically disengage. When road
conditions allow you to safely use it again, you may
reengage the cruise control. See “Cruise Control” under
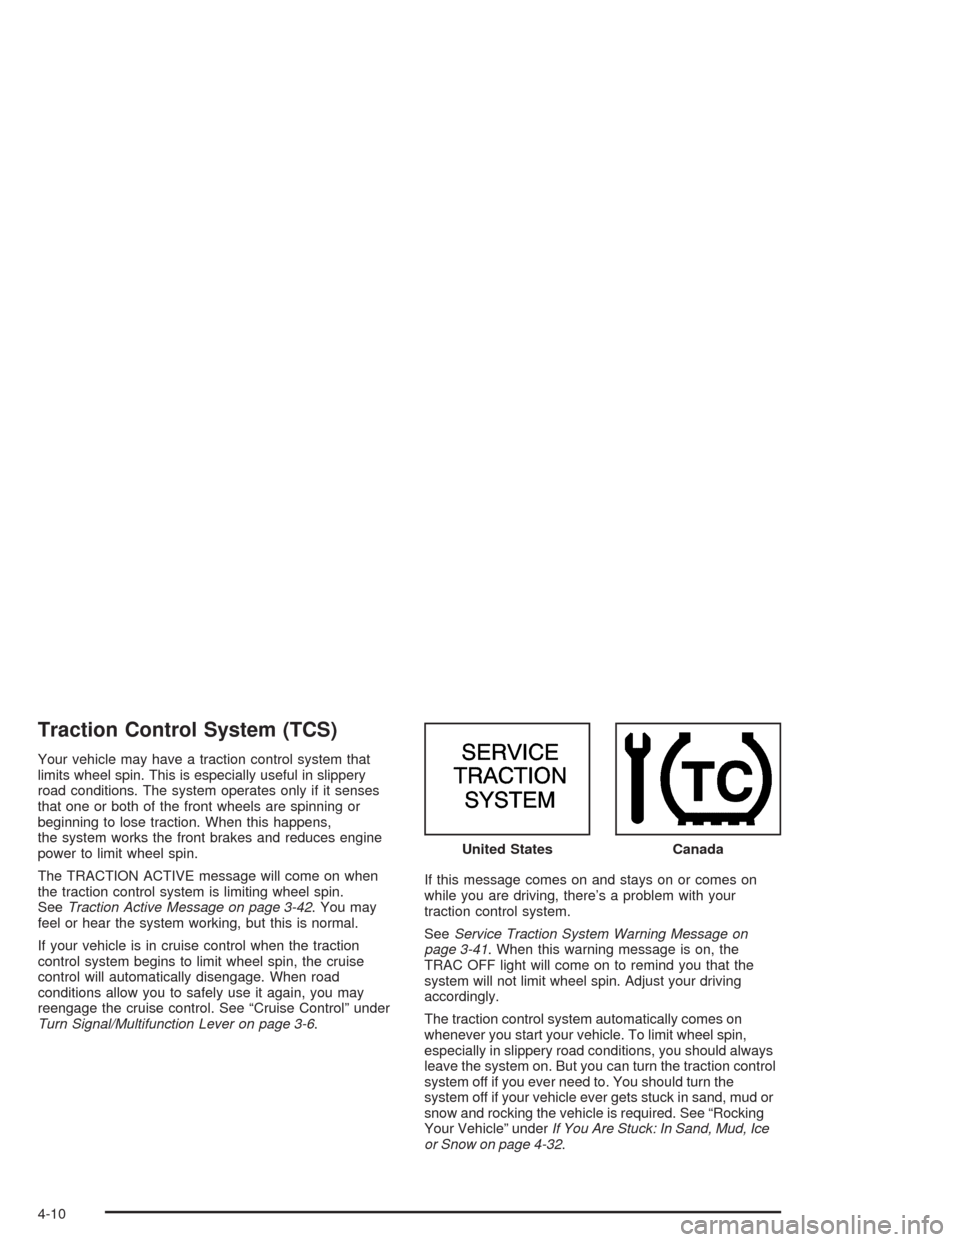
Turn Signal/Multifunction Lever on page 3-6.If this message comes on and stays on or comes on
while you are driving, there’s a problem with your
traction control system.
SeeService Traction System Warning Message on
page 3-41. When this warning message is on, the
TRAC OFF light will come on to remind you that the
system will not limit wheel spin. Adjust your driving
accordingly.
The traction control system automatically comes on
whenever you start your vehicle. To limit wheel spin,
especially in slippery road conditions, you should always
leave the system on. But you can turn the traction control
system off if you ever need to. You should turn the
system off if your vehicle ever gets stuck in sand, mud or
snow and rocking the vehicle is required. See “Rocking
Your Vehicle” underIf You Are Stuck: In Sand, Mud, Ice
or Snow on page 4-32. United States
Canada
4-10
Page 459 of 516
Instrument Panel Fuse Block
The instrument panel fuse
block is located to the right
of the glove box on the
end of the instrument
panel.
Pull the door open to access the instrument panel fuse
block.
Fuse Usage
SWC
BACKLIGHTSteering Wheel Radio Control
Switches (Illumination)
PCM/PASS
KEY/CLUSTERInstrument Cluster to PRNDL
Indicators
PWR MIRROR Power Remote Control Mirror Switch
CRUISECruise Control Module, Switch and
Release Switch
Blank Not Used
PCM/CRANKPowertrain Control Module (PCM),
Ignition Crank
PASS KEY PASS-Key
®III System
5-107
Page 462 of 516
To remove the cover, turn the knob counterclockwise
and lift up.
When �nished, to put the cover back on, turn the knob
clockwise to tighten it. Make sure that the remote
positive (+) terminal cover is on correctly.Fuse Usage
1 Coolant Fans
2 Not Used
3Circuit Breakers: Front Comfort
Controls Hi Blower, and Headlamp
Fuses (Instrument Panel): Hazard
and Stoplamp, PASS-Key
®
4Circuit Breaker: Power Seat and
Power Sliding Door. Fuses
(Instrument Panel): Electronic Level
Control and Rear Defogger, Trailer,
Fog Lamps
5Ignition Switch to Fuses (Instrument
Panel): ABS/TCS Ignition, Cruise,
DRL, Electronic PRNDL, Ignition 1,
AWD, PSD, Air Bag, Turn Signal
and Powertrain Control Module [IGN
MAIN Relay (Underhood Fuse
Block: A/C Clutch, Electronic
Ignition, Ignition 1-U/H, INJ, TCC)]
6 Coolant Fans
5-110