2004 CHEVROLET TRAIL BLAZER rear view mirror
[x] Cancel search: rear view mirrorPage 1 of 448

Seats and Restraint Systems........................... 1-1
Front Seats
............................................... 1-2
Rear Seats
............................................... 1-6
Safety Belts
.............................................. 1-8
Child Restraints
.......................................1-27
Air Bag Systems
......................................1-47
Restraint System Check
............................1-56
Features and Controls..................................... 2-1
Keys
........................................................ 2-3
Doors and Locks
....................................... 2-8
Windows
.................................................2-14
Theft-Deterrent Systems
............................2-16
Starting and Operating Your Vehicle
...........2-18
Mirrors
....................................................2-34
OnStar
®System
......................................2-37
HomeLink®Transmitter
.............................2-39
Storage Areas
.........................................2-42
Sunroof
..................................................2-50
Vehicle Personalization
.............................2-50
Instrument Panel............................................. 3-1
Instrument Panel Overview
.......................... 3-4
Climate Controls
......................................3-21
Warning Lights, Gages, and Indicators
........3-32
Driver Information Center (DIC)
..................3-48
Audio System(s)
.......................................3-61Driving Your Vehicle....................................... 4-1
Your Driving, the Road, and Your Vehicle
..... 4-2
Towing
...................................................4-44
Service and Appearance Care.......................... 5-1
Service
..................................................... 5-3
Fuel
......................................................... 5-4
Checking Things Under the Hood
...............5-10
Rear Axle
...............................................5-46
Four-Wheel Drive
.....................................5-46
Front Axle
...............................................5-47
Bulb Replacement
....................................5-48
Windshield Wiper Blade Replacement
.........5-49
Tires
......................................................5-52
Appearance Care
.....................................5-83
Vehicle Identi�cation
.................................5-91
Electrical System
......................................5-92
Capacities and Speci�cations
...................5-104
Maintenance Schedule..................................... 6-1
Maintenance Schedule
................................ 6-2
Customer Assistance and Information.............. 7-1
Customer Assistance and Information
........... 7-2
Reporting Safety Defects
...........................7-10
Index................................................................ 1
2004 Chevrolet TrailBlazer Owner ManualM
Page 65 of 448
Keys...............................................................2-3
Remote Keyless Entry System.........................2-5
Remote Keyless Entry System Operation...........2-6
Doors and Locks.............................................2-8
Door Locks....................................................2-8
Power Door Locks..........................................2-9
Delayed Locking.............................................2-9
Programmable Automatic Door Locks..............2-10
Rear Door Security Locks..............................2-12
Lockout Protection........................................2-12
Leaving Your Vehicle....................................2-12
Liftgate/Liftglass............................................2-13
Windows........................................................2-14
Power Windows............................................2-15
Sun Visors...................................................2-15
Theft-Deterrent Systems..................................2-16
Content Theft-Deterrent.................................2-16
Passlock
®....................................................2-17
Starting and Operating Your Vehicle................2-18
New Vehicle Break-In....................................2-18
Ignition Positions..........................................2-18
Starting Your Engine.....................................2-20Adjustable Throttle and Brake Pedal................2-21
Engine Coolant Heater..................................2-21
Automatic Transmission Operation...................2-22
Four-Wheel Drive..........................................2-24
Parking Brake..............................................2-28
Shifting Into Park (P).....................................2-29
Shifting Out of Park (P).................................2-31
Parking Over Things That Burn.......................2-31
Engine Exhaust............................................2-32
Running Your Engine While You Are Parked. . . .2-32
Mirrors...........................................................2-34
Automatic Dimming Rearview Mirror with
OnStar
®and Compass...............................2-34
Outside Manual Mirrors..................................2-35
Outside Power Mirrors...................................2-36
Outside Curb View Assist Mirrors....................2-36
Outside Convex Mirror...................................2-37
Outside Heated Mirrors..................................2-37
OnStar
®System.............................................2-37
HomeLink®Transmitter...................................2-39
Programming the HomeLink®Transmitter.........2-39
Section 2 Features and Controls
2-1
Page 98 of 448
Mirrors
Automatic Dimming Rearview Mirror
with OnStar
®and Compass
Your vehicle may have an automatic-dimming rearview
mirror with a compass and the OnStar®system.
There are three additional buttons for the OnStar
®
system. See your dealer for more information on the
system and how to subscribe to OnStar®. SeeOnStar®
System on page 2-37for more information about the
services OnStar®provides.
Mirror Operation
When turned on, this mirror automatically dims to the
proper level to minimize glare from any headlamps
behind you after dark.
O(On/Off): This is the on/off button for the automatic
dimming feature and compass. Press the far left button,
located below the the mirror face, for up to three
seconds to turn the feature on and off. A light on the
mirror will be lit while the feature is turned on.
Compass Operation
Press the on/off button once to turn the compass on
or off.There is a compass display in the window in the upper
right corner of the mirror face. The compass displays
a maximum of two characters. For example, “NE”
is displayed for north-east.
Compass Calibration
Press and hold the on/off button down for nine seconds
to activate the compass calibration mode. CAL will
be displayed in the compass window on the mirror.
The compass can be calibrated by driving the vehicle in
circles at 5 mph (8 km/h) or less until the display
reads a direction.
Compass Variance
Compass variance is the difference between earth’s
magnetic north and true geographic north. The mirror is
set to zone eight upon leaving the factory. It will be
necessary to adjust the compass to compensate
for compass variance if you live outside zone eight.
Under certain circumstances, such as during a
long distance cross-country trip, it will be necessary to
adjust for compass variance. If not adjusted to
account for compass variance, your compass could give
false readings.
2-34
Page 101 of 448

Outside Convex Mirror
A convex mirror’s surface is curved so you can see
more from the driver’s seat.
{CAUTION:
A convex mirror can make things (like other
vehicles) look farther away than they really are.
If you cut too sharply into the right or left lane,
you could hit a vehicle. Check your inside
mirror or glance over your shoulder before
changing lanes.
Outside Heated Mirrors
Your vehicle may have this feature.
When you operate the rear window defogger, a defogger
also warms the heated driver’s and passenger’s
outside rearview mirrors to help clear them of ice, snow
and condensation.
OnStar®System
Your vehicle may have this feature. OnStar®uses
global positioning system (GPS) satellite technology,
wireless communications, and state of the art call
centers to provide you with a wide range of safety,
security, information and convenience services.
A complete OnStar
®user’s guide and the terms and
conditions of the OnStar®Subscription Service
Agreement are included in your OnStar®-equipped
vehicle’s glove box literature. For more information, visit
www.onstar.com, contact OnStar
®at 1-888-4-ONSTAR
(1-888-466-7827), or press the blue OnStar®button
to speak to an OnStar®advisor 24 hours a day, 7 days
a week.
A completed Subscription Service Agreement is required
prior to delivery of OnStar
®services and prepaid
calling minutes are also required for OnStar®Personal
Calling and OnStar®Virtual Advisor use. Terms and
conditions of the Subscription Service Agreement can be
found at www.onstar.com.
2-37
Page 124 of 448
Turn and Lane Change Signals
The turn signal has two upward (for right) and two
downward (for left) positions. These positions allow you
to signal a turn or a lane change.
To signal a turn, move the lever all the way up or down.
When the turn is �nished, the lever will return
automatically.
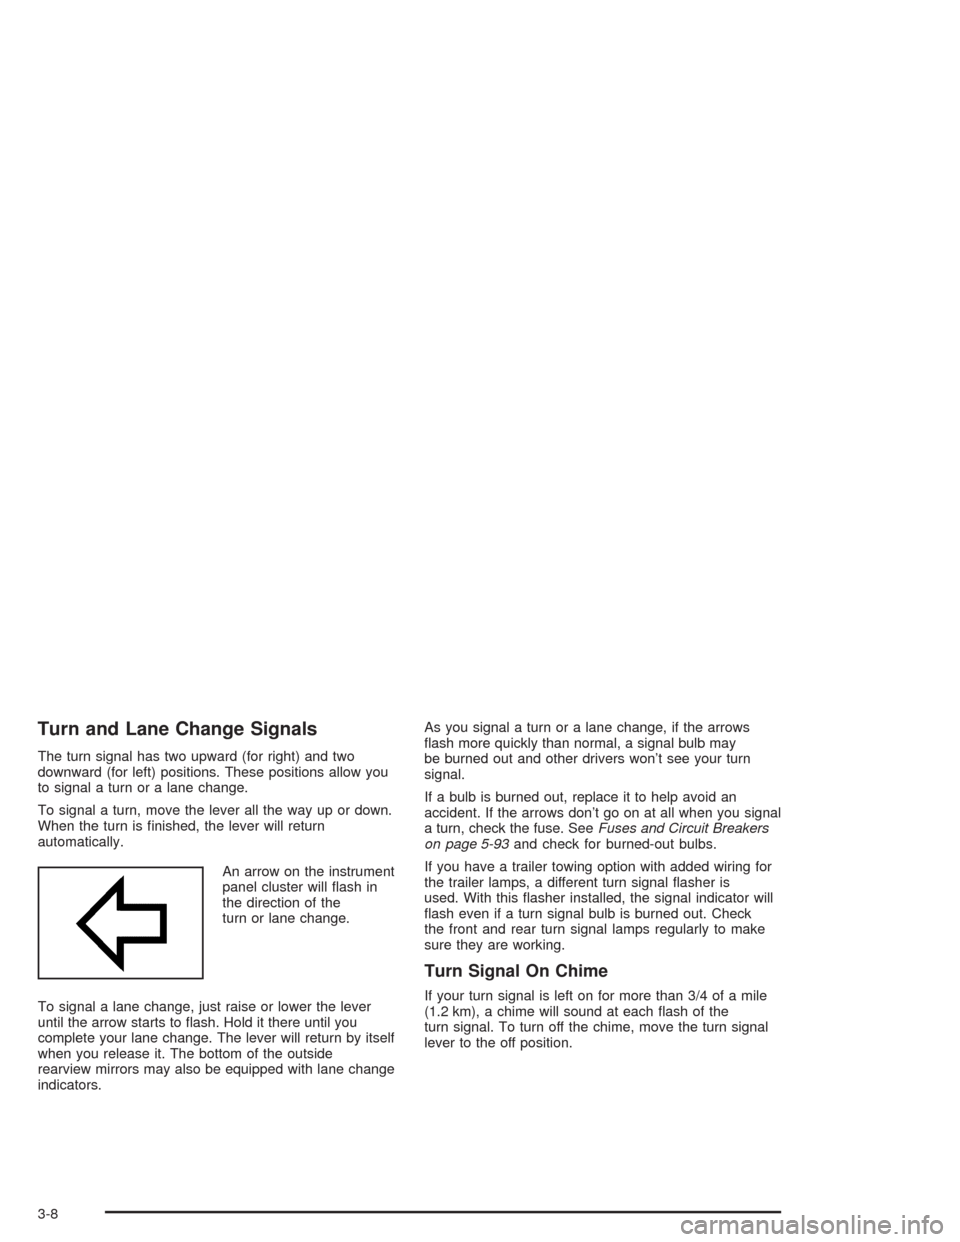
An arrow on the instrument
panel cluster will �ash in
the direction of the
turn or lane change.
To signal a lane change, just raise or lower the lever
until the arrow starts to �ash. Hold it there until you
complete your lane change. The lever will return by itself
when you release it. The bottom of the outside
rearview mirrors may also be equipped with lane change
indicators.As you signal a turn or a lane change, if the arrows
�ash more quickly than normal, a signal bulb may
be burned out and other drivers won’t see your turn
signal.
If a bulb is burned out, replace it to help avoid an
accident. If the arrows don’t go on at all when you signal
a turn, check the fuse. SeeFuses and Circuit Breakers
on page 5-93and check for burned-out bulbs.
If you have a trailer towing option with added wiring for
the trailer lamps, a different turn signal �asher is
used. With this �asher installed, the signal indicator will
�ash even if a turn signal bulb is burned out. Check
the front and rear turn signal lamps regularly to make
sure they are working.
Turn Signal On Chime
If your turn signal is left on for more than 3/4 of a mile
(1.2 km), a chime will sound at each �ash of the
turn signal. To turn off the chime, move the turn signal
lever to the off position.
3-8
Page 126 of 448

Rainsense™ Wipers
Your vehicle may be equipped with
Rainsense™ windshield wipers. When active, these
wipers are able to detect moisture on the windshield and
automatically turn on the wipers.
The moisture sensor is located next to the inside
rearview mirror and is mounted on the windshield.
To turn on the Rainsense™ feature, the wipers must be
set to one of the �ve delay settings on the multifunction
lever. Each of the �ve settings adjusts the sensitivity
of the rainsensor. For more wipes, select the higher
settings; for fewer wipes, select the lower settings
located closer to off on the multifunction lever.
The rainsensor will automatically control the frequency
of the wipes from off to high speed according to the
weather conditions. The wipers can be left in a
rainsense mode even when it is not raining.
Notice:If you do not turn off the windshield wipers
when driving through an automatic car wash, you
could damage the wipers. Always turn off the
windshield wipers before entering an automatic
car wash.
Windshield Washer
L
(Windshield Washer):To spray washer �uid on the
windshield, press the windshield washer paddle. The
wipers will clear the window and then either stop
or return to your preset speed.
{CAUTION:
In freezing weather, do not use your washer
until the windshield is warmed. Otherwise the
washer �uid can form ice on the windshield,
blocking your vision.
3-10
Page 176 of 448
LEFT REAR DOOR AJAR
If the driver’s side rear door is not fully closed this
message will appear on the display and you will hear a
chime. Stop and turn off the vehicle, check the door
for obstacles, and close the door again. Check to see if
the message still appears on the DIC. Press the
select button to acknowledge this message and clear it
from the DIC display.
RIGHT REAR DOOR AJAR
If the passenger’s side rear door is not fully closed this
message will appear on the display and you will
hear a chime. Stop and turn off the vehicle, check the
door for obstacles, and close the door again. Check
to see if the message still appears on the DIC. Press the
select button to acknowledge this message and clear
it from the DIC display.
RFA # BATTERY LOW
If a remote keyless entry transmitter battery is low, this
message will appear on the DIC. The battery needs
to be replaced in the transmitter. Press the select button
to acknowledge this message and clear it from the
DIC display.
CURB VIEW ACTIVATED
The CURB VIEW ACTIVATED message is displayed
when one of the outside rear view mirrors move into the
curb view position. Refer to “Outside Curb View Assist
Mirrors” for more information.
TIGHTEN FUEL CAP
If the vehicle’s fuel cap is not tightened properly, this
message may appear on the DIC and a chime will
sound. Fully reinstall the fuel cap. The diagnostic system
can determine if the fuel cap has been left off or
improperly installed. A loose or missing fuel cap will
allow fuel to evaporate into the atmosphere. The
DIC message will remain on until the message is
cancelled with the return button on the steering wheel.
The DIC message will also be cancelled if the ignition
is turned off.
The DIC message and the Service Engine Soon light
may come on again during a second trip if the fuel cap is
still not tightened properly. SeeMalfunction Indicator
Lamp on page 3-40for more information.
3-60
Page 441 of 448
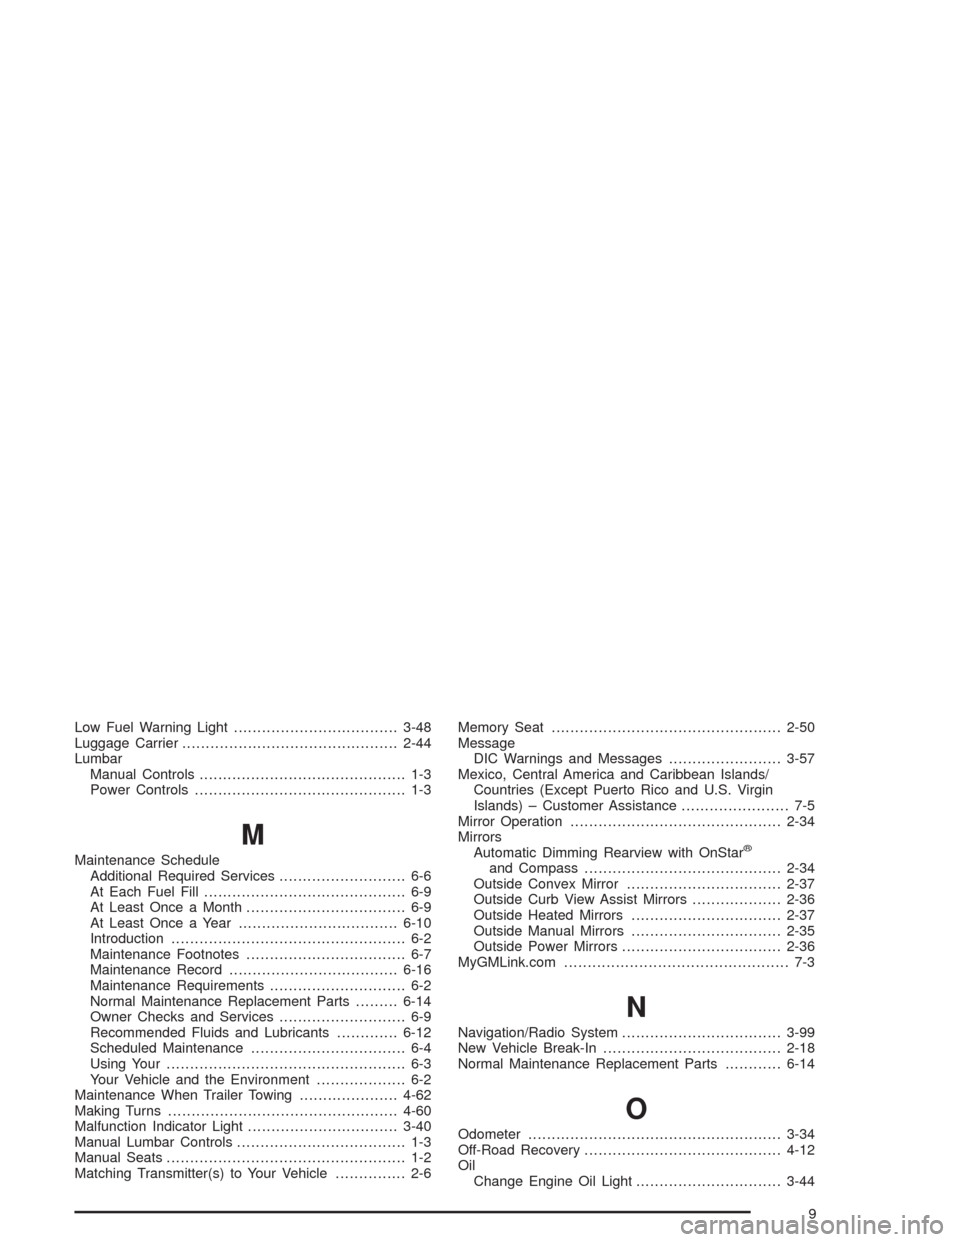
Low Fuel Warning Light...................................3-48
Luggage Carrier..............................................2-44
Lumbar
Manual Controls............................................ 1-3
Power Controls............................................. 1-3
M
Maintenance Schedule
Additional Required Services........................... 6-6
At Each Fuel Fill........................................... 6-9
At Least Once a Month.................................. 6-9
At Least Once a Year..................................6-10
Introduction.................................................. 6-2
Maintenance Footnotes.................................. 6-7
Maintenance Record....................................6-16
Maintenance Requirements............................. 6-2
Normal Maintenance Replacement Parts.........6-14
Owner Checks and Services........................... 6-9
Recommended Fluids and Lubricants.............6-12
Scheduled Maintenance................................. 6-4
Using Your................................................... 6-3
Your Vehicle and the Environment................... 6-2
Maintenance When Trailer Towing.....................4-62
Making Turns.................................................4-60
Malfunction Indicator Light................................3-40
Manual Lumbar Controls.................................... 1-3
Manual Seats................................................... 1-2
Matching Transmitter(s) to Your Vehicle............... 2-6Memory Seat.................................................2-50
Message
DIC Warnings and Messages........................3-57
Mexico, Central America and Caribbean Islands/
Countries (Except Puerto Rico and U.S. Virgin
Islands) – Customer Assistance....................... 7-5
Mirror Operation.............................................2-34
Mirrors
Automatic Dimming Rearview with OnStar®
and Compass..........................................2-34
Outside Convex Mirror.................................2-37
Outside Curb View Assist Mirrors...................2-36
Outside Heated Mirrors................................2-37
Outside Manual Mirrors................................2-35
Outside Power Mirrors..................................2-36
MyGMLink.com................................................ 7-3
N
Navigation/Radio System..................................3-99
New Vehicle Break-In......................................2-18
Normal Maintenance Replacement Parts............6-14
O
Odometer......................................................3-34
Off-Road Recovery..........................................4-12
Oil
Change Engine Oil Light...............................3-44
9