2004 CHEVROLET MALIBU set clock
[x] Cancel search: set clockPage 137 of 426
Certain electrical accessories may not be compatible
with the accessory power outlet and could result
in blown vehicle or adapter fuses. If you experience
a problem see your dealer for additional information
on accessory power outlets.
Notice:Adding any electrical equipment to your
vehicle may damage it or keep other components
from working as they should. The repairs would
not be covered by your warranty. Check with your
dealer before adding electrical equipment.
When adding electrical equipment, be sure to follow
the proper installation instructions included with
the equipment.
Notice:Improper use of the power outlet can
cause damage not covered by your warranty.
Do not hang any type of accessory or accessory
bracket from the plug because the power outlets
are designed for accessory power plugs only.Climate Controls
Climate Control System
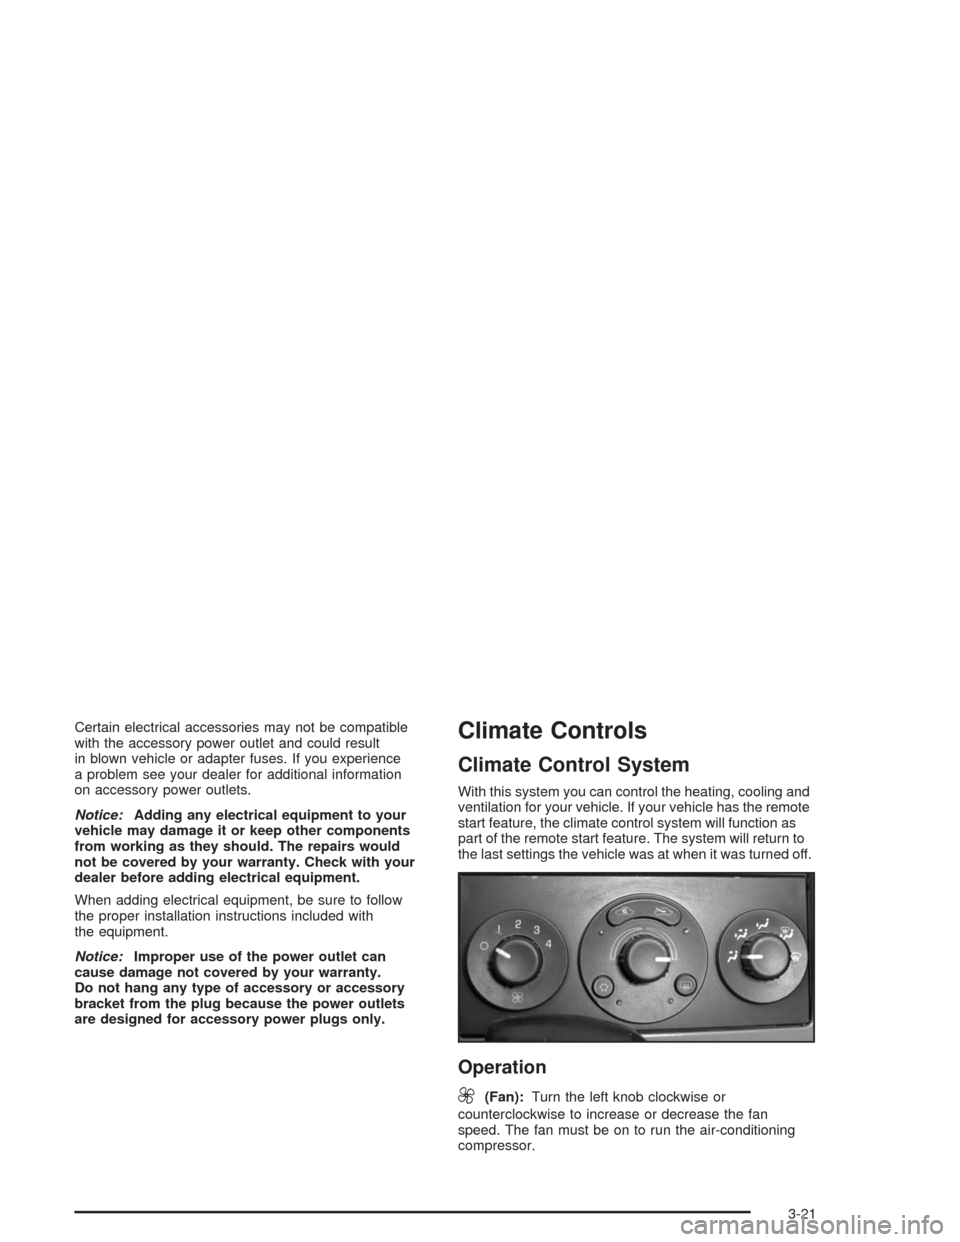
With this system you can control the heating, cooling and
ventilation for your vehicle. If your vehicle has the remote
start feature, the climate control system will function as
part of the remote start feature. The system will return to
the last settings the vehicle was at when it was turned off.
Operation
9
(Fan):Turn the left knob clockwise or
counterclockwise to increase or decrease the fan
speed. The fan must be on to run the air-conditioning
compressor.
3-21
Page 139 of 426
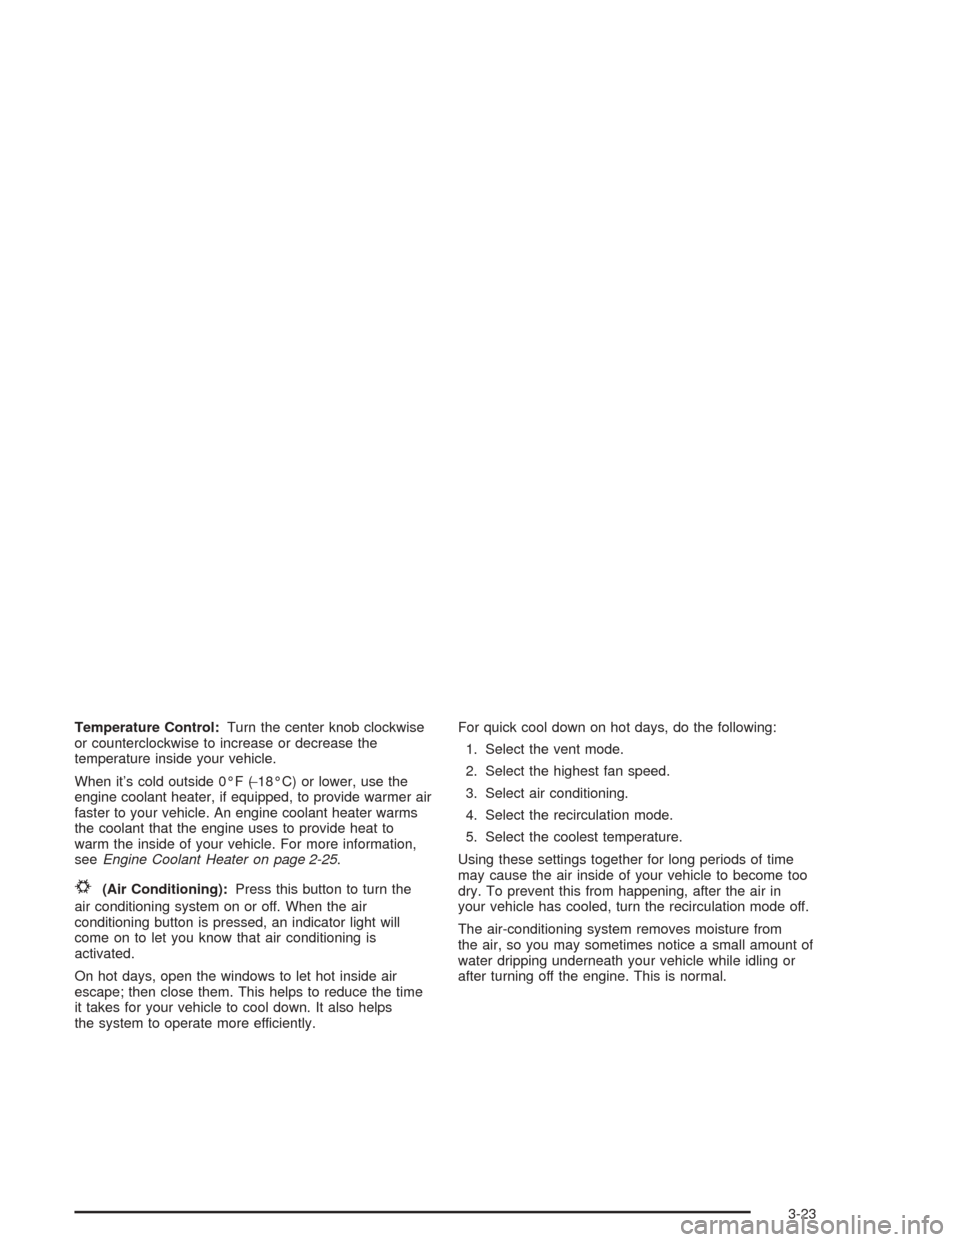
Temperature Control:Turn the center knob clockwise
or counterclockwise to increase or decrease the
temperature inside your vehicle.
When it’s cold outside 0°F (−18°C) or lower, use the
engine coolant heater, if equipped, to provide warmer air
faster to your vehicle. An engine coolant heater warms
the coolant that the engine uses to provide heat to
warm the inside of your vehicle. For more information,
seeEngine Coolant Heater on page 2-25.
#(Air Conditioning):Press this button to turn the
air conditioning system on or off. When the air
conditioning button is pressed, an indicator light will
come on to let you know that air conditioning is
activated.
On hot days, open the windows to let hot inside air
escape; then close them. This helps to reduce the time
it takes for your vehicle to cool down. It also helps
the system to operate more efficiently.For quick cool down on hot days, do the following:
1. Select the vent mode.
2. Select the highest fan speed.
3. Select air conditioning.
4. Select the recirculation mode.
5. Select the coolest temperature.
Using these settings together for long periods of time
may cause the air inside of your vehicle to become too
dry. To prevent this from happening, after the air in
your vehicle has cooled, turn the recirculation mode off.
The air-conditioning system removes moisture from
the air, so you may sometimes notice a small amount of
water dripping underneath your vehicle while idling or
after turning off the engine. This is normal.
3-23
Page 168 of 426
Audio System(s)
Notice:Before you add any sound equipment to
your vehicle — like a tape player, CB radio, mobile
telephone or two-way radio — be sure you can add
what you want. If you can, it’s very important to do it
properly. Added sound equipment may interfere with
the operation of your vehicle’s engine, radio or other
systems, and even damage them. Your vehicle’s
systems may interfere with the operation of sound
equipment that has been added improperly.
So, before adding sound equipment, check with
your dealer and be sure to check federal rules
covering mobile radio and telephone units.
Your audio system has been designed to operate easily
and to give years of listening pleasure. You will get
the most enjoyment out of it if you acquaint yourself with
it �rst. Figure out which radio you have in your vehicle,
�nd out what your audio system can do and how to
operate all of its controls to be sure you’re getting the
most out of the advanced engineering that went into it.Your vehicle has a feature called Retained Accessory
Power (RAP). With RAP, you can play your audio
system even after the ignition is turned off. See
“Retained Accessory Power (RAP)” underIgnition
Positions on page 2-22.
Setting the Time for Radios without
Radio Data Systems (RDS)
To set the hour, press the clock button. The clock icon
will appear on the display and the hour number will �ash
on the display. Then turn the ADJ knob to increase or to
decrease. To set the minutes, press the clock button
again. The minute numbers will �ash on the display.
Then turn the ADJ knob to increase or to decrease.
The time may be set with the ignition on or off.
3-52
Page 169 of 426
Setting the Time for Radios with
Radio Data Systems (RDS)
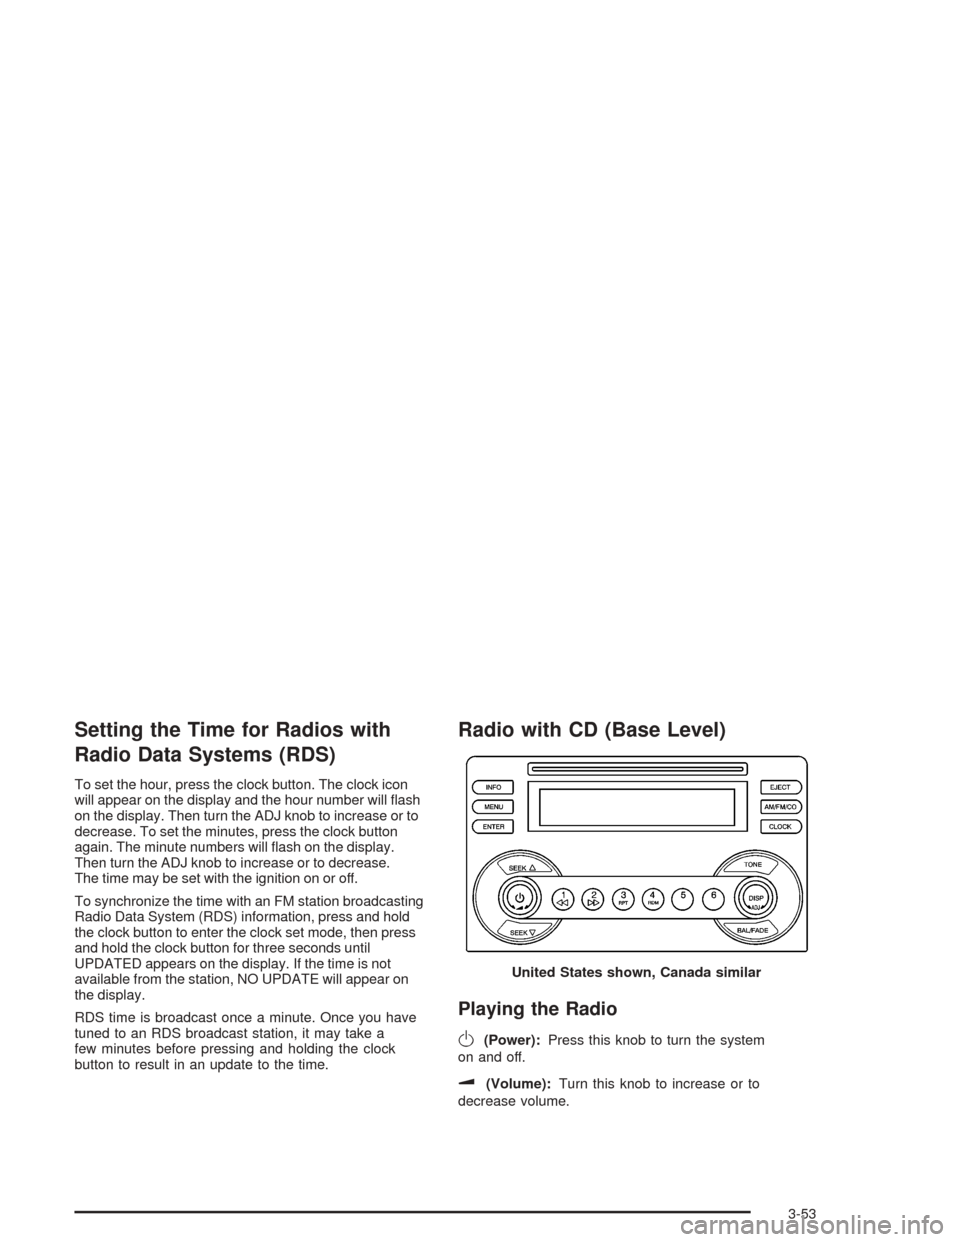
To set the hour, press the clock button. The clock icon
will appear on the display and the hour number will �ash
on the display. Then turn the ADJ knob to increase or to
decrease. To set the minutes, press the clock button
again. The minute numbers will �ash on the display.
Then turn the ADJ knob to increase or to decrease.
The time may be set with the ignition on or off.
To synchronize the time with an FM station broadcasting
Radio Data System (RDS) information, press and hold
the clock button to enter the clock set mode, then press
and hold the clock button for three seconds until
UPDATED appears on the display. If the time is not
available from the station, NO UPDATE will appear on
the display.
RDS time is broadcast once a minute. Once you have
tuned to an RDS broadcast station, it may take a
few minutes before pressing and holding the clock
button to result in an update to the time.
Radio with CD (Base Level)
Playing the Radio
O
(Power):Press this knob to turn the system
on and off.
u(Volume):Turn this knob to increase or to
decrease volume.United States shown, Canada similar
3-53
Page 195 of 426
TAPE SEEK and a negative number will appear on the
display while the cassette player is in the previous mode.
Pressing the down arrow multiple times will increase the
number of selections to be searched back.
Press the up arrow to go to the next selection on the tape.
If you press the up arrow more than once, the player will
continue moving forward through the tape. TAPE SEEK
and a positive number will appear on the display.
BAND:Press this button to listen to the radio when
a cassette tape or CD is playing. The tape or CD
will remain safely inside the radio for future listening.
SRCE (Source):Press this button to play a tape,
CD, or a remote device (if installed) when listening to
the radio. The inactive tape or CD will remain safely
inside the radio for future listening.
EJECT /
Z(Eject):Press this button, located to the
left of the cassette tape slot, to eject a tape. Eject may
be activated with the radio off. Cassette tapes may be
loaded with the radio off if this button is pressed �rst.
Cassette Tape Messages
TIGHT TAPE:If this message appears on the radio
display, the tape will not play because the tape is tight
and the player cannot turn the tape hubs. Remove the
tape. Hold the tape with the open end down and try to
turn the right hub counterclockwise with a pencil. Turn
the tape over and repeat. If the hubs do not turn easily,
your tape may be damaged and should not be used in
the player. Try a new tape to make sure your player is
working properly.
BROKEN TAPE:If this message appears on the radio
display, the tape will not play because of one of the
following:
The tape is broken. Try a new tape.
The tape is wrapped around the tape head.
Attempt to get the cassette out. Try a new tape.
CLEAN TAPE:If this message appears on the display,
the cassette tape player needs to be cleaned. It will
still play tapes, but you should clean it as soon as
possible to prevent damage to the tapes and player.
SeeCare of Your Cassette Tape Player on page 3-117.
If any error occurs repeatedly or if an error cannot be
corrected, contact your dealer. If your radio displays an
error message, write it down and provide it to your
dealer when reporting the problem.
3-79
Page 314 of 426
{CAUTION:
Adding only plain water to your cooling system
can be dangerous. Plain water, or some other
liquid such as alcohol, can boil before the
proper coolant mixture will. Your vehicle’s
coolant warning system is set for the proper
coolant mixture. With plain water or the wrong
mixture, your engine could get too hot but
you would not get the overheat warning.
Your engine could catch �re and you or others
could be burned. Use a 50/50 mixture of clean,
drinkable water and DEX-COOL
®coolant.
Notice:In cold weather, water can freeze and
crack the engine, radiator, heater core and other
parts. Use the recommended coolant and the
proper coolant mixture.
{CAUTION:
You can be burned if you spill coolant on
hot engine parts. Coolant contains ethylene
glycol and it will burn if the engine parts are
hot enough. Do not spill coolant on a hot
engine.
1. Park the vehicle on a level surface.
You can remove the coolant surge tank pressure
cap when the cooling system, including the coolant
surge tank pressure cap and upper radiator hose,
is no longer hot. Turn the pressure cap slowly
counterclockwise (left) about two or two and one-half
turns. If you hear a hiss, wait for that to stop. This will
allow any pressure still left to be vented out the
discharge hose.
5-32