Page 135 of 426

Interior Lamps
Instrument Panel Brightness
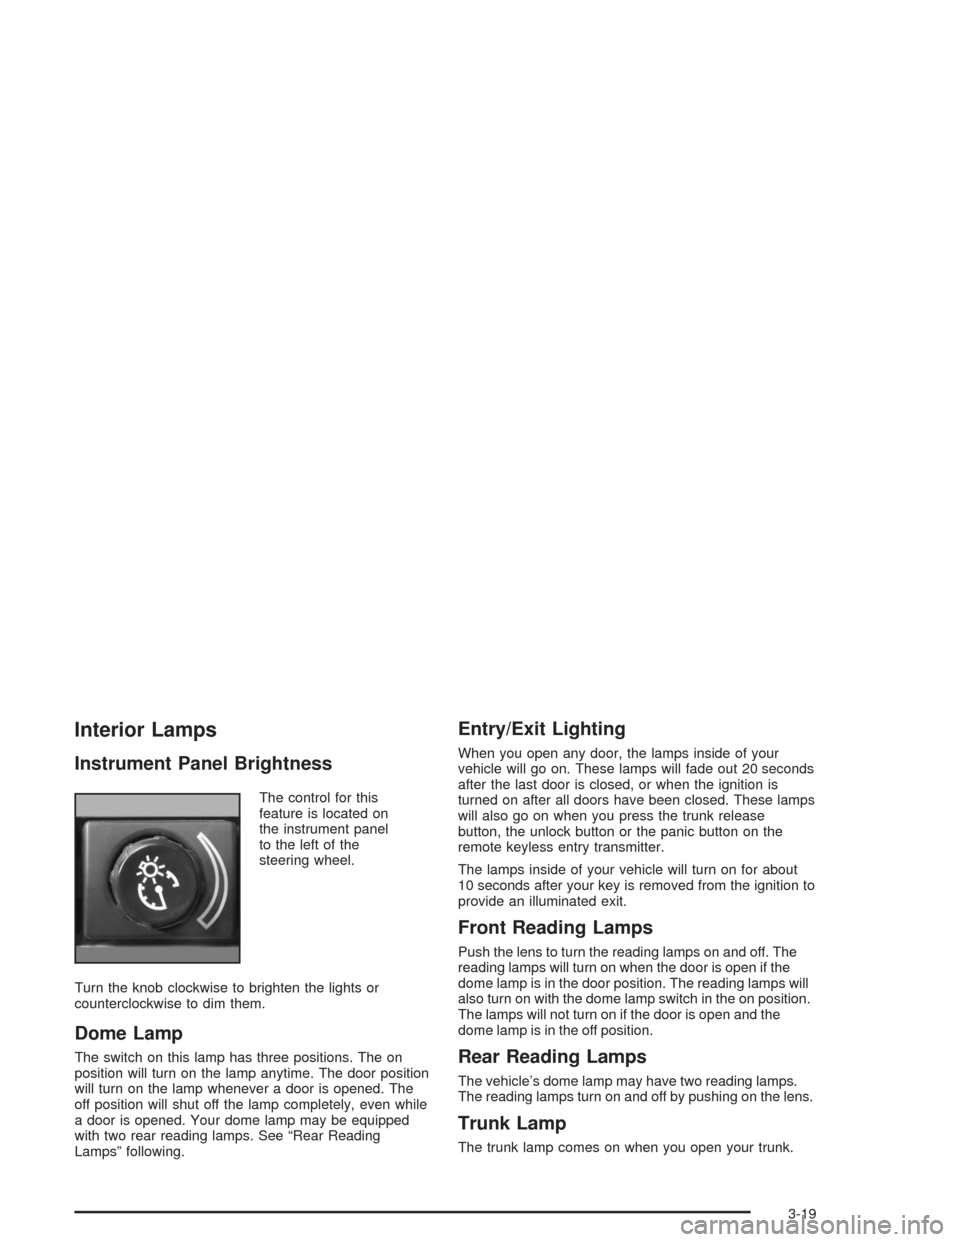
The control for this
feature is located on
the instrument panel
to the left of the
steering wheel.
Turn the knob clockwise to brighten the lights or
counterclockwise to dim them.
Dome Lamp
The switch on this lamp has three positions. The on
position will turn on the lamp anytime. The door position
will turn on the lamp whenever a door is opened. The
off position will shut off the lamp completely, even while
a door is opened. Your dome lamp may be equipped
with two rear reading lamps. See “Rear Reading
Lamps” following.
Entry/Exit Lighting
When you open any door, the lamps inside of your
vehicle will go on. These lamps will fade out 20 seconds
after the last door is closed, or when the ignition is
turned on after all doors have been closed. These lamps
will also go on when you press the trunk release
button, the unlock button or the panic button on the
remote keyless entry transmitter.
The lamps inside of your vehicle will turn on for about
10 seconds after your key is removed from the ignition to
provide an illuminated exit.
Front Reading Lamps
Push the lens to turn the reading lamps on and off. The
reading lamps will turn on when the door is open if the
dome lamp is in the door position. The reading lamps will
also turn on with the dome lamp switch in the on position.
The lamps will not turn on if the door is open and the
dome lamp is in the off position.
Rear Reading Lamps
The vehicle’s dome lamp may have two reading lamps.
The reading lamps turn on and off by pushing on the lens.
Trunk Lamp
The trunk lamp comes on when you open your trunk.
3-19
Page 136 of 426

Cargo Lamp
If your vehicle is the MAXX model, it has a cargo lamp.
The cargo lamp comes on when the liftgate is opened.
If you want to leave the liftgate open you can turn off the
cargo lamp by pushing on the lens.
Battery Run-Down Protection
Your vehicle has a battery run-down protection feature
designed to protect your vehicle’s battery.
When any interior lamp (trunk, reading, or visor vanity)
is left on while the ignition is turned off, the battery
run-down protection system will automatically shut the
lamp(s) off after 20 minutes. This will avoid draining
the battery.
To reactivate the interior lamps, do one of the following:
Turn on the ignition.
Turn the exterior lamp control off and then on.
Open a door.
Press any remote keyless entry transmitter button
(if equipped).
Press the remote trunk release button.
Press the power door lock switch.The battery run-down feature will also be activated
when any door on the vehicle is left open and the
ignition is in OFF.
Accessory Power Outlets
With accessory power outlets you can plug in auxiliary
electrical equipment such as a cellular telephone.
For vehicles with anti-lock brake system (ABS), the
accessory power outlets are located on the front of the
center console storage area and also inside the
console storage compartment. Vehicles without ABS,
both outlets are located on the front of the center
console storage area. The compartment has notches
that allow power cords to be routed outside of the
console while the lid is closed. There is also an outlet in
the rear cargo area of the MAXX.
Notice:Leaving electrical equipment on for
extended periods will drain the battery. Always turn
off electrical equipment when not in use and do
not plug in equipment that exceeds the maximum
amperage rating.
3-20
Page 167 of 426

DOOR AJAR:This message is displayed if one or
more of the vehicle’s doors are not closed properly.
When this message appears, you should make sure
that the door is closed completely.
ENGINE DISABLED:This message is displayed if the
starting of the engine is disabled. Have y our vehicle
serviced by your dealership immediately.
ENG PWR REDUCED:This message informs you that
the vehicle has reduced engine power to avoid
damaging the engine.
ICE POSSIBLE:This message appears when the
outside air temperature is cold enough to create icy
road conditions.
KEY FOB BATT LOW:This message is displayed if
the remote keyless entry transmitter battery is low.
LOW COOLANT:This message is displayed when
there is a low level of engine coolant. Have the cooling
system serviced by a technician as soon as possible.
LOW FUEL:This message is displayed when your
vehicle is low on fuel. You should re�ll the tank as soon
as possible. You will also see a low fuel warning light
on the instrument panel cluster.LOW WASHER FLUID:This message is displayed
when your vehicle is low on windshield washer �uid.
You should re�ll the tank as soon as possible.
POWER STEERING:This message is displayed if a
problem has been detected with the electric power
steering. Have your vehicle serviced immediately.
PUSH PARK PEDAL:This message is displayed if
the parking brake is left engaged and you try to
drive away.
SERVICE AIR BAG:There is a problem with the air
bag system when this message appears. Let only
a quali�ed technician work on your vehicle. Have your
vehicle serviced by your dealership immediately.
TRUNK OR GATE AJAR:This message is displayed
when the trunk lid or liftgate of your vehicle is not closed
completely. You should make sure that the trunk lid or
liftgate is closed completely.
3-51
Page 262 of 426
Winter Driving
Here are some tips for winter driving:
Have your vehicle in good shape for winter.
You may want to put winter emergency supplies in
your trunk.
Also seeTires on page 5-50.Include an ice scraper, a small brush or broom, a
supply of windshield washer �uid, a rag, some winter
outer clothing, a small shovel, a �ashlight, a red
cloth and a couple of re�ective warning triangles. And, if
you will be driving under severe conditions, include a
small bag of sand, a piece of old carpet or a couple of
burlap bags to help provide traction. Be sure you
properly secure these items in your vehicle.
4-26
Page 274 of 426
Loading Your Vehicle
Item Description Total
AVehicle Capacity Weight
for Example 3=1,000 lbs (453 kg)
BSubtract Occupant
Weight 200 lbs
(91 kg)×5=1,000 lbs (453 kg)
CAvailable Cargo
Weight=0 lbs (0 kg)
Refer to your vehicle’s Tire and Loading Information
label for speci�c information about your vehicle’s
capacity weight and seating positions. The combined
weight of the driver, passengers, and cargo should
never exceed your vehicle’s capacity weight.
Certi�cation Label
The other label is the Certi�cation label, found on the rear
edge of the driver’s door. It tells you the gross weight
capacity of your vehicle, called the Gross Vehicle Weight
Rating (GVWR). The GVWR includes the weight of the
vehicle, all occupants, fuel and cargo. Never exceed the
GVWR for your vehicle, or the Gross Axle Weight
Rating (GAWR) for either the front or rear axle.
And, if you do have a heavy load, you should spread it
out. Don’t carry more than 132 lbs. (60 kg) in your trunk. Example 3
4-38
Page 275 of 426
{CAUTION:
Do not load your vehicle any heavier than the
GVWR, or either the maximum front or rear
GAWR. If you do, parts on your vehicle can
break, and it can change the way your vehicle
handles. These could cause you to lose
control and crash. Also, overloading can
shorten the life of your vehicle.
{CAUTION:
Things you put inside your vehicle can strike
and injure people in a sudden stop or turn, or
in a crash.
Put things in the trunk of your vehicle. In a
trunk, put them as far forward as you can.
Try to spread the weight evenly.
Never stack heavier things, like suitcases,
inside the vehicle so that some of them
are above the tops of the seats.
Do not leave an unsecured child restraint
in your vehicle.
When you carry something inside the
vehicle, secure it whenever you can.
Do not leave a seat folded down unless
you need to.
4-39
Page 293 of 426
Filling a Portable Fuel Container
{CAUTION:
Never �ll a portable fuel container while it is in
your vehicle. Static electricity discharge from
the container can ignite the gasoline vapor.
You can be badly burned and your vehicle
damaged if this occurs. To help avoid injury to
you and others:
Dispense gasoline only into approved
containers.
Do not �ll a container while it is inside a
vehicle, in a vehicle’s trunk, pickup bed or
on any surface other than the ground.
CAUTION: (Continued)
CAUTION: (Continued)
Bring the �ll nozzle in contact with the
inside of the �ll opening before operating
the nozzle. Contact should be maintained
until the �lling is complete.
Do not smoke while pumping gasoline.
5-11
Page 329 of 426
6. Gently wiggle the
bulb from the socket.
Replace the old
bulb with a new bulb.
7. Turn the socket back into place and reconnect
the wiring harness to the socket.
8. Return the lamp assembly to its original position.
Be sure to line up the holes in the lamp assembly
to the round ends of the mounting pins.
9. Reinstall the two bolts attaching the headlamp
assembly to the vehicle.
Center High-Mounted Stoplamp
(CHMSL)
It is recommended that this component be replaced
as a unit. See your dealer.
Taillamps, Turn Signal, Stoplamps
and Back-up Lamps
1. Open the trunk.
A. Taillamp
B. Back-Up Lamp
C. Taillamp/Stoplamp/Turn Signal Lamp
5-47