2004 CHEVROLET KODIAK suspension
[x] Cancel search: suspensionPage 95 of 366

Air Shift Control (Automatic
Transmission)
The rear axle shift control
switch for an automatic
transmission is located in
the instrument panel
switchbank.
Press the bottom of the switch to get to the low range.
The switch indicator light will come on when the
vehicle is in low range. Press the top of the switch to
return to the high range.
The two-speed axle should be in low range when you
park the vehicle. You’ll need to engage the transmission,
even moving the vehicle a little, to be sure the axle is
in low range. Then shift into PARK (P), apply the parking
brake and shut off the engine.To shift up from low to high, press the top of the rear
axle shift control switch and press down on the
accelerator. When you shift the axle from high to low,
press the bottom of the switch, release the accelerator
and then quickly press it down again.
To operate off-road or under a heavy load, shift into low
range when the vehicle is standing still and then
operate the transmission normally.
On the highway, with the axle in low range and the
transmission in top gear, you may shift the axle to high
range by raising the switch and releasing the
accelerator momentarily. Reapply the accelerator after
you shift.
Under light load conditions, first shift the axle into the
high range with the vehicle at a standstill and then
operate the transmission normally.
Air Suspension
Your vehicle may be equipped with the Hendrickson
HAS Series single-axle air suspension which is designed
for single-axle on-highway use. The feature is available
in 19,000 lb. (8 618.3 kg), 21,000 lb. (9 525.4 kg)
and 23,000 lb. (10 432.6 kg) capacities for operations
which require extra cubic capacity and a reduced
deck height.
2-27
Page 96 of 366

Rear Air Suspension Dump Control
If your vehicle is equipped with the Hendrickson HAS
Series single-axle air suspension, you have this control.
The air suspension dump control allows the operator
to lower the deck height approximately 4.5 inches
(11.5 cm) from the normal frame height.
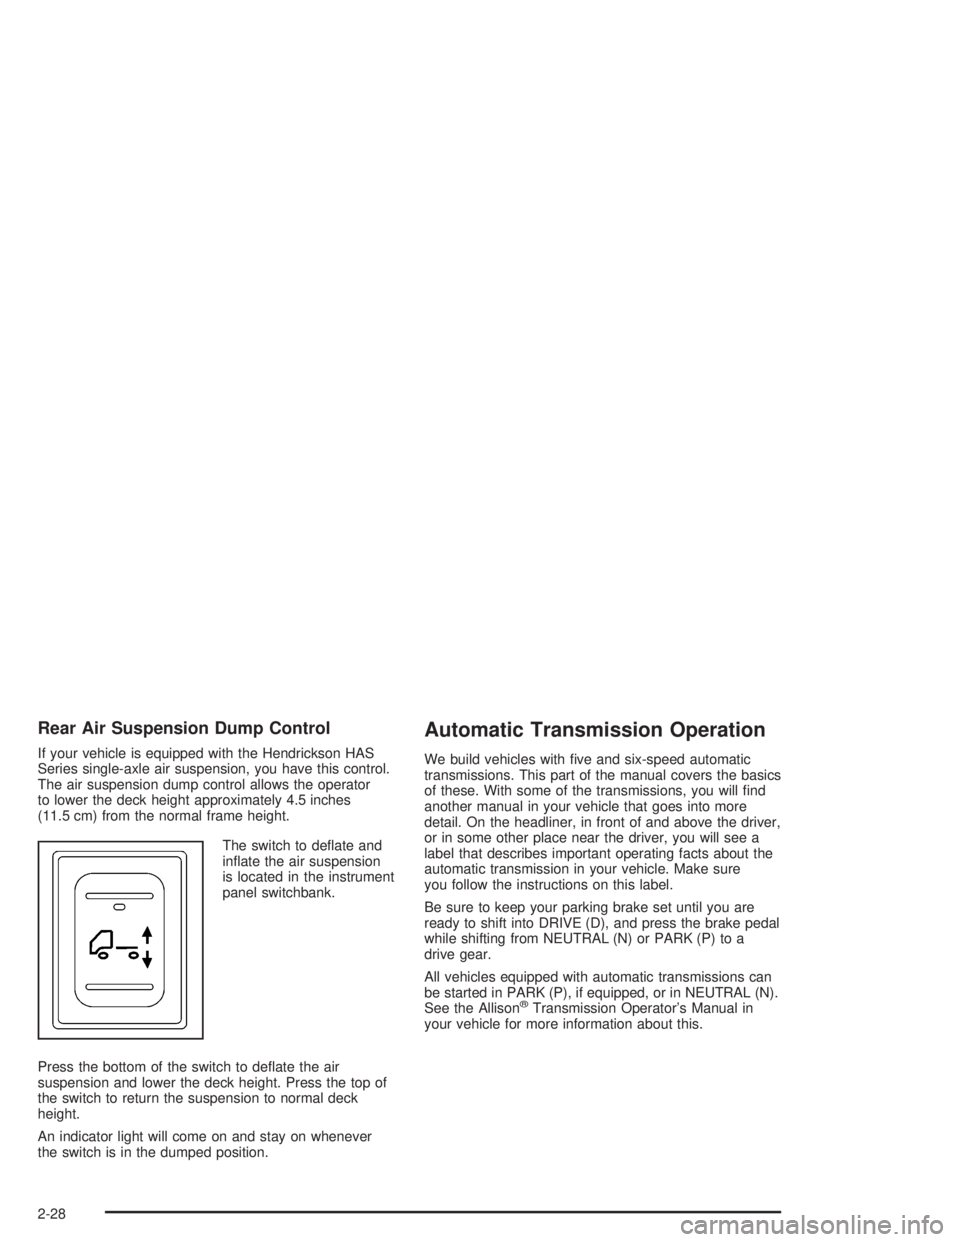
The switch to deflate and
inflate the air suspension
is located in the instrument
panel switchbank.
Press the bottom of the switch to deflate the air
suspension and lower the deck height. Press the top of
the switch to return the suspension to normal deck
height.
An indicator light will come on and stay on whenever
the switch is in the dumped position.
Automatic Transmission Operation
We build vehicles with five and six-speed automatic
transmissions. This part of the manual covers the basics
of these. With some of the transmissions, you will find
another manual in your vehicle that goes into more
detail. On the headliner, in front of and above the driver,
or in some other place near the driver, you will see a
label that describes important operating facts about the
automatic transmission in your vehicle. Make sure
you follow the instructions on this label.
Be sure to keep your parking brake set until you are
ready to shift into DRIVE (D), and press the brake pedal
while shifting from NEUTRAL (N) or PARK (P) to a
drive gear.
All vehicles equipped with automatic transmissions can
be started in PARK (P), if equipped, or in NEUTRAL (N).
See the Allison
®Transmission Operator’s Manual in
your vehicle for more information about this.
2-28
Page 110 of 366

Center Console Storage Area
Your vehicle may have a center console compartment
between the bucket or suspension seats.
The back of your center bench seat may also fold
forward to reveal a console compartment.
The release strap for the
center console is located
between the center
seat and passenger’s seat.To expose the storage compartment, pull the strap to
release the seatback. Then fold the seatback forward.
To open the storage compartment, press the release
button and lift the lid rearward. With the lid closed, it can
be used as a clipboard to hold papers in place.
Before returning the seatback to the upright position,
make sure the console is snapped shut. Lift the
seatback all the way up until it clicks. Push and pull on
the seatback to make sure the seat is locked in
place.
2-42
Page 127 of 366

This switchbank is located in the center of the instrument
panel.
e(Marker Lamp Defeat Switch):See “Marker Lamp
Defeat Switch” underExterior Lamps on page 3-13.
j(Manual High Idle Switch):See “Manual High Idle
System” underStarting Your Diesel Engine on
page 2-14.
i(Traction Control Switch):SeeTraction Control
System (TCS) on page 4-11.
f(Outside Heated Mirror Switch):SeeOutside
Heated Mirrors on page 2-41.
g(Power Take Off Switch):SeePower Take-Off
(PTO) on page 4-36.
h(Rear Air Suspension Dump Control
Switch):See “Rear Air Suspension Dump Control”
underTwo-Speed Rear Axle Electric Shift Control
on page 2-26.
k(Rear Axle Shift Control Switch):See “Air Shift
Control” (Automatic Transmission) underTwo-Speed
Rear Axle Electric Shift Control on page 2-26.
Exhaust Brake Switch:SeeDiesel Engine Exhaust
Brake on page 2-25.
l(Differential Lock Control Switch):SeeRear
Axle Differential Lock Control on page 4-10.
cd(Air Bag Off Switch):SeeAir Bag Off Switch
on page 1-55.
If your vehicle does not have some of the features
controlled by these switches, there will be a blank switch
marker in its place.
Accessory Power Outlets
With accessory power outlets, you can plug in auxiliary
electrical equipment such as a cellular telephone or
CB radio.
The accessory power outlets are located on the
passenger’s side of the instrument panel.
To use an outlet, pull the cover down. When not using
it, always cover the outlet with the protective cap.
These circuits are protected by a fuse and have
maximum current levels.
Notice:Leaving electrical equipment on for
extended periods will drain the battery. Always turn
off electrical equipment when not in use and do
not plug in equipment that exceeds the maximum
amperage rating.
3-17
Page 204 of 366

The GVW Rating label is provided by the final
manufacturer and should be on the door or door jamb. It
also tells you the maximum weights for the front and rear
axles, called Gross Axle Weight Rating (GAWR). To find
out the actual loads on your front and rear axles, you
need to go to a weigh station and weigh your vehicle.
Your dealer can help you with this. Be sure to spread out
your load equally on both sides of the center line.
Never exceed the GVWR for your vehicle, or the GAWR
for either the front or rear axle.
And, if you do have a heavy load, you should spread
it out.
{CAUTION:
Do not load your vehicle any heavier than the
GVWR, or either the maximum front or rear
GAWR. If you do, parts on your vehicle can
break, and it can change the way your vehicle
handles. These could cause you to lose
control and crash. Also, overloading can
shorten the life of your vehicle.
Using heavier suspension components to get added
durability might not change your weight ratings. Ask your
dealer to help you load your vehicle the right way.Notice:Overloading your vehicle may cause
damage. Repairs would not be covered by your
warranty. Do not overload your vehicle.
If you put things inside your vehicle – like suitcases,
tools, packages or anything else – they will go as fast as
the vehicle goes. If you have to stop or turn quickly,
or if there is a crash, they’ll keep going.
{CAUTION:
Things you put inside your vehicle can strike
and injure people in a sudden stop or turn, or
in a crash.
Put things in the cargo area of your
vehicle. Try to spread the weight evenly.
Never stack heavier things, like suitcases,
inside the vehicle so that some of them
are above the tops of the seats.
Do not leave an unsecured child restraint
in your vehicle.
When you carry something inside the
vehicle, secure it whenever you can.
Do not leave a seat folded down unless
you need to.
4-34
Page 316 of 366

10,000 Miles (16 000 km)
❑DURAMAX™ Diesel Only: Change engine oil
and filter (or every 12 months, whichever occurs
first).(2) (3)
15,000 Miles (24 000 km)
❑Gasoline Engine Only: Check Oil Life System.
If engine oil and filter are changed, reset system. See
“Engine Oil (Gasoline Engine)” in the
Index.(3) (9)
❑Chassis lubrication service (or every 6 months,
whichever occurs first).(12)
❑Check fluid levels (or every 3 months, whichever
occurs first).(1) (6)
❑Gasoline Engine: Inspect engine air cleaner filter if
you are driving in dusty conditions and replace
filter if necessary. Diesel Engine: Inspect engine air
cleaner filter change indicator. If necessary,
replace the filter. If vehicle is driven in dusty/dirty
conditions, inspect filter change indicator at
every engine oil change. SeeEngine Air
Cleaner/Filter on page 5-30for more
information.† (3)
❑DURAMAX™ Diesel Only: Replace fuel filter.
❑Steering system service.(13)
❑Front and rear suspension service.(14)
❑Spring-to-axle U-bolts and shackle bolts service.(16)❑Exhaust system service (or every 6 months,
whichever occurs first).(3) (4) (17)
❑Wheels and tires service.(15)
❑Hydraulic brake service (or every 6 months,
whichever occurs first).(7) (46)
❑Parking brake service (or every 6 months, whichever
occurs first).(8)
❑Air brake service (or every 6 months, whichever
occurs first).(39)
❑Air brake automatic slack adjuster service (or every
500 hours, whichever occurs first).(40)
❑Check air brake relay valve operation and check for
leaks (or every month, or every 300 hours, whichever
occurs first).
❑Clean air brake application valve (or every 3 months,
or every 300 hours, whichever occurs first). Lubricate
linkage.
❑Air brake chamber service (or every 2 months,
whichever occurs first).(41)
❑Trailer brake hand control valve service (or every
3 months, or every 900 hours, whichever occurs
first).(42)
❑Thermostatically controlled engine cooling fan
service.(4) (20)
❑Shields and underhood insulation service.(4) (5) (21)
6-6
Page 318 of 366

30,000 Miles (48 000 km)
❑Gasoline Engine Only: Check Oil Life System. If
engine oil and filter are changed, reset system. See
“Engine Oil (Gasoline Engine)” in the Index.(3) (9)
❑DURAMAX™ Diesel Only: Change engine oil and filter
(or every 12 months, whichever occurs first).(2) (3)
❑Check fluid levels (or every 3 months, whichever
occurs first).(1) (6)
❑Gasoline Engine: Replace engine air cleaner filter.
Diesel Engine: Inspect engine air cleaner filter change
indicator. If necessary, replace the filter. If vehicle is
driven in dusty/dirty conditions, inspect filter change
indicator at every engine oil change. SeeEngine Air
Cleaner/Filter on page 5-30for more information.† (3)
❑DURAMAX™ Diesel Only: Replace fuel filter.
❑Chassis lubrication service (or every 6 months,
whichever occurs first).(12)
❑Replace fuel filter(s) (or every 12 months, whichever
occurs first).(3)
❑Steering system service.(13)
❑Front and rear suspension service.(14)
❑Spring-to-axle U-bolts and shackle bolts service.(16)
❑Exhaust system service (or every 6 months, whichever
occurs first).(3) (4) (17)
❑Wheels and tires service.(15)❑Hydraulic brake service (or every 6 months, whichever
occurs first).(7) (46)
❑Parking brake service (or every 6 months, whichever
occurs first).(8)
❑Air brake service (or every 6 months, whichever
occurs first).(39)
❑Air brake automatic slack adjuster service (or every
500 hours, whichever occurs first).(40)
❑Check air brake relay valve operation and check for
leaks (or every month, or every 300 hours, whichever
occurs first).
❑Clean air brake application valve (or every 3 months,
or every 300 hours, whichever occurs first). Lubricate
linkage.
❑Air brake chamber service (or every 2 months,
whichever occurs first).(41)
❑Trailer brake hand control valve service (or every
3 months, or every 900 hours, whichever occurs
first).(42)
❑C600, C700 and C800 Gasoline Engines Only: Engine
drive belts service (or every 12 months, whichever
occurs first.)(18)
❑Thermostatically controlled engine cooling fan
service.(4) (20)
❑Shields and underhood insulation service.(4) (5) (21)
6-8
Page 320 of 366

45,000 Miles (72 000 km)
❑Gasoline Engine Only: Check Oil Life System. If
engine oil and filter are changed, reset system. See
“Engine Oil (Gasoline Engine)” in the Index.(3) (9)
❑Check fluid levels (or every 3 months, whichever
occurs first).(1) (6)
❑Gasoline Engine: Inspect engine air cleaner filter if you
are driving in dusty conditions and replace filter if
necessary. Diesel Engine: Inspect engine air cleaner
filter change indicator. If necessary, replace the filter. If
vehicle is driven in dusty/dirty conditions, inspect filter
change indicator at every engine oil change. See
Engine Air Cleaner/Filter on page 5-30for more
information.† (3)
❑DURAMAX™ Diesel Only: Replace fuel filter.
❑Chassis lubrication service (or every 6 months,
whichever occurs first).(12)
❑Cooling system service. Clean the cooling system filler
cap with clean water, clean the core, pressure test the
cap and the system for proper pressure capability and
inspect condition of cooling and heater hoses and
clamps. Replace hoses if cracked, swollen or
damaged.
❑Wheel bearing (grease type) service (or every
24 months, whichever occurs first, and whenever hubs
are removed.)(23) (46)❑Inspect door hinge pins and bushings and replace as
necessary.
❑Steering system service.(13)
❑Front and rear suspension service.(14)
❑Spring-to-axle U-bolts and shackle bolts service.(16)
❑Exhaust system service (or every 6 months, whichever
occurs first).(3) (4) (17)
❑Wheels and tires service.(15)
❑Hydraulic brake service (or every 6 months, whichever
occurs first).(7) (46)
❑Parking brake service (or every 6 months, whichever
occurs first).(8)
❑Air brake service (or every 6 months, whichever
occurs first).(39)
❑Air brake automatic slack adjuster service (or every
500 hours, whichever occurs first).(40)
❑Check air brake relay valve operation and check for
leaks (or every month, or every 300 hours, whichever
occurs first).
❑Clean air brake application valve (or every 3 months,
or every 300 hours, whichever occurs first). Lubricate
linkage.
❑Air brake chamber service (or every 2 months,
whichever occurs first).(41)
6-10