2004 CHEVROLET KODIAK clutch
[x] Cancel search: clutchPage 98 of 366

Manual Transmission Operation
Using the Clutch
When you are starting to move the vehicle, it is
important to begin with the engine speed at idle. Then
start to engage the clutch and listen for an engine speed
drop of about 100 rpm. At this point, the clutch is
engaging, so you should increase the engine speed and
fully engage the clutch. It is important not to increase
the engine speed sooner or before the clutch begins it’s
engagement. If you do, you can cause damage to
your vehicle.
Double-Clutching
You must use the double-clutching method when you
shift an unsynchronized gear set. Disengage the clutch,
shift to neutral and engage the clutch. When upshifting,
slow the engine until the engine rpm and road speed
match. When downshifting, accelerate the engine
until the engine rpm and road speed match. Then
quickly disengage the clutch and move the shift lever to
the next gear position and engage the clutch.
Eaton®Fuller®Five and Six-Speed
Transmissions and TTC Spicer
Seven-Speed Transmissions
These transmissions have gears that automatically
synchronize when you shift up or down (except
FIRST (1) gear on the five-speed and seven-speed
transmission which is unsynchronized). Choose the gear
that will maintain the road speed you want while
keeping the engine above two-thirds of the governed
speed. When the engine speed drops below two-thirds
of the governed speed, shift into the next lower gear
before your engine begins to lug. When you shift down,
be sure to double-clutch if required.
2-30
Page 99 of 366

ZF Six-Speed Transmission
Here’s how to operate your
transmission.
This six-speed pattern is unique to GM manual
transmissions. The transmission always repositions the
shift lever to neutral, which is located between
FOURTH (4) and FIFTH (5) gear.
To prevent unintentional gear selections, additional
force is required to move the shift lever into
REVERSE (R) or FIRST (1). Use FIRST (1) when trailer
towing, driving with a heavier payload or launching
on a grade. Otherwise, start in SECOND (2) gear. Only
shift into FIRST (1) when the vehicle has stopped
moving.
During the first 500 miles (805 km) of vehicle use, start
the vehicle moving in FIRST (1) gear. This allows
the clutch components to wear-in properly.FIRST (1):With the vehicle at a stop, release the
brake, press the clutch pedal and shift into FIRST (1).
Then, slowly let up on the clutch pedal as you press the
accelerator pedal. Only downshift into FIRST (1)
when the vehicle has come to a complete stop. If the
shift lever will not go into FIRST (1), put the lever
in neutral and let up on the clutch pedal to fully engage
the clutch. Press the clutch pedal again. Then, shift
into FIRST (1).
SECOND (2):With the vehicle at a stop, release the
brake, press the clutch pedal and shift into SECOND (2).
Then, slowly let up on the clutch pedal as you press
the accelerator pedal. With the vehicle moving, press the
clutch pedal and upshift into SECOND (2) from
FIRST (1) while applying light pressure to the right on
the shifter. Then, slowly let up on the clutch pedal
as you press the accelerator pedal. If you come to a
complete stop and the shift lever will not go into
SECOND (2), put the lever in neutral and let up on the
clutch pedal to fully engage the clutch. Press the
clutch pedal again. Then, shift into SECOND (2).
THIRD (3):Press the clutch pedal and upshift into
THIRD (3). Then, slowly let up on the clutch pedal as
you press the accelerator pedal.
FOURTH (4), FIFTH (5) and SIXTH (6):Upshift into the
higher forward gears the same way as you do
THIRD (3). Slowly let up on the clutch pedal as you
press the accelerator pedal.
2-31
Page 100 of 366

NEUTRAL:Use this position when you start or idle
your engine.
REVERSE (R):To back up, press the clutch pedal.
Wait for the vehicle to stop moving and then, shift
to REVERSE (R). Let up on the clutch slowly while
pressing the accelerator pedal. Also, use REVERSE (R),
along with the parking brake, when turning off your
engine and parking your vehicle.
Eaton®Fuller®Nine and Ten-Speed
Non-Synchronized Manual
Transmissions
If your vehicle has one of these transmissions the
engine rpm and road speed must match when upshifting
and downshifting. The label above the windshield will
tell you the operating basics you need to know.
The following are driving tips.
•Always choose an initial starting gear suitable for
the load and terrain.
•Always use double-clutching procedures when
shifting.
•Never move the range shift lever to the LO speed
gear position after HI range preselection, or
anytime the transmission is in the HI range.
•Never move the range knob or lever with the shift
lever in neutral while the vehicle is moving.
•Never make a range shift while moving in
REVERSE (R).
Clutch Brake (Vehicles with
Non-Synchronized Transmission)
A clutch brake is used to stop transmission input shaft
rotation so that FIRST (1) or REVERSE (R) gear
selection can be initiated when the vehicle is at a
standstill and the engine is idling.
Press the clutch pedal all the way down to the floorboard
to apply the clutch brake.
When using the clutch brake, disengage the clutch
pedal and shift the transmission into either the initial
starting gear or REVERSE (R). If the tooth-butting
occurs between the clutching teeth, re-engage the clutch
while applying light pressure to the shift lever. This
will provide for a smooth shift into either FIRST (1) or
REVERSE (R) gear.
Notice:Using the clutch brake for shifting into any
gear other than FIRST (1) or REVERSE (R) may
cause premature wear of the clutch brake and make
gear shift effort more difficult. Do not use the
clutch brake for shifting after engaging FIRST (1) or
REVERSE (R).
2-32
Page 120 of 366

Cruise Control
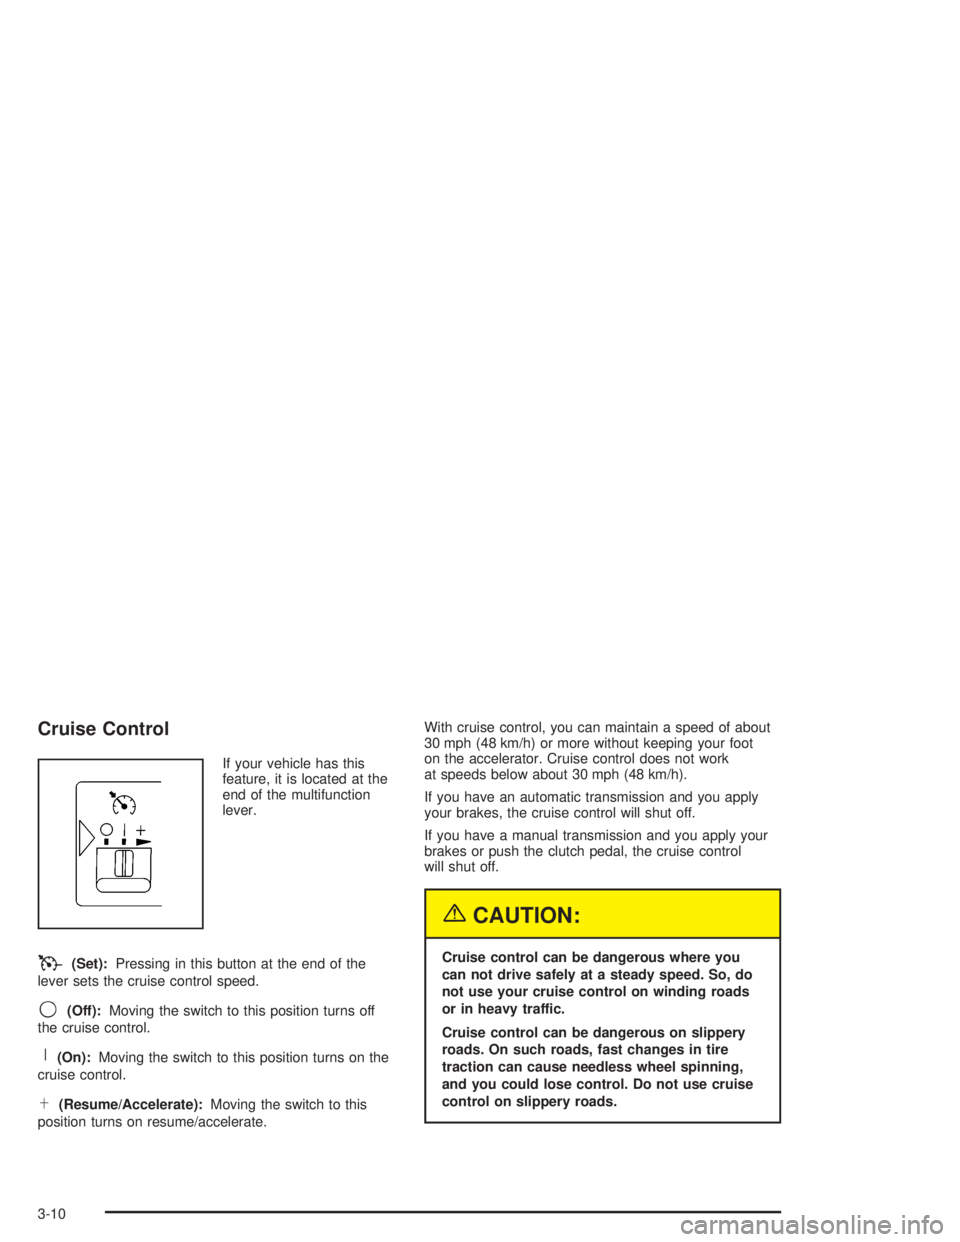
If your vehicle has this
feature, it is located at the
end of the multifunction
lever.
T(Set):Pressing in this button at the end of the
lever sets the cruise control speed.
9(Off):Moving the switch to this position turns off
the cruise control.
R(On):Moving the switch to this position turns on the
cruise control.
S(Resume/Accelerate):Moving the switch to this
position turns on resume/accelerate.With cruise control, you can maintain a speed of about
30 mph (48 km/h) or more without keeping your foot
on the accelerator. Cruise control does not work
at speeds below about 30 mph (48 km/h).
If you have an automatic transmission and you apply
your brakes, the cruise control will shut off.
If you have a manual transmission and you apply your
brakes or push the clutch pedal, the cruise control
will shut off.
{CAUTION:
Cruise control can be dangerous where you
can not drive safely at a steady speed. So, do
not use your cruise control on winding roads
or in heavy traffic.
Cruise control can be dangerous on slippery
roads. On such roads, fast changes in tire
traction can cause needless wheel spinning,
and you could lose control. Do not use cruise
control on slippery roads.
3-10
Page 122 of 366

Reducing Speed While Using Cruise
Control
Press in the button at the end of the lever until you
reach the lower speed you want, then release it.
To slow down in very small amounts, tap the button
briefly. Each time you do this, you’ll go 1 mph (1.6 km/h)
slower.
Passing Another Vehicle While Using
Cruise Control
Use the accelerator pedal to increase your speed.
When you take your foot off the pedal, your vehicle will
slow down to the cruise control speed you set earlier.
Using Cruise Control on Hills
How well your cruise control will work on hills depends
upon your speed, load and the steepness of the
hills. When going up steep hills, you may want to step
on the accelerator pedal to maintain your speed.
When going downhill, you may have to brake or shift to
a lower gear to keep your speed down. Of course,
applying the brake or clutch takes you out of cruise
control. Many drivers find this to be too much trouble
and don’t use cruise control on steep hills.
Ending Cruise Control
There are four different ways to turn off the cruise
control:
•Step lightly on the brake pedal (manual and
automatic transmissions).
•Press the clutch pedal to the floor (manual
transmissions).
•Move the cruise switch to off, or
•Shift the transmission to NEUTRAL (N).
Erasing Speed Memory
When you turn off the ignition, your cruise control set
speed memory is erased.
3-12
Page 249 of 366

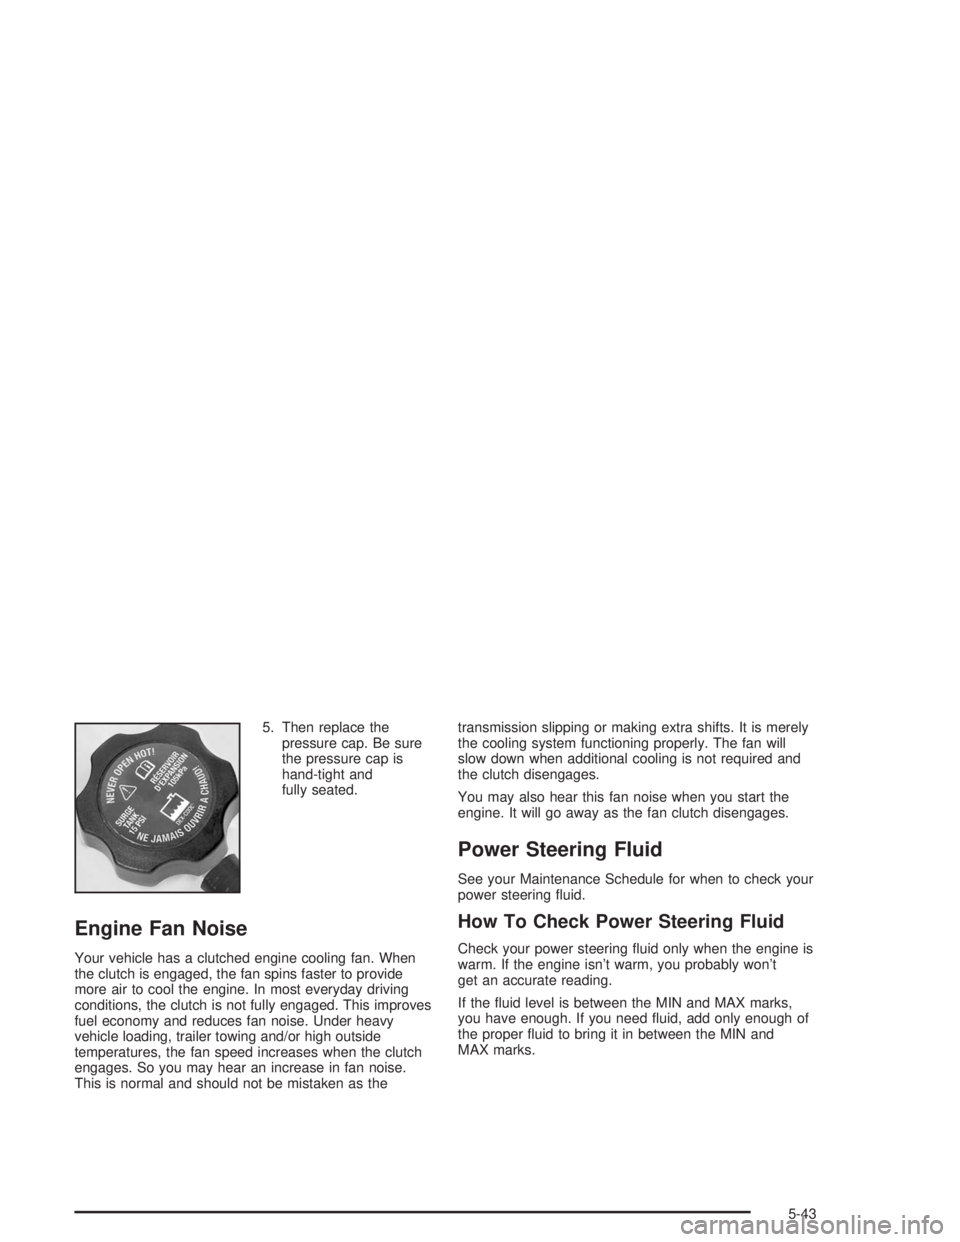
5. Then replace the
pressure cap. Be sure
the pressure cap is
hand-tight and
fully seated.
Engine Fan Noise
Your vehicle has a clutched engine cooling fan. When
the clutch is engaged, the fan spins faster to provide
more air to cool the engine. In most everyday driving
conditions, the clutch is not fully engaged. This improves
fuel economy and reduces fan noise. Under heavy
vehicle loading, trailer towing and/or high outside
temperatures, the fan speed increases when the clutch
engages. So you may hear an increase in fan noise.
This is normal and should not be mistaken as thetransmission slipping or making extra shifts. It is merely
the cooling system functioning properly. The fan will
slow down when additional cooling is not required and
the clutch disengages.
You may also hear this fan noise when you start the
engine. It will go away as the fan clutch disengages.
Power Steering Fluid
See your Maintenance Schedule for when to check your
power steering fluid.
How To Check Power Steering Fluid
Check your power steering fluid only when the engine is
warm. If the engine isn’t warm, you probably won’t
get an accurate reading.
If the fluid level is between the MIN and MAX marks,
you have enough. If you need fluid, add only enough of
the proper fluid to bring it in between the MIN and
MAX marks.
5-43
Page 257 of 366

Electric Air Compressor
Your vehicle may have an electric air compressor. This
compressor is used to run options that require
pressurized air, such as air horn, air seat, exhaust
restrictor or an exhaust brake.
The air compressor is used when vehicles are not
equipped with an air brake system.
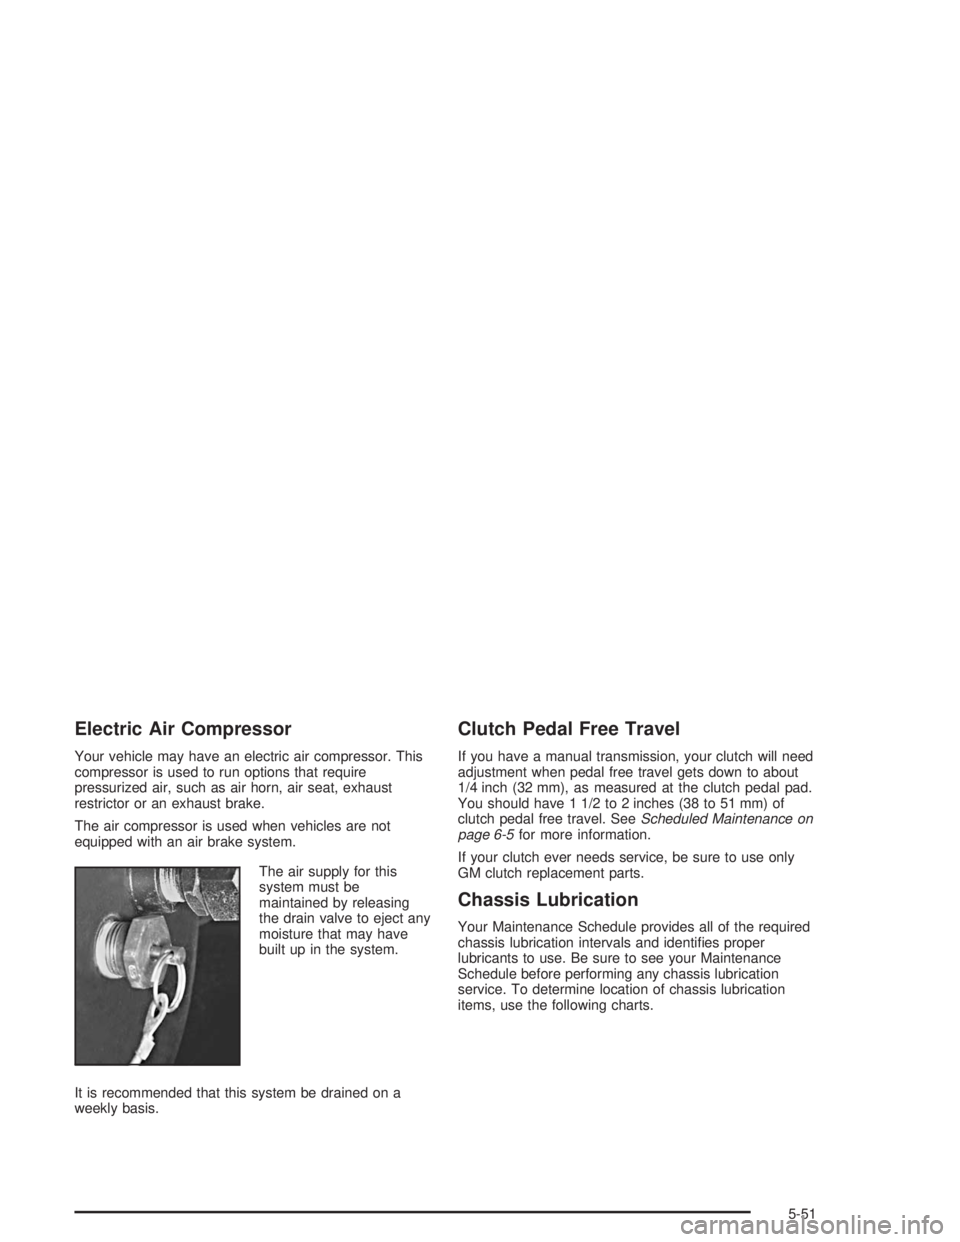
The air supply for this
system must be
maintained by releasing
the drain valve to eject any
moisture that may have
built up in the system.
It is recommended that this system be drained on a
weekly basis.
Clutch Pedal Free Travel
If you have a manual transmission, your clutch will need
adjustment when pedal free travel gets down to about
1/4 inch (32 mm), as measured at the clutch pedal pad.
You should have 1 1/2 to 2 inches (38 to 51 mm) of
clutch pedal free travel. SeeScheduled Maintenance on
page 6-5for more information.
If your clutch ever needs service, be sure to use only
GM clutch replacement parts.
Chassis Lubrication
Your Maintenance Schedule provides all of the required
chassis lubrication intervals and identifies proper
lubricants to use. Be sure to see your Maintenance
Schedule before performing any chassis lubrication
service. To determine location of chassis lubrication
items, use the following charts.
5-51
Page 259 of 366

Item Number Item Remarks
1 Brake Camshaft** One fitting each (apply sparingly).
2 Steering Column Slip Joint* One fitting.
3 Steering Drag Link Ends One fitting each end.
4 Pivot Points and Hinges Apply chassis lubricant.
5 Pivot Points and Hinges Apply chassis lubricant.
6 Slack Adjuster** One fitting.
7Brake Cam Roller Pins at interface of pin
and shoe**Apply engine oil.
8 Front Steering KnucklesOne fitting each side, lower bushing.
(Hand-operated grease gun only.) Hand-pack
upper bearing.
9 Front Wheel Bearings Hand-pack or lubricate.
10 Steering Tie Rod Ends One fitting each end.
11 Spring Slip Pads* (Multi-leaf Only) Apply chassis lubricant.
12 Clutch Release Bearing* Cup or fitting.
13 Battery Terminal (except “ST” type) Keep coated with petroleum jelly.
14 Transmission Fill to level of filler plug.
15 Propshaft Slip JointsLubricate with GM Part No. 1051344 Wheel Bearing
Lubricant.
16 Parking Brake Clevis Pin$ Apply chassis lubricant.
17 Parking Brake Lever Pivot*, $ Apply chassis lubricant.
18Clutch Release Cross Shaft,
Master Cylinder$Apply chassis lubricant, fill to 1/4 inch (6 mm)
below opening.
5-53