2004 CHEVROLET IMPALA fuse
[x] Cancel search: fusePage 8 of 420
Front Seats
Manual Seats
{CAUTION:
You can lose control of the vehicle if you try to
adjust a manual driver’s seat while the vehicle
is moving. The sudden movement could startle
and confuse you, or make you push a pedal
when you do not want to. Adjust the driver’s
seat only when the vehicle is not moving.
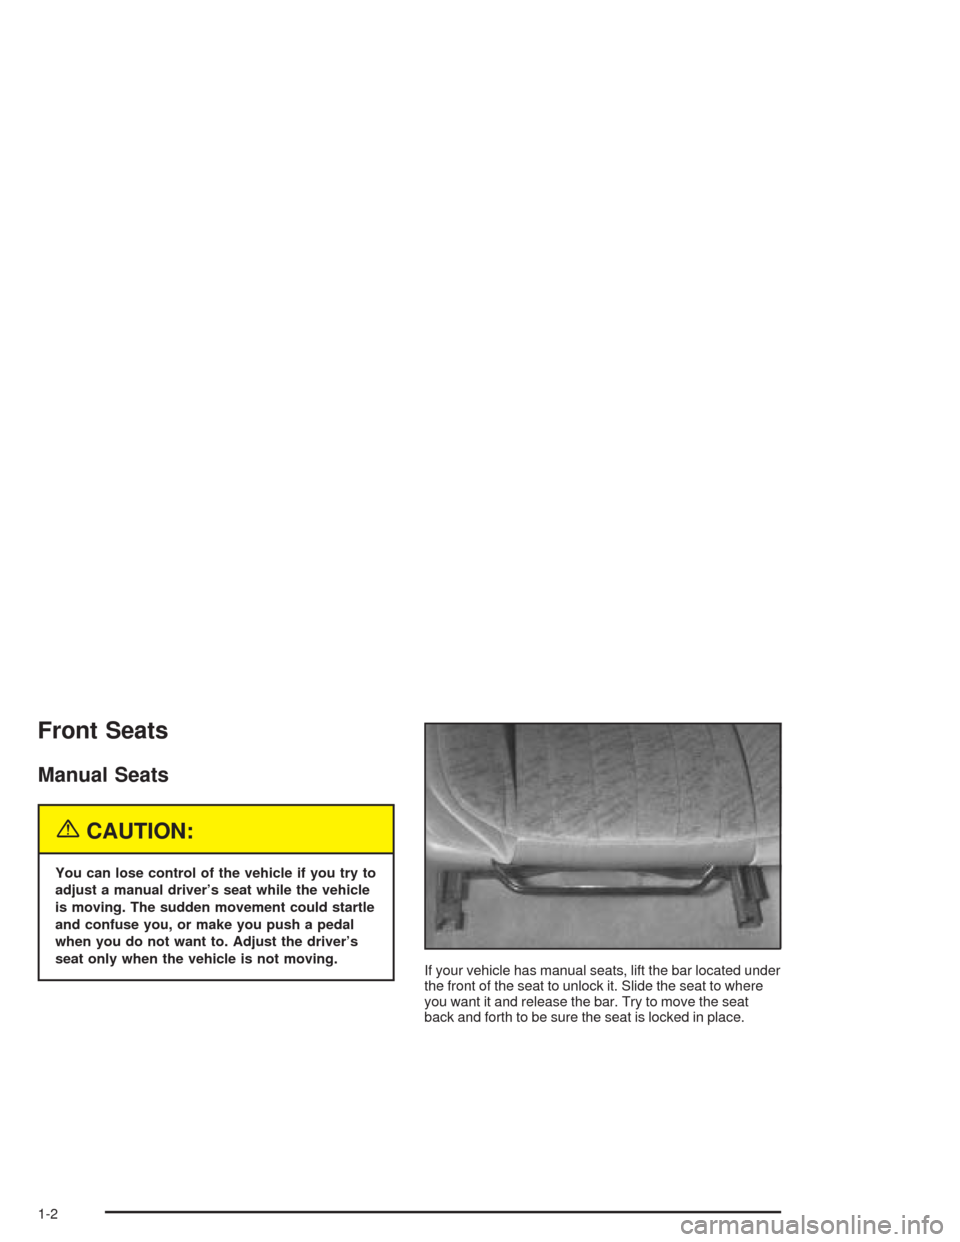
If your vehicle has manual seats, lift the bar located under
the front of the seat to unlock it. Slide the seat to where
you want it and release the bar. Try to move the seat
back and forth to be sure the seat is locked in place.
1-2
Page 84 of 420

Arming with the Remote Keyless Entry
Transmitter
Your alarm system will arm when you use your remote
keyless entry transmitter to lock the doors, if the key
is not in the ignition. The light on the radio will turn on to
let you know the system is arming. After all doors and
the trunk are closed and locked, the light on the
radio will begin �ashing at a very slow rate to let you
know the system is armed.
Disarming with the Remote Keyless
Entry Transmitter
Your alarm system will disarm when you use your
remote keyless entry transmitter to unlock the doors.
The light on the radio will go off to let you know
the system is no longer armed.
The �rst time a remote UNLOCK command is received,
three �ashes will be seen and three horn chirps heard to
indicate an alarm condition has occurred since last
arming.
Disarming with Your Key
Your alarm system will disarm when you use your key
to unlock the doors. The light on the radio will go
off to let you know the system is no longer armed.
Passlock®
Your vehicle is equipped with the Passlock®
theft-deterrent system.
Passlock
®is a passive theft-deterrent system. Passlock®
enables fuel if the ignition lock cylinder is turned with
a valid key. If a correct key is not used or the ignition
lock cylinder is tampered with, fuel is disabled and
the engine will not start.
During normal operation, the SECURITY message will
be displayed after the key is turned to the ON ignition
position. SeeSecurity Message on page 3-49.
If the engine stalls and the SECURITY message
�ashes, wait until the light stops �ashing before trying to
restart the engine.
If the engine is running and the SECURITY message
comes on, you will be able to restart the engine if
you turn the engine off. However, your Passlock
®
system is not working properly and must be serviced by
your dealer. Your vehicle is not protected by Passlock®
at this time. You may also want to check the fuse.
SeeFuses and Circuit Breakers on page 5-103. See your
dealer for service.
In an emergency, contact Chevrolet Roadside
Assistance. SeeRoadside Assistance Program on
page 7-6for more information.
2-16
Page 125 of 420

The main components of your instrument panel are
listed here:
A. Instrument Panel Fuse Block. SeeFuses and Circuit
Breakers on page 5-103.
B. Traction Control On/Off Button (If Equipped). See
Traction Control System (TCS) (3800 V6 Engine) on
page 4-8.
C. Multifunction Lever. SeeTurn Signal/Multifunction
Lever on page 3-7.
D. Audio Steering Wheel Controls (Option). SeeAudio
Steering Wheel Controls on page 3-93.
E. Hazard Warning Flasher Button. SeeHazard
Warning Flashers on page 3-6.
F. Audio System. SeeAudio System(s) on page 3-56.
G. Air Vent. SeeOutlet Adjustment on page 3-24.
H. Exterior Lamps Control. SeeExterior Lamps
on page 3-14.I. Remote Trunk Release Button. See “Remote Trunk
Rlease” underTrunk on page 2-11.
J. Tilt Steering Wheel Lever. SeeTilt Wheel on
page 3-7.
K. Hood Release. SeeHood Release on page 5-11.
L. Steering Wheel Cruise Control (If Equipped).
SeeCruise Control on page 3-11.
M. Ignition Switch. See “Ignition Positions” underNew
Vehicle Break-In on page 2-17.
N. Center Console Shift Lever (If Equipped). See
“Console Shift Lever” underShifting Into Park (P) on
page 2-27.
O. Climate Controls. SeeDual Climate Control System
on page 3-20.
P. Glove Box. SeeGlove Box on page 2-42.
3-5
Page 128 of 420
Turn and Lane-Change Indicator
The turn signal has two upward (for right) and two
downward (for left) positions. These positions allow you
to signal a turn or a lane change.
To signal a turn, move the lever all the way up or down.
When the turn is �nished, the lever will return
automatically.
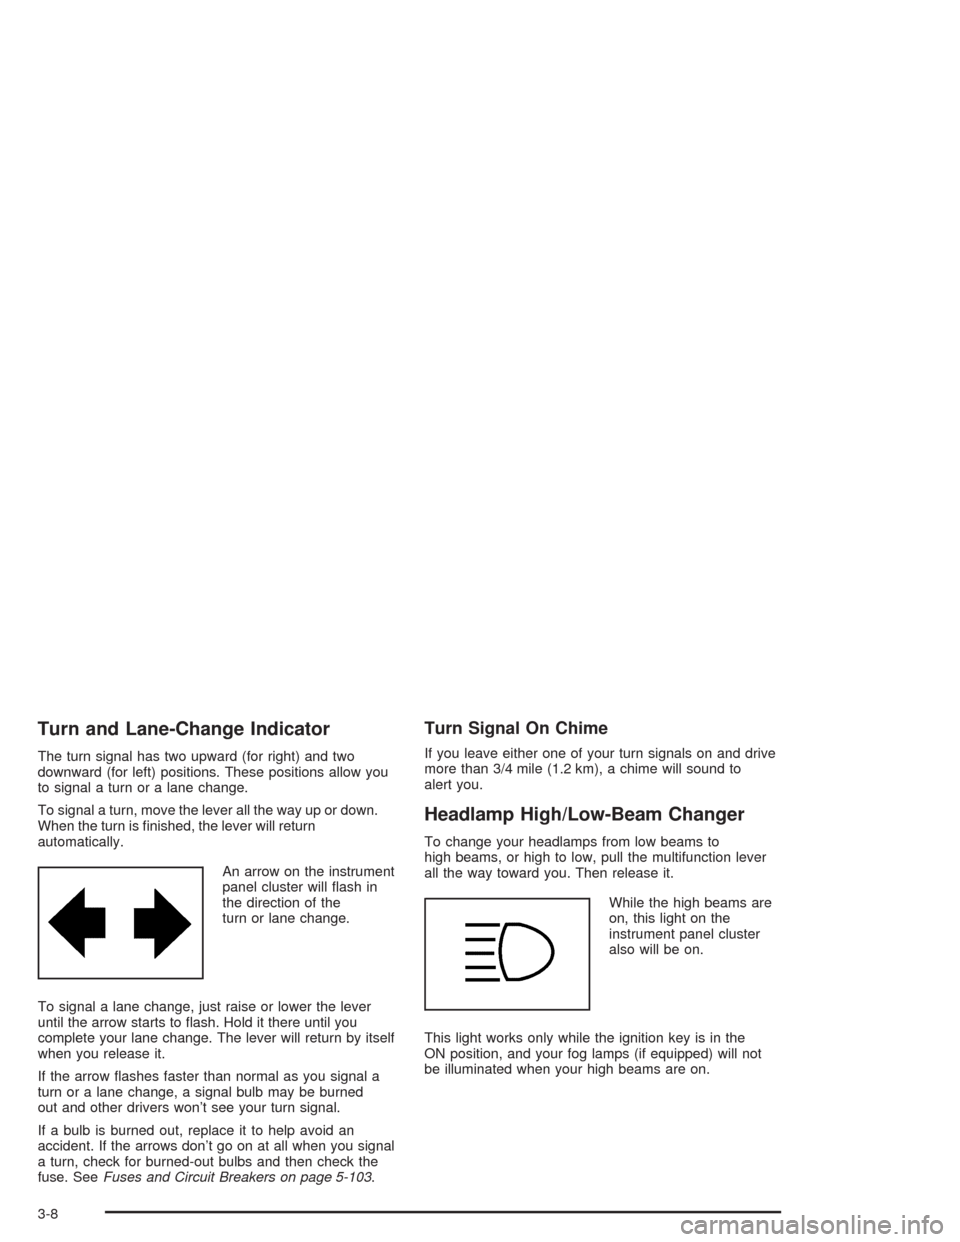
An arrow on the instrument
panel cluster will �ash in
the direction of the
turn or lane change.
To signal a lane change, just raise or lower the lever
until the arrow starts to �ash. Hold it there until you
complete your lane change. The lever will return by itself
when you release it.
If the arrow �ashes faster than normal as you signal a
turn or a lane change, a signal bulb may be burned
out and other drivers won’t see your turn signal.
If a bulb is burned out, replace it to help avoid an
accident. If the arrows don’t go on at all when you signal
a turn, check for burned-out bulbs and then check the
fuse. SeeFuses and Circuit Breakers on page 5-103.
Turn Signal On Chime
If you leave either one of your turn signals on and drive
more than 3/4 mile (1.2 km), a chime will sound to
alert you.
Headlamp High/Low-Beam Changer
To change your headlamps from low beams to
high beams, or high to low, pull the multifunction lever
all the way toward you. Then release it.
While the high beams are
on, this light on the
instrument panel cluster
also will be on.
This light works only while the ignition key is in the
ON position, and your fog lamps (if equipped) will not
be illuminated when your high beams are on.
3-8
Page 139 of 420
Accessory Power Outlets
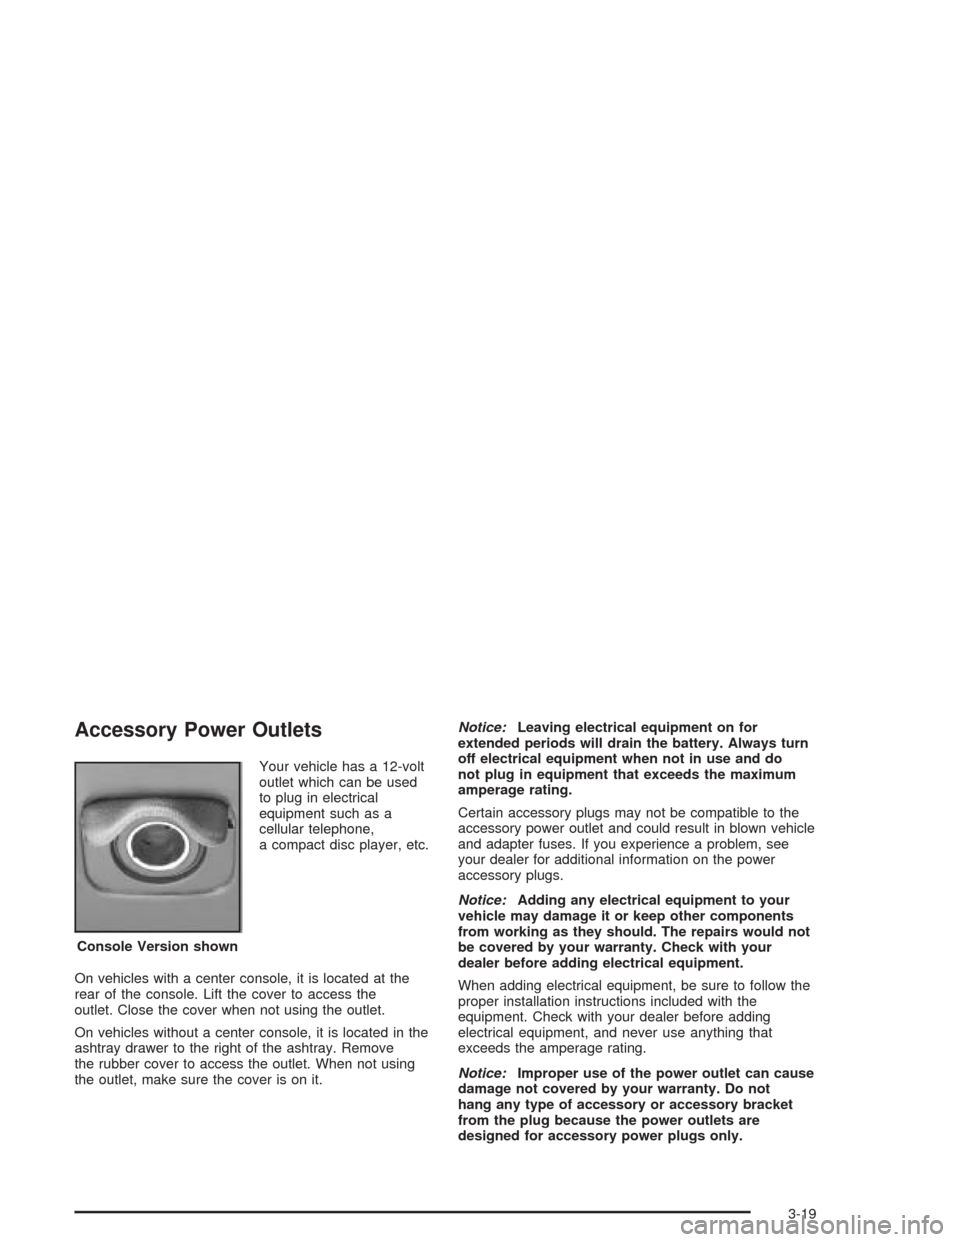
Your vehicle has a 12-volt
outlet which can be used
to plug in electrical
equipment such as a
cellular telephone,
a compact disc player, etc.
On vehicles with a center console, it is located at the
rear of the console. Lift the cover to access the
outlet. Close the cover when not using the outlet.
On vehicles without a center console, it is located in the
ashtray drawer to the right of the ashtray. Remove
the rubber cover to access the outlet. When not using
the outlet, make sure the cover is on it.Notice:Leaving electrical equipment on for
extended periods will drain the battery. Always turn
off electrical equipment when not in use and do
not plug in equipment that exceeds the maximum
amperage rating.
Certain accessory plugs may not be compatible to the
accessory power outlet and could result in blown vehicle
and adapter fuses. If you experience a problem, see
your dealer for additional information on the power
accessory plugs.
Notice:Adding any electrical equipment to your
vehicle may damage it or keep other components
from working as they should. The repairs would not
be covered by your warranty. Check with your
dealer before adding electrical equipment.
When adding electrical equipment, be sure to follow the
proper installation instructions included with the
equipment. Check with your dealer before adding
electrical equipment, and never use anything that
exceeds the amperage rating.
Notice:Improper use of the power outlet can cause
damage not covered by your warranty. Do not
hang any type of accessory or accessory bracket
from the plug because the power outlets are
designed for accessory power plugs only. Console Version shown
3-19
Page 140 of 420

Ashtrays and Cigarette Lighter
Your vehicle may have an ashtray and a cigarette
lighter. It is located on the instrument panel. To remove
the ashtray, open it, push down on the locking tab
and pull out the ashtray.
Notice:If you put papers or other �ammable items
in the ashtray, hot cigarettes or other smoking
materials could ignite them and possibly damage
your vehicle. Never put �ammable items in the
ashtray.
Notice:Holding a cigarette lighter in while it is
heating will not allow the lighter to back away from
the heating element when it is hot. Damage from
overheating may occur to the lighter or heating
element, or a fuse could be blown. Do not hold a
cigarette lighter in while it is heating.
To use the lighter, just push it in all the way and let go.
When it’s ready, it will pop back out by itself.
Climate Controls
Dual Climate Control System
With this system you can control the heating, cooling,
defrost, defog and ventilation for your vehicle.
3-20
Page 264 of 420
Uniform Tire Quality Grading..........................5-77
Wheel Alignment and Tire Balance..................5-79
Wheel Replacement......................................5-79
Tire Chains..................................................5-80
If a Tire Goes Flat........................................5-81
Changing a Flat Tire.....................................5-82
Compact Spare Tire......................................5-93
Appearance Care............................................5-94
Cleaning the Inside of Your Vehicle.................5-94
Care of Safety Belts......................................5-97
Weatherstrips...............................................5-97
Cleaning the Outside of Your Vehicle..............5-97
Sheet Metal Damage.....................................5-99
Finish Damage...........................................5-100Underbody Maintenance...............................5-100
Chemical Paint Spotting...............................5-100
Vehicle Care/Appearance Materials................5-101
Vehicle Identi�cation.....................................5-102
Vehicle Identi�cation Number (VIN)................5-102
Service Parts Identi�cation Label...................5-102
Electrical System..........................................5-103
Add-On Electrical Equipment.........................5-103
Headlamp Wiring........................................5-103
Windshield Wiper Fuses...............................5-103
Power Windows and Other Power Options......5-103
Fuses and Circuit Breakers..........................5-103
Capacities and Speci�cations........................5-110
Section 5 Service and Appearance Care
5-2
Page 266 of 420
Doing Your Own Service Work
If you want to do some of your own service work, you
will want to use the proper service manual. It tells
you much more about how to service your vehicle than
this manual can. To order the proper service manual,
seeService Publications Ordering Information on
page 7-12.
Your vehicle has an air bag system. Before attempting
to do your own service work, seeServicing Your
Air Bag-Equipped Vehicle on page 1-60.
You should keep a record with all parts receipts and list
the mileage and the date of any service work you
perform. SeeMaintenance Record on page 6-15.
{CAUTION:
You can be injured and your vehicle could be
damaged if you try to do service work on a
vehicle without knowing enough about it.
CAUTION: (Continued)
CAUTION: (Continued)
Be sure you have sufficient knowledge,
experience, the proper replacement parts
and tools before you attempt any vehicle
maintenance task.
Be sure to use the proper nuts, bolts and
other fasteners. “English” and “metric”
fasteners can be easily confused. If you
use the wrong fasteners, parts can later
break or fall off. You could be hurt.
Adding Equipment to the Outside
of Your Vehicle
Things you might add to the outside of your vehicle can
affect the air�ow around it. This may cause wind
noise and affect windshield washer performance.
Check with your dealer before adding equipment to the
outside of your vehicle.
5-4