2004 CHEVROLET IMPALA tow
[x] Cancel search: towPage 101 of 420

Mirrors
Manual Rearview Mirror
Adjust all the mirrors so you can see clearly when you
are sitting in a comfortable driving position.
To reduce glare from headlamps behind you, pull the
lever at the bottom of the mirror toward you (to the night
position). To return the mirror back to the day position,
push the lever away from you.
There are two lamps located on the bottom of the
mirror. Press the button next to each lamp to turn it on
and off.
Manual Rearview Mirror with
OnStar
®
If your vehicle has this feature, this mirror has a lever
located at the bottom of the mirror between the two
lamps. It is used to change the mirror from day to night
position. To reduce glare from headlamps behind
you while driving at night, pull the lever toward you.
To return the mirror to the day position, return the lever
to its original position.There are two map lamps located on the bottom of the
mirror. Press the button next to each lamp to turn it
on and off.
There are also three OnStar
®buttons located at the
bottom of the mirror face. See your dealer for more
information on the system and how to subscribe
to OnStar
®. SeeOnStar®System on page 2-36for
more information about the services OnStar®provides.
2-33
Page 110 of 420
Storage Areas
Glove Box
Use the key to lock and unlock the glove box. To open,
lift the latch.
Front Storage Area
If your vehicle has the split bench front seat, there
is an armrest located in the center of the seat. Dual
cupholders are located in front of the armrest.
Center Console Storage Area
Your vehicle may be equipped with a center console.
It has cupholders, a cassette tape and CD storage area.
To open the console’s storage area, pull up on the
latch located in the front of the console lid.
Rear Storage Area
If your vehicle has the split folding rear seat, there
will be two cupholders in the rear seat armrest.
To access them, pull down on the cloth strap located
toward the top of your center back seat cushion.
Convenience Net
Your vehicle may have a convenience net. You’ll see it
on the back wall of the trunk.
Put small loads behind or inside the net. It can help
keep them from falling over during sharp turns or quick
starts and stops.
The net isn’t for larger, heavier loads. Store those in the
trunk as far forward as you can.
You can unhook the net so that it will lie �at when
you’re not using it.
2-42
Page 128 of 420
Turn and Lane-Change Indicator
The turn signal has two upward (for right) and two
downward (for left) positions. These positions allow you
to signal a turn or a lane change.
To signal a turn, move the lever all the way up or down.
When the turn is �nished, the lever will return
automatically.
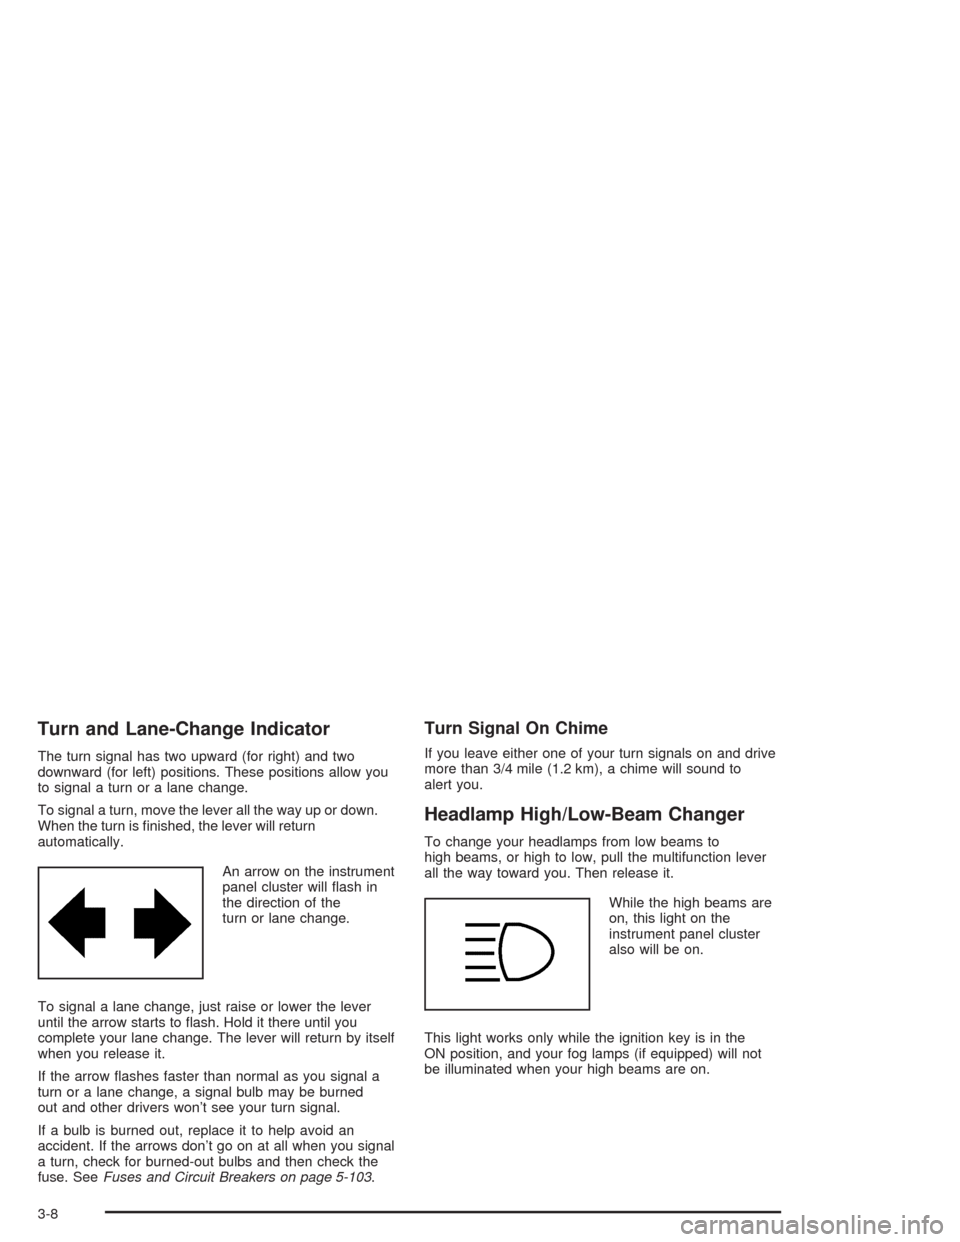
An arrow on the instrument
panel cluster will �ash in
the direction of the
turn or lane change.
To signal a lane change, just raise or lower the lever
until the arrow starts to �ash. Hold it there until you
complete your lane change. The lever will return by itself
when you release it.
If the arrow �ashes faster than normal as you signal a
turn or a lane change, a signal bulb may be burned
out and other drivers won’t see your turn signal.
If a bulb is burned out, replace it to help avoid an
accident. If the arrows don’t go on at all when you signal
a turn, check for burned-out bulbs and then check the
fuse. SeeFuses and Circuit Breakers on page 5-103.
Turn Signal On Chime
If you leave either one of your turn signals on and drive
more than 3/4 mile (1.2 km), a chime will sound to
alert you.
Headlamp High/Low-Beam Changer
To change your headlamps from low beams to
high beams, or high to low, pull the multifunction lever
all the way toward you. Then release it.
While the high beams are
on, this light on the
instrument panel cluster
also will be on.
This light works only while the ignition key is in the
ON position, and your fog lamps (if equipped) will not
be illuminated when your high beams are on.
3-8
Page 129 of 420
Flash-to-Pass
With the turn signal lever in the low-beam position,
pull the lever toward you momentarily to switch
to high-beams (to signal that you are going to pass).
If you have the headlamps on, they will return to
low-beams when you release the lever.
This feature operates even when the headlamps are off.
Windshield Wipers
The windshield wipers will operate with the ignition in
ACC or ON.
WIPER:To operate the windshield wipers, turn the
band labeled WIPER, located on the multifunction lever,
upward or downward.
OFF:To stop the wipers turn the band to OFF.
The �ve marks between OFF and LO are delay settings.
For a longer delay between wiping cycles, turn the
band downward. For a shorter delay between wiping
cycles turn the band upward.LO (Low Speed):Turn the band up to LO for a steady
wiping at a low speed.
HI (High Speed):Turn the band up to HI for a steady
wiping at a high speed.
MIST:Turn the band downward to MIST for a single
wiping cycle. Hold the band at this setting until the
windshield wipers start, then release it. The windshield
wipers will stop after one wipe. If additional cycles
are needed, hold the band on MIST longer.
Be sure to clear ice and snow from the wiper blades
before using them. Hold the band at this setting until the
windshield wipers start, then release it. The windshield
wipers will stop after one wipe. If additional cycles
are needed, hold the band on MIST longer.
Heavy snow or ice can overload your wipers. A circuit
breaker will stop them until the motor cools. Clear away
snow or ice to prevent an overload. If your blades
become damaged, get new blades or blade inserts. See
Windshield Wiper Blade Replacement on page 5-63
for more information.
3-9
Page 154 of 420
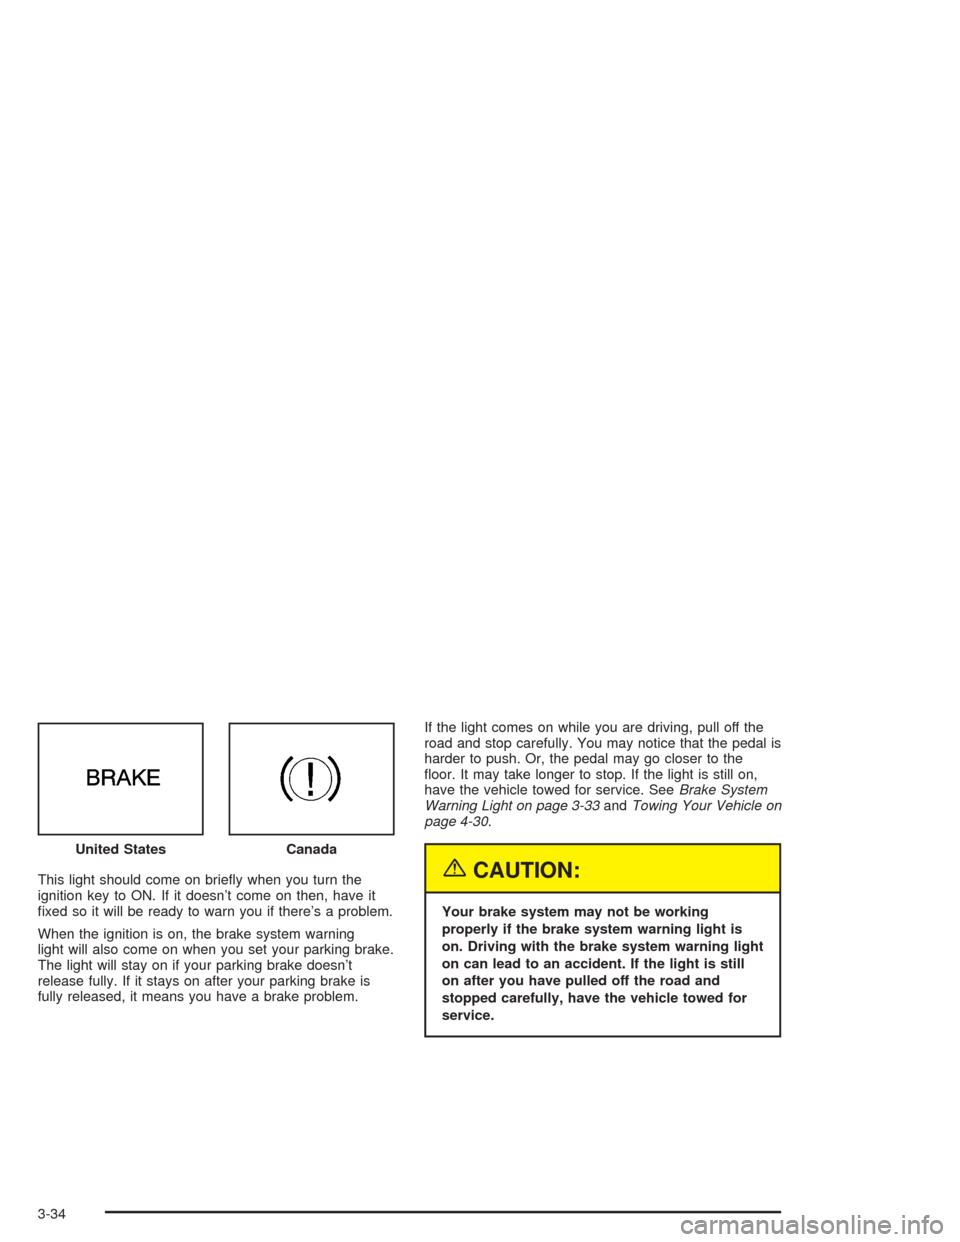
This light should come on brie�y when you turn the
ignition key to ON. If it doesn’t come on then, have it
�xed so it will be ready to warn you if there’s a problem.
When the ignition is on, the brake system warning
light will also come on when you set your parking brake.
The light will stay on if your parking brake doesn’t
release fully. If it stays on after your parking brake is
fully released, it means you have a brake problem.If the light comes on while you are driving, pull off the
road and stop carefully. You may notice that the pedal is
harder to push. Or, the pedal may go closer to the
�oor. It may take longer to stop. If the light is still on,
have the vehicle towed for service. SeeBrake System
Warning Light on page 3-33andTowing Your Vehicle on
page 4-30.{CAUTION:
Your brake system may not be working
properly if the brake system warning light is
on. Driving with the brake system warning light
on can lead to an accident. If the light is still
on after you have pulled off the road and
stopped carefully, have the vehicle towed for
service. United States
Canada
3-34
Page 159 of 420
If the Light Is Flashing
The following may prevent more serious damage to
your vehicle:
Reducing vehicle speed.
Avoiding hard accelerations.
Avoiding steep uphill grades.
If you are towing a trailer, reduce the amount of
cargo being hauled as soon as it is possible.
If the light stops �ashing and remains on steady, see “If
the Light Is On Steady” following.
If the light continues to �ash, when it is safe to do so,
stop the vehicle.
Find a safe place to park your vehicle. Turn the key off,
wait at least 10 seconds and restart the engine. If the light
remains on steady, see “If the Light Is On Steady”
following. If the light is still �ashing, follow the previous
steps, and see your dealer for service as soon as
possible.
If the Light Is on Steady
You also may be able to correct the emission system
malfunction by considering the following:
Did you recently put fuel into your vehicle?
If so, reinstall the fuel cap, making sure to fully install
the cap. SeeFilling Your Tank on page 5-7. The
diagnostic system can determine if the fuel cap has
been left off or improperly installed. A loose or missing
fuel cap will allow fuel to evaporate into the atmosphere.
A few driving trips with the cap properly installed
should turn the light off.
Did you just drive through a deep puddle of water?
If so, your electrical system may be wet. The condition
will usually be corrected when the electrical system
dries out. A few driving trips should turn the light off.
3-39
Page 180 of 420
Adjusting the Speakers (Balance/Fade)
AUDIO:To adjust the balance between the right
and the left speakers, push and release the AUDIO
knob until BAL appears on the display. Turn the knob to
move the sound toward the right or the left speakers.
To adjust the fade between the front and the rear
speakers, push and release the AUDIO knob until FADE
appears on the display. Turn the knob to move the
sound toward the front or the rear speakers.
To adjust the balance and the fade to the middle
position, push the AUDIO knob, then push it again and
hold it until you hear one beep. The balance and the
fade will be adjusted to the middle position and the
display will show the speaker balance.
To adjust all tone and speaker controls to the middle
position, push and hold the AUDIO knob when no tone
or speaker control is displayed. ALL will appear on
the display and you will hear a beep.
Finding a Program Type (PTY) Station
(RDS and XM™)
To select and �nd a desired PTY perform the following:
1. Press the P-TYPE knob to activate program
type select mode. TYPE and a PTY will appear on
the display.
2. Turn the P-TYPE knob to select a PTY.
3. Once the desired PTY is displayed, press the
SEEK TYPE button to take you to the PTY’s
�rst station.
4. To go to another station within that PTY and the
PTY is displayed, press the SEEK TYPE button
once. If the PTY is not displayed, press the SEEK
TYPE button twice to display the PTY and go
to another station.
5. Press the P-TYPE knob to exit program type
select mode.
If PTY times out and is no longer on the display, go
back to Step 1.
If both PTY and TRAF are on, the radio will search for
stations with the selected PTY and traffic
announcements.
If the radio cannot �nd the desired program type, NONE
will appear on the display and the radio will return to
the last tuned station.
3-60
Page 191 of 420
AUTO TONE (Automatic Tone):Press this button to
select customized equalization settings designed
for country/western, jazz, talk, pop, rock, and classical.
To return the bass and treble to the manual mode,
push and release the AUDIO knob until MANUAL
appears on the display.
Adjusting the Speakers (Balance/Fade)
AUDIO:To adjust the balance between the right
and the left speakers, push and release the AUDIO
knob until BAL appears on the display. Turn the knob to
move the sound toward the right or the left speakers.
To adjust the fade between the front and the rear
speakers, push and release the AUDIO knob until FADE
appears on the display. Turn the knob to move the
sound toward the front or the rear speakers.
To adjust the balance and the fade to the middle
position, push the AUDIO knob, then push it again and
hold it until you hear one beep. The balance and the
fade will be adjusted to the middle position and the
display will show the speaker balance.
To adjust all tone and speaker controls to the middle
position, push and hold the AUDIO knob when no tone
or speaker control is displayed. ALL will appear on
the display and you will hear a beep.
Finding a Program Type (PTY) Station
(RDS and XM™)
To select and �nd a desired PTY perform the following:
1. Press the P-TYPE knob to activate program
type select mode. TYPE and a PTY will appear
on the display.
2. Turn the P-TYPE knob to select a PTY.
3. Once the desired PTY is displayed, press the
SEEK TYPE button to take you to the PTY’s
�rst station.
4. If you want to go to another station within that PTY
and the PTY is displayed, press the SEEK TYPE
button once. If the PTY is not displayed, press
the SEEK TYPE button twice to display the PTY and
then to go to another station.
5. Press the P-TYPE knob to exit program type
select mode.
If PTY times out and is no longer on the display, go
back to Step 1.
If both PTY and TRAF are on, the radio will search for
stations with the selected PTY and traffic
announcements.
3-71