2004 CHEVROLET CAVALIER display
[x] Cancel search: displayPage 81 of 354
B (LOCK):This position locks your ignition when the
key is removed. The steering wheel locks with a manual
transaxle. This is the only position from which you
can remove the key. A warning chime will sound if you
open the driver’s door when the ignition is in LOCK
and the key is in the ignition.
{CAUTION:
On manual transaxle vehicles, turning the key
to LOCK will lock the steering column and
result in a loss of ability to steer the vehicle.
This could cause a collision. If you need to
turn the engine off while the vehicle is moving,
turn the key only to OFF. Don’t press the key
release button while the vehicle is moving.
Notice:If your key seems stuck in LOCK and you
can not turn it, be sure you are using the correct
key; if so, is it all the way in? If it is, then turn the
steering wheel left and right while you turn the
key hard. Turn the key only with your hand. Using a
tool to force it could break the key or the ignition
switch. If none of these works, then your vehicle
needs service.C (OFF):This position unlocks the steering wheel (for
vehicle’s equipped with a manual transaxle) and
ignition, but does not send power to any accessories.
Use this position if your vehicle must be pushed or
towed, but never try to push-start your vehicle. A
warning chime will sound if you open the driver’s door
when the ignition is in OFF and the key is in the ignition.
D (RUN):This is the position to which the switch
returns after you start your engine and release the
switch. The switch stays in RUN while the engine
is running. But even while the engine is not running, you
can use RUN to operate your electrical accessories,
and to display some instrument panel warning lights.
E (START):This position starts the engine. When
the engine starts, release the key. The ignition switch
will return to RUN for normal driving.
Even if the engine is not running, ACCESSORY and
RUN allow you to operate electrical accessories,
such as the radio.
2-17
Page 120 of 354
Speedometer and Odometer
Your speedometer lets you see your speed in both
miles per hour (mph) and kilometers per hour (km/h).
Your odometer shows how far your vehicle has
been driven, in either miles (used in the United States)
or kilometers (used in Canada).
Your odometer can be seen when the vehicle is
running. To view it when the ignition is off, press the trip
odometer button located near the display. The mileage
will display for about �ve seconds.
Trip Odometer
The trip odometer can tell you how far your vehicle
has been driven since you last reset the trip odometer
to zero.
Your trip odometer can be seen when the vehicle is
running. To view it when the ignition is off, press the trip
odometer button located near the display. You will
�rst see the total miles your vehicle has traveled. Press
it again to see the mileage since the trip odometer
was last reset. The display will show the mileage for
about �ve seconds.
The trip odometer reset button is located next to the
odometer. By pressing the reset button, you can
alternate between the season odometer and the trip
odometer. To reset the trip odometer, press and hold the
reset button for one or two seconds.The odometer and trip odometer can be displayed with
the ignition off by pressing the trip odometer reset
button. The display will remain on for �ve seconds after
the last time the reset button is pressed.
Tachometer
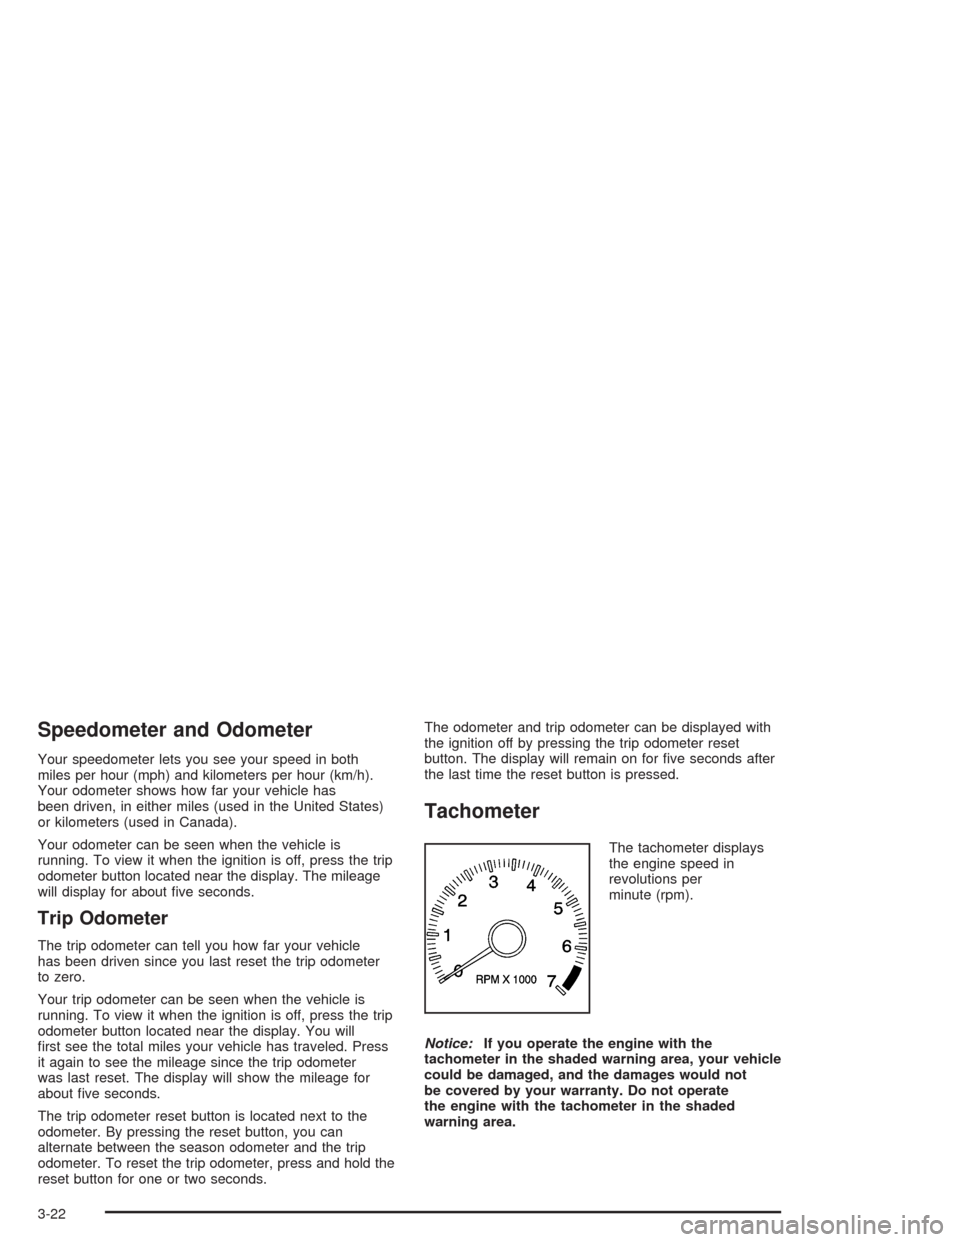
The tachometer displays
the engine speed in
revolutions per
minute (rpm).
Notice:If you operate the engine with the
tachometer in the shaded warning area, your vehicle
could be damaged, and the damages would not
be covered by your warranty. Do not operate
the engine with the tachometer in the shaded
warning area.
3-22
Page 133 of 354
Here are four things that some owners ask about. None
of these show a problem with your fuel gage:
At the service station, the gas pump shuts off
before the gage reads full.
It takes a little more or less fuel to �ll up than the
gage indicated. For example, the gage may have
indicated the tank was half full, but it actually took a
little more or less than half the tank’s capacity to
�ll the tank.
The gage moves a little when you turn a corner or
speed up.
The gage doesn’t go back to empty when you turn
off the ignition.
For your fuel tank capacity, seeCapacities and
Speci�cations on page 5-85.
Audio System(s)
Notice:Before adding any sound equipment to
your vehicle, like a tape player, CB radio, mobile
telephone, or two-way radio, make sure that it can
be added by checking with your dealer. Also,
check federal rules covering mobile radio and
telephone units. If sound equipment can be added,
it is very important to do it properly.Added sound equipment may interfere with the
operation of your vehicle’s engine, radio, or other
systems, and even damage them. Your vehicle’s
systems may interfere with the operation of sound
equipment that has been added improperly.
Figure out which audio system is in your vehicle, �nd
out what your audio system can do, and how to operate
all of its controls.
Your vehicle has a feature called Retained Accessory
Power (RAP). With RAP, the audio system can be
played even after the ignition is turned off. See
“Retained Accessory Power (RAP)” underIgnition
Positions on page 2-16.
Setting the Time for Radios without
Radio Data Systems (RDS)
Press and hold the HR or MIN arrow for two seconds.
Then press HR until the correct hour appears on
the display. Press and hold MIN until the correct minute
appears on the display. The time can be set with the
ignition on or off.
3-35
Page 134 of 354

Setting the Time for Radios with
Radio Data Systems (RDS)
Press and hold the HR or MN buttons for two seconds.
The clock symbol will appear on the display. Press
and hold HR until the correct hour appears on the
display. AM or PM will appear for morning or evening
hours. Press and hold MN until the correct minute
appears on the display. The time can be set with the
ignition on or off.
To synchronize the time with an FM station broadcasting
Radio Data System (RDS) information, press and
hold HR and MN at the same time for two seconds until
UPDATED and the clock symbol appear on the
display. If the time is not available from the station, NO
UPDAT will appear on the display.
RDS time is broadcast once a minute. After tuning to an
RDS broadcast station, it may take a few minutes for
the time to update.
AM-FM Radio
Playing the Radio
PWR (Power):Press this knob to turn the system on
and off.
VOL (Volume):Turn this knob to increase or to
decrease the volume.
RCL (Recall):Press this knob to switch the display
between the radio station frequency and the time. When
the ignition is off, press this knob to display the time.
3-36
Page 135 of 354
Finding a Station
AM FM:Press this button to switch between FM1,
FM2, or AM. The display will show the selection.
TUNE:Turn this knob to select radio stations.
oSEEKp:Press the right or the left arrow to go to
the next or to the previous station and stay there.
To scan stations, press and hold either SEEK arrow for
two seconds until you hear a beep. The radio will go
to a station, play for a few seconds, then go on to
the next station. Press either SEEK arrow again to stop
scanning.
To scan preset stations, press and hold either SEEK
arrow for more than four seconds until you hear
two beeps. The radio will go to the �rst preset station
stored on your pushbuttons, play for a few seconds, then
go on to the next preset station. Press either SEEK
arrow again to stop scanning presets.
The radio will only seek and scan stations with a strong
signal that are in the selected band.
Setting Preset Stations
Up to 18 stations (six FM1, six FM2, and six AM) can be
programmed on the six numbered pushbuttons, by
performing the following steps:
1. Turn the radio on.
2. Press AM FM to select FM1, FM2, or AM.
3. Tune in the desired station.
4. Press and hold one of the six numbered
pushbuttons until you hear a beep. Whenever that
numbered pushbutton is pressed, the station
that was set will return.
5. Repeat the steps for each pushbutton.
Setting the Tone (Bass/Treble)
AUDIO:To adjust the bass and the treble, press and
release AUDIO until BAS or TRE appears on the
display. Then press and hold the up or the down arrow
to increase or to decrease. If a station is weak or
noisy, decrease the treble.
To adjust bass or treble to the middle position, select
BAS or TRE. Then press and hold AUDIO for more than
two seconds until you hear a beep. B and a zero or T
and a zero will appear on the display.
3-37
Page 136 of 354
To adjust both tone controls and both speaker controls
to the middle position, �rst end out of audio mode
by pressing another button, causing the radio to perform
that function, or by waiting �ve seconds for the display
to return to time of day. Then press and hold AUDIO for
more than two seconds until you hear a beep. CEN
will appear on the display.
Adjusting the Speakers (Balance/Fade)
AUDIO:To adjust the balance between the right
and the left speakers, press and release the AUDIO
button until BAL appears on the display. Then press and
hold the up or the down arrow to move the sound
toward the right or the left speakers.
To adjust the fade between the front and the rear
speakers, press and release AUDIO until FAD appears
on the display. Then press and hold the up or the
down arrow to move the sound toward the front or the
rear speakers.
To adjust balance or fade to the middle position, select
BAL or FAD. Then press and hold AUDIO for more
than two seconds until you hear a beep. L and a zero
or F and a zero will appear on the display.To adjust both tone controls and both speaker controls
to the middle position, �rst end out of audio mode
by pressing another button, causing the radio to perform
that function, or by waiting �ve seconds for the display
to return to time of day. Then press and hold AUDIO for
more than two seconds until you hear a beep. CEN
will appear on the display.
Radio Messages
CAL (Calibration):The audio system has been
calibrated for your vehicle from the factory. If CAL
appears on the display it means that the radio has not
been con�gured properly for your vehicle and must
be returned to the dealer for service.
LOC (Locked):This message is displayed when the
THEFTLOCK
®system has locked up. Take the vehicle
to the dealer for service.
If any error occurs repeatedly or if an error cannot be
corrected, contact your dealer.
3-38
Page 137 of 354
Radio with CD (Base Level)
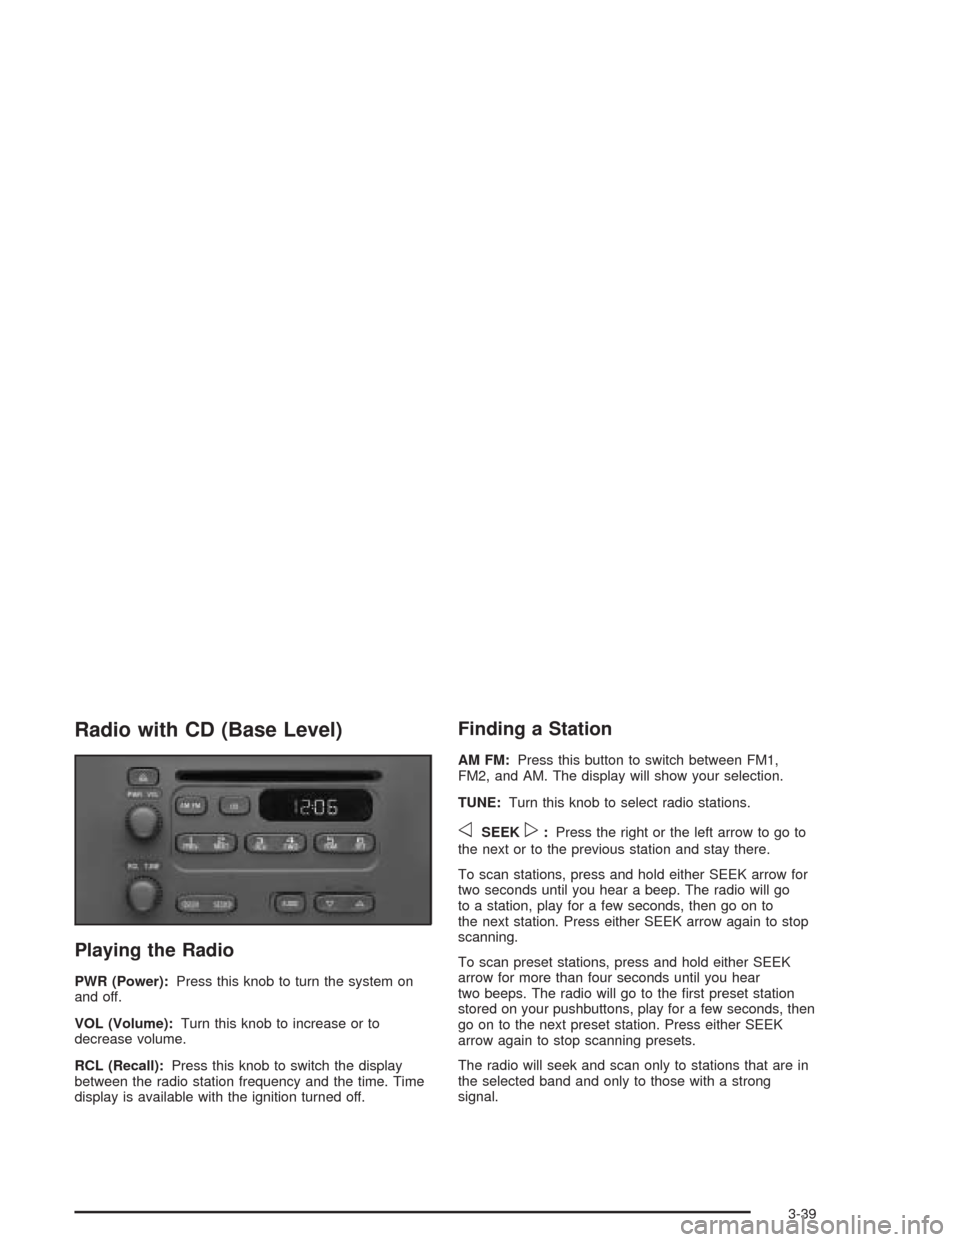
Playing the Radio
PWR (Power):Press this knob to turn the system on
and off.
VOL (Volume):Turn this knob to increase or to
decrease volume.
RCL (Recall):Press this knob to switch the display
between the radio station frequency and the time. Time
display is available with the ignition turned off.
Finding a Station
AM FM:Press this button to switch between FM1,
FM2, and AM. The display will show your selection.
TUNE:Turn this knob to select radio stations.
oSEEKp:Press the right or the left arrow to go to
the next or to the previous station and stay there.
To scan stations, press and hold either SEEK arrow for
two seconds until you hear a beep. The radio will go
to a station, play for a few seconds, then go on to
the next station. Press either SEEK arrow again to stop
scanning.
To scan preset stations, press and hold either SEEK
arrow for more than four seconds until you hear
two beeps. The radio will go to the �rst preset station
stored on your pushbuttons, play for a few seconds, then
go on to the next preset station. Press either SEEK
arrow again to stop scanning presets.
The radio will seek and scan only to stations that are in
the selected band and only to those with a strong
signal.
3-39
Page 138 of 354
Setting Preset Stations
The six numbered pushbuttons let you return to
your favorite stations. You can set up to 18 stations
(six FM1, six FM2, and six AM) by performing the
following steps:
1. Turn the radio on.
2. Press AM FM to select FM1, FM2, or AM.
3. Tune in the desired station.
4. Press and hold one of the six numbered
pushbuttons until you hear a beep. Whenever you
press that numbered pushbutton, the station
you set will return.
5. Repeat the steps for each pushbutton.
Setting the Tone (Bass/Treble)
AUDIO:To adjust the bass or the treble, press and
release the AUDIO button until BAS or TRE appears on
the display. Then press and hold the up or the down
arrow to increase or to decrease. If a station is weak or
noisy, you may want to decrease the treble.
To adjust bass or treble to the middle position, select
BAS or TRE. Then press and hold the AUDIO button for
more than two seconds until you hear a beep. B and
a zero or T and a zero will appear on the display.To adjust both tone controls and both speaker controls
to the middle position, �rst end out of audio mode
by pressing another button, causing the radio to perform
that function, or by waiting �ve seconds for the display
to return to the time of day. Then press and hold
the AUDIO button for more than two seconds until you
hear a beep. CEN will appear on the display.
Adjusting the Speakers (Balance/Fade)
AUDIO:To adjust the balance between the right
and the left speakers, press and release the AUDIO
button until BAL appears on the display. Then press and
hold the up or the down arrow to move the sound
toward the right or the left speakers.
To adjust the fade between the front and the rear
speakers, press and release the AUDIO button until
FAD appears on the display. Then press and hold the up
or the down arrow to move the sound toward the front
or the rear speakers.
To adjust balance or fade to the middle position, select
BAL or FAD. Then press and hold AUDIO for more
than two seconds until you hear a beep. L and a zero
or F and a zero will appear on the display.
3-40