Page 209 of 354
When You Are Ready to Leave After
Parking on a Hill
1. Apply your regular brakes and hold the pedal down
while you:
Start your engine.
Shift into a gear.
Release the parking brake.
2. Let up on the brake pedal.
3. Drive slowly until the trailer is clear of the chocks.
4. Stop and have someone pick up and store the
chocks.
Maintenance When Trailer Towing
Your vehicle will need service more often when you are
pulling a trailer. SeePart A: Scheduled Maintenance
Services on page 6-4for more on this. Things that are
especially important in trailer operation are automatic
transaxle �uid (don’t over�ll), engine oil, drive belt,
cooling system and brake system.Each of these is covered in this manual, and the Index
will help you �nd them quickly. If you are trailering,
it is a good idea to review this information before you
start your trip.
Check periodically to see that all hitch nuts and bolts
are tight.
Engine Cooling When Trailer Towing
Your cooling system may temporarily overheat during
severe operating conditions. SeeEngine Overheating on
page 5-23.
Towing a Trailer (Manual Transaxle)
Do not tow a trailer if your vehicle is equipped with a
manual transaxle.
4-43
Page 221 of 354
2. Then go to the front of the vehicle and lift up on the
secondary hood release lever. The secondary hood
release lever is located near the front center of
the hood toward the driver’s side.3. Lift the hood, release
the hood prop from its
retainer and put the
hood prop into the slot
in the hood marked
by an arrow. Use
the prop rod sleeve
when handling
the hood prop.
Before closing the hood, be sure all the �ller caps
are on properly. Then lift the hood to relieve
pressure on the hood prop. Remove the hood prop
from the slot in the hood and return the prop to
its retainer. Lower the hood 8 to 10 inches (20 to
25 cm) above the vehicle and release it to latch
fully. Check to make sure the hood is closed and
repeat the process if necessary.
5-11
Page 224 of 354
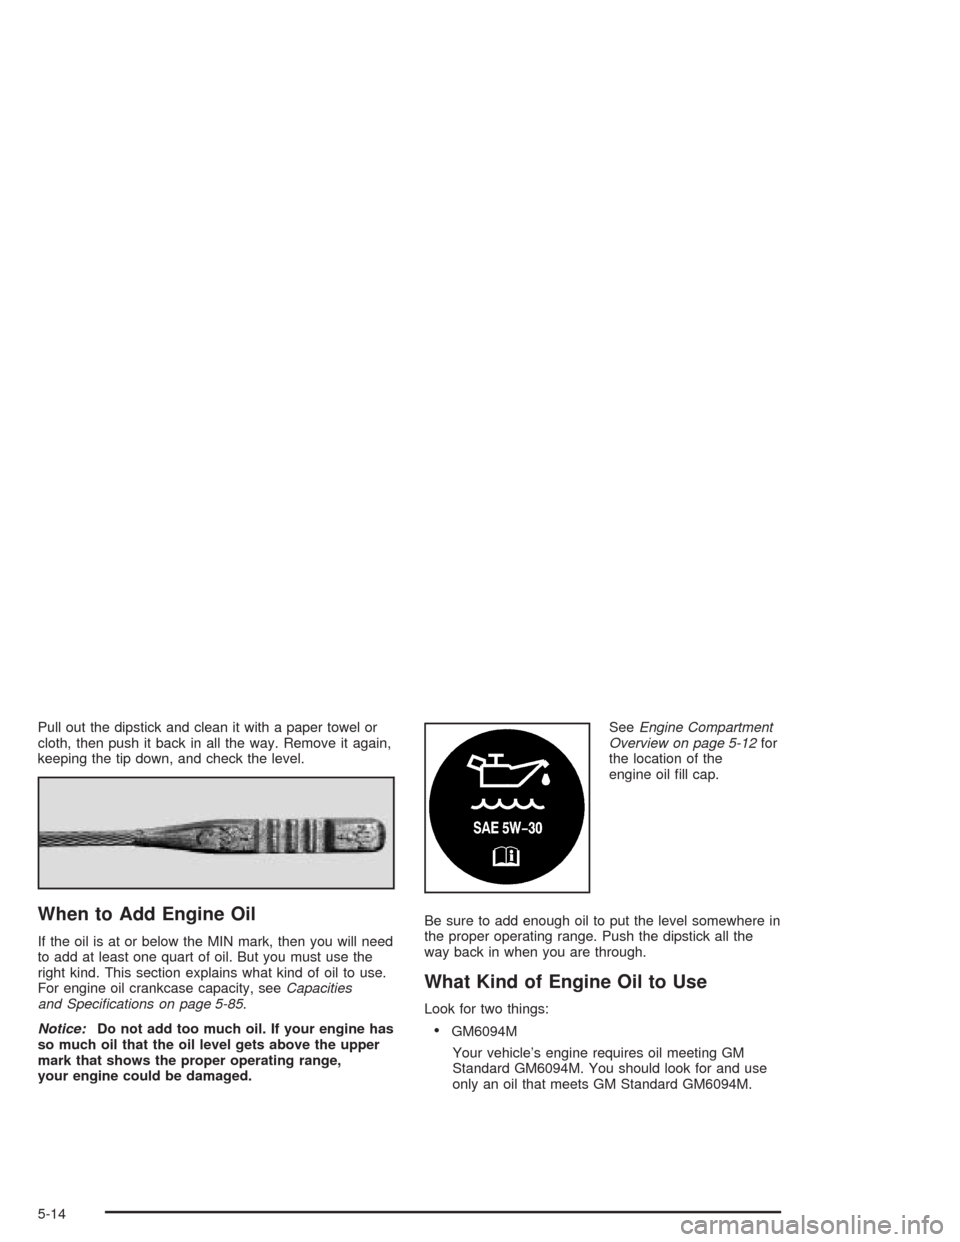
Pull out the dipstick and clean it with a paper towel or
cloth, then push it back in all the way. Remove it again,
keeping the tip down, and check the level.
When to Add Engine Oil
If the oil is at or below the MIN mark, then you will need
to add at least one quart of oil. But you must use the
right kind. This section explains what kind of oil to use.
For engine oil crankcase capacity, seeCapacities
and Speci�cations on page 5-85.
Notice:Do not add too much oil. If your engine has
so much oil that the oil level gets above the upper
mark that shows the proper operating range,
your engine could be damaged.SeeEngine Compartment
Overview on page 5-12for
the location of the
engine oil �ll cap.
Be sure to add enough oil to put the level somewhere in
the proper operating range. Push the dipstick all the
way back in when you are through.
What Kind of Engine Oil to Use
Look for two things:
GM6094M
Your vehicle’s engine requires oil meeting GM
Standard GM6094M. You should look for and use
only an oil that meets GM Standard GM6094M.
5-14
Page 226 of 354
Notice:Use only engine oil identi�ed as meeting
GM Standard GM6094M and showing the American
Petroleum Institute Certi�ed For Gasoline Engines
starburst symbol. Failure to use the recommended
oil can result in engine damage not covered by
your warranty.
GM Goodwrench
®oil meets all the requirements for
your vehicle.
If you are in an area of extreme cold, where the
temperature falls below−20°F (−29°C), it is
recommended that you use either an SAE 5W-30
synthetic oil or an SAE 0W-30 oil. Both will provide
easier cold starting and better protection for your engine
at extremely low temperatures.
Engine Oil Additives
Do not add anything to your oil. The recommended oils
with the starburst symbol that meet GM Standard
GM6094M are all you will need for good performance
and engine protection.
When to Change Engine Oil
If any one of these are true for you, use the short
trip/city maintenance schedule:
Most trips are less than 5 miles (8 km). This is
particularly important when outside temperatures
are below freezing.
Most trips include extensive idling (such as frequent
driving in stop-and-go traffic).
You frequently tow a trailer or use a carrier on top
of your vehicle.
The vehicle is used for delivery service, police, taxi
or other commercial application.
Driving under these conditions causes engine oil to
break down sooner. If any one of these is true for your
vehicle, then you need to change your oil and �lter
every 3,000 miles (5 000 km) or 3 months — whichever
occurs �rst.
If none of them is true, use the long trip/highway
maintenance schedule. Change the oil and �lter every
7,500 miles (12 500 km) or 12 months — whichever
occurs �rst. Driving a vehicle with a fully warmed engine
under highway conditions will cause engine oil to
break down slower.
Your vehicle has a unique oil �lter element. When
installing the �lter cap do not exceed 18 lb-ft (25Y).
Inspect the condition of the O-ring and replace if
damaged.
See your dealer for additional information.
5-16
Page 229 of 354
Automatic Transaxle Fluid
It is not necessary to check the transaxle �uid level. A
transaxle �uid leak is the only reason for �uid loss.
If a leak occurs, take the vehicle to the dealership
service department and have it repaired as soon as
possible. You may also have your �uid level checked by
your dealer or service center when you have your oil
changed.
Change both the �uid and �lter every 50,000 miles
(83 000 km) if the vehicle is mainly driven under one or
more of these conditions:
In heavy city traffic where the outside temperature
regularly reaches 90°F (32°C) or higher.
In hilly or mountainous terrain.
When doing frequent trailer towing.
Uses such as found in taxi, police or delivery
service.
If you do not use your vehicle under any of these
conditions, the �uid and �lter do not require changing.
Notice:Use of automatic transaxle �uid labeled
other than DEXRON
®-III may damage your vehicle,
and the damages may not be covered by your
warranty. Always use DEXRON
®-III labeled automatic
transaxle �uid.
Manual Transaxle Fluid
It is not necessary to check the transaxle �uid level. A
transaxle �uid leak is the only reason for �uid loss.
If a leak occurs, take the vehicle to the dealership
service department and have it repaired as soon as
possible. You may also have your �uid level checked by
your dealer or service center when you have your oil
changed. SeePart D: Recommended Fluids and
Lubricants on page 6-25for the proper �uid to use.
Hydraulic Clutch
The hydraulic clutch linkage in your vehicle is
self-adjusting. The master cylinder reservoir is �lled with
hydraulic �uid.
It is not necessary to regularly check the �uid unless
you suspect there is a leak in the system. Adding �uid
won’t correct a leak.
A �uid loss in this system could indicate a problem.
Have the system inspected and repaired.
5-19
Page 234 of 354
If No Steam Is Coming From Your
Engine
An overheat warning, along with a low coolant light, can
indicate a serious problem. SeeLow Coolant Warning
Light on page 3-29.
If you get an engine overheat warning with no low
coolant light, but see or hear no steam, the problem may
not be too serious. Sometimes the engine can get a
little too hot when you:
Climb a long hill on a hot day.
Stop after high-speed driving.
Idle for long periods in traffic.
Tow a trailer.If you get the overheat warning with no sign of steam,
try this for a minute or so:
1. In heavy traffic, let the engine idle in NEUTRAL (N)
while stopped. If it is safe to do so, pull off the road,
shift to PARK (P) or NEUTRAL (N) and let the
engine idle.
2. Turn on your heater to full hot at the highest fan
speed and open the window as necessary.
If you no longer have the overheat warning, you can
drive. Just to be safe, drive slower for about 10 minutes.
If the warning doesn’t come back on, you can drive
normally.
If the warning continues and you have not stopped, pull
over, stop, and park your vehicle right away.
If there’s still no sign of steam, you can idle the engine
for three minutes while you’re parked. If you still
have the warning,turn off the engine and get everyone
out of the vehicleuntil it cools down.
You may decide not to lift the hood but to get service
help right away.
5-24
Page 240 of 354
5. Then replace the
pressure cap. Be sure
the pressure cap is
hand-tight and
fully seated. See your
dealer, if necessary.Power Steering Fluid
The power steering �uid reservoir is located toward the
front of the engine compartment on the driver’s side
of the vehicle. SeeEngine Compartment Overview on
page 5-12for reservoir location.
5-30
Page 252 of 354
2. Remove the two bolts from the headlamp assembly.
Pull the headlamp assembly up and toward the
front of the vehicle to access the bulb assembly.3. Remove the cover by
turning it
counterclockwise.
4. Disconnect the bulb
base from the socket
by lifting the plastic
locking tab.
5. Remove the black collar by turning it clockwise.
5-42