2004 CHEVROLET CAVALIER steering wheel
[x] Cancel search: steering wheelPage 108 of 354

Windshield Wipers
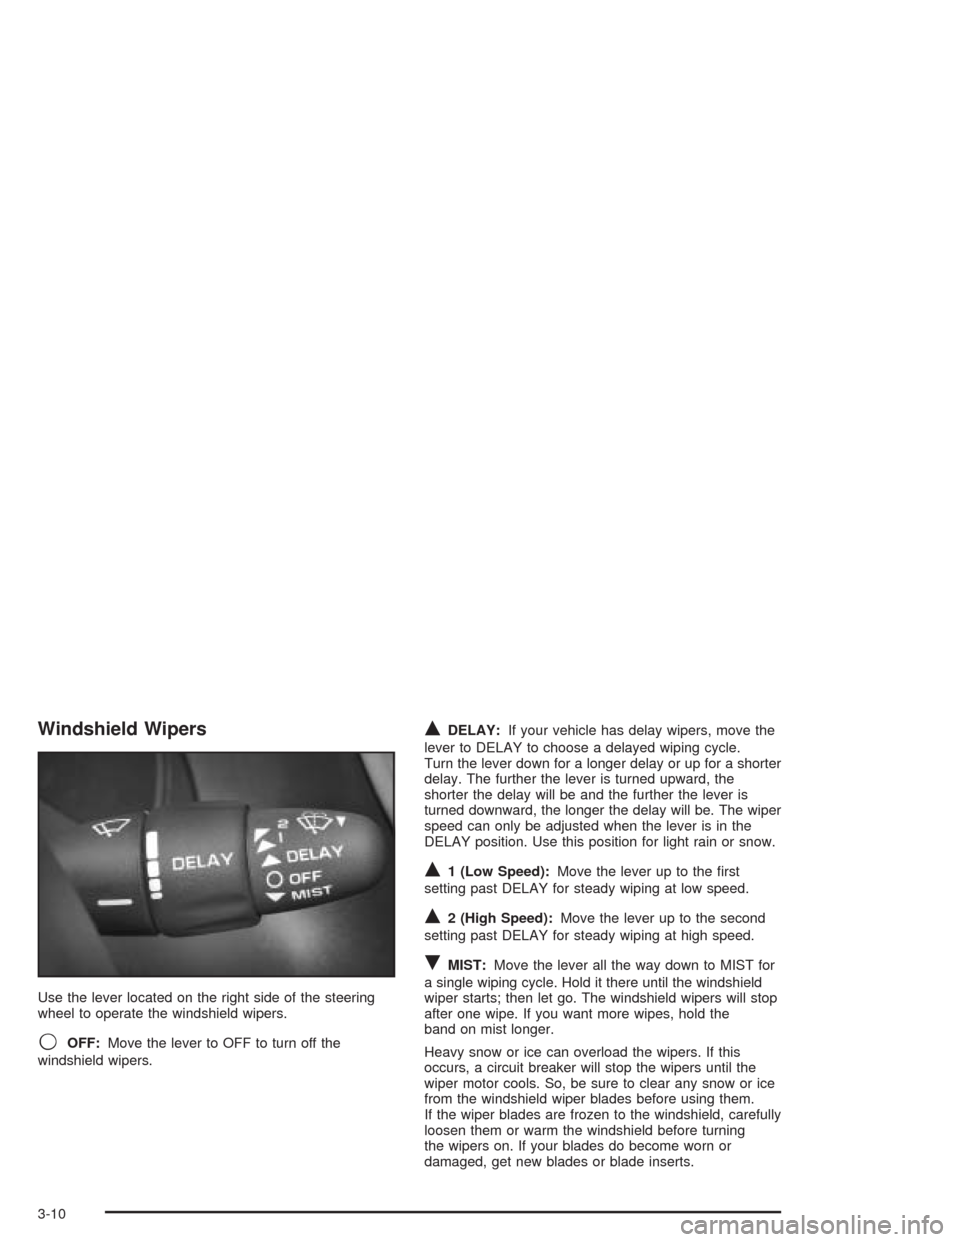
Use the lever located on the right side of the steering
wheel to operate the windshield wipers.
9OFF:Move the lever to OFF to turn off the
windshield wipers.
QDELAY:If your vehicle has delay wipers, move the
lever to DELAY to choose a delayed wiping cycle.
Turn the lever down for a longer delay or up for a shorter
delay. The further the lever is turned upward, the
shorter the delay will be and the further the lever is
turned downward, the longer the delay will be. The wiper
speed can only be adjusted when the lever is in the
DELAY position. Use this position for light rain or snow.
Q1 (Low Speed):Move the lever up to the �rst
setting past DELAY for steady wiping at low speed.
Q2 (High Speed):Move the lever up to the second
setting past DELAY for steady wiping at high speed.
RMIST:Move the lever all the way down to MIST for
a single wiping cycle. Hold it there until the windshield
wiper starts; then let go. The windshield wipers will stop
after one wipe. If you want more wipes, hold the
band on mist longer.
Heavy snow or ice can overload the wipers. If this
occurs, a circuit breaker will stop the wipers until the
wiper motor cools. So, be sure to clear any snow or ice
from the windshield wiper blades before using them.
If the wiper blades are frozen to the windshield, carefully
loosen them or warm the windshield before turning
the wipers on. If your blades do become worn or
damaged, get new blades or blade inserts.
3-10
Page 112 of 354

Interior Lamps
Instrument Panel Brightness
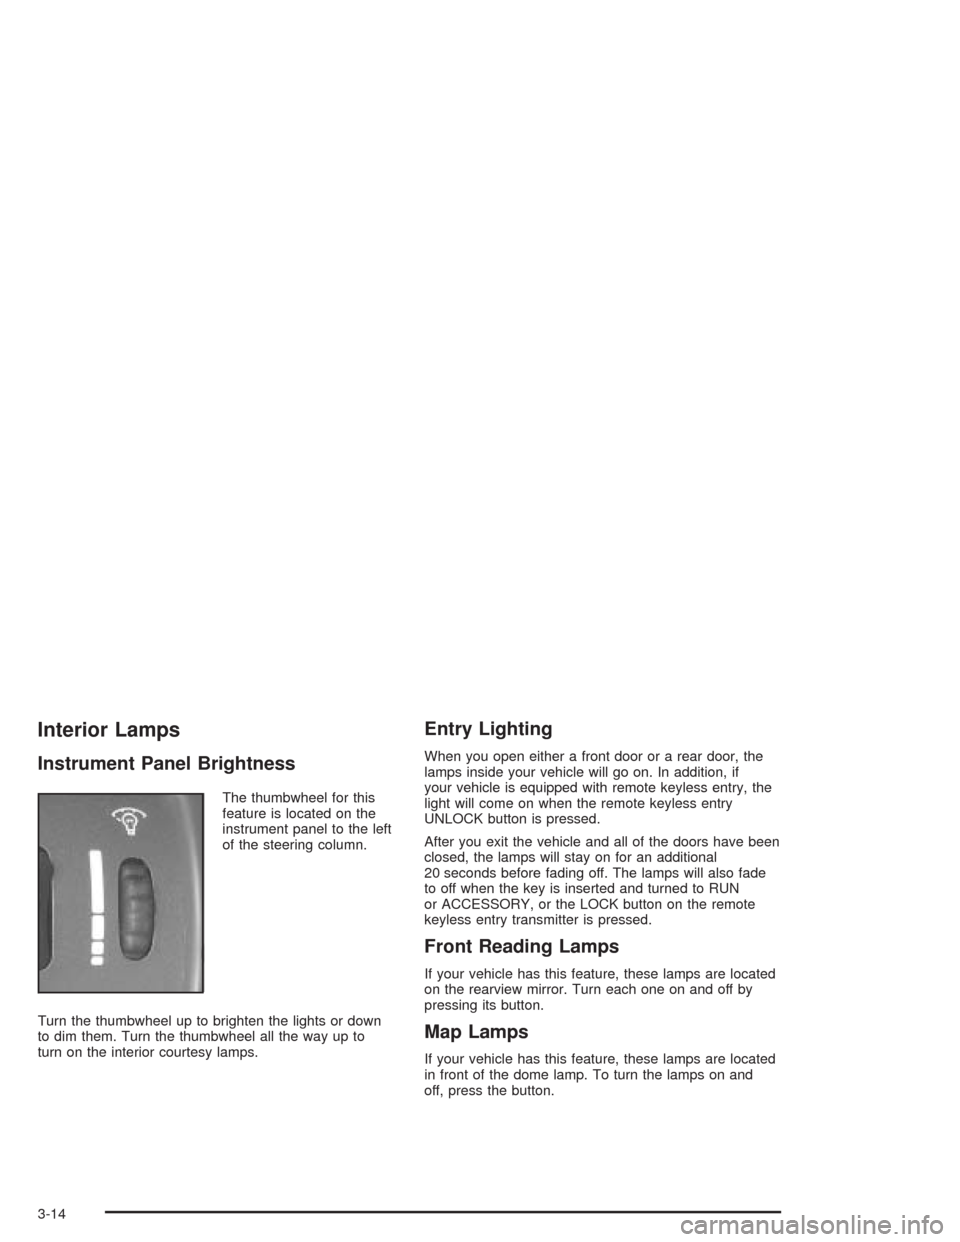
The thumbwheel for this
feature is located on the
instrument panel to the left
of the steering column.
Turn the thumbwheel up to brighten the lights or down
to dim them. Turn the thumbwheel all the way up to
turn on the interior courtesy lamps.
Entry Lighting
When you open either a front door or a rear door, the
lamps inside your vehicle will go on. In addition, if
your vehicle is equipped with remote keyless entry, the
light will come on when the remote keyless entry
UNLOCK button is pressed.
After you exit the vehicle and all of the doors have been
closed, the lamps will stay on for an additional
20 seconds before fading off. The lamps will also fade
to off when the key is inserted and turned to RUN
or ACCESSORY, or the LOCK button on the remote
keyless entry transmitter is pressed.
Front Reading Lamps
If your vehicle has this feature, these lamps are located
on the rearview mirror. Turn each one on and off by
pressing its button.
Map Lamps
If your vehicle has this feature, these lamps are located
in front of the dome lamp. To turn the lamps on and
off, press the button.
3-14
Page 173 of 354

A computer senses that wheels are slowing down. If
one of the wheels is about to stop rolling, the computer
will separately work the brakes at each wheel.
The anti-lock system can change the brake pressure
faster than any driver could. The computer is
programmed to make the most of available tire and road
conditions. This can help you steer around the obstacle
while braking hard.
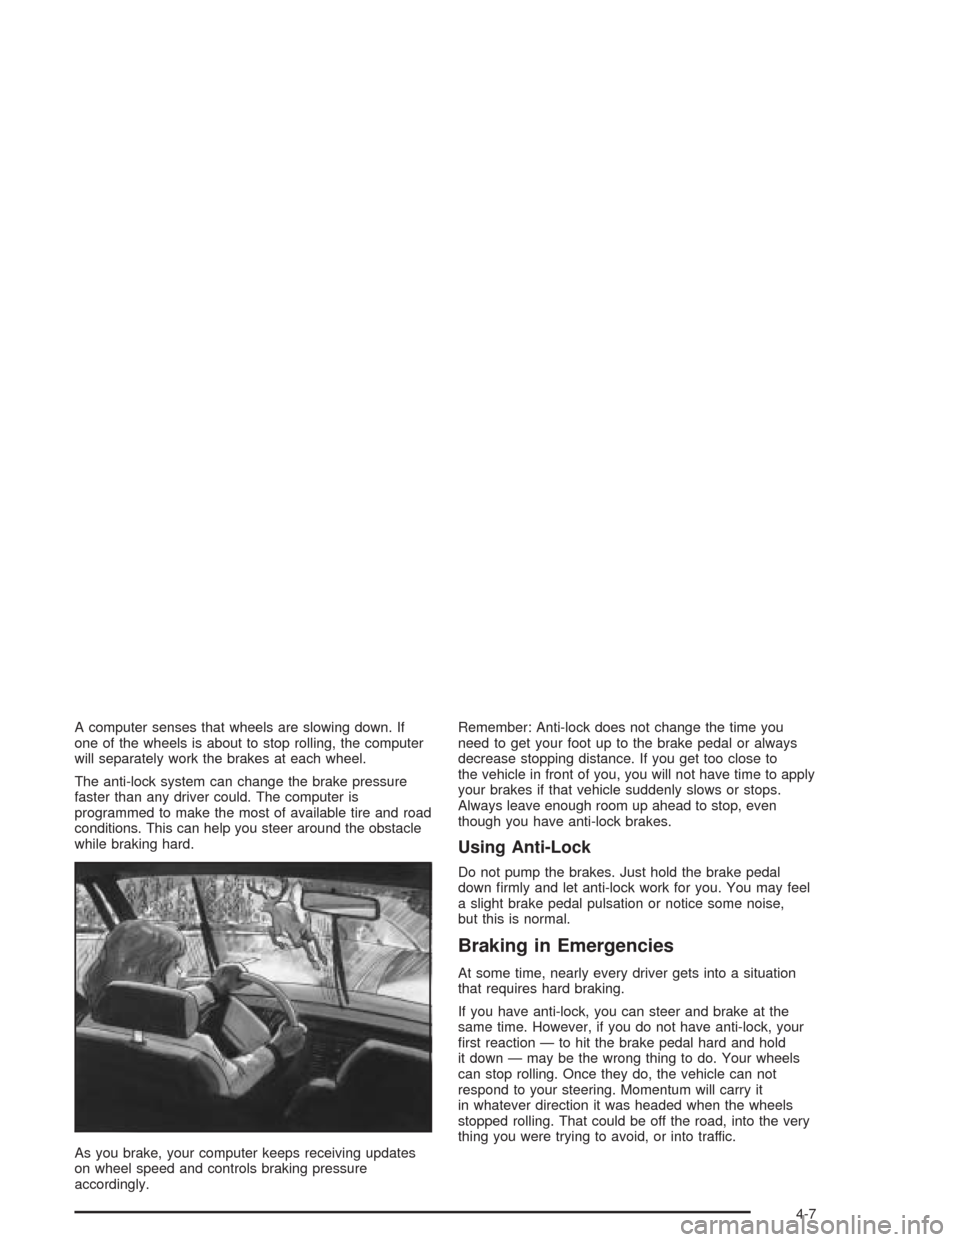
As you brake, your computer keeps receiving updates
on wheel speed and controls braking pressure
accordingly.Remember: Anti-lock does not change the time you
need to get your foot up to the brake pedal or always
decrease stopping distance. If you get too close to
the vehicle in front of you, you will not have time to apply
your brakes if that vehicle suddenly slows or stops.
Always leave enough room up ahead to stop, even
though you have anti-lock brakes.
Using Anti-Lock
Do not pump the brakes. Just hold the brake pedal
down �rmly and let anti-lock work for you. You may feel
a slight brake pedal pulsation or notice some noise,
but this is normal.
Braking in Emergencies
At some time, nearly every driver gets into a situation
that requires hard braking.
If you have anti-lock, you can steer and brake at the
same time. However, if you do not have anti-lock, your
�rst reaction — to hit the brake pedal hard and hold
it down — may be the wrong thing to do. Your wheels
can stop rolling. Once they do, the vehicle can not
respond to your steering. Momentum will carry it
in whatever direction it was headed when the wheels
stopped rolling. That could be off the road, into the very
thing you were trying to avoid, or into traffic.
4-7
Page 174 of 354

If you do not have anti-lock, use a “squeeze” braking
technique. This will give you maximum braking
while maintaining steering control. You can do this by
pushing on the brake pedal with steadily increasing
pressure.
In an emergency, you will probably want to squeeze the
brakes hard without locking the wheels. If you hear or
feel the wheels sliding, ease off the brake pedal.
This will help you retain steering control. If youdohave
anti-lock, it is different. See “Anti-Lock Brake System”
in this section.
In many emergencies, steering can help you more than
even the very best braking.
Enhanced Traction System (ETS)
If your vehicle has the optional four-speed automatic
transaxle and anti-lock brakes, it also has an Enhanced
Traction System (ETS) that limits wheel spin. This is
especially useful in slippery road conditions. The system
operates only when the transaxle shift lever is in the
REVERSE (R), THIRD (3) or AUTOMATIC
OVERDRIVE (D) position and the system senses that
one or both of the front wheels are spinning or beginning
to lose traction. When this happens, the system
reduces engine power and may also upshift the
transaxle to limit wheel spin.This light will come on when your Enhanced Traction
System is limiting wheel spin. SeeEnhanced Traction
System Active Light on page 3-28.
You may feel or hear the system working, but this is
normal.
When the transaxle shift lever is in any position other
than FIRST (1) or SECOND (2) and the parking brake is
fully released, this warning light will come on to let
you know if there’s a problem with the system.United States
Canada
United StatesCanada
4-8
Page 175 of 354

SeeEnhanced Traction System Warning Light on
page 3-27. When this warning light is on, the system will
not limit wheel spin. Adjust your driving accordingly.
The Enhanced Traction System can operate when the
transaxle shift lever is in any position other than
FIRST (1) or SECOND (2). To limit wheel spin,
especially in slippery road conditions, you should use
REVERSE (R), THIRD (3) or AUTOMATIC
OVERDRIVE (D). SeeAutomatic Transaxle Operation
on page 2-20. If your vehicle ever gets stuck in
sand, mud or snow and rocking the vehicle is required,
seeIf You Are Stuck: In Sand, Mud, Ice or Snow on
page 4-28.
When you move the shift lever to FIRST (1) or
SECOND (2), the system will turn off. The Enhanced
Traction System warning light will come on and stay on.
If the Enhanced Traction System is limiting wheel
spin when you move the shift lever to another position,
the system won’t turn off right away. It will wait until
there’s no longer a current need to limit wheel spin.
You can turn the system back on at any time by moving
the shift lever to any position other than FIRST (1) or
SECOND (2). The Enhanced Traction System warning
light should go off.Steering
Power Steering
If you lose power steering assist because the engine
stops or the system is not functioning, you can steer but
it will take much more effort.
Steering Tips
Driving on Curves
It is important to take curves at a reasonable speed.
A lot of the “driver lost control” accidents mentioned on
the news happen on curves. Here is why:
Experienced driver or beginner, each of us is subject to
the same laws of physics when driving on curves.
The traction of the tires against the road surface makes
it possible for the vehicle to change its path when
you turn the front wheels. If there is no traction, inertia
will keep the vehicle going in the same direction. If
you have ever tried to steer a vehicle on wet ice, you
will understand this.
The traction you can get in a curve depends on the
condition of your tires and the road surface, the angle at
which the curve is banked, and your speed. While
you are in a curve, speed is the one factor you
can control.
4-9
Page 176 of 354

Suppose you are steering through a sharp curve.
Then you suddenly apply the brakes. Both control
systems — steering and braking — have to do their work
where the tires meet the road. Unless you have
four-wheel anti-lock brakes, adding the hard braking can
demand too much of those places. You can lose
control.
The same thing can happen if you are steering through
a sharp curve and you suddenly accelerate. Those
two control systems — steering and acceleration — can
overwhelm those places where the tires meet the
road and make you lose control. SeeEnhanced Traction
System (ETS) on page 4-8.
What should you do if this ever happens? Ease up on
the brake or accelerator pedal, steer the vehicle the way
you want it to go, and slow down.
Speed limit signs near curves warn that you should
adjust your speed. Of course, the posted speeds
are based on good weather and road conditions. Under
less favorable conditions you will want to go slower.
If you need to reduce your speed as you approach
a curve, do it before you enter the curve, while your front
wheels are straight ahead.
Try to adjust your speed so you can “drive” through the
curve. Maintain a reasonable, steady speed. Wait to
accelerate until you are out of the curve, and then
accelerate gently into the straightaway.Steering in Emergencies
There are times when steering can be more effective
than braking. For example, you come over a hill and �nd
a truck stopped in your lane, or a car suddenly pulls
out from nowhere, or a child darts out from between
parked cars and stops right in front of you. You
can avoid these problems by braking — if you can stop
in time. But sometimes you can not; there is not
room. That is the time for evasive action — steering
around the problem.
Your vehicle can perform very well in emergencies like
these. First apply your brakes — but, unless you
have anti-lock, not enough to lock your wheels.
SeeBraking on page 4-5. It is better to remove as much
speed as you can from a possible collision. Then
steer around the problem, to the left or right depending
on the space available.
4-10
Page 177 of 354

An emergency like this requires close attention and a
quick decision. If you are holding the steering wheel at
the recommended 9 and 3 o’clock positions, you
can turn it a full 180 degrees very quickly without
removing either hand. But you have to act fast, steer
quickly, and just as quickly straighten the whee once you
have avoided the object.
The fact that such emergency situations are always
possible is a good reason to practice defensive driving
at all times and wear safety belts properly.
Off-Road Recovery
You may �nd that your right wheels have dropped off
the edge of a road onto the shoulder while you’re
driving.
If the level of the shoulder is only slightly below the
pavement, recovery should be fairly easy. Ease off the
accelerator and then, if there is nothing in the way,
steer so that your vehicle straddles the edge of
the pavement. You can turn the steering wheel up to
one-quarter turn until the right front tire contacts
the pavement edge. Then turn your steering wheel to go
straight down the roadway.
4-11
Page 179 of 354

Check your mirrors, glance over your shoulder, and
start your left lane change signal before moving out
of the right lane to pass. When you are far
enough ahead of the passed vehicle to see its front
in your inside mirror, activate your right lane
change signal and move back into the right lane.
(Remember that your right outside mirror is convex.
The vehicle you just passed may seem to be
farther away from you than it really is.)
Try not to pass more than one vehicle at a time on
two-lane roads. Reconsider before passing the
next vehicle.
Do not overtake a slowly moving vehicle too rapidly.
Even though the brake lamps are not �ashing, it
may be slowing down or starting to turn.
If you are being passed, make it easy for the
following driver to get ahead of you. Perhaps
you can ease a little to the right.
Loss of Control
Let us review what driving experts say about what
happens when the three control systems (brakes,
steering and acceleration) do not have enough friction
where the tires meet the road to do what the driver
has asked.
In any emergency, do not give up. Keep trying to steer
and constantly seek an escape route or area of less
danger.
Skidding
In a skid, a driver can lose control of the vehicle.
Defensive drivers avoid most skids by taking reasonable
care suited to existing conditions, and by not
“overdriving” those conditions. But skids are always
possible.
The three types of skids correspond to your vehicle’s
three control systems. In the braking skid, your wheels
are not rolling. In the steering or cornering skid, too much
speed or steering in a curve causes tires to slip and lose
cornering force. And in the acceleration skid, too much
throttle causes the driving wheels to spin.
A cornering skid is best handled by easing your foot off
the accelerator pedal.
If you have the Enhanced Traction System, remember:
It helps avoid only the acceleration skid. If you do
not have the Enhanced Traction System, or if the
transaxle is not in AUTOMATIC OVERDRIVE (D), then
an acceleration skid is also best handled by easing
your foot off the accelerator pedal.
If your vehicle starts to slide, ease your foot off the
accelerator pedal and quickly steer the way you want
the vehicle to go. If you start steering quickly enough,
your vehicle may straighten out. Always be ready
for a second skid if it occurs.
4-13