2004 CHEVROLET AVEO Capacities and Speci
[x] Cancel search: Capacities and SpeciPage 1 of 334

Seats and Restraint Systems........................... 1-1
Front Seats
............................................... 1-2
Rear Seats
............................................... 1-6
Safety Belts
.............................................1-10
Child Restraints
.......................................1-28
Air Bag Systems
......................................1-50
Restraint System Check
............................1-58
Features and Controls..................................... 2-1
Keys
........................................................ 2-2
Doors and Locks
....................................... 2-7
Windows
.................................................2-13
Theft-Deterrent Systems
............................2-15
Starting and Operating Your Vehicle
...........2-18
Mirrors
....................................................2-34
Storage Areas
.........................................2-36
Sunroof
..................................................2-37
Instrument Panel............................................. 3-1
Instrument Panel Overview
.......................... 3-2
Climate Controls
......................................3-12
Warning Lights, Gages, and Indicators
........3-17
Secondary Information Center (SIC)
............3-24
Audio System(s)
.......................................3-34Driving Your Vehicle....................................... 4-1
Your Driving, the Road, and Your Vehicle
..... 4-2
Towing
...................................................4-29
Service and Appearance Care.......................... 5-1
Service
..................................................... 5-3
Fuel
......................................................... 5-5
Checking Things Under the Hood
...............5-11
Headlamp Aiming
.....................................5-45
Bulb Replacement
....................................5-45
Windshield Wiper Blade Replacement
.........5-50
Tires
......................................................5-51
Appearance Care
.....................................5-76
Vehicle Identification
.................................5-83
Electrical System
......................................5-84
Capacities and Specifications
.....................5-91
Maintenance Schedule..................................... 6-1
Maintenance Schedule
................................ 6-2
Customer Assistance and Information.............. 7-1
Customer Assistance and Information
........... 7-2
Reporting Safety Defects
...........................7-10
Index.................................................................1
2004 Chevrolet Aveo Owner ManualM
Page 188 of 334
Tires..............................................................5-51
Inflation - Tire Pressure.................................5-59
Tire Inspection and Rotation...........................5-60
When It Is Time for New Tires.......................5-61
Buying New Tires.........................................5-62
Uniform Tire Quality Grading..........................5-63
Wheel Alignment and Tire Balance..................5-64
Wheel Replacement......................................5-64
Tire Chains..................................................5-66
If a Tire Goes Flat........................................5-66
Changing a Flat Tire.....................................5-67
Compact Spare Tire......................................5-75
Appearance Care............................................5-76
Cleaning the Inside of Your Vehicle.................5-76
Care of Safety Belts......................................5-79
Weatherstrips...............................................5-79
Cleaning the Outside of Your Vehicle..............5-79Sheet Metal Damage.....................................5-81
Finish Damage.............................................5-81
Underbody Maintenance................................5-82
Chemical Paint Spotting.................................5-82
Vehicle Care/Appearance Materials..................5-82
Vehicle Identication......................................5-83
Vehicle Identification Number (VIN).................5-83
Service Parts Identification Label.....................5-84
Electrical System............................................5-84
Add-On Electrical Equipment..........................5-84
Headlamp Wiring..........................................5-84
Windshield Wiper Fuses................................5-84
Power Windows and Other Power Options.......5-84
Fuses and Circuit Breakers............................5-85
Capacities and Specications..........................5-91
Section 5 Service and Appearance Care
5-2
Page 202 of 334
When to Add Engine Oil
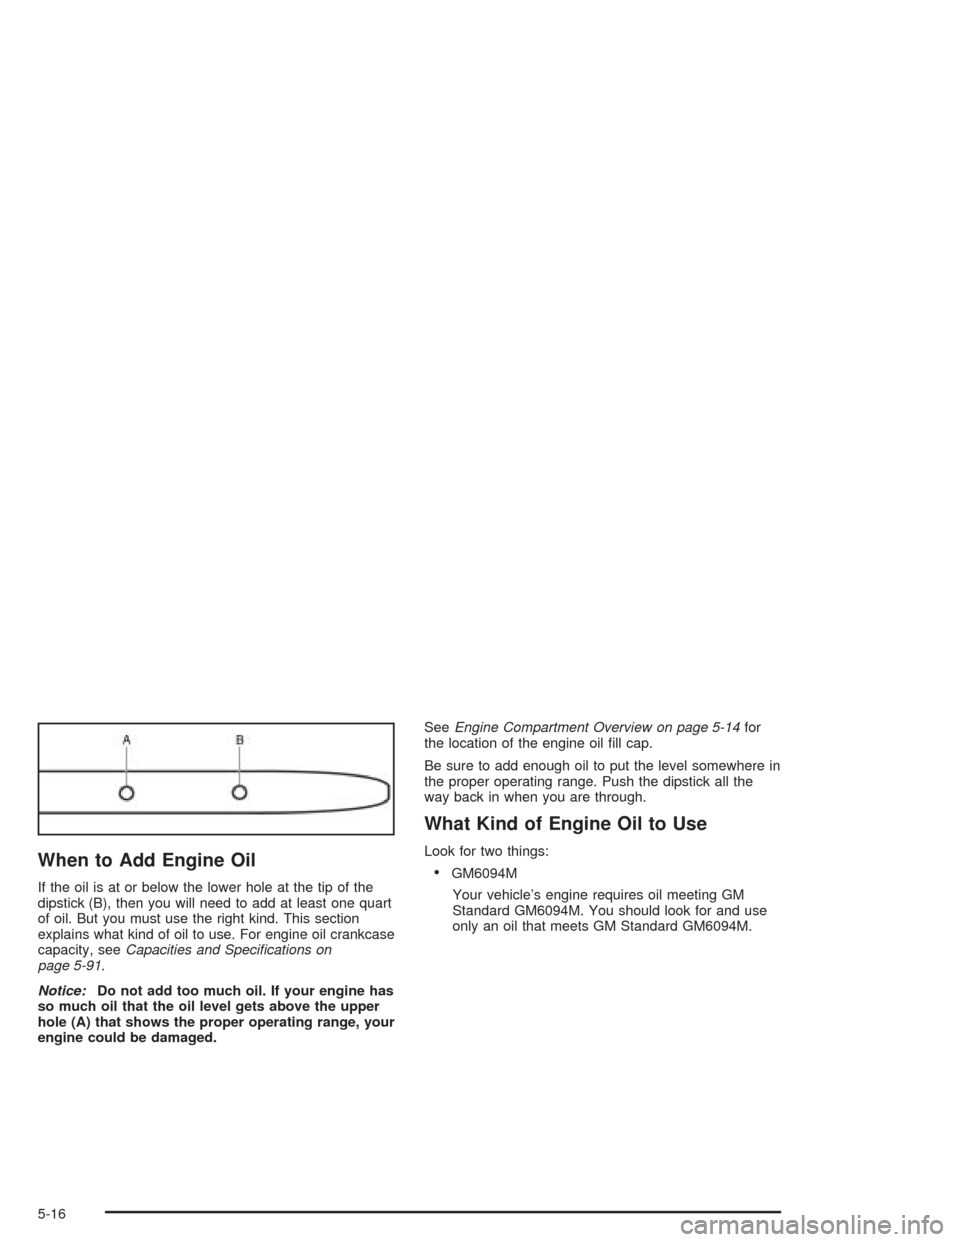
If the oil is at or below the lower hole at the tip of the
dipstick (B), then you will need to add at least one quart
of oil. But you must use the right kind. This section
explains what kind of oil to use. For engine oil crankcase
capacity, seeCapacities and Specifications on
page 5-91.
Notice:Do not add too much oil. If your engine has
so much oil that the oil level gets above the upper
hole (A) that shows the proper operating range, your
engine could be damaged.SeeEngine Compartment Overview on page 5-14for
the location of the engine oil fill cap.
Be sure to add enough oil to put the level somewhere in
the proper operating range. Push the dipstick all the
way back in when you are through.
What Kind of Engine Oil to Use
Look for two things:
•GM6094M
Your vehicle’s engine requires oil meeting GM
Standard GM6094M. You should look for and use
only an oil that meets GM Standard GM6094M.
5-16
Page 247 of 334
After the tires have been rotated, adjust the front and
rear inflation pressures as shown on the tire and loading
information label. Make certain that all wheel nuts are
properly tightened. See “Wheel Nut Torque” under
Capacities and Specifications on page 5-91.
{CAUTION:
Rust or dirt on a wheel, or on the parts to
which it is fastened, can make wheel nuts
become loose after a time. The wheel could
come off and cause an accident. When you
change a wheel, remove any rust or dirt from
places where the wheel attaches to the vehicle.
In an emergency, you can use a cloth or a
paper towel to do this; but be sure to use a
scraper or wire brush later, if you need to, to
get all the rust or dirt off. See “Changing a Flat
Tire” in the Index.
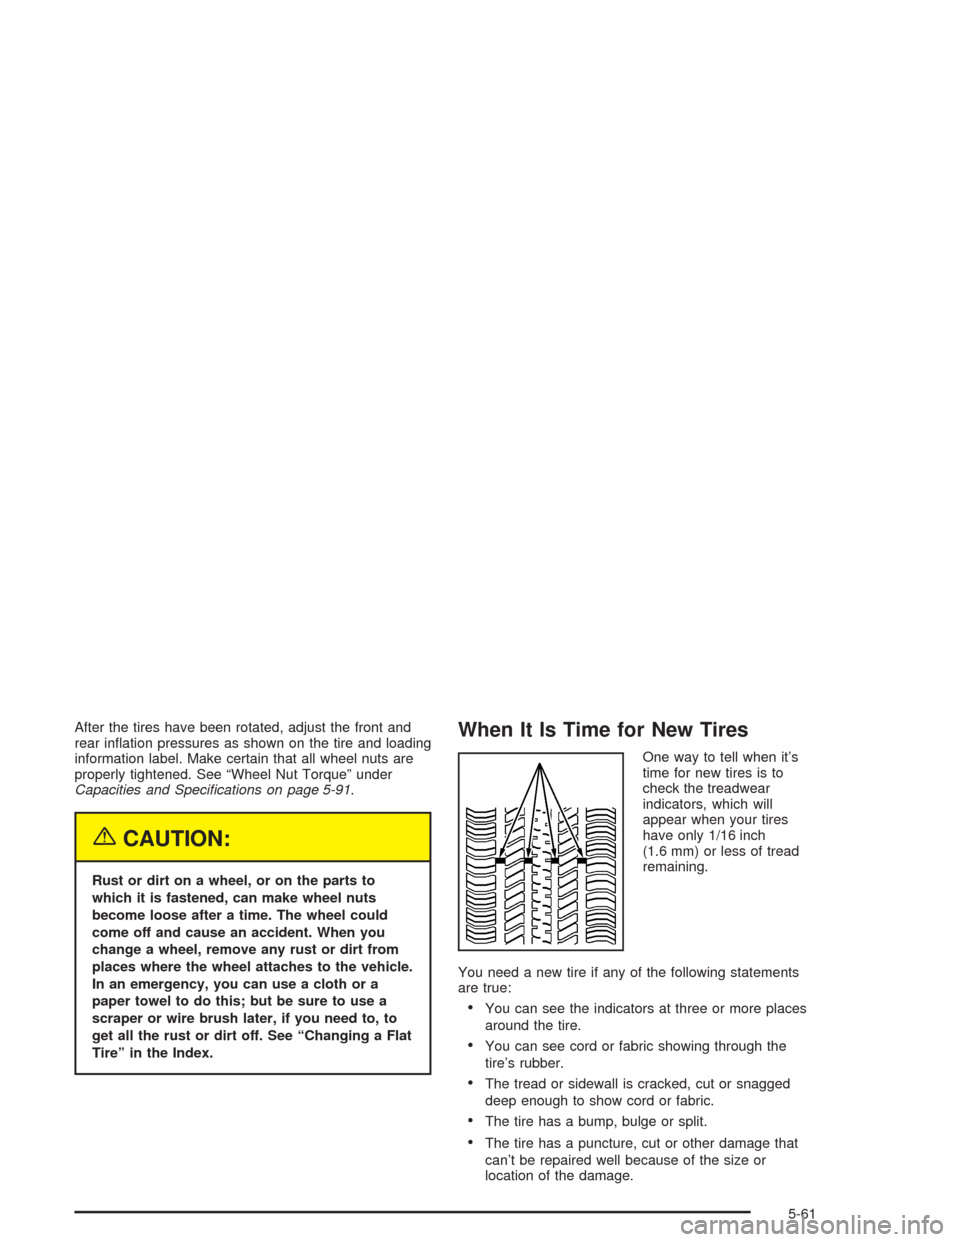
When It Is Time for New Tires
One way to tell when it’s
time for new tires is to
check the treadwear
indicators, which will
appear when your tires
have only 1/16 inch
(1.6 mm) or less of tread
remaining.
You need a new tire if any of the following statements
are true:
•You can see the indicators at three or more places
around the tire.
•You can see cord or fabric showing through the
tire’s rubber.
•The tread or sidewall is cracked, cut or snagged
deep enough to show cord or fabric.
•The tire has a bump, bulge or split.
•The tire has a puncture, cut or other damage that
can’t be repaired well because of the size or
location of the damage.
5-61
Page 259 of 334

12. Tighten the wheel nuts
firmly in a crisscross
sequence, as shown.
{CAUTION:
Incorrect wheel nuts or improperly tightened
wheel nuts can cause the wheel to come loose
and even come off. This could lead to an
accident. Be sure to use the correct wheel
nuts. If you have to replace them, be sure to
get new GM original equipment wheel nuts.
Stop somewhere as soon as you can and have
the nuts tightened with a torque wrench to the
proper torque specication. See “Capacities
and Specications” in the Index for wheel nut
torque specication.Notice:Improperly tightened wheel nuts can lead
to brake pulsation and rotor damage. To avoid
expensive brake repairs, evenly tighten the wheel
nuts in the proper sequence and to the proper
torque specication. See “Capacities and
Specications” in the Index for the wheel nut
torque specication.
Do not try to put a wheel cover on your compact spare
tire. It will not fit. Store the wheel cover in the cargo
area until you have the flat tire repaired or replaced.
Notice:Wheel covers will not t on your compact
spare. If you try to put a wheel cover on the
compact spare, you could damage the cover or
the spare.
5-73
Page 277 of 334
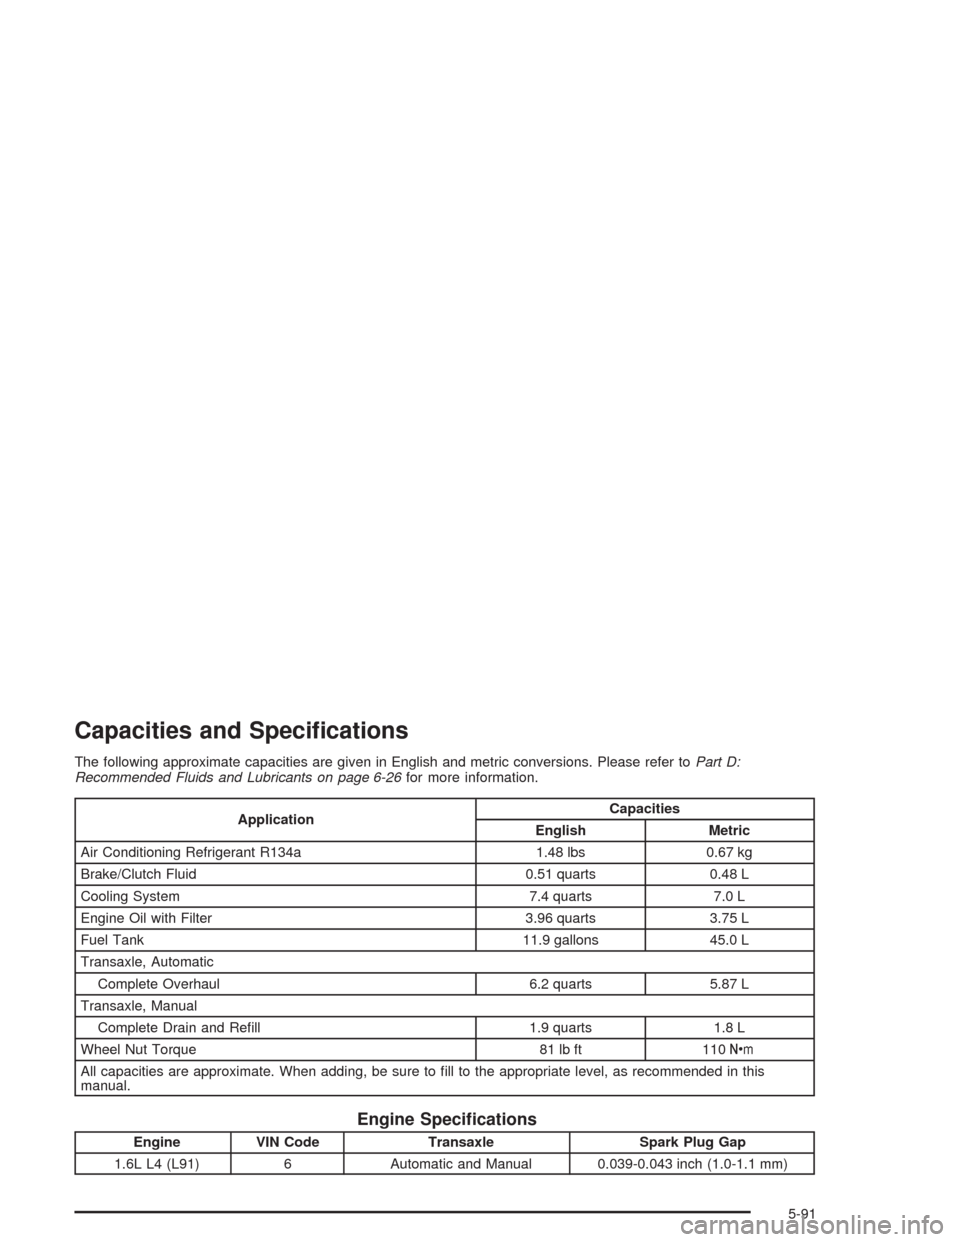
Capacities and Specications
The following approximate capacities are given in English and metric conversions. Please refer toPart D:
Recommended Fluids and Lubricants on page 6-26for more information.
ApplicationCapacities
English Metric
Air Conditioning Refrigerant R134a 1.48 lbs 0.67 kg
Brake/Clutch Fluid 0.51 quarts 0.48 L
Cooling System 7.4 quarts 7.0 L
Engine Oil with Filter 3.96 quarts 3.75 L
Fuel Tank 11.9 gallons 45.0 L
Transaxle, Automatic
Complete Overhaul 6.2 quarts 5.87 L
Transaxle, Manual
Complete Drain and Refill 1.9 quarts 1.8 L
Wheel Nut Torque 81 lb ft 110Y
All capacities are approximate. When adding, be sure to fill to the appropriate level, as recommended in this
manual.
Engine Specications
Engine VIN Code Transaxle Spark Plug Gap
1.6L L4 (L91) 6 Automatic and Manual 0.039-0.043 inch (1.0-1.1 mm)
5-91
Page 322 of 334
B
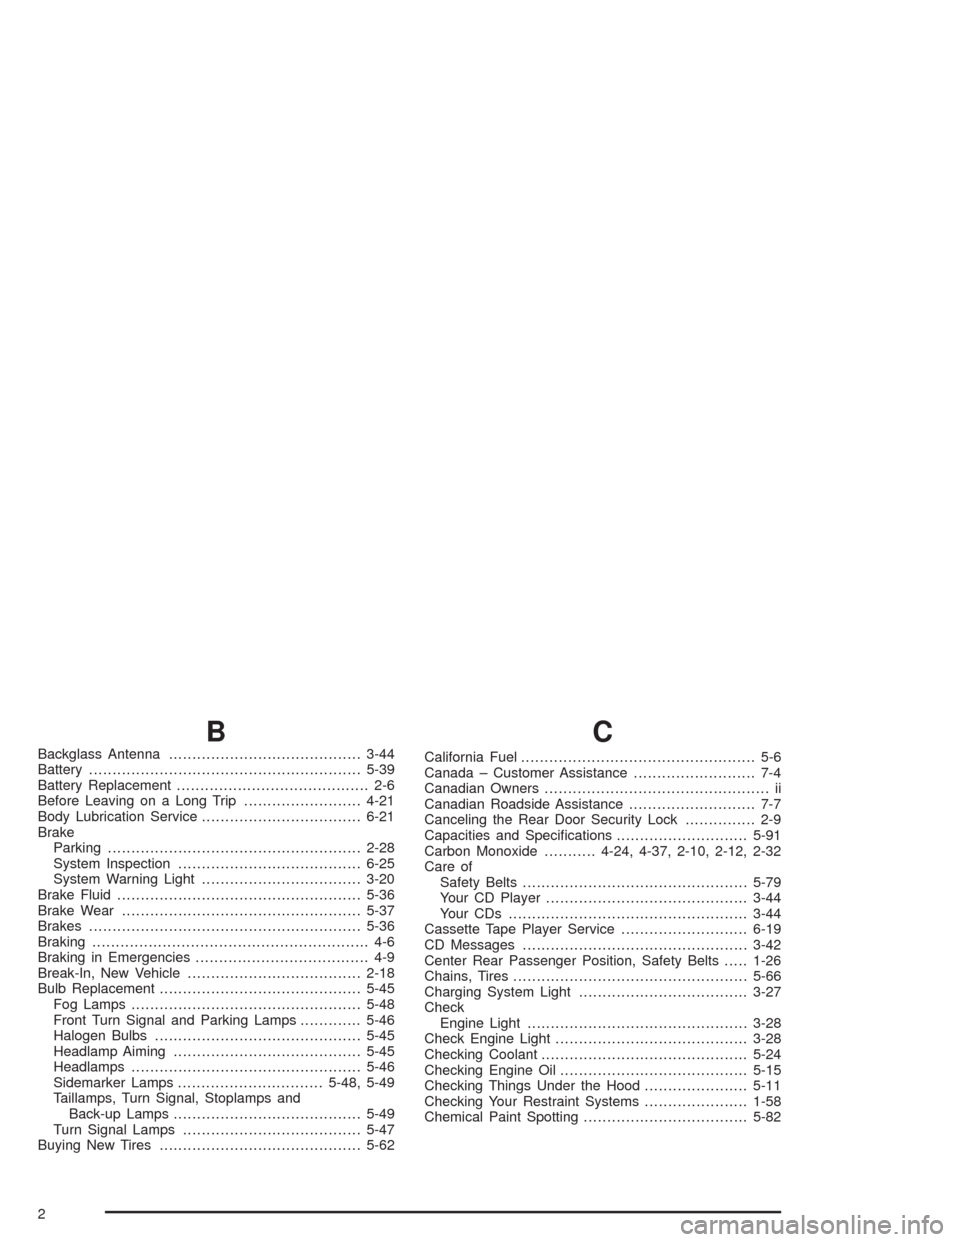
Backglass Antenna.........................................3-44
Battery..........................................................5-39
Battery Replacement......................................... 2-6
Before Leaving on a Long Trip.........................4-21
Body Lubrication Service..................................6-21
Brake
Parking......................................................2-28
System Inspection.......................................6-25
System Warning Light..................................3-20
Brake Fluid....................................................5-36
Brake Wear...................................................5-37
Brakes..........................................................5-36
Braking........................................................... 4-6
Braking in Emergencies..................................... 4-9
Break-In, New Vehicle.....................................2-18
Bulb Replacement...........................................5-45
Fog Lamps.................................................5-48
Front Turn Signal and Parking Lamps.............5-46
Halogen Bulbs............................................5-45
Headlamp Aiming........................................5-45
Headlamps.................................................5-46
Sidemarker Lamps...............................5-48, 5-49
Taillamps, Turn Signal, Stoplamps and
Back-up Lamps........................................5-49
Turn Signal Lamps......................................5-47
Buying New Tires...........................................5-62
C
California Fuel.................................................. 5-6
Canada – Customer Assistance.......................... 7-4
Canadian Owners................................................ ii
Canadian Roadside Assistance........................... 7-7
Canceling the Rear Door Security Lock............... 2-9
Capacities and Specifications............................5-91
Carbon Monoxide...........4-24, 4-37, 2-10, 2-12, 2-32
Care of
Safety Belts................................................5-79
Your CD Player...........................................3-44
Your CDs ...................................................3-44
Cassette Tape Player Service...........................6-19
CD Messages................................................3-42
Center Rear Passenger Position, Safety Belts.....1-26
Chains, Tires..................................................5-66
Charging System Light....................................3-27
Check
Engine Light...............................................3-28
Check Engine Light.........................................3-28
Checking Coolant............................................5-24
Checking Engine Oil........................................5-15
Checking Things Under the Hood......................5-11
Checking Your Restraint Systems......................1-58
Chemical Paint Spotting...................................5-82
2
Page 332 of 334
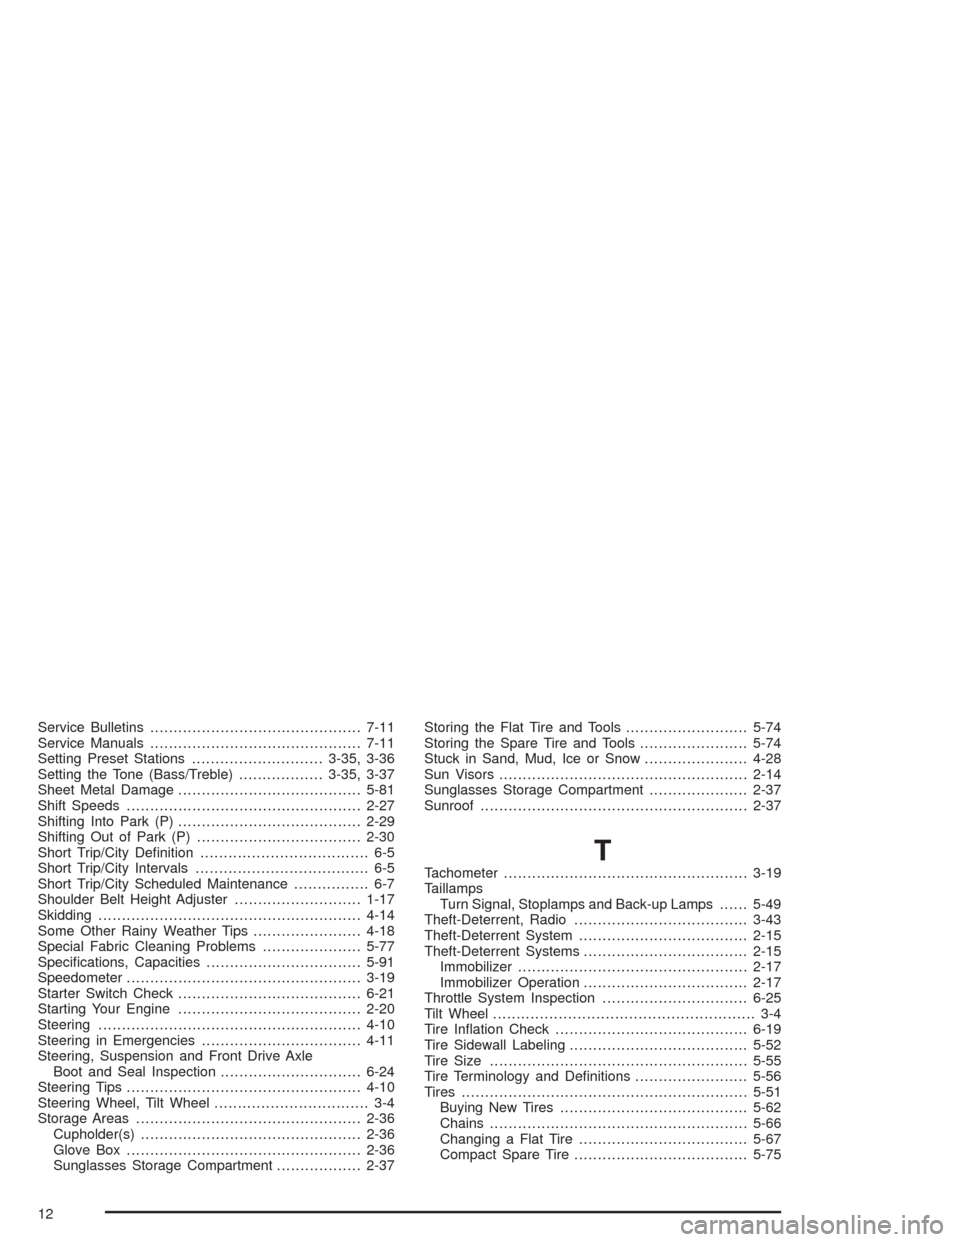
Service Bulletins.............................................7-11
Service Manuals.............................................7-11
Setting Preset Stations............................3-35, 3-36
Setting the Tone (Bass/Treble)..................3-35, 3-37
Sheet Metal Damage.......................................5-81
Shift Speeds..................................................2-27
Shifting Into Park (P).......................................2-29
Shifting Out of Park (P)...................................2-30
Short Trip/City Definition.................................... 6-5
Short Trip/City Intervals..................................... 6-5
Short Trip/City Scheduled Maintenance................ 6-7
Shoulder Belt Height Adjuster...........................1-17
Skidding........................................................4-14
Some Other Rainy Weather Tips.......................4-18
Special Fabric Cleaning Problems.....................5-77
Specifications, Capacities.................................5-91
Speedometer..................................................3-19
Starter Switch Check.......................................6-21
Starting Your Engine.......................................2-20
Steering........................................................4-10
Steering in Emergencies..................................4-11
Steering, Suspension and Front Drive Axle
Boot and Seal Inspection..............................6-24
Steering Tips..................................................4-10
Steering Wheel, Tilt Wheel................................. 3-4
Storage Areas................................................2-36
Cupholder(s)...............................................2-36
Glove Box..................................................2-36
Sunglasses Storage Compartment..................2-37Storing the Flat Tire and Tools..........................5-74
Storing the Spare Tire and Tools.......................5-74
Stuck in Sand, Mud, Ice or Snow......................4-28
Sun Visors.....................................................2-14
Sunglasses Storage Compartment.....................2-37
Sunroof.........................................................2-37
T
Tachometer....................................................3-19
Taillamps
Turn Signal, Stoplamps and Back-up Lamps......5-49
Theft-Deterrent, Radio.....................................3-43
Theft-Deterrent System....................................2-15
Theft-Deterrent Systems...................................2-15
Immobilizer.................................................2-17
Immobilizer Operation...................................2-17
Throttle System Inspection...............................6-25
Tilt Wheel........................................................ 3-4
Tire Inflation Check.........................................6-19
Tire Sidewall Labeling......................................5-52
Tire Size.......................................................5-55
Tire Terminology and Definitions........................5-56
Tires.............................................................5-51
Buying New Tires........................................5-62
Chains.......................................................5-66
Changing a Flat Tire....................................5-67
Compact Spare Tire.....................................5-75
12