2004 CHEVROLET AVEO ignition
[x] Cancel search: ignitionPage 132 of 334

Hold Mode Light
If your vehicle has this
feature, this light will come
on when the hold mode
is active.
If the HOLD mode light flashes, have your vehicle
checked. See “Hold Mode” underAutomatic Transaxle
Operation on page 2-22for additional information
on this feature.
Malfunction Indicator Lamp
Check Engine Light
Your vehicle is equipped
with a computer which
monitors operation of the
fuel, ignition and emission
control systems.
This system is called OBD II (On-Board Diagnostics-
Second Generation) and is intended to assure that
emissions are at acceptable levels for the life of
the vehicle, helping to produce a cleaner environment.
The Check Engine light comes on to indicate that
there is a problem and service is required. Malfunctions
often will be indicated by the system before any
problem is apparent. This may prevent more serious
damage to your vehicle. This system is also designed to
assist your service technician in correctly diagnosing
any malfunction.
3-28
Page 133 of 334

Notice:If you keep driving your vehicle with this
light on, after a while, your emission controls
may not work as well, your fuel economy may not
be as good and your engine may not run as
smoothly. This could lead to costly repairs that
may not be covered by your warranty.
Notice:Modi�cations made to the engine,
transaxle, exhaust, intake or fuel system of your
vehicle or replacement tires that do not match your
vehicle’s original tires can affect your vehicle’s
emission controls and may cause this light to come
on. Modi�cations to these systems could lead to
costly repairs not covered by your warranty.
This may also result in a failure to pass a required
Emission Inspection/Maintenance test.
When the ignition is on, this light should come on and
should go out after a few seconds as a check to
show you it is working. If the light does not come on,
have it repaired.This light will also come on during a malfunction in one
of two ways:
•Light Flashing— A misfire condition has been
detected. A misfire increases vehicle emissions
and may damage the emission control system on
your vehicle. Diagnosis and service may be
required.
•Light On Steady— An emission control system
malfunction has been detected on your vehicle.
Diagnosis and service may be required.
3-29
Page 136 of 334

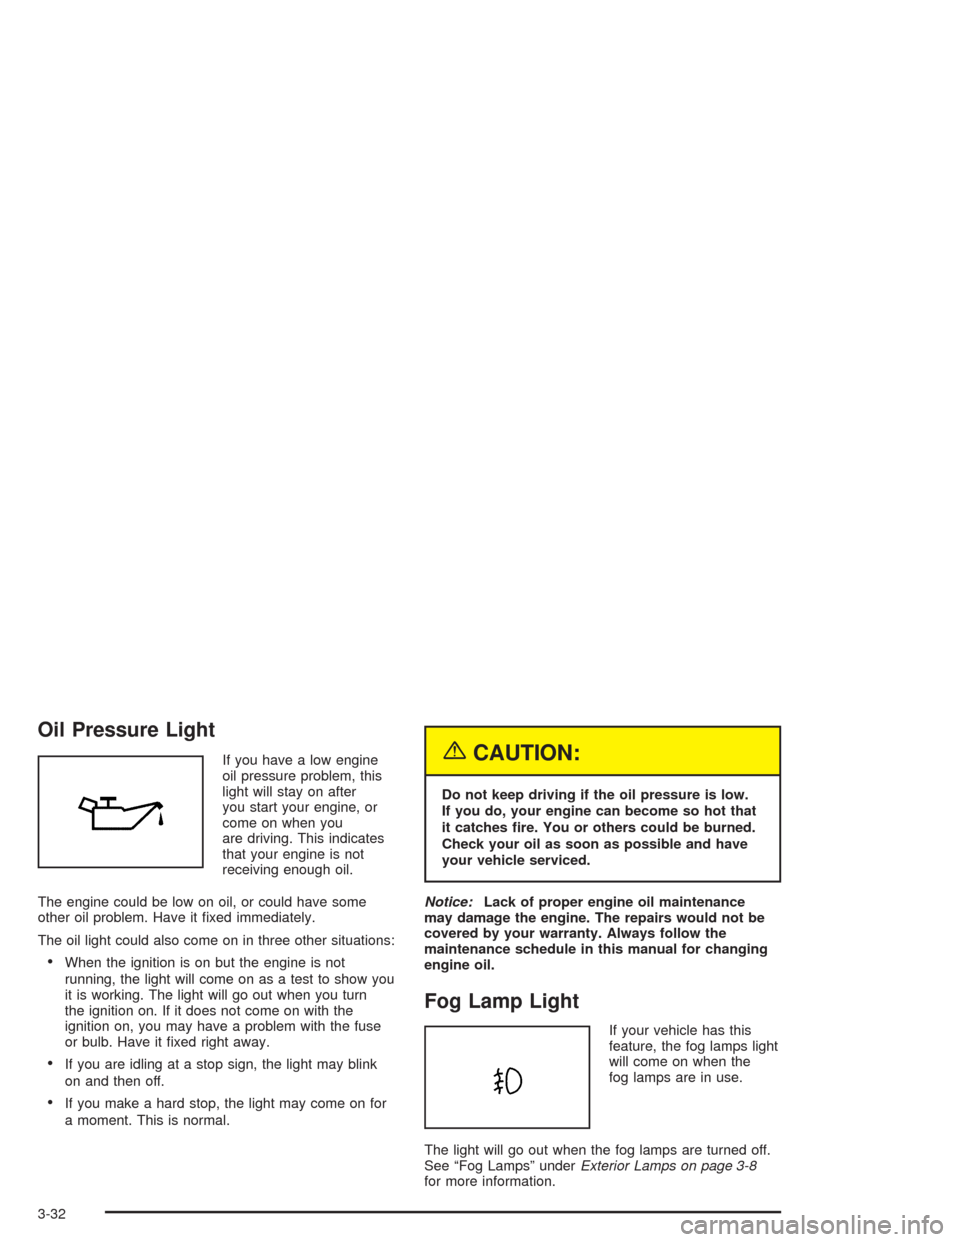
Oil Pressure Light
If you have a low engine
oil pressure problem, this
light will stay on after
you start your engine, or
come on when you
are driving. This indicates
that your engine is not
receiving enough oil.
The engine could be low on oil, or could have some
other oil problem. Have it fixed immediately.
The oil light could also come on in three other situations:
•When the ignition is on but the engine is not
running, the light will come on as a test to show you
it is working. The light will go out when you turn
the ignition on. If it does not come on with the
ignition on, you may have a problem with the fuse
or bulb. Have it fixed right away.
•If you are idling at a stop sign, the light may blink
on and then off.
•If you make a hard stop, the light may come on for
a moment. This is normal.
{CAUTION:
Do not keep driving if the oil pressure is low.
If you do, your engine can become so hot that
it catches �re. You or others could be burned.
Check your oil as soon as possible and have
your vehicle serviced.
Notice:Lack of proper engine oil maintenance
may damage the engine. The repairs would not be
covered by your warranty. Always follow the
maintenance schedule in this manual for changing
engine oil.
Fog Lamp Light
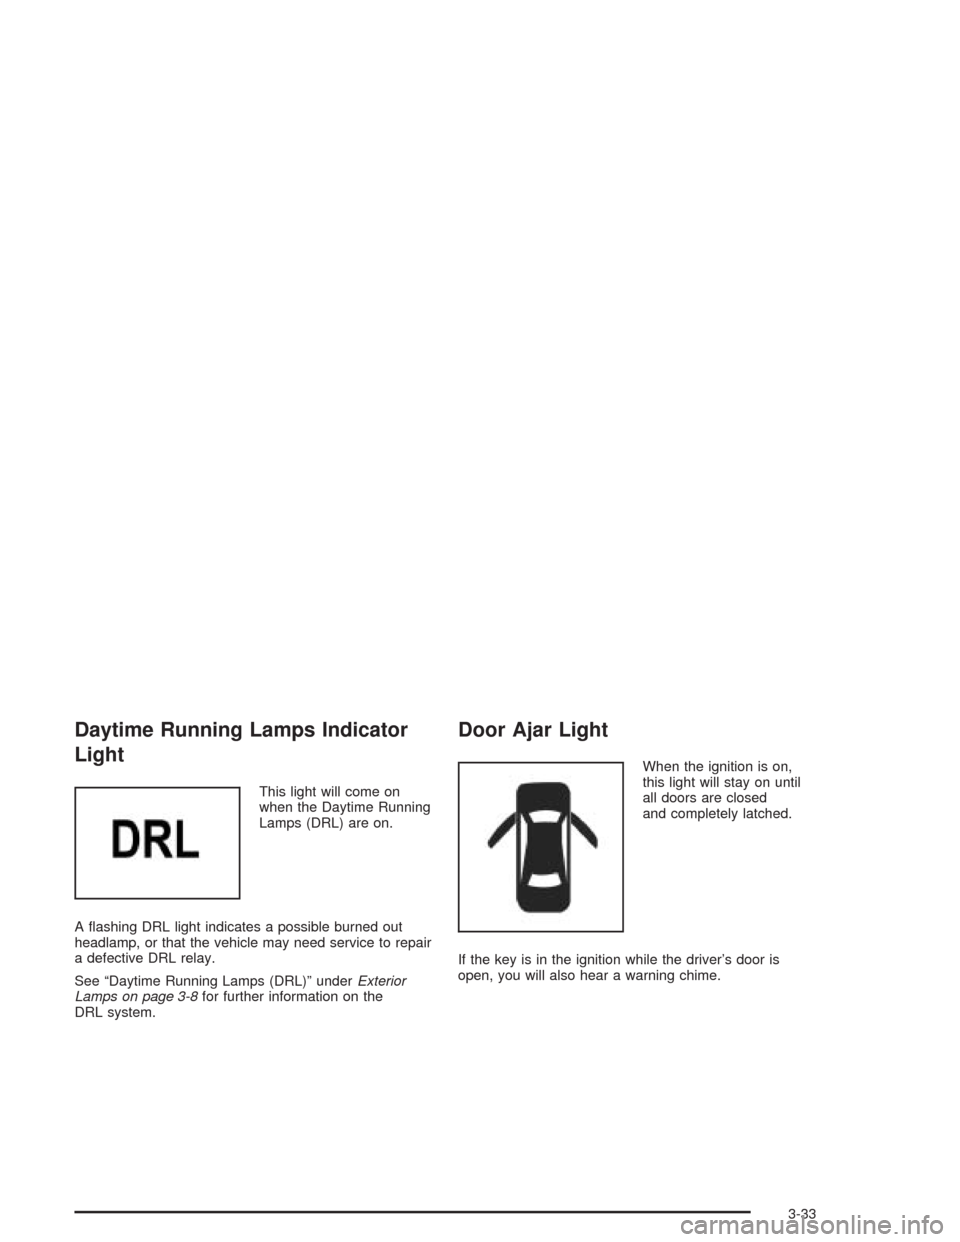
If your vehicle has this
feature, the fog lamps light
will come on when the
fog lamps are in use.
The light will go out when the fog lamps are turned off.
See “Fog Lamps” underExterior Lamps on page 3-8
for more information.
3-32
Page 137 of 334

Daytime Running Lamps Indicator
Light
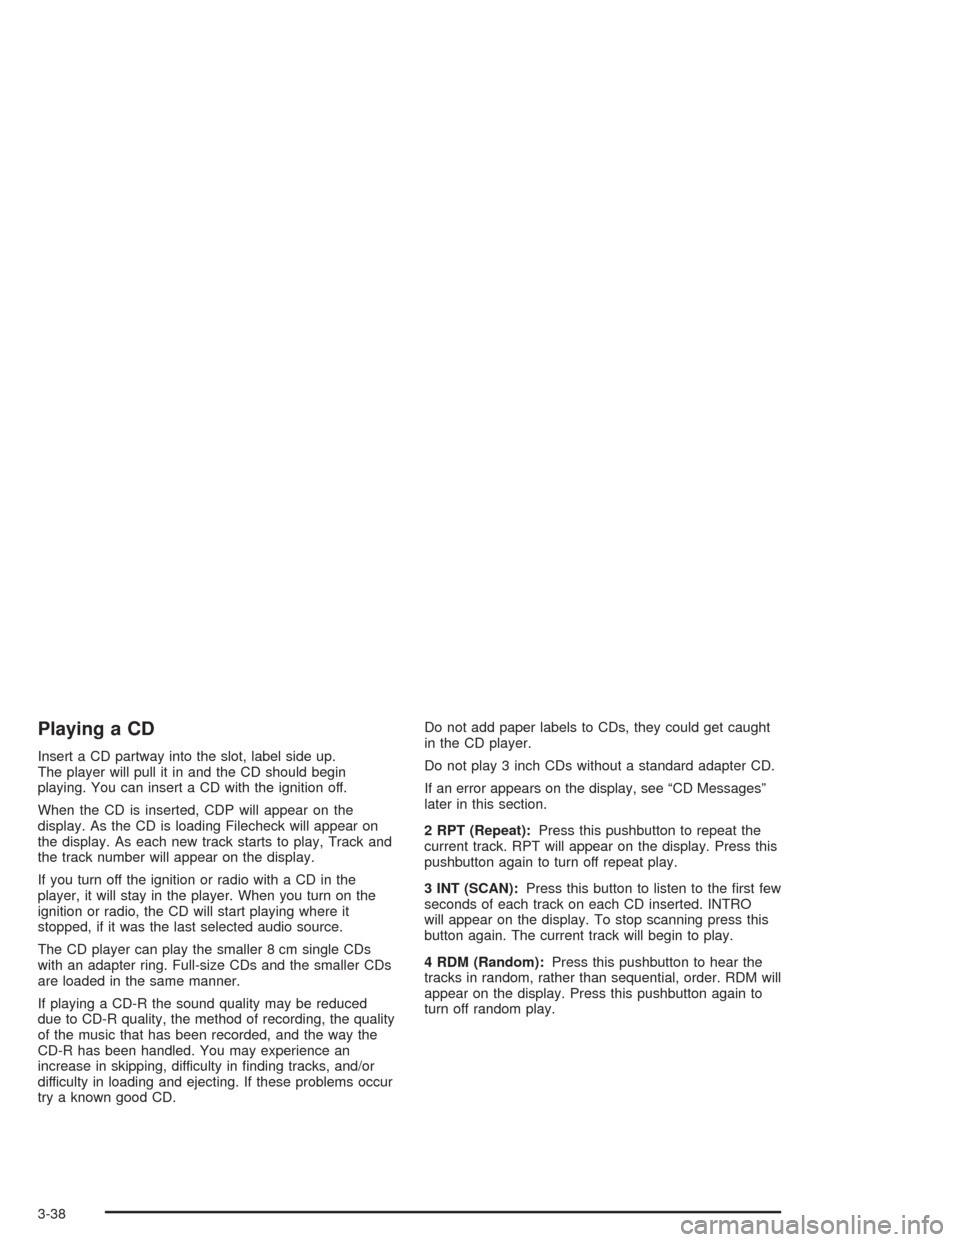
This light will come on
when the Daytime Running
Lamps (DRL) are on.
A flashing DRL light indicates a possible burned out
headlamp, or that the vehicle may need service to repair
a defective DRL relay.
See “Daytime Running Lamps (DRL)” underExterior
Lamps on page 3-8for further information on the
DRL system.
Door Ajar Light
When the ignition is on,
this light will stay on until
all doors are closed
and completely latched.
If the key is in the ignition while the driver’s door is
open, you will also hear a warning chime.
3-33
Page 142 of 334

Playing a CD
Insert a CD partway into the slot, label side up.
The player will pull it in and the CD should begin
playing. You can insert a CD with the ignition off.
When the CD is inserted, CDP will appear on the
display. As the CD is loading Filecheck will appear on
the display. As each new track starts to play, Track and
the track number will appear on the display.
If you turn off the ignition or radio with a CD in the
player, it will stay in the player. When you turn on the
ignition or radio, the CD will start playing where it
stopped, if it was the last selected audio source.
The CD player can play the smaller 8 cm single CDs
with an adapter ring. Full-size CDs and the smaller CDs
are loaded in the same manner.
If playing a CD-R the sound quality may be reduced
due to CD-R quality, the method of recording, the quality
of the music that has been recorded, and the way the
CD-R has been handled. You may experience an
increase in skipping, difficulty in finding tracks, and/or
difficulty in loading and ejecting. If these problems occur
try a known good CD.Do not add paper labels to CDs, they could get caught
in the CD player.
Do not play 3 inch CDs without a standard adapter CD.
If an error appears on the display, see “CD Messages”
later in this section.
2 RPT (Repeat):Press this pushbutton to repeat the
current track. RPT will appear on the display. Press this
pushbutton again to turn off repeat play.
3 INT (SCAN):Press this button to listen to the first few
seconds of each track on each CD inserted. INTRO
will appear on the display. To stop scanning press this
button again. The current track will begin to play.
4 RDM (Random):Press this pushbutton to hear the
tracks in random, rather than sequential, order. RDM will
appear on the display. Press this pushbutton again to
turn off random play.
3-38
Page 143 of 334

TRACK (Previous/Next Track):Turn this knob one
notch to go to the start of the current track or to go to the
next track. The track number will appear on the
display. The player will continue moving backward or
forward through the CD with each turn of the knob.
TUN (Forward/Reverse):Push and hold this knob to
fast forward or to reverse through the current track.
AM/FM:Press this button to listen to the radio when a
CD is playing. The inactive CD will remain safely
inside the radio for future listening.
CD:Press this button to play a CD when listening to
the radio. CDP will appear on the display when the CD
player has been selected.
Press this button while a CD is playing to pause the
CD. Track and the track number will flash on the display.
Press this button again to start playing the CD.
X(Eject):Press this button to eject a CD. Eject may
be activated with either the ignition or radio off.
Using an MP3 CD
MP3 Format
If this radio has MP3 capabilities, this MP3 player will
accept MP3 files that were recorded on an up to 700 MB
CD-R CD. The files can be recorded with the following
fixed bit rates: 32 kbps, 40 kpbs, 56 kpbs, 64 kpbs,
80 kpbs, 96 kpbs, 112 kpbs, 128 kpbs, 160 kpbs,
192 kpbs, 224 kpbs, 256 kpbs, and 320 kpbs or a
variable bit rate. Song title, artist name, and album will be
available when recorded using ID3 tags versions 1 and 2.
The player will be able to read and play a maximum of
50 folders, 50 playlists, 10 sessions, and 255 files.
Long file, folder, or playlist names or a combination of a
large number of files and folders or playlists may cause
the player to be unable to play up to the maximum
number of files, folders, playlists, or sessions. If you
wish to play large numbers of files, folders, playlists or
sessions minimize the length of the file, folder or playlist
name. You can also play an MP3 CD that was recorded
using no file folders. The system can support up to
11 folders in depth, though, keep the depth of the folders
to a minimum in order to keep down the complexity and
confusion in trying to locate a particular folder during
playback. If a CD contains more than the maximum of
50 folders, 50 playlists, 10 sessions, and 255 files the
player will let you access and navigate up to the
maximum, but all items over the maximum will be
ignored.
3-39
Page 145 of 334

File System and Naming
The song name that will be displayed will be the song
name that is contained in the ID3 tag. If the song name
is not present in the ID3 tag, then the radio will
display the file name without the extension (such
as.mp3) as the track name.
Track names longer than 32 characters or 4 pages will
be shortened. The display will not show parts of
words on the last page of text and the extension of the
filename will not be displayed.
Preprogrammed Playlists
You can access preprogrammed playlists which were
created by WinAmp™, MusicMatch™, or Real
Jukebox™ software, however, you will not have editing
capability. These playlists will be treated as special
folders containing compressed audio song files.
Playing an MP3
With the ignition on, insert a CD partway into the slot,
label side up. The player will pull it in, Loading, then
Filecheck, then MP3 will appear on the display. The CD
should begin playing. You can insert a CD with the
ignition off.
As each new track starts to play, F001, the track
number, and the song name will appear on the display.
If you turn off the ignition or radio with a CD in the
player, it will stay in the player. When you turn on the
ignition or radio, the CD will start playing where it
stopped, if it was the last selected audio source.
The CD player can play the smaller 8cm single CDs
with an adapter ring. Full-size CDs and the smaller CDs
are loaded in the same manner.
If playing a CD-R the sound quality may be reduced
due to CD-R quality, the method of recording, the quality
of the music that has been recorded, and the way the
CD-R has been handled. You may experience an
increase in skipping, difficulty in finding tracks and/or
difficulty in loading and ejecting. If these problems occur
try a known good CD.
3-41
Page 147 of 334

Theft-Deterrent Feature
The theft-deterrent system is designed to discourage
theft of your radio. When the radio and vehicle are
turned off, your radio has a blinking red light to indicate
that the theft-deterrent system is activated.
The theft-deterrent system also activates when the
audio system has been disconnected from the battery.
When this occurs, the AF code and security code
will have to be entered in order to operate your radio.
An identification card stamped with the AF code
and security code will be provided with the vehicle.
Keep it in a safe place, not in the vehicle.
To enter the security code do the following:
1. Turn the ignition to ACC or ON.
2. Turn the radio on. AF or COdE will flash on the
display. If AF flashes on the display, go to Step 2.
If COdE flashes on the display, go to Step 4.
3. Enter the AF code by using the preset pushbuttons.
COdE will flash on the display.
4. Enter the security code by using the preset
pushbuttons. When the complete security code is
entered, the code will flash three times.If the security code is not entered correctly, Err will
appear on the display for a few seconds. When
COdE appears back on the display, repeat Step 4.
If the incorrect AF code is entered, an incorrect
frequency level may be chosen and the radio
reception may be affected. If this occurs, reset the
audio system by removing and re-installing the
AUDIO fuse. See “Instrument Panel Fuse Block”
underFuses and Circuit Breakers on page 5-85for
more information. Then repeat Steps 1 through 4.
Radio Reception
AM
The range for most AM stations is greater than for FM,
especially at night. The longer range, however, can
cause stations to interfere with each other. AM can pick
up noise from things like storms and power lines.
Try reducing the treble to reduce this noise.
FM
FM stereo will give you the best sound, but FM signals
will reach only about 10 to 40 miles (16 to 65 km).
Tall buildings or hills can interfere with FM signals,
causing the sound to come and go.
3-43