Page 163 of 334

Driving at Night
Night driving is more dangerous than day driving.
One reason is that some drivers are likely to be
impaired — by alcohol or drugs, with night vision
problems, or by fatigue.Here are some tips on night driving.
•Drive defensively.
•Do not drink and drive.
•Adjust your inside rearview mirror to reduce the
glare from headlamps behind you.
•Since you can not see as well, you may need to
slow down and keep more space between you
and other vehicles.
•Slow down, especially on higher speed roads. Your
headlamps can light up only so much road ahead.
•In remote areas, watch for animals.
•If you are tired, pull off the road in a safe place
and rest.
No one can see as well at night as in the daytime.
But as we get older these differences increase.
A 50-year-old driver may require at least twice as much
light to see the same thing at night as a 20-year-old.
What you do in the daytime can also affect your night
vision. For example, if you spend the day in bright
sunshine you are wise to wear sunglasses. Your eyes will
have less trouble adjusting to night. But if you are driving,
do not wear sunglasses at night. They may cut down on
glare from headlamps, but they also make a lot of things
invisible.
4-15
Page 164 of 334

You can be temporarily blinded by approaching
headlamps. It can take a second or two, or even
several seconds, for your eyes to readjust to the dark.
When you are faced with severe glare (as from a
driver who does not lower the high beams, or a vehicle
with misaimed headlamps), slow down a little. Avoid
staring directly into the approaching headlamps.
Keep your windshield and all the glass on your vehicle
clean — inside and out. Glare at night is made much
worse by dirt on the glass. Even the inside of the glass
can build up a film caused by dust. Dirty glass makes
lights dazzle and flash more than clean glass would,
making the pupils of your eyes contract repeatedly.
Remember that your headlamps light up far less of a
roadway when you are in a turn or curve. Keep your
eyes moving; that way, it is easier to pick out dimly
lighted objects. Just as your headlamps should
be checked regularly for proper aim, so should your
eyes be examined regularly. Some drivers suffer from
night blindness — the inability to see in dim light — and
are not even aware of it.Driving in Rain and on Wet Roads
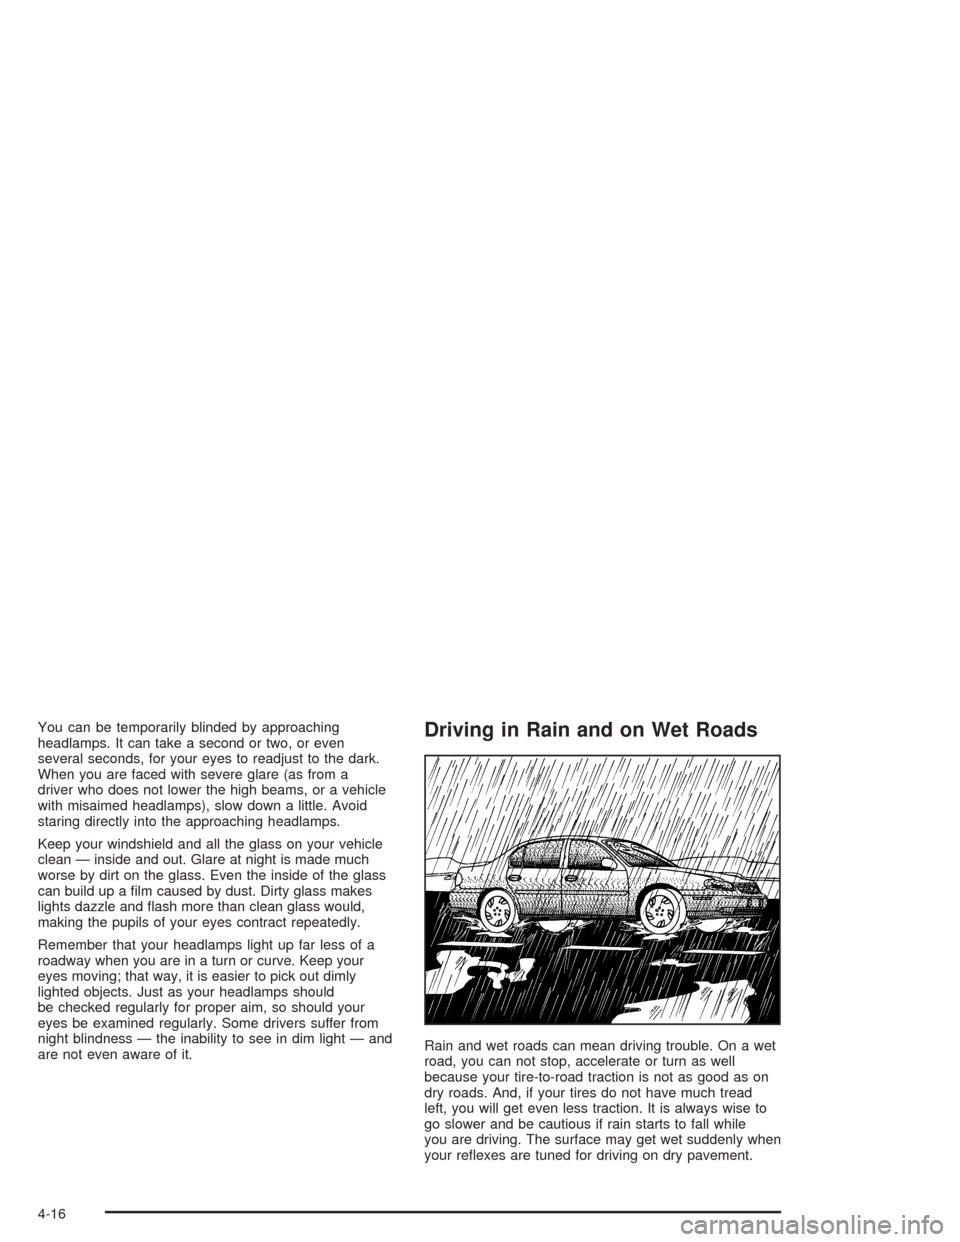
Rain and wet roads can mean driving trouble. On a wet
road, you can not stop, accelerate or turn as well
because your tire-to-road traction is not as good as on
dry roads. And, if your tires do not have much tread
left, you will get even less traction. It is always wise to
go slower and be cautious if rain starts to fall while
you are driving. The surface may get wet suddenly when
your reflexes are tuned for driving on dry pavement.
4-16
Page 176 of 334

Run your engine only as long as you must. This saves
fuel. When you run the engine, make it go a little
faster than just idle. That is, push the accelerator
slightly. This uses less fuel for the heat that you get
and it keeps the battery charged. You will need a
well-charged battery to restart the vehicle, and possibly
for signaling later on with your headlamps. Let the
heater run for a while.
Then, shut the engine off and close the window almost
all the way to preserve the heat. Start the engine
again and repeat this only when you feel really
uncomfortable from the cold. But do it as little as
possible. Preserve the fuel as long as you can. To help
keep warm, you can get out of the vehicle and do
some fairly vigorous exercises every half hour or so until
help comes.If You Are Stuck: In Sand, Mud,
Ice or Snow
In order to free your vehicle when it is stuck, you will
need to spin the wheels, but you do not want to
spin your wheels too fast. The method known as
“rocking” can help you get out when you are stuck,
but you must use caution.
{CAUTION:
If you let your tires spin at high speed, they can
explode, and you or others could be injured.
And, the transaxle or other parts of the vehicle
can overheat. That could cause an engine
compartment �re or other damage. When you
are stuck, spin the wheels as little as possible.
Do not spin the wheels above 35 mph (55 km/h)
as shown on the speedometer.
4-28
Page 187 of 334

Service............................................................5-3
Doing Your Own Service Work.........................5-4
Adding Equipment to the Outside of Your
Vehicle......................................................5-4
Fuel................................................................5-5
Gasoline Octane............................................5-5
Gasoline Specifications....................................5-5
California Fuel...............................................5-6
Additives.......................................................5-6
Fuels in Foreign Countries...............................5-7
Filling Your Tank............................................5-8
Filling a Portable Fuel Container.....................5-10
Checking Things Under the Hood....................5-11
Hood Release..............................................5-11
Engine Compartment Overview.......................5-14
Engine Oil...................................................5-15
Engine Air Cleaner/Filter................................5-20
Automatic Transaxle Fluid..............................5-21
Manual Transaxle Fluid..................................5-21
Hydraulic Clutch...........................................5-22
Engine Coolant.............................................5-23Coolant Surge Tank Pressure Cap..................5-25
Engine Overheating.......................................5-25
Cooling System............................................5-28
Power Steering Fluid.....................................5-34
Windshield Washer Fluid................................5-35
Brakes........................................................5-36
Battery........................................................5-39
Jump Starting...............................................5-40
Headlamp Aiming...........................................5-45
Bulb Replacement..........................................5-45
Halogen Bulbs..............................................5-45
Headlamps..................................................5-46
Front Turn Signal and Parking Lamps................5-46
Turn Signal Lamps (Side)..............................5-47
Fog Lamps..................................................5-48
Sidemarker Lamps (Front)..............................5-48
Sidemarker Lamps (Rear)..............................5-49
Taillamps, Turn Signal, Stoplamps and
Back-up Lamps.........................................5-49
Windshield Wiper Blade Replacement..............5-50
Section 5 Service and Appearance Care
5-1
Page 188 of 334

Tires..............................................................5-51
Inflation - Tire Pressure.................................5-59
Tire Inspection and Rotation...........................5-60
When It Is Time for New Tires.......................5-61
Buying New Tires.........................................5-62
Uniform Tire Quality Grading..........................5-63
Wheel Alignment and Tire Balance..................5-64
Wheel Replacement......................................5-64
Tire Chains..................................................5-66
If a Tire Goes Flat........................................5-66
Changing a Flat Tire.....................................5-67
Compact Spare Tire......................................5-75
Appearance Care............................................5-76
Cleaning the Inside of Your Vehicle.................5-76
Care of Safety Belts......................................5-79
Weatherstrips...............................................5-79
Cleaning the Outside of Your Vehicle..............5-79Sheet Metal Damage.....................................5-81
Finish Damage.............................................5-81
Underbody Maintenance................................5-82
Chemical Paint Spotting.................................5-82
Vehicle Care/Appearance Materials..................5-82
Vehicle Identi�cation......................................5-83
Vehicle Identification Number (VIN).................5-83
Service Parts Identification Label.....................5-84
Electrical System............................................5-84
Add-On Electrical Equipment..........................5-84
Headlamp Wiring..........................................5-84
Windshield Wiper Fuses................................5-84
Power Windows and Other Power Options.......5-84
Fuses and Circuit Breakers............................5-85
Capacities and Speci�cations..........................5-91
Section 5 Service and Appearance Care
5-2
Page 231 of 334

Headlamp Aiming
If your vehicle is damaged in an accident, the headlamp
aim may be affected. Aim adjustment to the low beam
may be necessary if it is difficult to see lane markers
(for horizontal aim), or if oncoming drivers flash
their high beams at you (for vertical aim). If you believe
your headlamps need to be re-aimed, we recommend
that you take your vehicle to the dealer for service.
However, it is possible for you to re-aim your headlamps
by following the procedure in the service manual for
your vehicle.
Notice:To make sure your headlamps are aimed
properly, read all the instructions before beginning.
Failure to follow these instructions could cause
damage to headlamp parts.
Bulb Replacement
For any bulb changing procedures not listed in this
section, contact your dealer.
Halogen Bulbs
{CAUTION:
Halogen bulbs have pressurized gas inside and
can burst if you drop or scratch the bulb. You or
others could be injured. Be sure to read and
follow the instructions on the bulb package.
5-45
Page 232 of 334
Headlamps
1. Open the hood.
2. Disconnect the wiring harness connector from the
rear of the bulb.
3. Remove the headlamp cap.
4. Release the spring that retains the bulb.
5. Remove the old bulb.
6. Install the new bulb.
7. Install the bulb retaining spring.
8. Reverse Steps 1 through 3 to install the headlamp
assembly. Then, check the lamps.
Front Turn Signal and Parking Lamps
1. Open the hood.
2. Remove the five screws and the radiator grille.
3. Remove the three bolts and the headlamp
assembly.
4. Disconnect the wiring harness connector from the
rear of the bulb.
5. Turn the front turn signal bulb socket
counterclockwise.
5-46
Page 234 of 334
Fog Lamps
1. Disconnect the wiring harness connector from the
front fog lamp bulb.
2. Turn the front fog lamp bulb counterclockwise and
remove it.
3. Install the new bulb.
4. Connect the wiring harness connector to the front
fog lamp bulb.
Sidemarker Lamps (Front)
1. Open the hood.
2. Remove the radiator grille and the headlamp
assembly. See Steps 2 through 3 underFront Turn
Signal and Parking Lamps on page 5-46.
3. Turn the front sidemarker bulb socket
counterclockwise.
4. Pull the front sidemarker bulb socket out of the
front bumper.
5. Pull the old bulb straight out from the bulb socket.
6. Install the new bulb by pressing it straight into
the bulb socket.
7. Reverse Steps 1 through 4 to install the bulb socket
and assembly.
5-48