2004 CHEVROLET AVEO bulb
[x] Cancel search: bulbPage 1 of 334

Seats and Restraint Systems........................... 1-1
Front Seats
............................................... 1-2
Rear Seats
............................................... 1-6
Safety Belts
.............................................1-10
Child Restraints
.......................................1-28
Air Bag Systems
......................................1-50
Restraint System Check
............................1-58
Features and Controls..................................... 2-1
Keys
........................................................ 2-2
Doors and Locks
....................................... 2-7
Windows
.................................................2-13
Theft-Deterrent Systems
............................2-15
Starting and Operating Your Vehicle
...........2-18
Mirrors
....................................................2-34
Storage Areas
.........................................2-36
Sunroof
..................................................2-37
Instrument Panel............................................. 3-1
Instrument Panel Overview
.......................... 3-2
Climate Controls
......................................3-12
Warning Lights, Gages, and Indicators
........3-17
Secondary Information Center (SIC)
............3-24
Audio System(s)
.......................................3-34Driving Your Vehicle....................................... 4-1
Your Driving, the Road, and Your Vehicle
..... 4-2
Towing
...................................................4-29
Service and Appearance Care.......................... 5-1
Service
..................................................... 5-3
Fuel
......................................................... 5-5
Checking Things Under the Hood
...............5-11
Headlamp Aiming
.....................................5-45
Bulb Replacement
....................................5-45
Windshield Wiper Blade Replacement
.........5-50
Tires
......................................................5-51
Appearance Care
.....................................5-76
Vehicle Identification
.................................5-83
Electrical System
......................................5-84
Capacities and Specifications
.....................5-91
Maintenance Schedule..................................... 6-1
Maintenance Schedule
................................ 6-2
Customer Assistance and Information.............. 7-1
Customer Assistance and Information
........... 7-2
Reporting Safety Defects
...........................7-10
Index.................................................................1
2004 Chevrolet Aveo Owner ManualM
Page 109 of 334
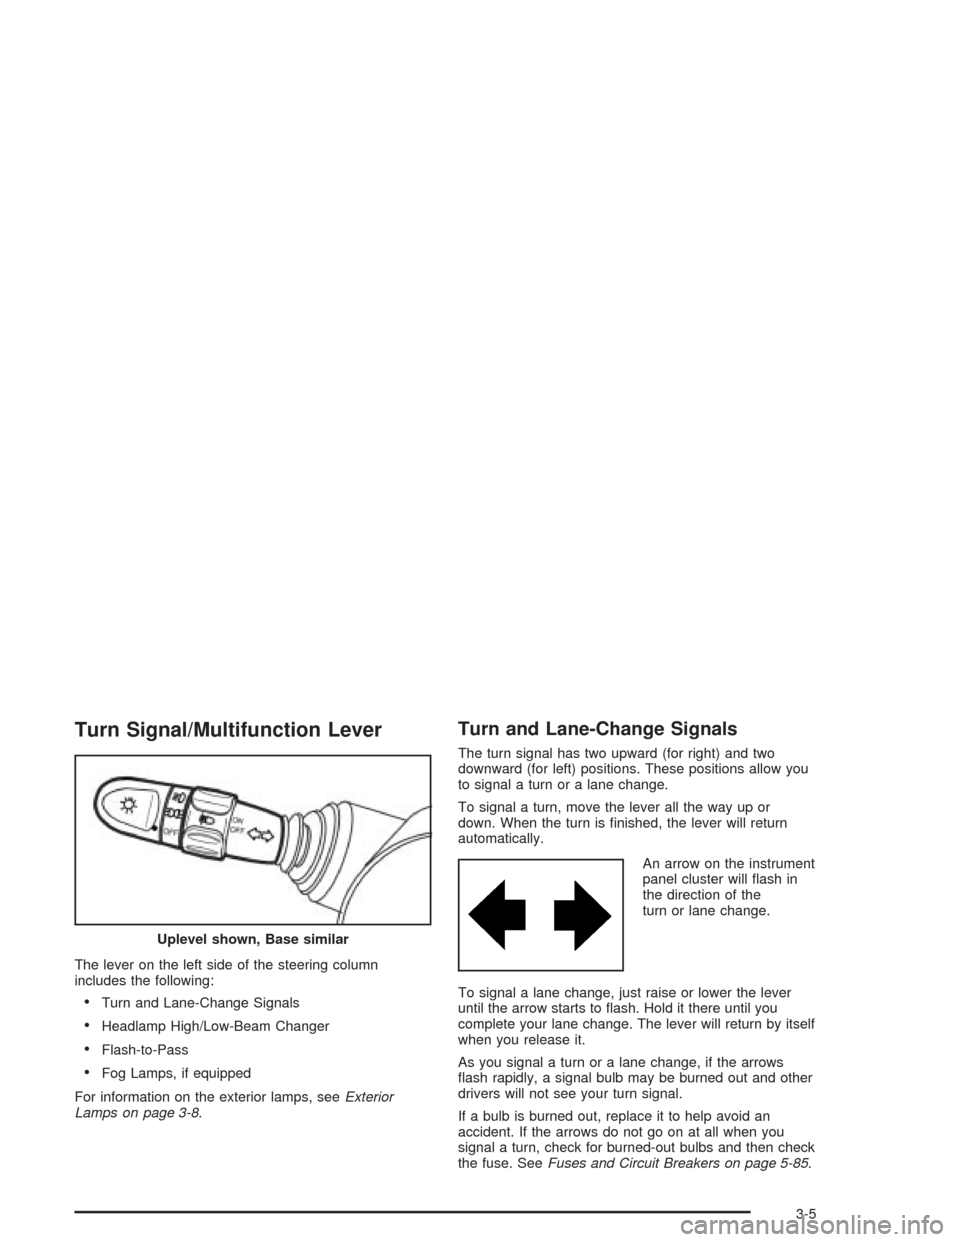
Turn Signal/Multifunction Lever
The lever on the left side of the steering column
includes the following:
•Turn and Lane-Change Signals
•Headlamp High/Low-Beam Changer
•Flash-to-Pass
•Fog Lamps, if equipped
For information on the exterior lamps, seeExterior
Lamps on page 3-8.
Turn and Lane-Change Signals
The turn signal has two upward (for right) and two
downward (for left) positions. These positions allow you
to signal a turn or a lane change.
To signal a turn, move the lever all the way up or
down. When the turn is finished, the lever will return
automatically.
An arrow on the instrument
panel cluster will flash in
the direction of the
turn or lane change.
To signal a lane change, just raise or lower the lever
until the arrow starts to flash. Hold it there until you
complete your lane change. The lever will return by itself
when you release it.
As you signal a turn or a lane change, if the arrows
flash rapidly, a signal bulb may be burned out and other
drivers will not see your turn signal.
If a bulb is burned out, replace it to help avoid an
accident. If the arrows do not go on at all when you
signal a turn, check for burned-out bulbs and then check
the fuse. SeeFuses and Circuit Breakers on page 5-85. Uplevel shown, Base similar
3-5
Page 136 of 334
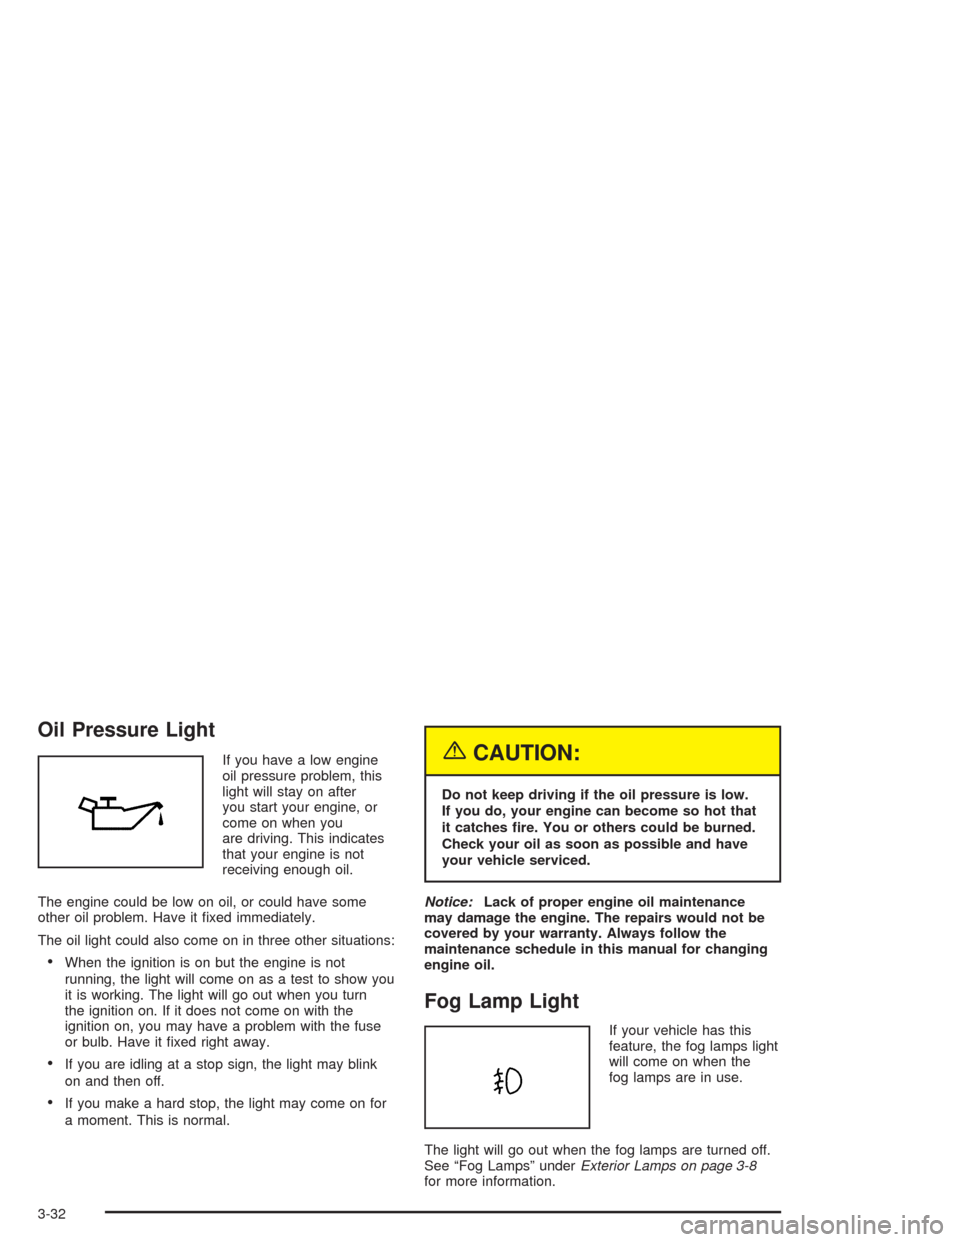
Oil Pressure Light
If you have a low engine
oil pressure problem, this
light will stay on after
you start your engine, or
come on when you
are driving. This indicates
that your engine is not
receiving enough oil.
The engine could be low on oil, or could have some
other oil problem. Have it fixed immediately.
The oil light could also come on in three other situations:
•When the ignition is on but the engine is not
running, the light will come on as a test to show you
it is working. The light will go out when you turn
the ignition on. If it does not come on with the
ignition on, you may have a problem with the fuse
or bulb. Have it fixed right away.
•If you are idling at a stop sign, the light may blink
on and then off.
•If you make a hard stop, the light may come on for
a moment. This is normal.
{CAUTION:
Do not keep driving if the oil pressure is low.
If you do, your engine can become so hot that
it catches �re. You or others could be burned.
Check your oil as soon as possible and have
your vehicle serviced.
Notice:Lack of proper engine oil maintenance
may damage the engine. The repairs would not be
covered by your warranty. Always follow the
maintenance schedule in this manual for changing
engine oil.
Fog Lamp Light
If your vehicle has this
feature, the fog lamps light
will come on when the
fog lamps are in use.
The light will go out when the fog lamps are turned off.
See “Fog Lamps” underExterior Lamps on page 3-8
for more information.
3-32
Page 187 of 334

Service............................................................5-3
Doing Your Own Service Work.........................5-4
Adding Equipment to the Outside of Your
Vehicle......................................................5-4
Fuel................................................................5-5
Gasoline Octane............................................5-5
Gasoline Specifications....................................5-5
California Fuel...............................................5-6
Additives.......................................................5-6
Fuels in Foreign Countries...............................5-7
Filling Your Tank............................................5-8
Filling a Portable Fuel Container.....................5-10
Checking Things Under the Hood....................5-11
Hood Release..............................................5-11
Engine Compartment Overview.......................5-14
Engine Oil...................................................5-15
Engine Air Cleaner/Filter................................5-20
Automatic Transaxle Fluid..............................5-21
Manual Transaxle Fluid..................................5-21
Hydraulic Clutch...........................................5-22
Engine Coolant.............................................5-23Coolant Surge Tank Pressure Cap..................5-25
Engine Overheating.......................................5-25
Cooling System............................................5-28
Power Steering Fluid.....................................5-34
Windshield Washer Fluid................................5-35
Brakes........................................................5-36
Battery........................................................5-39
Jump Starting...............................................5-40
Headlamp Aiming...........................................5-45
Bulb Replacement..........................................5-45
Halogen Bulbs..............................................5-45
Headlamps..................................................5-46
Front Turn Signal and Parking Lamps................5-46
Turn Signal Lamps (Side)..............................5-47
Fog Lamps..................................................5-48
Sidemarker Lamps (Front)..............................5-48
Sidemarker Lamps (Rear)..............................5-49
Taillamps, Turn Signal, Stoplamps and
Back-up Lamps.........................................5-49
Windshield Wiper Blade Replacement..............5-50
Section 5 Service and Appearance Care
5-1
Page 231 of 334
Headlamp Aiming
If your vehicle is damaged in an accident, the headlamp
aim may be affected. Aim adjustment to the low beam
may be necessary if it is difficult to see lane markers
(for horizontal aim), or if oncoming drivers flash
their high beams at you (for vertical aim). If you believe
your headlamps need to be re-aimed, we recommend
that you take your vehicle to the dealer for service.
However, it is possible for you to re-aim your headlamps
by following the procedure in the service manual for
your vehicle.
Notice:To make sure your headlamps are aimed
properly, read all the instructions before beginning.
Failure to follow these instructions could cause
damage to headlamp parts.
Bulb Replacement
For any bulb changing procedures not listed in this
section, contact your dealer.
Halogen Bulbs
{CAUTION:
Halogen bulbs have pressurized gas inside and
can burst if you drop or scratch the bulb. You or
others could be injured. Be sure to read and
follow the instructions on the bulb package.
5-45
Page 232 of 334
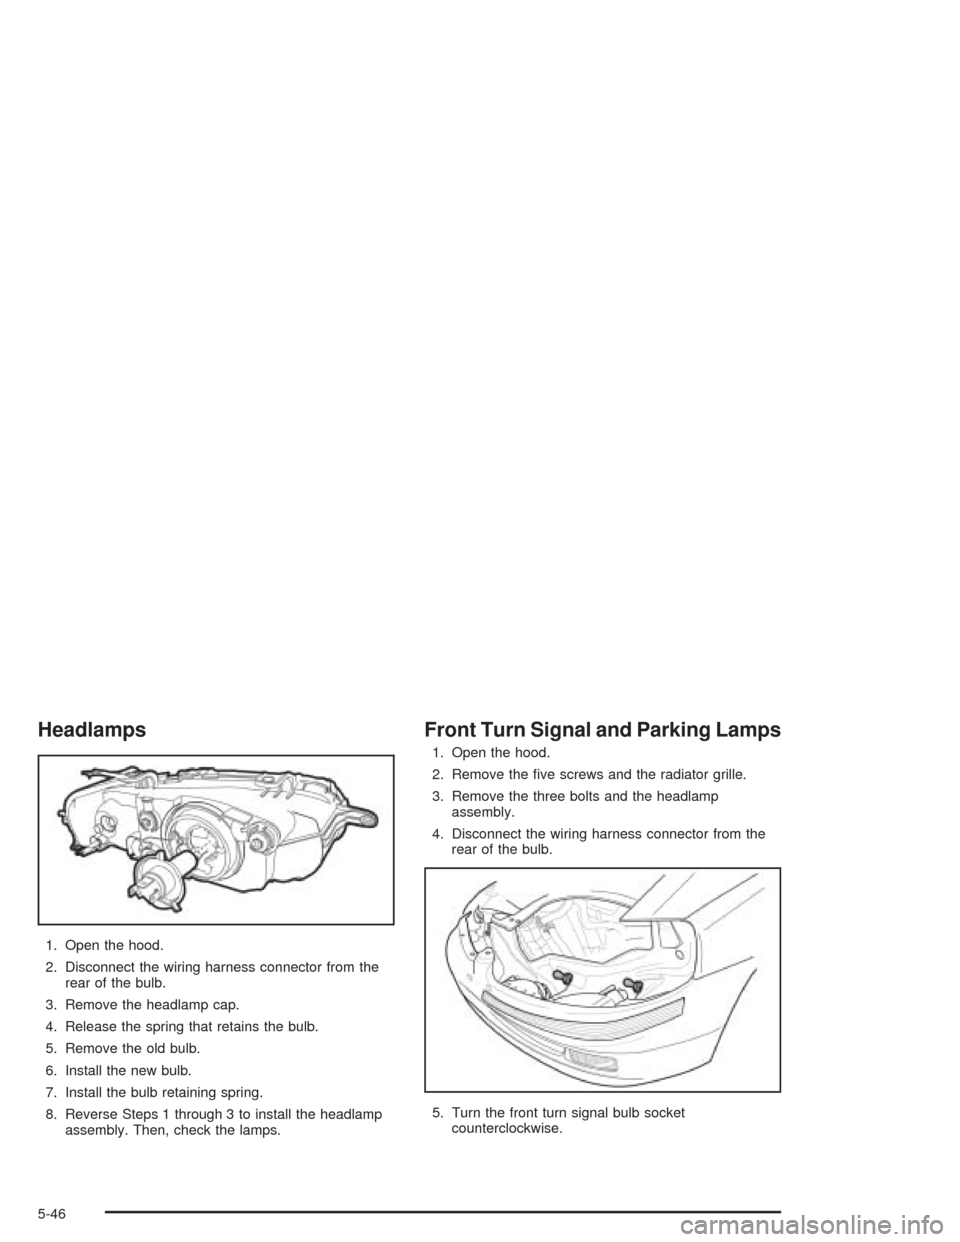
Headlamps
1. Open the hood.
2. Disconnect the wiring harness connector from the
rear of the bulb.
3. Remove the headlamp cap.
4. Release the spring that retains the bulb.
5. Remove the old bulb.
6. Install the new bulb.
7. Install the bulb retaining spring.
8. Reverse Steps 1 through 3 to install the headlamp
assembly. Then, check the lamps.
Front Turn Signal and Parking Lamps
1. Open the hood.
2. Remove the five screws and the radiator grille.
3. Remove the three bolts and the headlamp
assembly.
4. Disconnect the wiring harness connector from the
rear of the bulb.
5. Turn the front turn signal bulb socket
counterclockwise.
5-46
Page 233 of 334
6. Pull the front turn signal bulb socket out of the lamp
housing.
7. Press the bulb inward and turn it counterclockwise
to remove it from the bulb socket.
8. Install the new bulb into the socket by pressing it in
and turning it clockwise.
9. Install the socket into the lamp housing by turning it
clockwise.
10. Reverse Steps 1 through 4 to install the assembly.
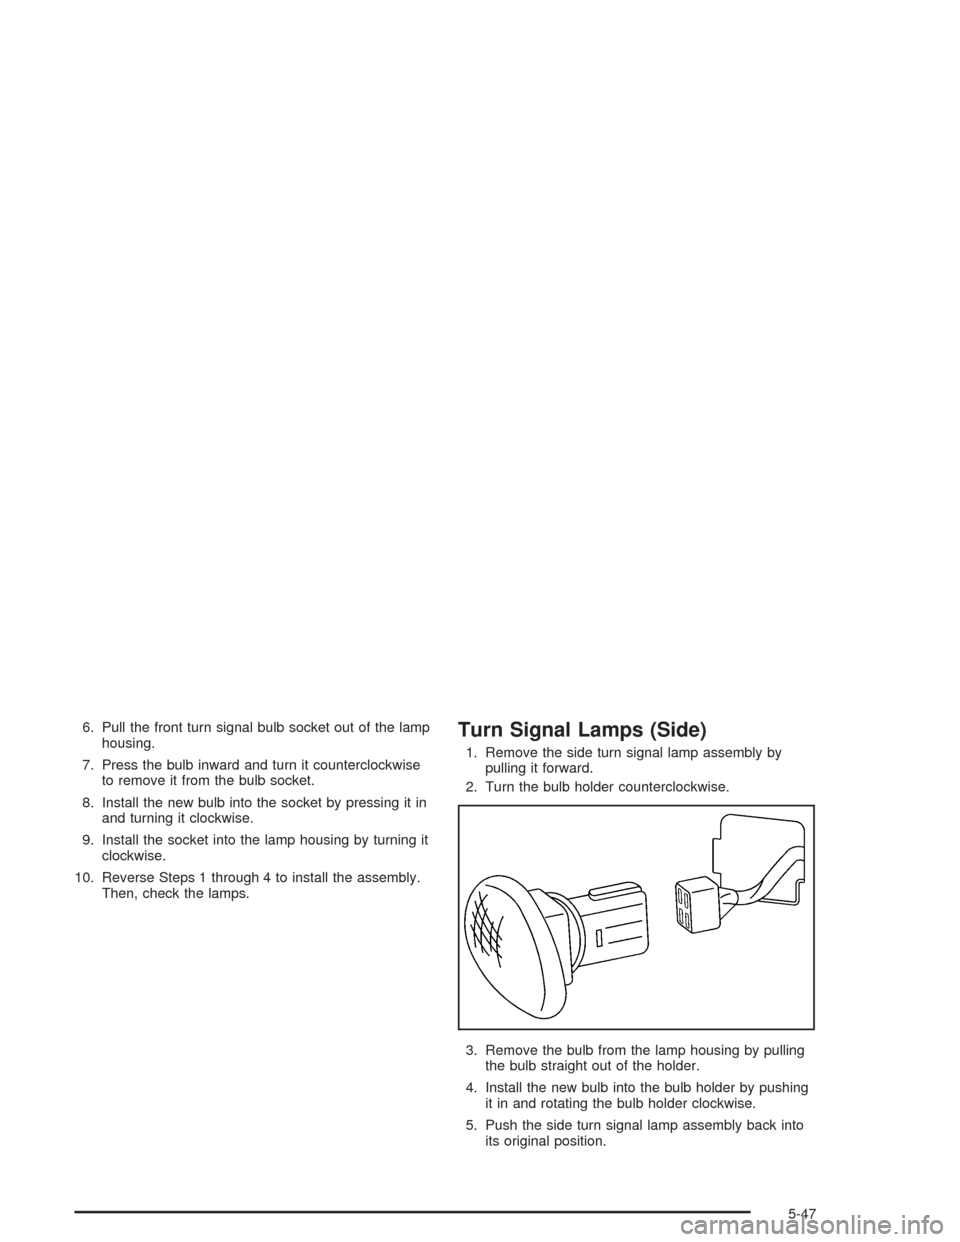
Then, check the lamps.Turn Signal Lamps (Side)
1. Remove the side turn signal lamp assembly by
pulling it forward.
2. Turn the bulb holder counterclockwise.
3. Remove the bulb from the lamp housing by pulling
the bulb straight out of the holder.
4. Install the new bulb into the bulb holder by pushing
it in and rotating the bulb holder clockwise.
5. Push the side turn signal lamp assembly back into
its original position.
5-47
Page 234 of 334
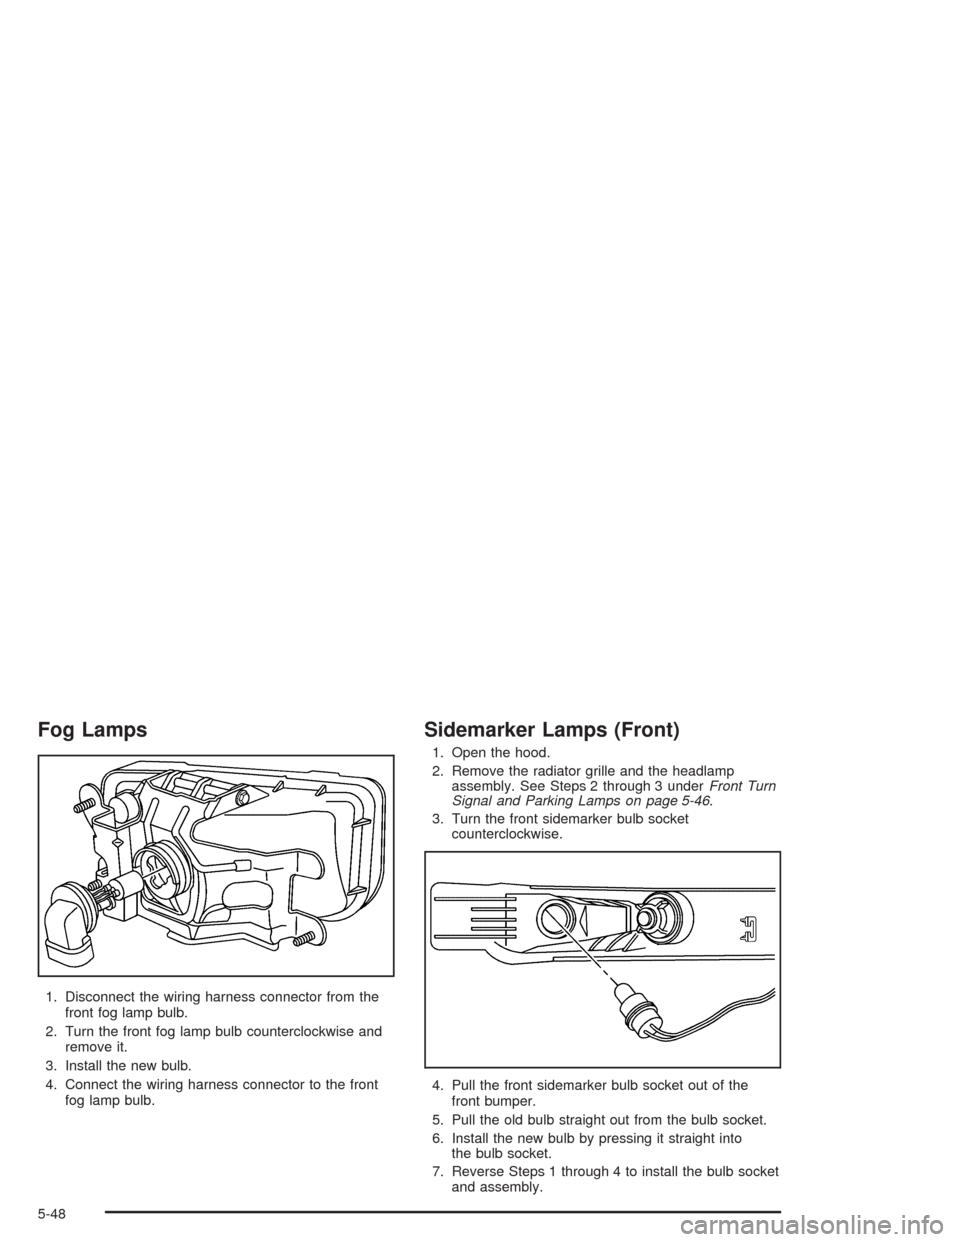
Fog Lamps
1. Disconnect the wiring harness connector from the
front fog lamp bulb.
2. Turn the front fog lamp bulb counterclockwise and
remove it.
3. Install the new bulb.
4. Connect the wiring harness connector to the front
fog lamp bulb.
Sidemarker Lamps (Front)
1. Open the hood.
2. Remove the radiator grille and the headlamp
assembly. See Steps 2 through 3 underFront Turn
Signal and Parking Lamps on page 5-46.
3. Turn the front sidemarker bulb socket
counterclockwise.
4. Pull the front sidemarker bulb socket out of the
front bumper.
5. Pull the old bulb straight out from the bulb socket.
6. Install the new bulb by pressing it straight into
the bulb socket.
7. Reverse Steps 1 through 4 to install the bulb socket
and assembly.
5-48