2004 CHEVROLET AVALANCHE tow bar
[x] Cancel search: tow barPage 9 of 548
Horizontal Control:This control adjusts the seat
cushion.
Raise or lower the front of the seat by raising or
lowering the forward edge of the control. Raise
or lower the rear of the seat by raising or lowering
the rear edge of the control.
Move the seat forward or rearward by moving the
whole control toward the front or toward the rear
of the vehicle.
Lower or raise the entire seat cushion by moving
the whole control up or down.
Vertical Control:This control adjusts the seatback.
Move the reclining front seatback rearward or forward by
moving the control toward the rear or the front of the
vehicle. This adjusts the angle of the seatback.
For more information on the reclining seatbacks,
seeReclining Seatbacks on page 1-5.
Your vehicle may have a memory function which allows
seat settings to be saved and recalled. SeeMemory
Seat on page 2-90for more information.
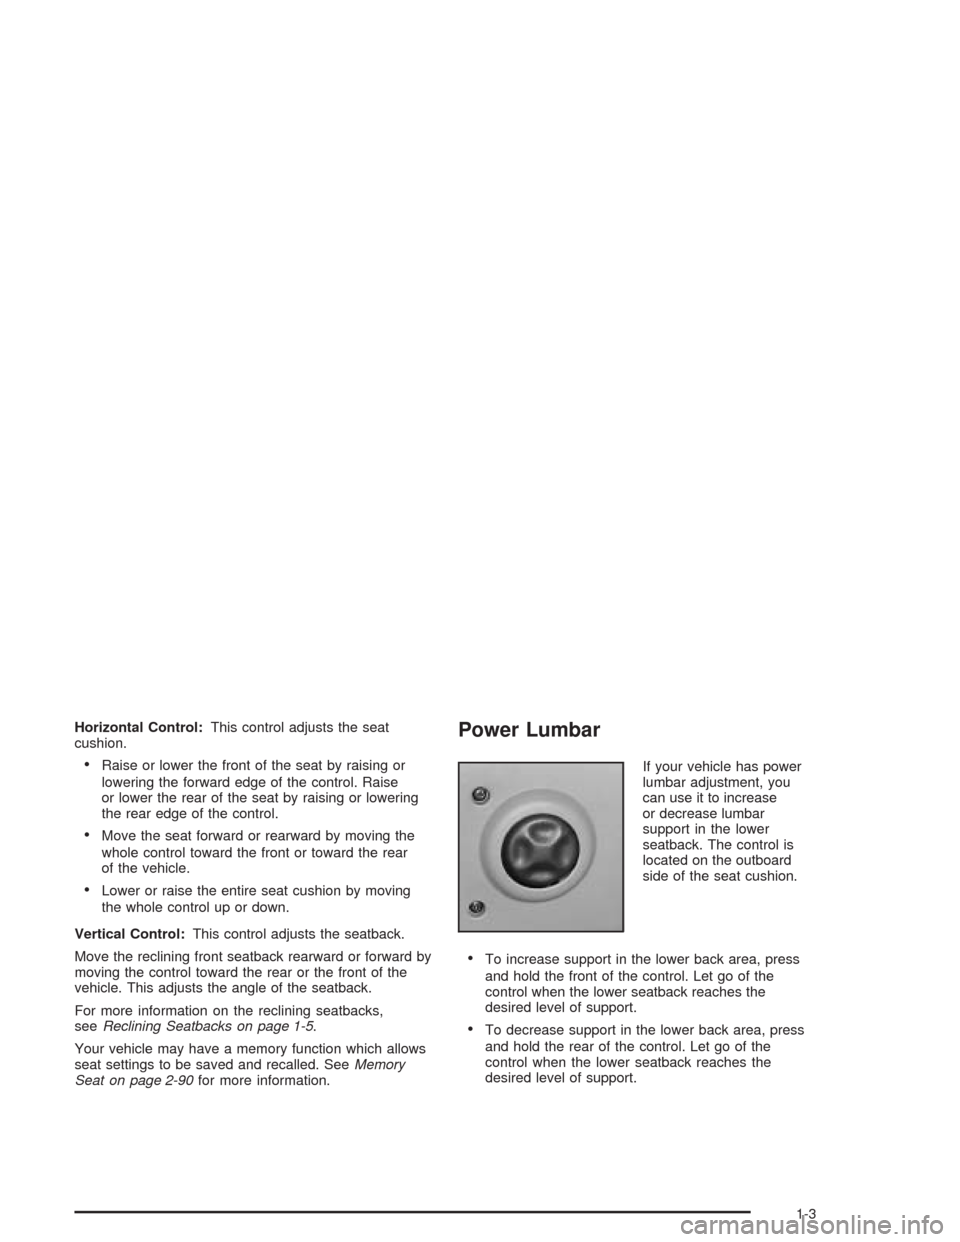
Power Lumbar
If your vehicle has power
lumbar adjustment, you
can use it to increase
or decrease lumbar
support in the lower
seatback. The control is
located on the outboard
side of the seat cushion.
To increase support in the lower back area, press
and hold the front of the control. Let go of the
control when the lower seatback reaches the
desired level of support.
To decrease support in the lower back area, press
and hold the rear of the control. Let go of the
control when the lower seatback reaches the
desired level of support.
1-3
Page 97 of 548
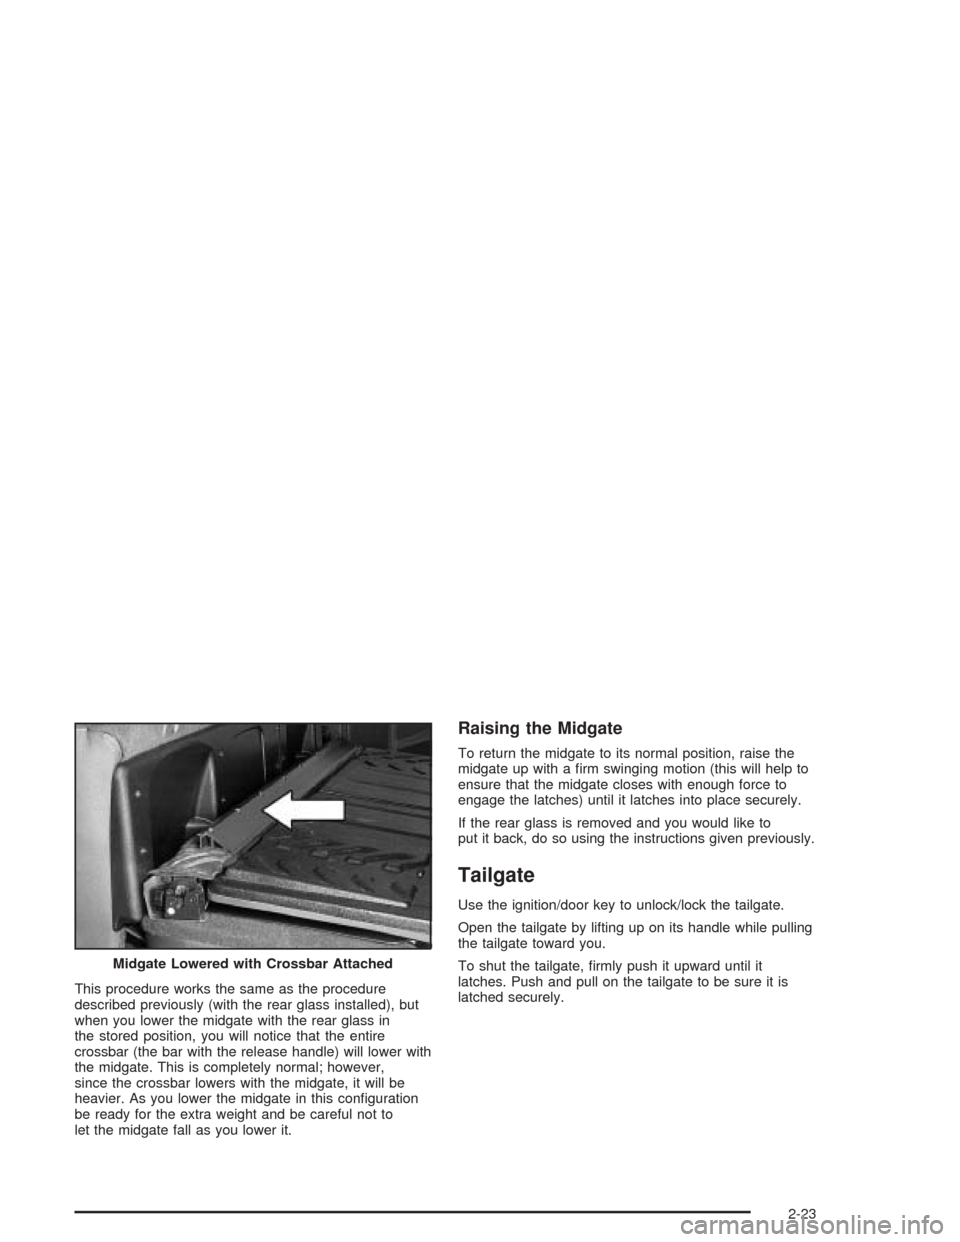
This procedure works the same as the procedure
described previously (with the rear glass installed), but
when you lower the midgate with the rear glass in
the stored position, you will notice that the entire
crossbar (the bar with the release handle) will lower with
the midgate. This is completely normal; however,
since the crossbar lowers with the midgate, it will be
heavier. As you lower the midgate in this con�guration
be ready for the extra weight and be careful not to
let the midgate fall as you lower it.
Raising the Midgate
To return the midgate to its normal position, raise the
midgate up with a �rm swinging motion (this will help to
ensure that the midgate closes with enough force to
engage the latches) until it latches into place securely.
If the rear glass is removed and you would like to
put it back, do so using the instructions given previously.
Tailgate
Use the ignition/door key to unlock/lock the tailgate.
Open the tailgate by lifting up on its handle while pulling
the tailgate toward you.
To shut the tailgate, �rmly push it upward until it
latches. Push and pull on the tailgate to be sure it is
latched securely. Midgate Lowered with Crossbar Attached
2-23
Page 351 of 548
Q:What is total vehicle reserve capacity?
A:This is the difference between your GVWR and the
weight of your truck with full fuel and passengers. It
is the amount of weight you can add to your
vehicle before reaching your GVWR. Keep in mind
that reserve capacity numbers are intended as
a guide when selecting the amount of equipment or
cargo your truck can carry. If you are unsure of
your truck’s front, rear or total weight, go to a weigh
station and weigh your vehicle. Your dealer can
also help you with this.
The total vehicle reserve capacity for your vehicle
can be found in the lower right corner of the
Certi�cation/Tire label as shown previously.
See your dealer for additional advice and information
about using a snow plow on your vehicle. Also,
seeLoading Your Vehicle on page 4-55.
Truck-Camper Loading Information
Your vehicle was neither designed nor intended to carry
a slide-in type camper.
Notice:Adding a slide-in camper or similar
equipment to your vehicle can damage it, and the
repairs would not be covered by your warranty.
Do not install a slide-in camper or similar equipment
on your vehicle.
Trailer Recommendations
You must subtract your hitch loads from the Cargo
Weight Rating (CWR). CWR is the maximum weight of
the load your vehicle can carry. It doesn’t include
the weight of the people inside. But you can �gure about
150 lbs. (68 kg) for each seat. The total cargo load
must not be more than your vehicle’s CWR.
Weigh your vehicle with the trailer attached, so that you
won’t go over the GVWR or GAWR. If you are using
a weight-distributing hitch, weigh the vehicle without the
spring bars in place.
You’ll get the best performance if you spread out the
weight of your load the right way, and if you choose the
correct hitch and trailer brakes.
For more information, seeTowing a Trailer on page 4-68.
4-67
Page 358 of 548
Do not exceed the maximum allowable tongue weight
for your vehicle. Choose the shortest hitch extension
that will position the hitch ball closest to the vehicle. This
will help reduce the effect of trailer tongue weight on
the rear axle.
After you’ve loaded your trailer, weigh the trailer and then
the tongue, separately, to see if the weights are proper. If
they aren’t, you may be able to get them right simply by
moving some items around in the trailer.
Total Weight on Your Vehicle’s Tires
Be sure your vehicle’s tires are in�ated to the upper limit
for cold tires. You’ll �nd these numbers on the
Certi�cation label at the rear edge of the driver’s door or
seeTires on page 5-68. Then be sure you don’t go
over the GVW and rear axle limits for your vehicle,
including the weight of the trailer tongue.
If you use a weight distributing hitch, make sure you
don’t go over the rear axle limit before you apply
the weight distributing spring bars.
Hitches
It’s important to have the correct hitch equipment.
Crosswinds, large trucks going by and rough roads are
a few reasons why you’ll need the right hitch.
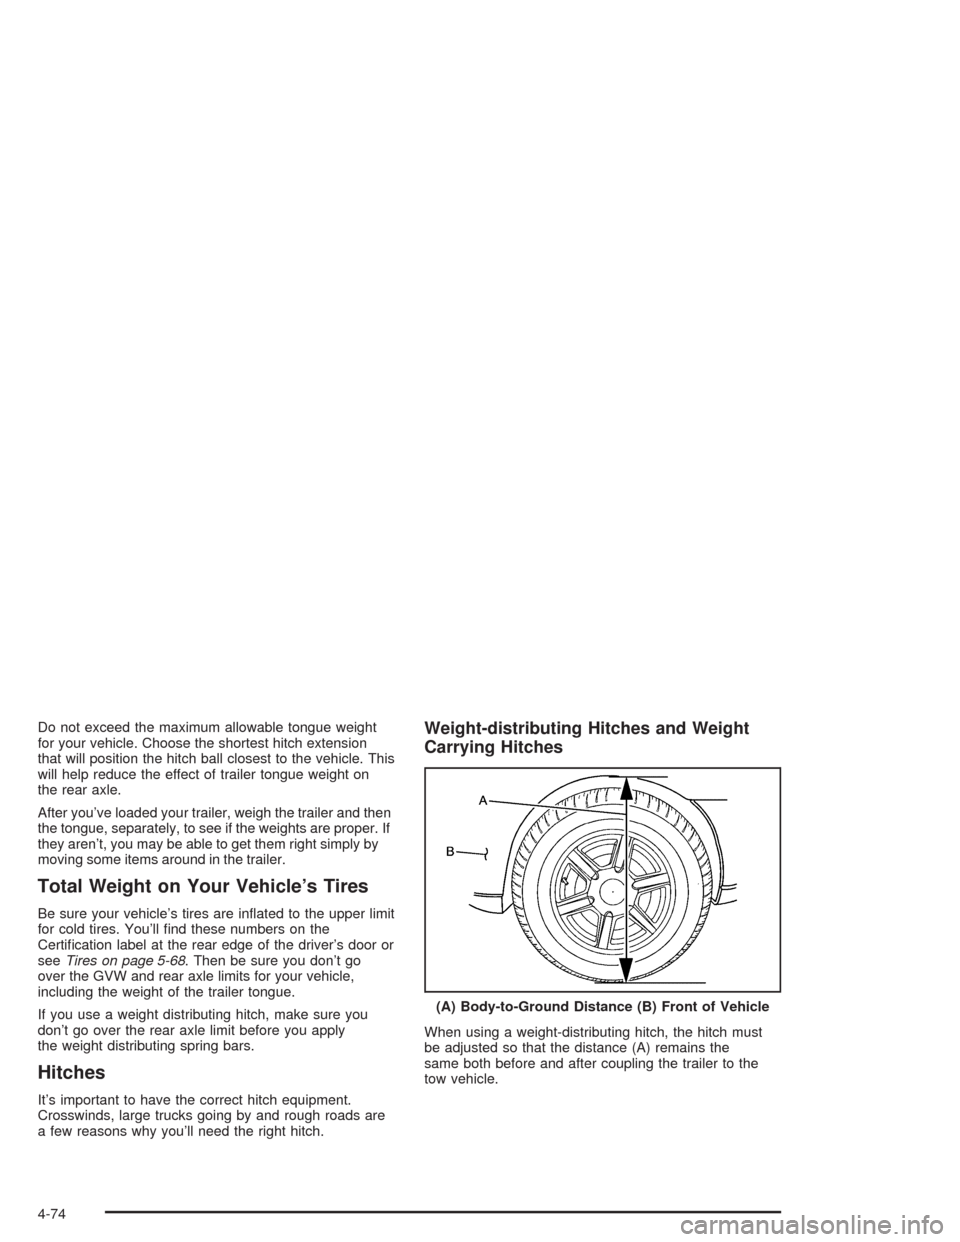
Weight-distributing Hitches and Weight
Carrying Hitches
When using a weight-distributing hitch, the hitch must
be adjusted so that the distance (A) remains the
same both before and after coupling the trailer to the
tow vehicle.(A) Body-to-Ground Distance (B) Front of Vehicle
4-74
Page 540 of 548
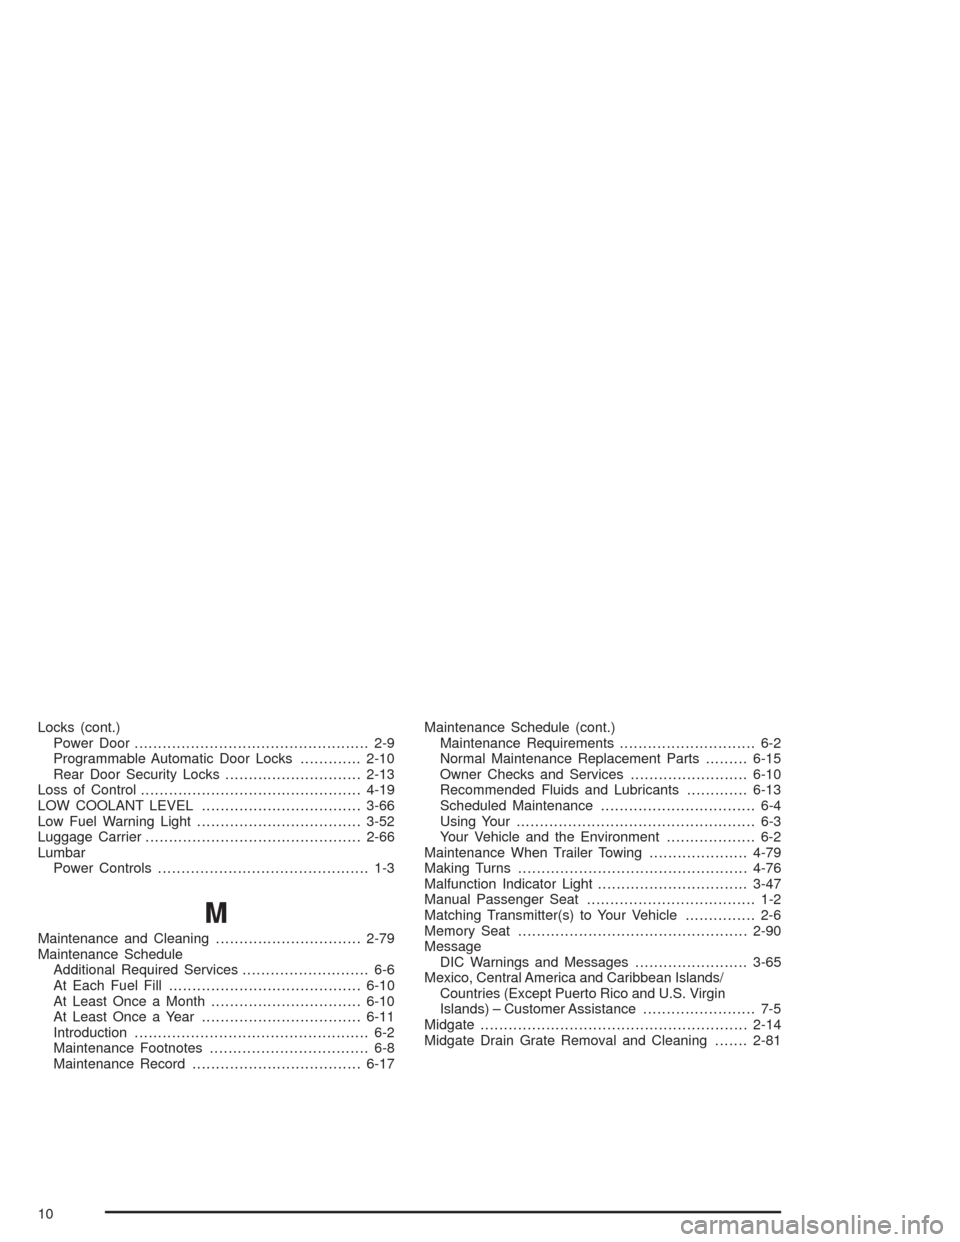
Locks (cont.)
Power Door.................................................. 2-9
Programmable Automatic Door Locks.............2-10
Rear Door Security Locks.............................2-13
Loss of Control...............................................4-19
LOW COOLANT LEVEL..................................3-66
Low Fuel Warning Light...................................3-52
Luggage Carrier..............................................2-66
Lumbar
Power Controls............................................. 1-3
M
Maintenance and Cleaning...............................2-79
Maintenance Schedule
Additional Required Services........................... 6-6
At Each Fuel Fill.........................................6-10
At Least Once a Month................................6-10
At Least Once a Year..................................6-11
Introduction.................................................. 6-2
Maintenance Footnotes.................................. 6-8
Maintenance Record....................................6-17Maintenance Schedule (cont.)
Maintenance Requirements............................. 6-2
Normal Maintenance Replacement Parts.........6-15
Owner Checks and Services.........................6-10
Recommended Fluids and Lubricants.............6-13
Scheduled Maintenance................................. 6-4
Using Your................................................... 6-3
Your Vehicle and the Environment................... 6-2
Maintenance When Trailer Towing.....................4-79
Making Turns.................................................4-76
Malfunction Indicator Light................................3-47
Manual Passenger Seat.................................... 1-2
Matching Transmitter(s) to Your Vehicle............... 2-6
Memory Seat.................................................2-90
Message
DIC Warnings and Messages........................3-65
Mexico, Central America and Caribbean Islands/
Countries (Except Puerto Rico and U.S. Virgin
Islands) – Customer Assistance........................ 7-5
Midgate.........................................................2-14
Midgate Drain Grate Removal and Cleaning.......2-81
10