2004 CHEVROLET ASTRO coolant temperature
[x] Cancel search: coolant temperaturePage 98 of 382

Engine Coolant Heater
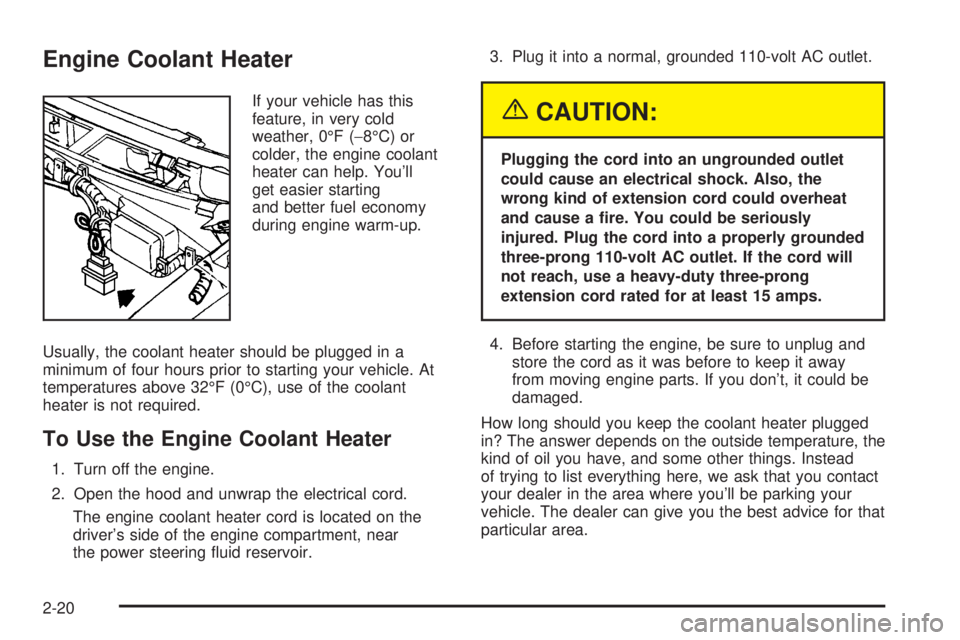
If your vehicle has this
feature, in very cold
weather, 0ÉF (-8ÉC) or
colder, the engine coolant
heater can help. You'll
get easier starting
and better fuel economy
during engine warm-up.
Usually, the coolant heater should be plugged in a
minimum of four hours prior to starting your vehicle. At
temperatures above 32ÉF (0ÉC), use of the coolant
heater is not required.
To Use the Engine Coolant Heater
1. Turn off the engine.
2. Open the hood and unwrap the electrical cord.
The engine coolant heater cord is located on the
driver's side of the engine compartment, near
the power steering ¯uid reservoir.3. Plug it into a normal, grounded 110-volt AC outlet.
{CAUTION:
Plugging the cord into an ungrounded outlet
could cause an electrical shock. Also, the
wrong kind of extension cord could overheat
and cause a ®re. You could be seriously
injured. Plug the cord into a properly grounded
three-prong 110-volt AC outlet. If the cord will
not reach, use a heavy-duty three-prong
extension cord rated for at least 15 amps.
4. Before starting the engine, be sure to unplug and
store the cord as it was before to keep it away
from moving engine parts. If you don't, it could be
damaged.
How long should you keep the coolant heater plugged
in? The answer depends on the outside temperature, the
kind of oil you have, and some other things. Instead
of trying to list everything here, we ask that you contact
your dealer in the area where you'll be parking your
vehicle. The dealer can give you the best advice for that
particular area.
2-20
Page 121 of 382

Instrument Panel Overview...............................3-2
Hazard Warning Flashers................................3-4
Other Warning Devices...................................3-5
Horn.............................................................3-5
Tilt Wheel.....................................................3-5
Turn Signal/Multifunction Lever.........................3-6
Exterior Lamps.............................................3-12
Interior Lamps..............................................3-15
Accessory Power Outlets...............................3-16
Ashtrays and Cigarette Lighter........................3-17
Climate Controls............................................3-18
Climate Control System.................................3-18
Outlet Adjustment.........................................3-20
Rear Heating System....................................3-21
Rear Air Conditioning System.........................3-21
Warning Lights, Gages and Indicators.............3-23
Warning Lights, Gages, and Indicators.............3-23
Instrument Panel Cluster................................3-24
Speedometer and Odometer...........................3-25
Safety Belt Reminder Light.............................3-26
Air Bag Readiness Light................................3-26
Charging System Light..................................3-27
Voltmeter Gage............................................3-28
Brake System Warning Light..........................3-28Anti-Lock Brake System Warning Light.............3-29
Engine Coolant Temperature Gage..................3-30
Malfunction Indicator Lamp.............................3-30
Oil Pressure Gage........................................3-34
Security Light...............................................3-35
Service All-Wheel Drive Light.........................3-35
Tow/Haul Mode Light....................................3-36
Check Gages Warning Light...........................3-36
Fuel Gage...................................................3-36
Low Fuel Warning Light.................................3-37
Audio System(s).............................................3-38
Setting the Time for Radios with the
Set Button................................................3-38
Setting the Time for Radios with HR
and MN Buttons........................................3-38
AM-FM Radio...............................................3-39
Radio with CD..............................................3-41
Rear Seat Audio (RSA).................................3-46
Theft-Deterrent Feature..................................3-47
Radio Reception...........................................3-50
Care of Your CDs.........................................3-50
Care of Your CD Player................................3-50
Fixed Mast Antenna......................................3-50
Section 3 Instrument Panel
3-1
Page 150 of 382

Engine Coolant Temperature Gage
This gage shows the
engine coolant
temperature. If the gage
pointer moves to the
red area, your engine is
too hot!
It means that your engine coolant has overheated. If
you have been operating your vehicle under normal
driving conditions, you should pull off the road, stop your
vehicle and turn off the engine as soon as possible.
See
Engine Overheating on page 5-27.
Malfunction Indicator Lamp
Service Engine Soon Light in the
United States or Check Engine Light in
Canada
Your vehicle is equipped with a computer which
monitors operation of the fuel, ignition and emission
control systems.
United StatesCanada
3-30
Page 156 of 382

Tow/Haul Mode Light
This light should come on
when the tow/haul mode
has been selected.
For more information, see ªTow/Haul Modeº in
Towing a
Trailer on page 4-35.
Check Gages Warning Light
The CHECK GAGES light
will come on brie¯y when
you are starting the
engine.
If the light comes on and stays on while you are driving,
check your coolant temperature and engine oil
pressure gages to see if they are in the warning zones.
Fuel Gage
The fuel gage tells you approximately how much fuel
you have remaining when the ignition is on.
When the gage ®rst indicates empty, you still have a
little fuel left, but you should get more fuel as soon
as possible.
United StatesCanada
3-36
Page 213 of 382

When towing at high altitude on steep uphill grades,
consider the following: Engine coolant will boil at a lower
temperature than at normal altitudes. If you turn your
engine off immediately after towing at high altitude
on steep uphill grades, your vehicle may show signs
similar to engine overheating. To avoid this, let the
engine run while parked (preferably on level ground)
with the automatic transmission in PARK (P) for a
few minutes before turning the engine off. If you do get
the overheat warning, see
Engine Overheating on
page 5-27.
Parking on Hills
{CAUTION:
You really should not park your vehicle, with a
trailer attached, on a hill. If something goes
wrong, your rig could start to move. People
can be injured, and both your vehicle and the
trailer can be damaged.But if you ever have to park your rig on a hill, here's
how to do it:
1. Apply your regular brakes, but don't shift into
PARK (P) yet.
2. Have someone place chocks under the trailer
wheels.
3. When the wheel chocks are in place, release the
regular brakes until the chocks absorb the load.
4. Reapply the regular brakes. Then apply your
parking brake, and shift to PARK (P).
5. Release the regular brakes.
When You Are Ready to Leave After
Parking on a Hill
1. Apply your regular brakes and hold the pedal down
while you:
·start your engine,
·shift into a gear, and
·release the parking brake.
2. Let up on the brake pedal.
3. Drive slowly until the trailer is clear of the chocks.
4. Stop and have someone pick up and store the
chocks.
4-43
Page 239 of 382

How to Add Fluid
Refer to the Maintenance Schedule to determine what
kind of transmission ¯uid to use. SeePart D:
Recommended Fluids and Lubricants on page 6-30.
Using a funnel, add ¯uid down the transmission dipstick
tube only after checking the transmission ¯uid while it
is hot. (A cold check is used only as a reference.) If the
¯uid level is low, add only enough of the proper ¯uid
to bring the level up to the HOT area for a hot check. It
doesn't take much ¯uid, generally less than one pint
(0.5 L).
Don't over®ll.
Notice:We recommend you use only ¯uid labeled
DEXRONž-III, because ¯uid with that label is
made especially for your automatic transmission.
Damage caused by ¯uid other than DEXRON
ž-III is
not covered by your new vehicle warranty.
·After adding ¯uid, recheck the ¯uid level as
described under²How to Check.²
·When the correct ¯uid level is obtained, push the
dipstick back in all the way; then ¯ip the handle
down to lock the dipstick in place.
Engine Coolant
The cooling system in your vehicle is ®lled with
DEX-COOLžengine coolant. This coolant is designed
to remain in your vehicle for 5 years or 150,000 miles
(240 000 km), whichever occurs ®rst, if you add
only DEX-COOL
žextended life coolant.
The following explains your cooling system and how to
add coolant when it is low. If you have a problem
with engine overheating, see
Engine Overheating on
page 5-28.
A 50/50 mixture of clean, drinkable water and
DEX-COOL
žcoolant will:
·Give freezing protection down to-34ÉF (-37ÉC).
·Give boiling protection up to 265ÉF (129ÉC).
·Protect against rust and corrosion.
·Help keep the proper engine temperature.
·Let the warning lights and gages work as they
should.
Notice:Using coolant other than DEX-COOLžmay
cause premature engine, heater core or radiator
corrosion. In addition, the engine coolant may
require changing sooner, at 30,000 miles (50 000 km)
or 24 months, whichever occurs ®rst. Any repairs
would not be covered by your warranty. Always use
DEX-COOL
ž(silicate-free) coolant in your vehicle.
5-25
Page 242 of 382

Engine Overheating
You will ®nd an engine coolant temperature gage on
your vehicle's instrument panel. SeeEngine Coolant
Temperature Gage on page 3-30.
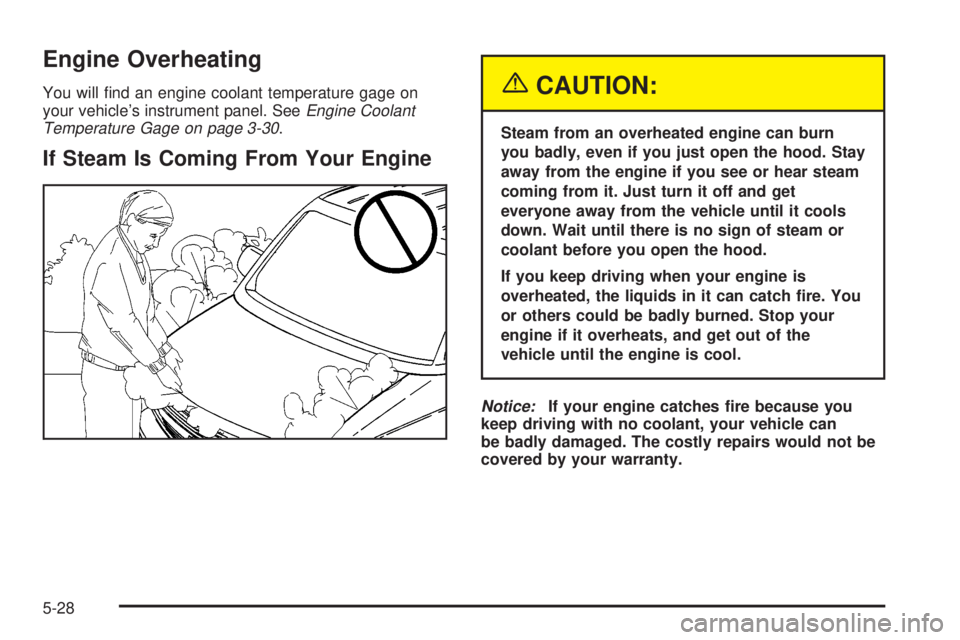
If Steam Is Coming From Your Engine
{CAUTION:
Steam from an overheated engine can burn
you badly, even if you just open the hood. Stay
away from the engine if you see or hear steam
coming from it. Just turn it off and get
everyone away from the vehicle until it cools
down. Wait until there is no sign of steam or
coolant before you open the hood.
If you keep driving when your engine is
overheated, the liquids in it can catch ®re. You
or others could be badly burned. Stop your
engine if it overheats, and get out of the
vehicle until the engine is cool.
Notice:If your engine catches ®re because you
keep driving with no coolant, your vehicle can
be badly damaged. The costly repairs would not be
covered by your warranty.
5-28
Page 250 of 382

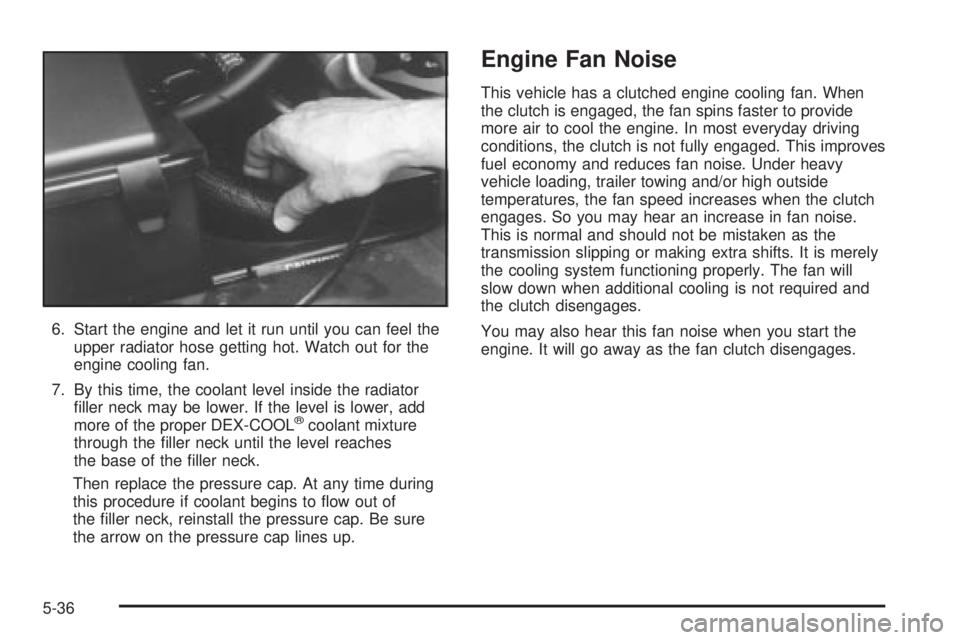
6. Start the engine and let it run until you can feel the
upper radiator hose getting hot. Watch out for the
engine cooling fan.
7. By this time, the coolant level inside the radiator
®ller neck may be lower. If the level is lower, add
more of the proper DEX-COOL
žcoolant mixture
through the ®ller neck until the level reaches
the base of the ®ller neck.
Then replace the pressure cap. At any time during
this procedure if coolant begins to ¯ow out of
the ®ller neck, reinstall the pressure cap. Be sure
the arrow on the pressure cap lines up.
Engine Fan Noise
This vehicle has a clutched engine cooling fan. When
the clutch is engaged, the fan spins faster to provide
more air to cool the engine. In most everyday driving
conditions, the clutch is not fully engaged. This improves
fuel economy and reduces fan noise. Under heavy
vehicle loading, trailer towing and/or high outside
temperatures, the fan speed increases when the clutch
engages. So you may hear an increase in fan noise.
This is normal and should not be mistaken as the
transmission slipping or making extra shifts. It is merely
the cooling system functioning properly. The fan will
slow down when additional cooling is not required and
the clutch disengages.
You may also hear this fan noise when you start the
engine. It will go away as the fan clutch disengages.
5-36