2004 CADILLAC SEVILLE maintenance schedule
[x] Cancel search: maintenance schedulePage 1 of 410
Seats and Restraint Systems........................... 1-1
Front Seats
............................................... 1-2
Safety Belts
.............................................. 1-5
Child Restraints
.......................................1-22
Supplemental Inflatable Restraint (SIR)
........1-41
Restraint System Check
............................1-50
Features and Controls..................................... 2-1
Keys
........................................................ 2-3
Doors and Locks
....................................... 2-9
Windows
.................................................2-16
Theft-Deterrent Systems
............................2-20
Starting and Operating Your Vehicle
...........2-24
Mirrors
....................................................2-37
OnStar
®System
......................................2-42
HomeLink®Transmitter
.............................2-44
Storage Areas
.........................................2-49
Sunroof
..................................................2-50
Vehicle Personalization
.............................2-52
Instrument Panel............................................. 3-1
Instrument Panel Overview
.......................... 3-4
Climate Controls
......................................3-28
Warning Lights, Gages and Indicators
.........3-37
Driver Information Center (DIC)
..................3-52Trip Computer
.........................................3-74
Audio System(s)
.......................................3-75
Driving Your Vehicle....................................... 4-1
Your Driving, the Road, and Your Vehicle
..... 4-2
Towing
...................................................4-29
Service and Appearance Care.......................... 5-1
Service
..................................................... 5-3
Fuel
......................................................... 5-4
Checking Things Under the Hood
...............5-10
Headlamp Aiming
.....................................5-49
Bulb Replacement
....................................5-53
Windshield Wiper Blade Replacement
.........5-60
Tires
......................................................5-61
Appearance Care
.....................................5-87
Vehicle Identification
.................................5-95
Electrical System
......................................5-96
Capacities and Specifications
...................5-104
Maintenance Schedule..................................... 6-1
Maintenance Schedule
................................ 6-2
Customer Assistance and Information.............. 7-1
Customer Assistance and Information
........... 7-2
Reporting Safety Defects
...........................7-11
Index................................................................ 1
2004 Cadillac Seville Owner ManualM
Page 141 of 410
Do not cover the solar sensor located in the center of
the instrument panel, near the windshield. For more
information on the solar sensor, see “Sensors” later in
this section.
When your vehicle is first started, the display will show
the driver’s temperature setting, the fan speed and
the air delivery mode.
When the ENG/MET (English/metric) button on the
Driver Information Center (DIC) is pressed, the display
will show readings in Fahrenheit or Celsius. Use the
ENG/MET button to toggle between them.
Manual Operation
SMODET:Pressing the MODE switch and changing
the mode cancels automatic operation and places the
system in manual mode. Press AUTO to return to
automatic operation.
To change the current mode, select one of the following:
G(Vent):This mode directs air to the instrument
panel outlets.
+(Bi-Level):This mode directs approximately half of
the air to the instrument panel outlets, and then
directs most of the remaining air to the floor outlets.
Some air may be directed toward the windshield.
In automatic operation, cooler air is directed to the upper
outlets and warmer air to the floor outlets.
8(Floor):This mode directs most of the air to the
floor outlets with some air directed to the outboard
outlets (for the side windows) a little air directed to the
windshield.
The MODE switch can also be used to select the
floor/defog mode. Information on defogging and
defrosting can be found later in this section.
y9z(Fan):Press this switch to increase or
decrease the fan speed. Pressing this switch cancels
automatic operation and places the system in manual
mode. Press AUTO to return to automatic operation.
If the airflow seems low when the fan speed is at
the highest setting, the passenger compartment air filter
may need to be replaced. For more information, see
Passenger Compartment Air Filter on page 3-35
andScheduled Maintenance on page 6-4.
3-29
Page 145 of 410
Outlet Adjustment
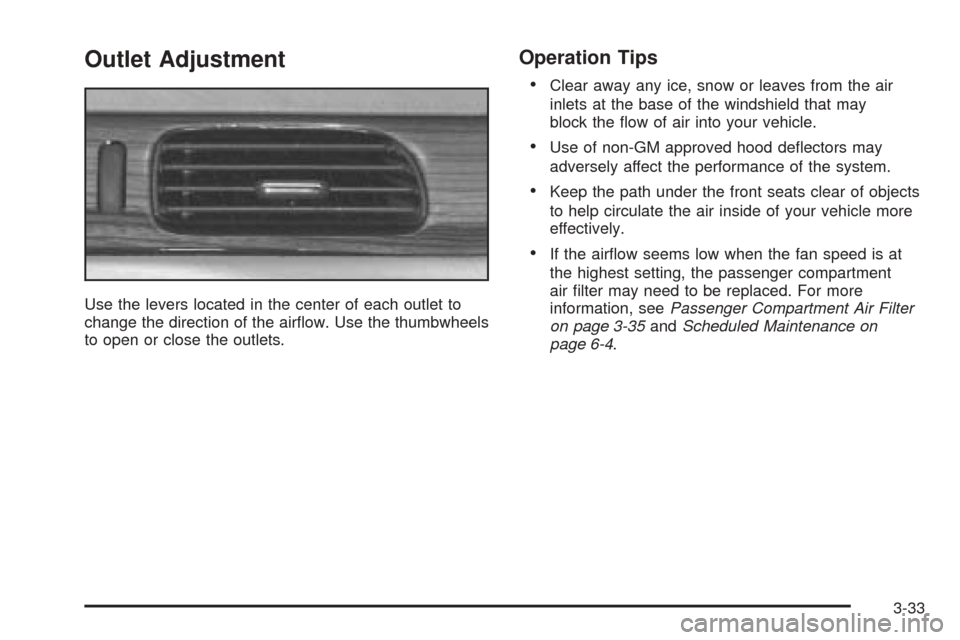
Use the levers located in the center of each outlet to
change the direction of the airflow. Use the thumbwheels
to open or close the outlets.
Operation Tips
•
Clear away any ice, snow or leaves from the air
inlets at the base of the windshield that may
block the flow of air into your vehicle.
•Use of non-GM approved hood deflectors may
adversely affect the performance of the system.
•Keep the path under the front seats clear of objects
to help circulate the air inside of your vehicle more
effectively.
•If the airflow seems low when the fan speed is at
the highest setting, the passenger compartment
air filter may need to be replaced. For more
information, seePassenger Compartment Air Filter
on page 3-35andScheduled Maintenance on
page 6-4.
3-33
Page 147 of 410
Passenger Compartment Air Filter
Passenger compartment air, both outside air and
recirculated air, is routed through a passenger
compartment filter. The filter removes certain
contaminants from the air, including pollen and dust
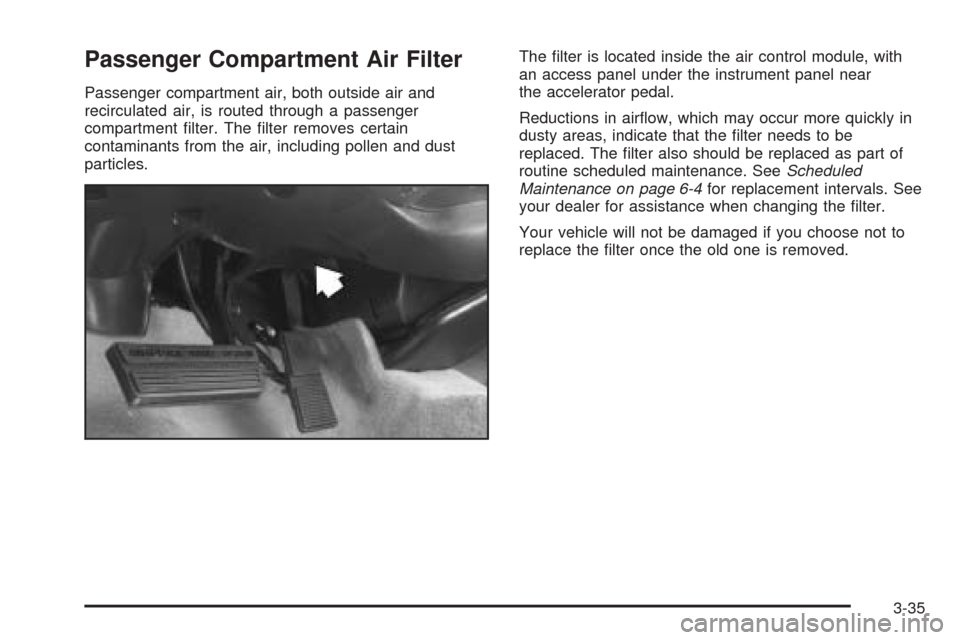
particles.The filter is located inside the air control module, with
an access panel under the instrument panel near
the accelerator pedal.
Reductions in airflow, which may occur more quickly in
dusty areas, indicate that the filter needs to be
replaced. The filter also should be replaced as part of
routine scheduled maintenance. SeeScheduled
Maintenance on page 6-4for replacement intervals. See
your dealer for assistance when changing the filter.
Your vehicle will not be damaged if you choose not to
replace the filter once the old one is removed.
3-35
Page 161 of 410
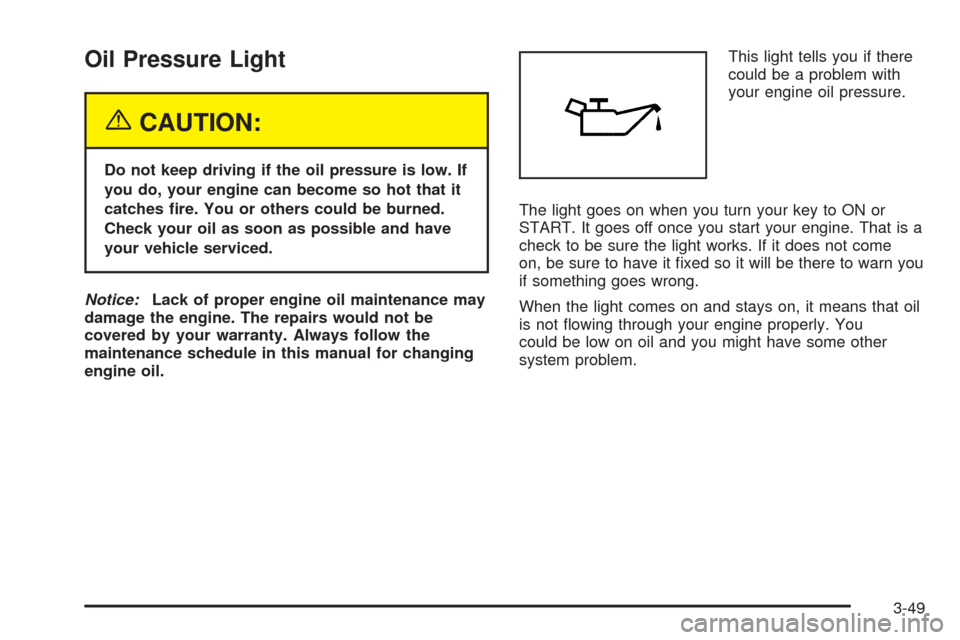
Oil Pressure Light
{CAUTION:
Do not keep driving if the oil pressure is low. If
you do, your engine can become so hot that it
catches fire. You or others could be burned.
Check your oil as soon as possible and have
your vehicle serviced.
Notice:Lack of proper engine oil maintenance may
damage the engine. The repairs would not be
covered by your warranty. Always follow the
maintenance schedule in this manual for changing
engine oil.This light tells you if there
could be a problem with
your engine oil pressure.
The light goes on when you turn your key to ON or
START. It goes off once you start your engine. That is a
check to be sure the light works. If it does not come
on, be sure to have it fixed so it will be there to warn you
if something goes wrong.
When the light comes on and stays on, it means that oil
is not flowing through your engine properly. You
could be low on oil and you might have some other
system problem.
3-49
Page 165 of 410
•AVG MPH (Average Miles per Hour):This
message shows the average speed you have
traveled at since the last time you reset the value.
To reset the value, press the INFO button to
display AVG MPH then press and hold the INFO
RESET button until 0.0 AVG MPH is displayed.
•TIMER:This feature is like a stopwatch, in that you
can clock the time it takes to get from one point to
another.
To operate, press the INFO button to display
TIMER. Each of the fields for the hours, minutes
and seconds are two numeric digits.
Once TIMER 00:00:00 is displayed, press the
ON/OFF button to start the timing feature. Press the
ON/OFF button again to stop it. If you will be starting
and stopping your vehicle, during a trip for instance,
the TIMER feature will automatically start timing
where it left off when you last stopped. To reset it,
press and hold the INFO RESET button until the
display reads TIMER 00:00:00. Press the INFO
button to exit from the TIMER display.
•ENGINE OIL LIFE:Press the INFO button to display
ENGINE OIL LIFE, then press and hold the INFO
RESET button until 100% ENGINE OIL LIFE is
displayed. (This only needs to be reset after you
have had the oil changed.)
•TRANSMISSION FLUID LIFE MONITOR:Under
normal conditions, the rate of deterioration of the
transmission fluid is slow. SeeScheduled
Maintenance on page 6-4for proper fluid and change
intervals. To reset the transmission fluid life, press
the INFO button to display TRANS FLUID LIFE, then
press and hold the INFO RESET button until 100%
TRANS FLUID LIFE is displayed. (This only needs to
be reset after you have had the fluid changed.)
ON/OFF:Pressing this button turns the Personalization
Features on and off. (FEATURE PROGRAMMING must
be displayed on the DIC to begin actual programming.)
This button also starts and stops the timer.
OUTSIDE TEMP (Temperature):This message shows
the outside temperature. After this display has been on
the DIC for about five seconds, the words OUTSIDE
TEMP will disappear so that only the temperature
remains.
3-53
Page 168 of 410
CHANGE ENGINE OIL – 82:This means that the life
of the engine oil has expired and it should be changed
within 200 miles. After an oil change, the Oil Life
Indicator must be reset. SeeOil Life Indicator on
page 3-74. SeeEngine Oil on page 5-13.
CHANGE TRANS FLUID – 47:This message will
appear when it is time to change the transaxle fluid. See
Scheduled Maintenance on page 6-4for the proper
fluid and change intervals.
CHECK BRAKE FLUID – 37:This message will
display if the ignition is in ON to inform the driver that
the brake fluid level is low. Have the brake system
serviced by a technician as soon as possible. SeeBrake
System Warning and Parking Brake Indicator Light on
page 3-43.
CHECK COOLANT LEVEL – 2:This message will
appear when there is a low level of engine coolant. Have
the cooling system serviced by a technician as soon
as possible. SeeEngine Coolant on page 5-23.
CHECK FUEL GAGE – 50:This message will appear
when the fuel supply is less than 5 gallons (18.9 L)
and the display is turned off. A single chime will also
sound when this message is displayed.CHECK GAS CAP – 61:This message will appear if
the gas cap has not been fully tightened. You should
recheck your gas cap to ensure that it is on properly.
CHECK OIL LEVEL – 36:For correct operation of the
low oil sensing system, your vehicle should be on a
level surface. A false CHECK OIL LEVEL message may
appear if the vehicle is parked on a grade. The oil
level sensing system does not check for actual oil level
if the engine has been off for a short period of time,
and the oil level is never checked while the engine is
running. If the CHECK OIL LEVEL message appears,
and your vehicle has been parked on level ground
with the engine off for at least 30 minutes, the oil level
should be checked by observing the oil dipstick. Prior to
checking the oil level, be sure the engine has been
off for a few minutes and your vehicle is on a level
surface. Then check the dipstick and add oil if
necessary. SeeEngine Oil on page 5-13.
3-56
Page 186 of 410
Driver’s Name Set/Recall
If your vehicle has the optional memory package, you
will have this feature. This feature allows individual
driver’s names to be displayed in the DIC when
the ignition is turned to ON. This feature only works
when the remote keyless entry transmitter is used
to unlock the vehicle or when buttons 1 or 2 on the
driver’s door are pressed. See your dealer for assistance
in programming this feature.
Exiting Feature Programming
To exit FEATURE PROGRAMMING, press the INFO
RESET or INFO button.
Trip Computer
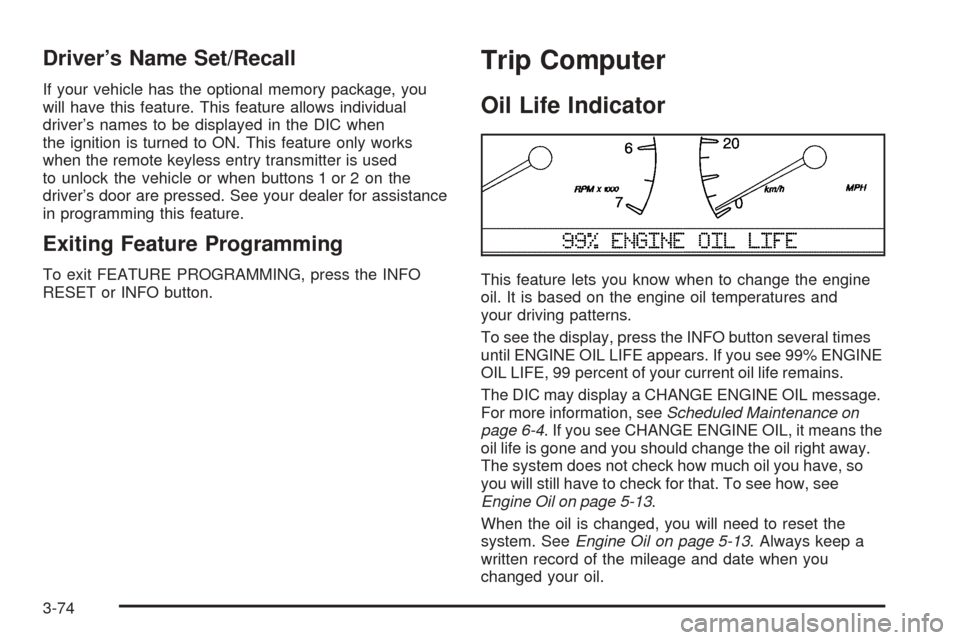
Oil Life Indicator
This feature lets you know when to change the engine
oil. It is based on the engine oil temperatures and
your driving patterns.
To see the display, press the INFO button several times
until ENGINE OIL LIFE appears. If you see 99% ENGINE
OIL LIFE, 99 percent of your current oil life remains.
The DIC may display a CHANGE ENGINE OIL message.
For more information, seeScheduled Maintenance on
page 6-4. If you see CHANGE ENGINE OIL, it means the
oil life is gone and you should change the oil right away.
The system does not check how much oil you have, so
you will still have to check for that. To see how, see
Engine Oil on page 5-13.
When the oil is changed, you will need to reset the
system. SeeEngine Oil on page 5-13. Always keep a
written record of the mileage and date when you
changed your oil.
3-74