2004 BMW 545I SEDAN ESP
[x] Cancel search: ESPPage 86 of 220
Technology for comfort, convenience and safety
84 >When a child is seated in the child-
restraint system or with an empty seat,
the front and side airbags are automat-
ically deactivated on the passenger's
side
>When an adult is traveling in the front
seat, the front and side airbags remain
active on the passenger side.
Although not desired, it can occur in
the case of heavier children that the
front passenger airbags remain active or in
the case of very light adults or young per-
sons that the front passenger airbags are
deactivated.
The state of the front passenger airbags is
shown with the telltale lamp, refer to Indi-
cator lamps in the following. In this case
transport the corresponding persons on
the rear seat.
Except when persons to be transported, do
not increase the load on the front passen-
ger seat with additional items. Do not fit
seat covers, seat cushion padding, ball
mats or other items to the front passenger
seat unless they are specifically recom-
mended by BMW. Do not place any items
under the seat. Otherwise, the function of
the seat occupation detection could be
impaired.<
Indicator lamps
Operational readiness of airbag
system
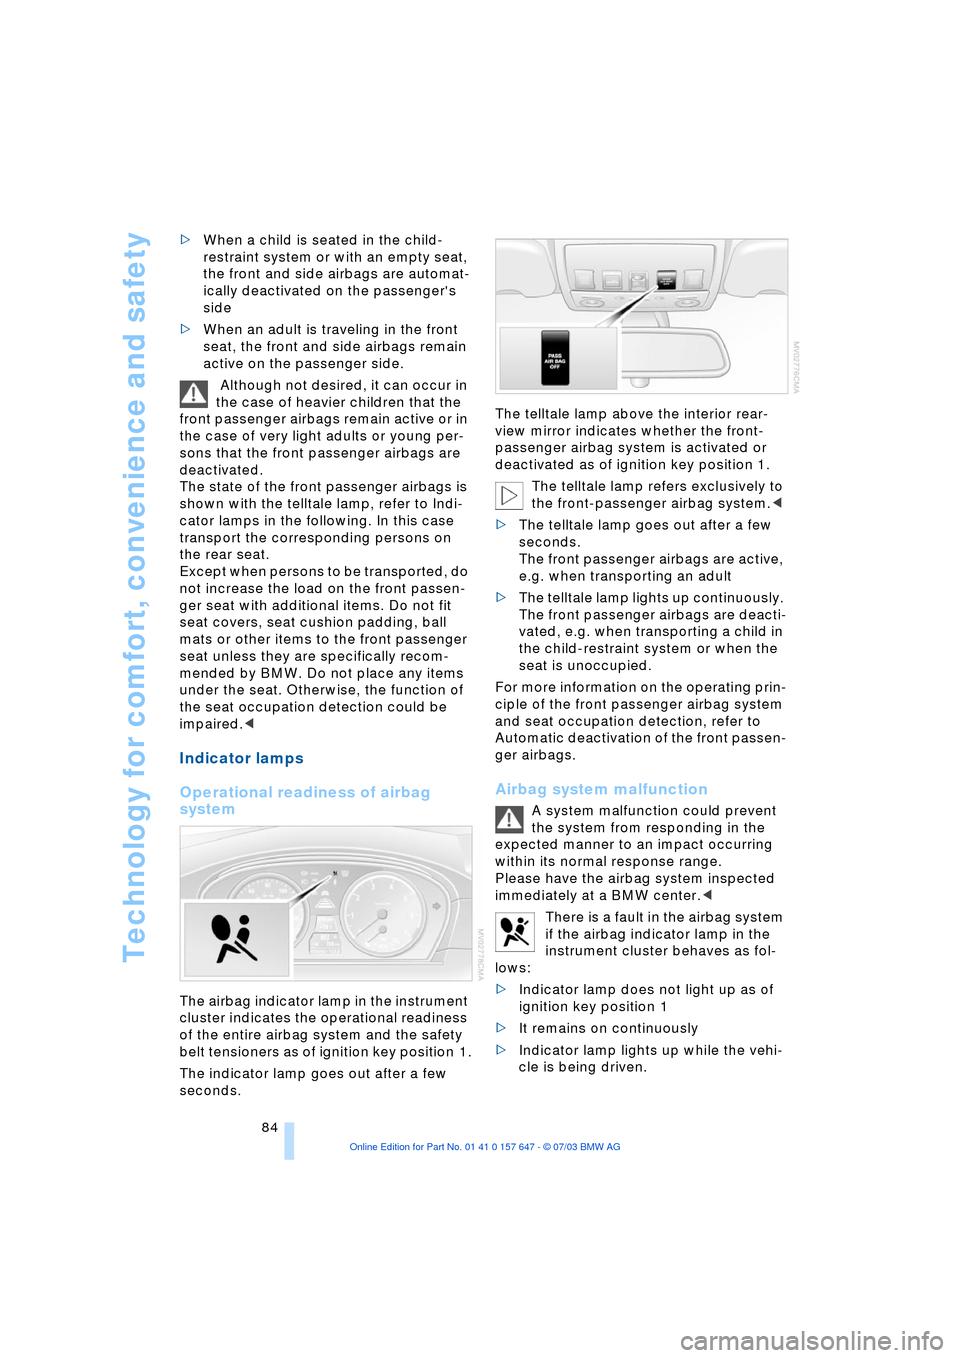
The airbag indicator lamp in the instrument
cluster indicates the operational readiness
of the entire airbag system and the safety
belt tensioners as of ignition key position 1.
The indicator lamp goes out after a few
seconds.The telltale lamp above the interior rear-
view mirror indicates whether the front-
passenger airbag system is activated or
deactivated as of ignition key position 1.
The telltale lamp refers exclusively to
the front-passenger airbag system.<
>The telltale lamp goes out after a few
seconds.
The front passenger airbags are active,
e.g. when transporting an adult
>The telltale lamp lights up continuously.
The front passenger airbags are deacti-
vated, e.g. when transporting a child in
the child-restraint system or when the
seat is unoccupied.
For more information on the operating prin-
ciple of the front passenger airbag system
and seat occupation detection, refer to
Automatic deactivation of the front passen-
ger airbags.
Airbag system malfunction
A system malfunction could prevent
the system from responding in the
expected manner to an impact occurring
within its normal response range.
Please have the airbag system inspected
immediately at a BMW center.<
There is a fault in the airbag system
if the airbag indicator lamp in the
instrument cluster behaves as fol-
lows:
>Indicator lamp does not light up as of
ignition key position 1
>It remains on continuously
>Indicator lamp lights up while the vehi-
cle is being driven.
Page 89 of 220
Controls
87Reference
At a glance
Driving tips
Communications
Navigation
Entertainment
Mobility
Lamps
Parking lamps/low beams
Parking lamps
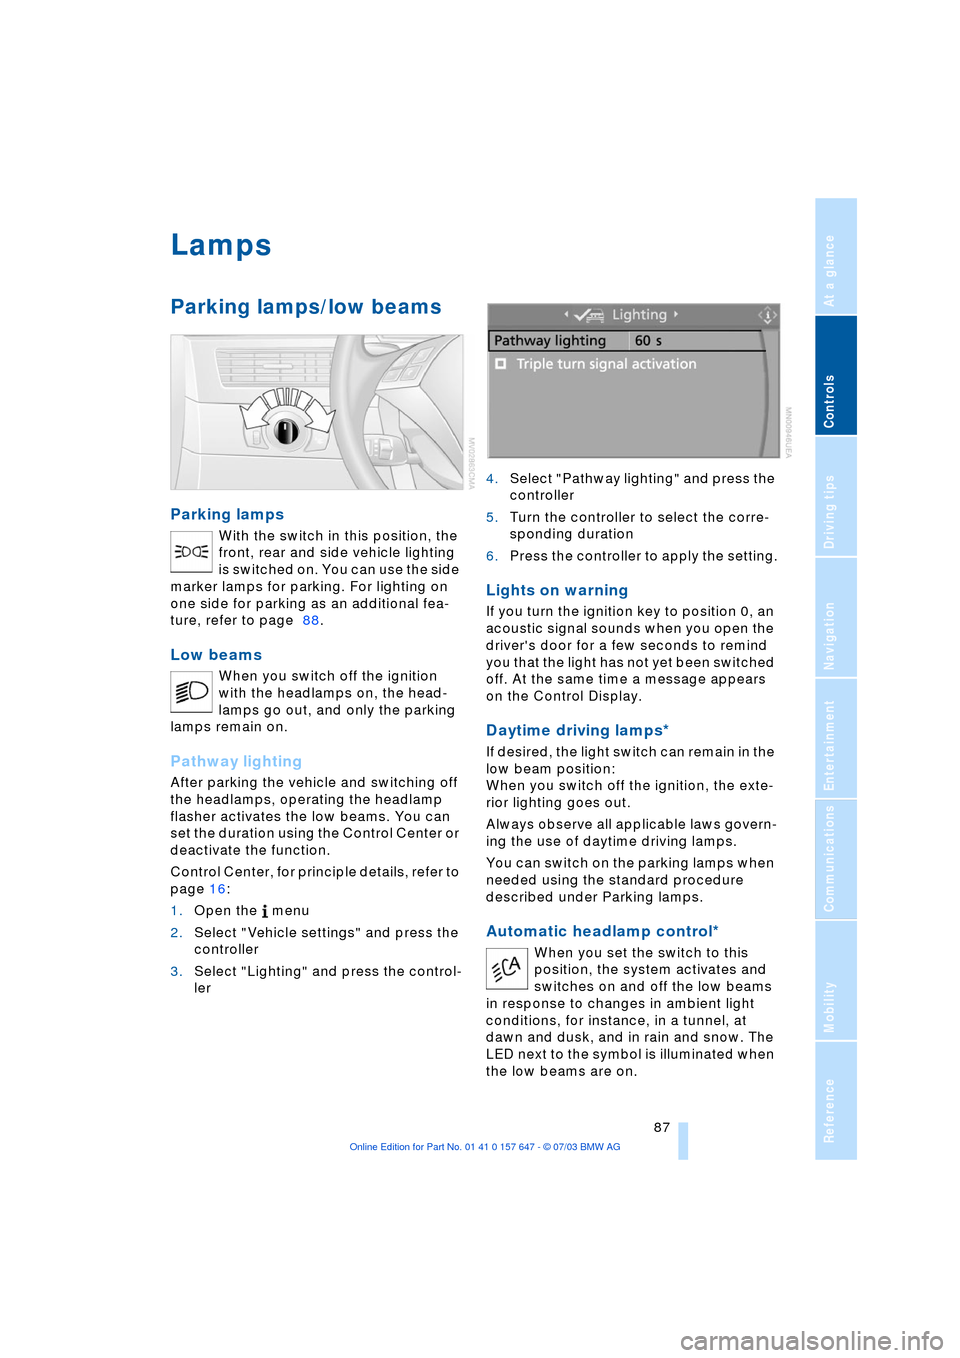
With the switch in this position, the
front, rear and side vehicle lighting
is switched on. You can use the side
marker lamps for parking. For lighting on
one side for parking as an additional fea-
ture, refer to page 88.
Low beams
When you switch off the ignition
with the headlamps on, the head-
lamps go out, and only the parking
lamps remain on.
Pathway lighting
After parking the vehicle and switching off
the headlamps, operating the headlamp
flasher activates the low beams. You can
set the duration using the Control Center or
deactivate the function.
Control Center, for principle details, refer to
page 16:
1.Open the menu
2.Select "Vehicle settings" and press the
controller
3.Select "Lighting" and press the control-
ler 4.Select "Pathway lighting" and press the
controller
5.Turn the controller to select the corre-
sponding duration
6.Press the controller to apply the setting.
Lights on warning
If you turn the ignition key to position 0, an
acoustic signal sounds when you open the
driver's door for a few seconds to remind
you that the light has not yet been switched
off. At the same time a message appears
on the Control Display.
Daytime driving lamps*
If desired, the light switch can remain in the
low beam position:
When you switch off the ignition, the exte-
rior lighting goes out.
Always observe all applicable laws govern-
ing the use of daytime driving lamps.
You can switch on the parking lamps when
needed using the standard procedure
described under Parking lamps.
Automatic headlamp control*
When you set the switch to this
position, the system activates and
switches on and off the low beams
in response to changes in ambient light
conditions, for instance, in a tunnel, at
dawn and dusk, and in rain and snow. The
LED next to the symbol is illuminated when
the low beams are on.
Page 90 of 220
Lamps
88 Following automatic activation, the
vehicle's external lighting remains on
when you switch on the fog lamps.<
The automatic headlamp control can-
not serve as a substitute for your per-
sonal judgment in determining when the
lamps should be switched on in response
to ambient lighting conditions. For exam-
ple, the system cannot detect fog. To avoid
safety risks, you should always switch on
the lamps manually under these condi-
tions.<
Adaptive Head Light*
The concept
Adaptive Head Light is a variable headlamp
control system that enables dynamic illumi-
nation of the road surface. Depending on
the steering angle and other assumptions,
the light from the headlamp follows the
course of the road.
Activating Adaptive Head Light
In ignition key position 2, turn the
light switch to the position 'Auto-
matic headlamp control', refer to
page 87.
When reversing, the Adaptive Head
Light is inactive; when the vehicle is
stationary, it is only active in one direc-
tion.<
In case of malfunction
The LED above the symbol for automatic
headlamp control flashes. Please have the
system inspected at your BMW center.
Instrument lighting
Turn the serrated dial to adjust the illumina-
tion intensity.
High beams/standing lamps
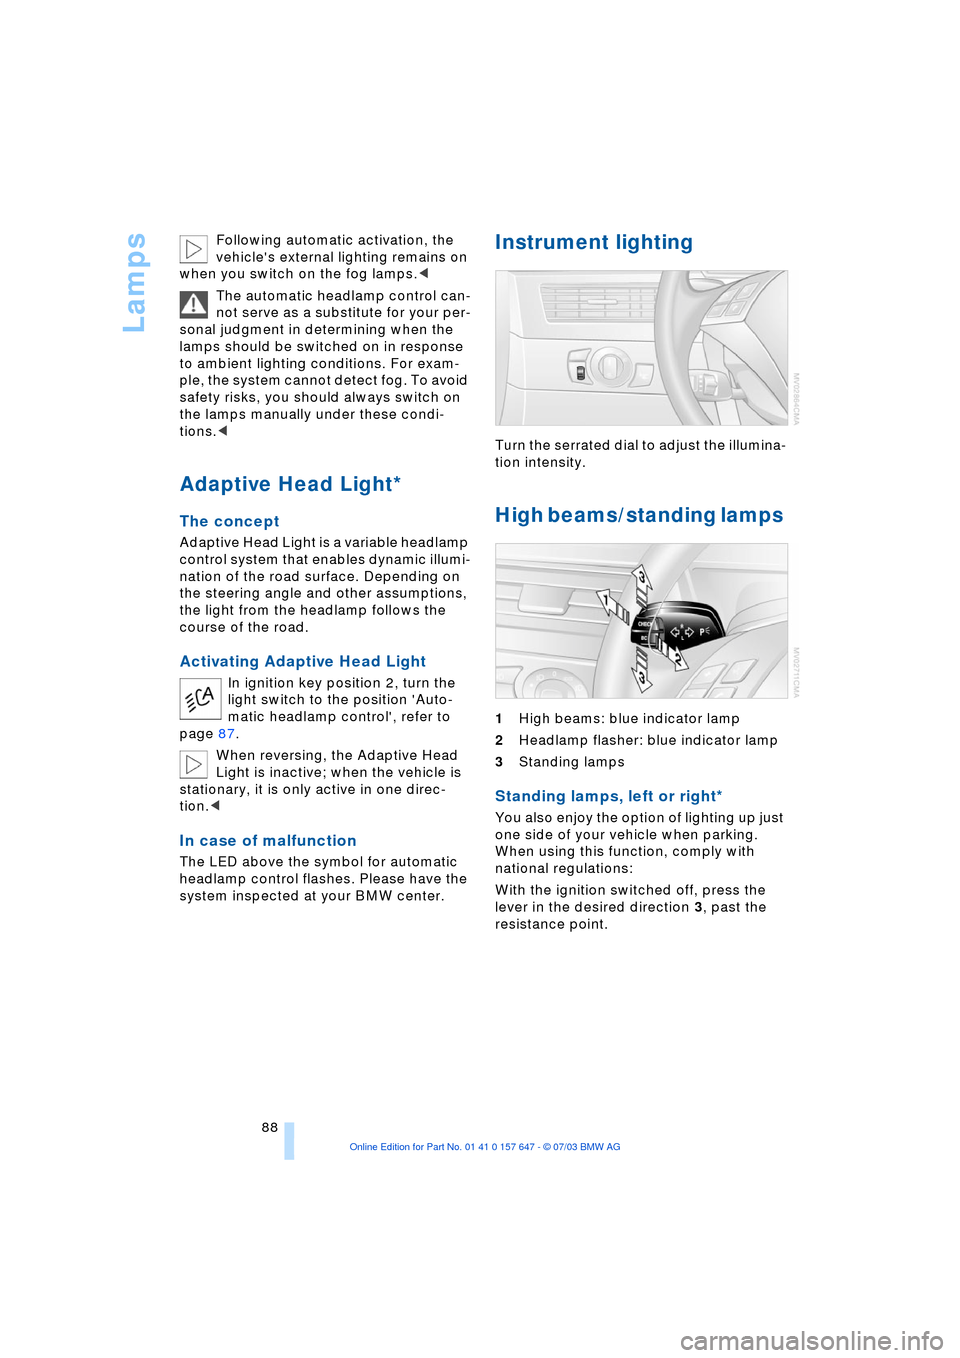
1High beams: blue indicator lamp
2Headlamp flasher: blue indicator lamp
3Standing lamps
Standing lamps, left or right*
You also enjoy the option of lighting up just
one side of your vehicle when parking.
When using this function, comply with
national regulations:
With the ignition switched off, press the
lever in the desired direction 3, past the
resistance point.
Page 93 of 220
Controls
91Reference
At a glance
Driving tips
Communications
Navigation
Entertainment
Mobility
>Activation time set:
The indicator lamp lights up
>Independent ventilation switched
on:
The indicator lamp flashes
15Rear window defroster
16Air grill for interior temperature sensor,
please keep clear and unobstructed
All other setting options for the automatic
climate control can be found in the "Cli-
mate" menu and in the menu on the Con-
trol Display, as of page 92.
The current setting for air distribution is dis-
played on the Control Display.
A congenial climate
To use the automatic function, press the
AUTO button. Select an interior tempera-
ture you find pleasant.
The following section contains more
detailed information on the available set-
ting options.
The cooling function is only possible with
the engine running.
Automatic air distribution and supply
The AUTO program adjusts the
air distribution to the wind-
shield and side windows,
towards the upper body and footwell as
well as the air volume, while also using your
preselected temperature setting as the
basis for adjusting the interior climate to
adapt to external influences: summer, win-
ter.
The cooling function comes on automati-
cally when you select the AUTO program.
At the same time, a condensation sensor
controls the program in such a way that
window condensation is prevented as far
as possible.
Adjusting temperature
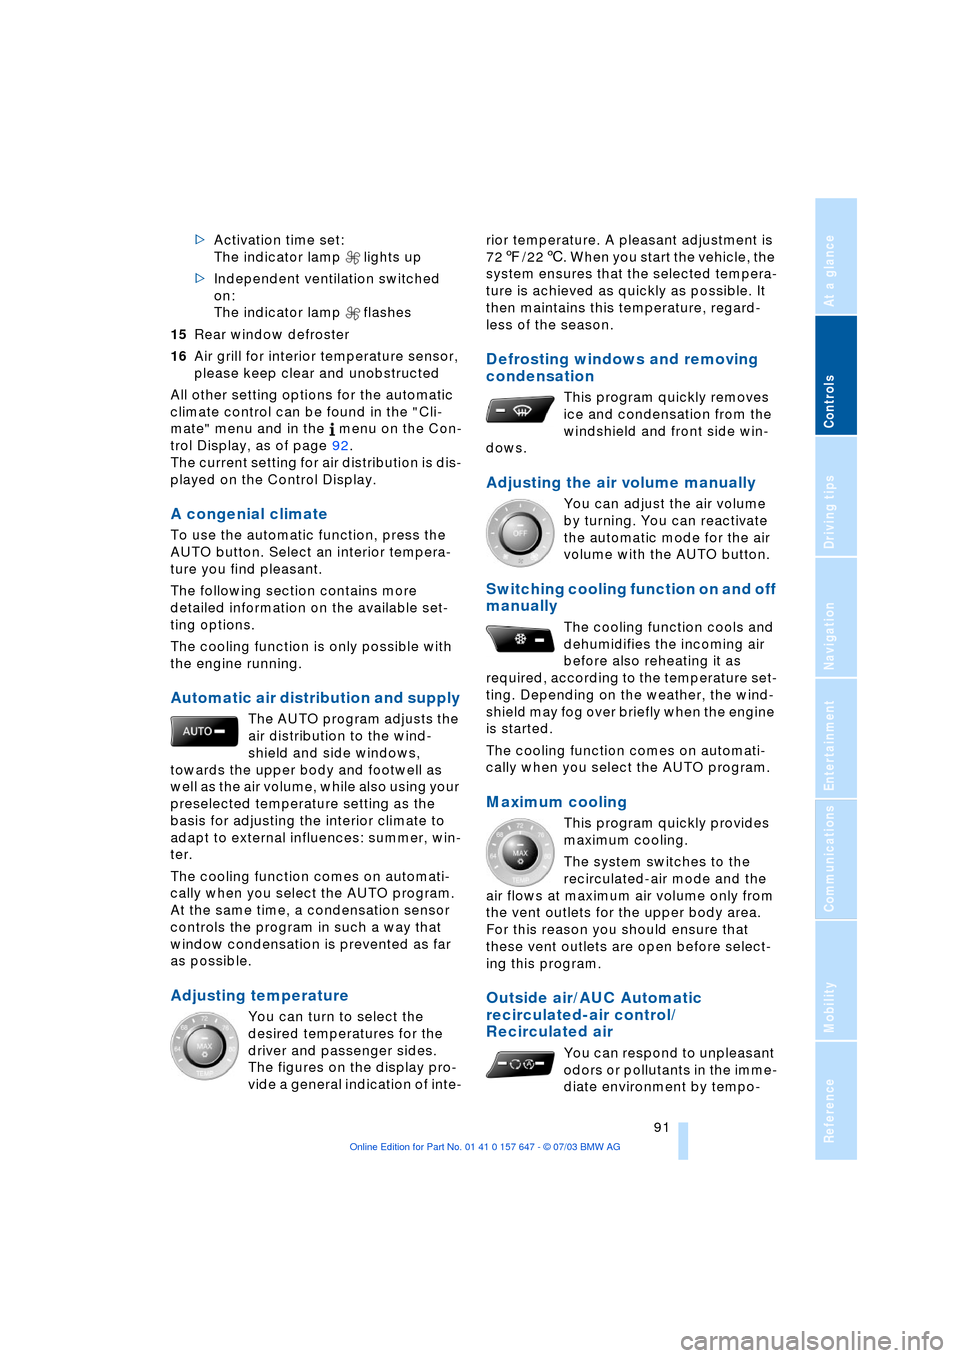
You can turn to select the
desired temperatures for the
driver and passenger sides.
The figures on the display pro-
vide a general indication of inte-rior temperature. A pleasant adjustment is
727/226. When you start the vehicle, the
system ensures that the selected tempera-
ture is achieved as quickly as possible. It
then maintains this temperature, regard-
less of the season.
Defrosting windows and removing
condensation
This program quickly removes
ice and condensation from the
windshield and front side win-
dows.
Adjusting the air volume manually
You can adjust the air volume
by turning. You can reactivate
the automatic mode for the air
volume with the AUTO button.
Switching cooling function on and off
manually
The cooling function cools and
dehumidifies the incoming air
before also reheating it as
required, according to the temperature set-
ting. Depending on the weather, the wind-
shield may fog over briefly when the engine
is started.
The cooling function comes on automati-
cally when you select the AUTO program.
Maximum cooling
This program quickly provides
maximum cooling.
The system switches to the
recirculated-air mode and the
air flows at maximum air volume only from
the vent outlets for the upper body area.
For this reason you should ensure that
these vent outlets are open before select-
ing this program.
Outside air/AUC Automatic
recirculated-air control/
Recirculated air
You can respond to unpleasant
odors or pollutants in the imme-
diate environment by tempo-
Page 94 of 220
A congenial climate
92 rarily suspending the supply of outside air.
The system then recirculates the air cur-
rently within the vehicle. AUC executes this
function automatically.
Press the button repeatedly to run through
the following control sequence:
>Indicator lamps off: outside air flows in
>Right indicator lamp on, AUC mode: the
system detects pollutants in the outside
air and responds by blocking the supply
of outside air when required. The sys-
tem then recirculates the air currently
within the vehicle.
Depending upon air quality require-
ments, in the automatic mode the sys-
tem alternates between its outside-air
and recirculated-air modes
>Left indicator lamp on, recirculated-air
mode: the supply of outside air is per-
manently blocked. The system then
recirculates the air currently within the
vehicle.
If condensation starts to form on the
inside window surfaces during opera-
tion in the recirculated-air mode, you
should switch it off while also increasing
the air volume as required.
The recirculated-air mode should not be
used over a sustained longer period of
time, as the air quality inside the vehicle
deteriorates continuously.<
Residual heat mode
The system uses the warmth
stored in the engine to heat the
interior when the ignition is off,
for instance, while the vehicle is
stopped at a school to pick up a
child.
You can adjust the automatic climate con-
trol settings in ignition key position 1.
Provided that the engine has warmed
to its normal operating temperature
and the battery is charged, you can use this
function for up to 15 minutes after switch-
ing off the ignition. The LED within the but-
ton lights up to confirm compliance with
these conditions.<
Switching automatic climate control
off
The air volume, the heater and
the cooling function are all
switched off. You can restart
the automatic climate control
by pressing any of its buttons
except the REST button.
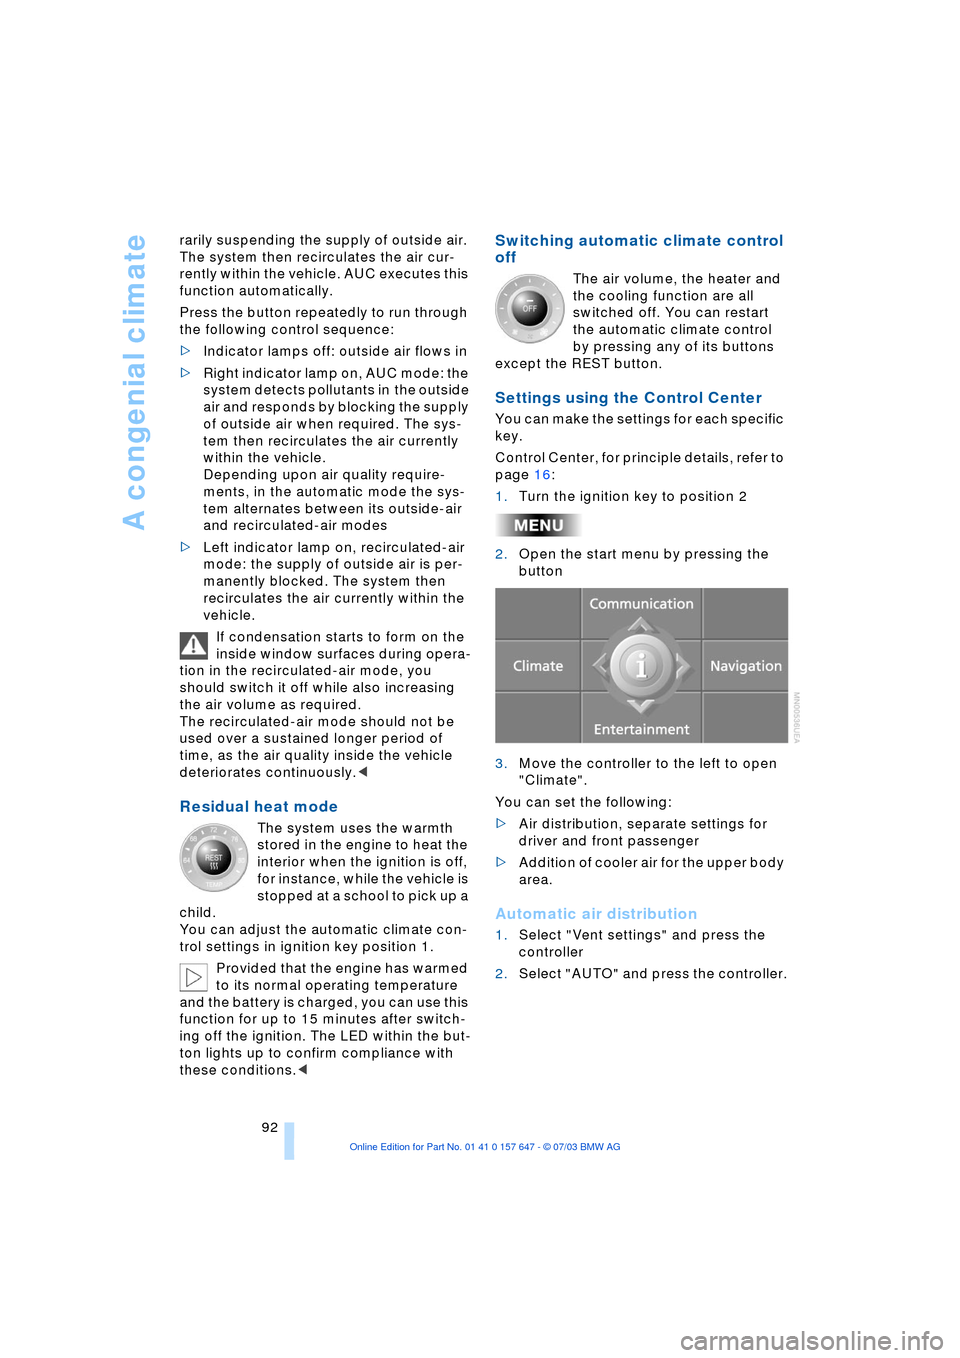
Settings using the Control Center
You can make the settings for each specific
key.
Control Center, for principle details, refer to
page 16:
1.Turn the ignition key to position 2
2.Open the start menu by pressing the
button
3.Move the controller to the left to open
"Climate".
You can set the following:
>Air distribution, separate settings for
driver and front passenger
>Addition of cooler air for the upper body
area.
Automatic air distribution
1.Select "Vent settings" and press the
controller
2.Select "AUTO" and press the controller.
Page 98 of 220
Practical interior accessories
96
Practical interior accessories
Integrated universal remote
control*
The concept
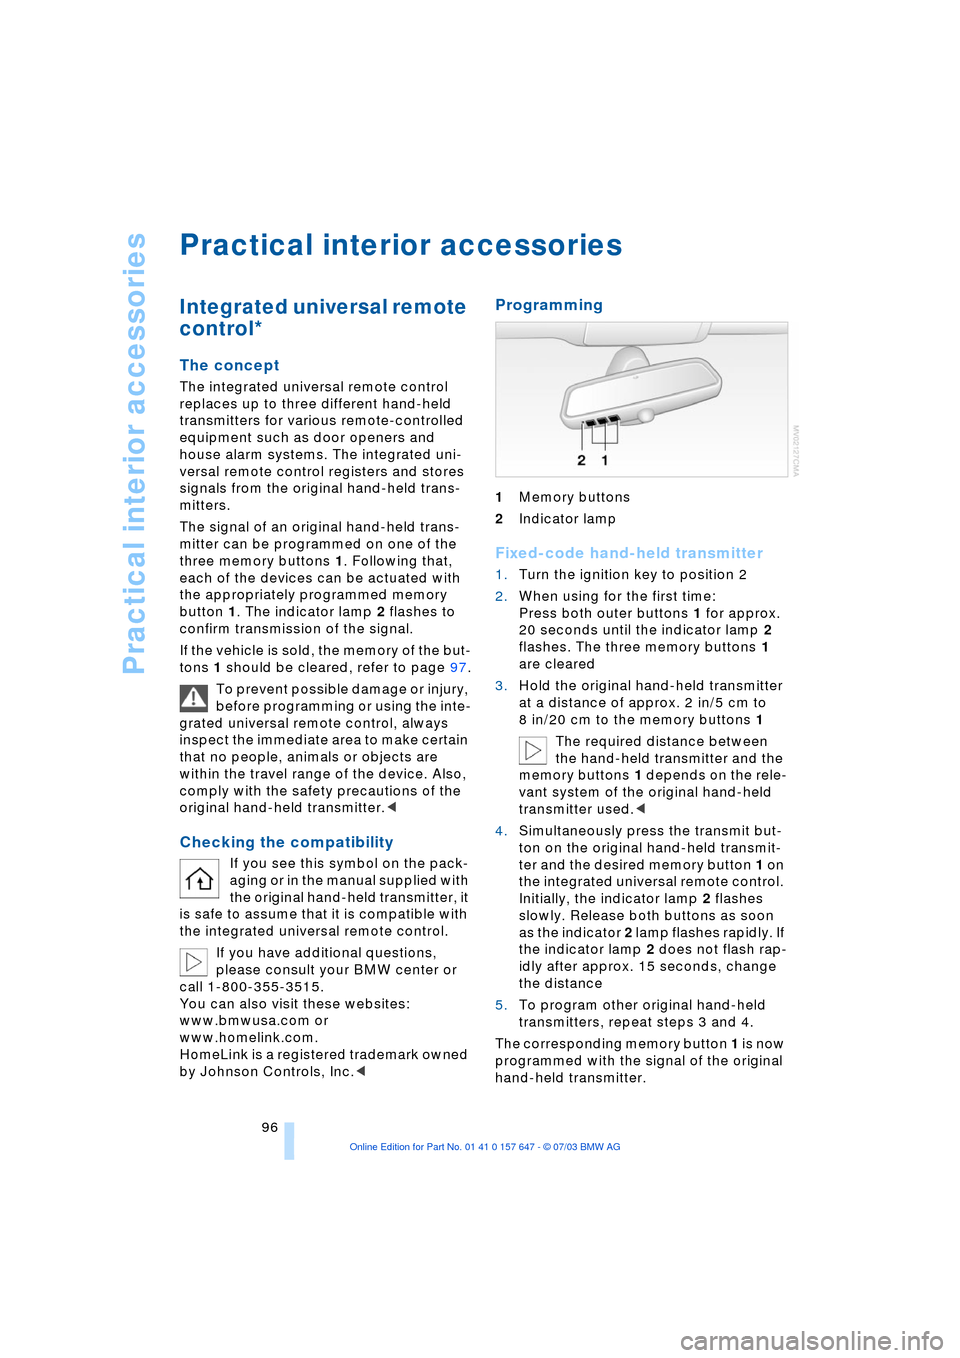
The integrated universal remote control
replaces up to three different hand-held
transmitters for various remote-controlled
equipment such as door openers and
house alarm systems. The integrated uni-
versal remote control registers and stores
signals from the original hand-held trans-
mitters.
The signal of an original hand-held trans-
mitter can be programmed on one of the
three memory buttons 1. Following that,
each of the devices can be actuated with
the appropriately programmed memory
button 1. The indicator lamp 2 flashes to
confirm transmission of the signal.
If the vehicle is sold, the memory of the but-
tons 1 should be cleared, refer to page 97.
To prevent possible damage or injury,
before programming or using the inte-
grated universal remote control, always
inspect the immediate area to make certain
that no people, animals or objects are
within the travel range of the device. Also,
comply with the safety precautions of the
original hand-held transmitter.<
Checking the compatibility
If you see this symbol on the pack-
aging or in the manual supplied with
the original hand-held transmitter, it
is safe to assume that it is compatible with
the integrated universal remote control.
If you have additional questions,
please consult your BMW center or
call 1-800-355-3515.
You can also visit these websites:
www.bmwusa.com or
www.homelink.com.
HomeLink is a registered trademark owned
by Johnson Controls, Inc.<
Programming
1Memory buttons
2Indicator lamp
Fixed-code hand-held transmitter
1.Turn the ignition key to position 2
2.When using for the first time:
Press both outer buttons 1 for approx.
20 seconds until the indicator lamp 2
flashes. The three memory buttons 1
are cleared
3.Hold the original hand-held transmitter
at a distance of approx. 2 in/5 cm to
8 in/20 cm to the memory buttons 1
The required distance between
the hand-held transmitter and the
memory buttons 1 depends on the rele-
vant system of the original hand-held
transmitter used.<
4.Simultaneously press the transmit but-
ton on the original hand-held transmit-
ter and the desired memory button 1 on
the integrated universal remote control.
Initially, the indicator lamp 2 flashes
slowly. Release both buttons as soon
as the indicator 2 lamp flashes rapidly. If
the indicator lamp 2 does not flash rap-
idly after approx. 15 seconds, change
the distance
5.To program other original hand-held
transmitters, repeat steps 3 and 4.
The corresponding memory button 1 is now
programmed with the signal of the original
hand-held transmitter.
Page 99 of 220
Controls
97Reference
At a glance
Driving tips
Communications
Navigation
Entertainment
Mobility
The equipment can be used as of ignition
key position 2.
If the device cannot be used even
after repeated programming, check
whether the original hand-held transmitter
is equipped with an alternating-code sys-
tem. Here, either read the instructions for
the original hand-held transmitter or hold
down the programmed memory button 1 of
the integrated universal remote control. If
the indicator lamp 2 on the integrated uni-
versal remote control flashes rapidly for a
short time then lights up for approx. 2 sec-
onds, this indicates that the original hand-
held transmitter uses an alternating-code
system. In the case of an alternating-code
system, program the memory buttons 1 as
described at Alternating-code hand-held
transmitters.<
Alternating-code hand-held
transmitters
To program the integrated universal remote
control, consult the operating instructions
for the equipment to be set. You will find
information there on the possibilities for
synchronization.
When programming hand-held transmitters
that employ an alternating code, please
observe the following supplementary
instructions:
Programming will be easier with the
aid of a second person.<
1.Park your vehicle within the range of the
remote-controlled device
2.Program the integrated universal
remote control as described above at
Fixed-code hand-held transmitters
3.Locate the button at the receiver of the
equipment to be set, e.g. on the drive
4.Press the button on the receiver of the
device you want to set up. After step 4,
you have approx. 30 seconds for step 5
5.Press the programmed memory
button 1 of the integrated universal
remote control three times. The corresponding memory button 1 is now
programmed with the signal of the original
hand-held transmitter.
If you have any additional questions,
please contact your BMW center.<
Clearing the memory buttons
Press both outer buttons 1 of the inte-
grated universal remote control for approx.
20 seconds until the indicator lamp 2
flashes. All memory buttons will be cleared.
The memory of individual memory
buttons 1 cannot be cleared.
Roller sun blinds*
Roller sun blind for rear window
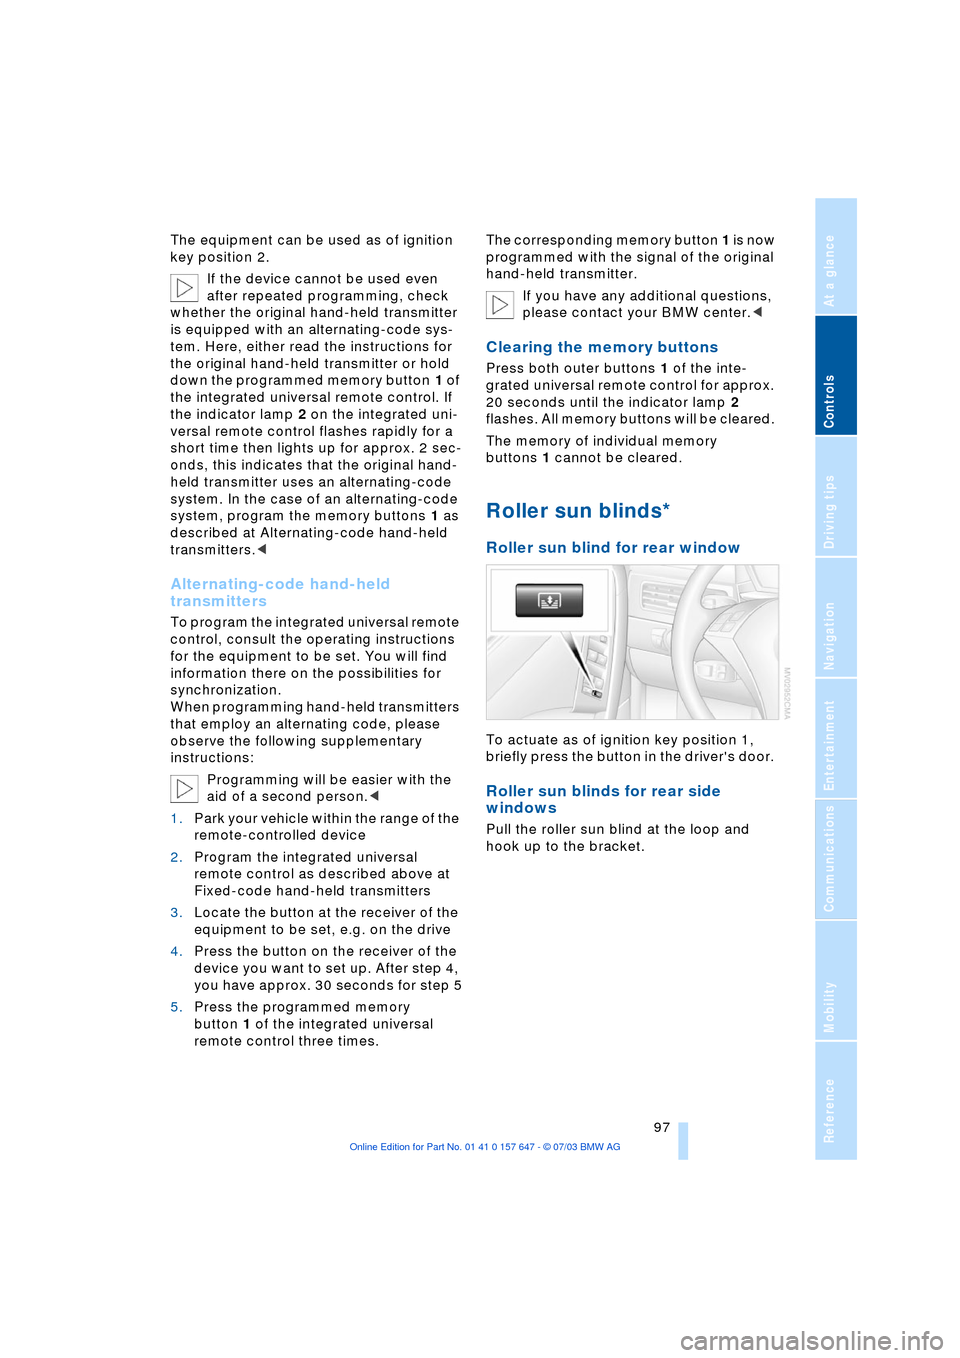
To actuate as of ignition key position 1,
briefly press the button in the driver's door.
Roller sun blinds for rear side
windows
Pull the roller sun blind at the loop and
hook up to the bracket.
Page 103 of 220
Controls
101Reference
At a glance
Driving tips
Communications
Navigation
Entertainment
Mobility
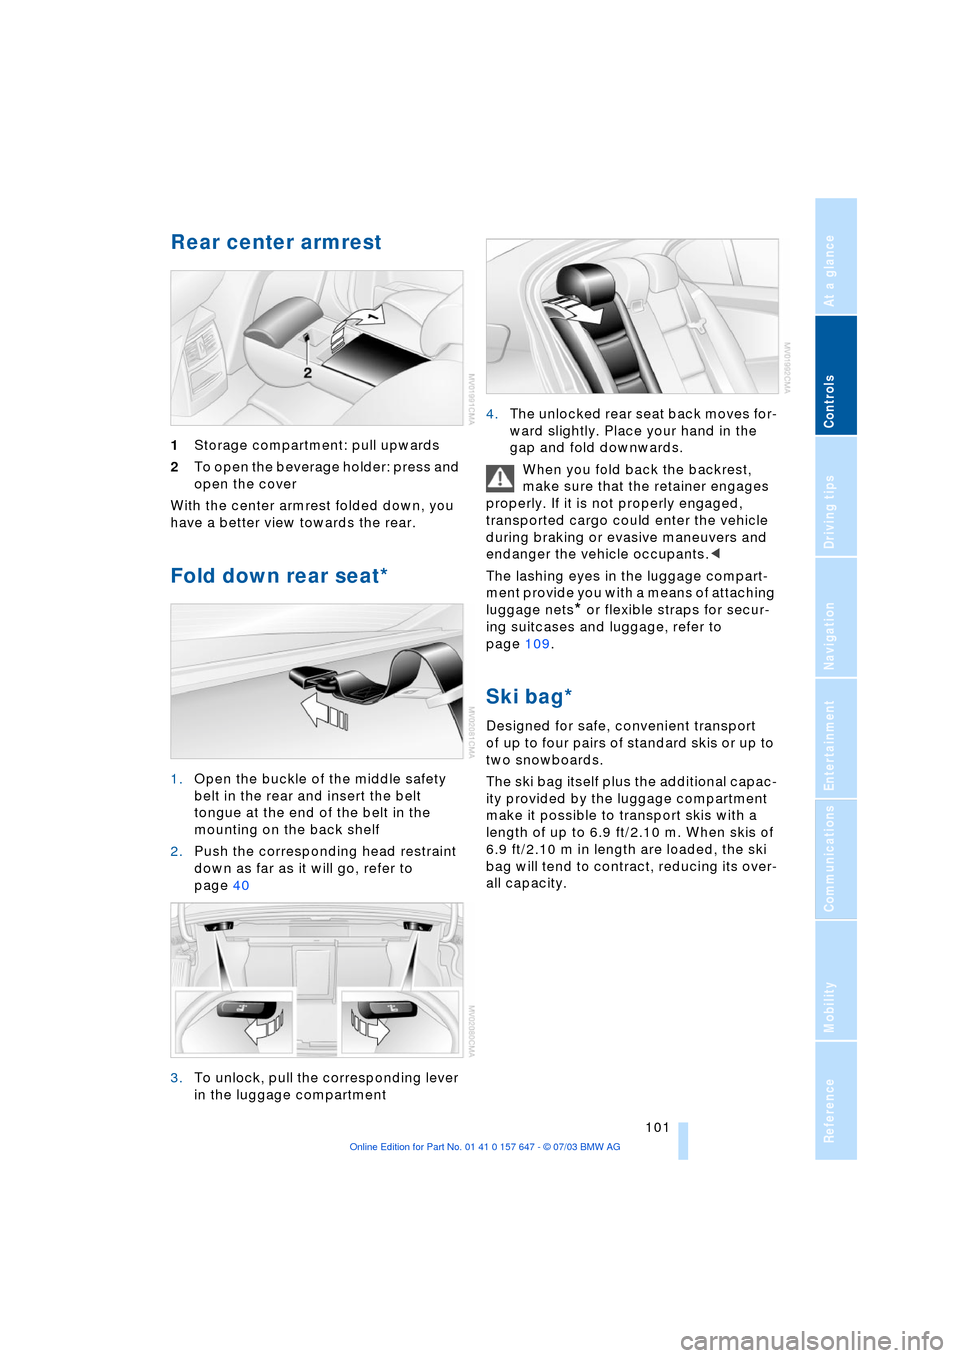
Rear center armrest
1Storage compartment: pull upwards
2To open the beverage holder: press and
open the cover
With the center armrest folded down, you
have a better view towards the rear.
Fold down rear seat*
1.Open the buckle of the middle safety
belt in the rear and insert the belt
tongue at the end of the belt in the
mounting on the back shelf
2.Push the corresponding head restraint
down as far as it will go, refer to
page 40
3.To unlock, pull the corresponding lever
in the luggage compartment 4.The unlocked rear seat back moves for-
ward slightly. Place your hand in the
gap and fold downwards.
When you fold back the backrest,
make sure that the retainer engages
properly. If it is not properly engaged,
transported cargo could enter the vehicle
during braking or evasive maneuvers and
endanger the vehicle occupants.<
The lashing eyes in the luggage compart-
ment provide you with a means of attaching
luggage nets
* or flexible straps for secur-
ing suitcases and luggage, refer to
page 109.
Ski bag*
Designed for safe, convenient transport
of up to four pairs of standard skis or up to
two snowboards.
The ski bag itself plus the additional capac-
ity provided by the luggage compartment
make it possible to transport skis with a
length of up to 6.9 ft/2.10 m. When skis of
6.9 ft/2.10 m in length are loaded, the ski
bag will tend to contract, reducing its over-
all capacity.