2004 BMW 330CI COUPE mirror
[x] Cancel search: mirrorPage 8 of 174

Contents
Notes
About this Owner's Manual4
Additional sources of
information4
Symbols used4
Your individual vehicle5
Status at time of printing5
For your own safety5
Service and warranty6
Reporting safety defects7
Overview
Cockpit14
Instrument cluster16
Indicator and warning lamps18
Buttons in steering wheel*21
Hazard warning triangle*22
First-aid kit*22
Refueling23
Fuel specifications24
Controls and features
Opening and closing:
Keys28
Central locking system28
Opening and closing – via the
remote control29
Opening and closing – via the
door lock31
Opening and closing – from the
inside32
Luggage compartment lid33
Luggage compartment35
Alarm system*36
Electric power windows38
Glass sunroof, electric*39
Adjustments:
Safe seating position41
Seats42
Manual seat adjustment42
Power seat adjustment*44
Lumbar support*44
Head restraints45
Entering the rear45
Safety belts46
Seat and mirror memory*47
Seat heating*48
Mirrors49
Steering wheel50
Page 37 of 174

37
Indicator lamp displays>The indicator lamp below the interior
rearview mirror flashes continuously:
the system is armed
>The indicator lamp flashes immedi-
ately after the vehicle is locked: doors
or luggage compartment lid are not
completely closed. Even if you do not
close the alerted area(s), the remain-
ing areas are secured, and the indi-
cator lamp will flash continuously
after 10 seconds. However, the inte-
rior motion sensor is not activated
>The indicator lamp goes out immedi-
ately after the vehicle is unlocked: no
manipulation or attempted intrusions
have been detected in the period
since the system was armed
>The indicator lamp flashes for
10 seconds immediately after the
system is armed: an attempted entry
has been detected in the period since
the system was armed.
Following triggering of an alarm, the
indicator lamp will flash continuously.Tilt alarm sensor and interior
motion sensorTilt alarm sensor:
The tilt of the vehicle is monitored. The
alarm system reacts, for example, to
attempts to steal the wheels or tow the
vehicle
Interior motion sensor:
In order for the interior motion sensor to
function properly, the windows and the
glass sunroof must be completely
closed.Avoiding unintentional alarmsThe tilt alarm sensor and interior motion
sensor may be switched off at the same
time. You can do this to prevent a false
alarm, e.g. in the following situations:
>In garages with elevator ramps
>When the vehicle is being trans-
ported by train
>When animals are to remain in the
vehicle.
To deactivate the tilt alarm and
interior motion sensors>Press the button on the remote con-
trol twice.
The indicator lamp lights up briefly and
then flashes continuously. The tilt alarm
sensor and the interior motion sensor
are deactivated until the vehicle is
unlocked and locked again.
You can have the tilt alarm sensor
and the interior motion sensor
permanently deactivated.<
The system inadvertently deacti-
vates the tilt alarm sensor and the
interior motion sensor if the conve-
nience closing of windows and glass
sunroof is interrupted within the first
10 seconds and then restarted. The
vehicle must then be unlocked and
relocked before the sensors will resume
operation.<
Alarm system*
OverviewControlsMaintenanceRepairsDataIndex
Page 47 of 174

47
Seat and mirror memory*You can store and recall three different
driver's seat and exterior mirror posi-
tions.
Memory will not retain the adjust-
ment made to the lumbar sup-
port.
to the desired position
3. Press the M
EMORY
button: the indica-
tor lamp in the button lights up
4. Press memory button 1, 2 or 3, as
desired. Indicator lamp goes out.
To select a stored setting
Do not select a memory position
while the vehicle is moving. If you
do so, there is a risk of accident from
unexpected seat movement.<
Ignition key in position 1:
>Briefly press memory button 1, 2 or 3,
as desired.
Movement stops immediately when
one of the seat-adjustment or mem-
ory buttons is activated during the
adjustment process.
The driver's door is closed and the igni-
tion key is either removed or in position
0 or 2:
>Press and hold the desired memory
button – 1, 2 or 3 – until the adjust-
ment process is completed.
If you press the M
EMORY
button acci-
dentally: press the button again; the
indicator lamp goes out.
Your BMW center can adjust your
vehicle's systems in such a man-
ner that your personalized settings are
automatically set for the seat and exte-
rior mirror positions when you unlock
the vehicle with your personal remote
control.<
Before activating the programmed
adjustment feature, ensure that
the footwell behind the driver's seat is
empty and unobstructed. If you fail to
do so, persons, animals or objects
could be injured or damaged if the seat
should move backward.<
OverviewControlsMaintenanceRepairsDataIndex
Page 48 of 174

48
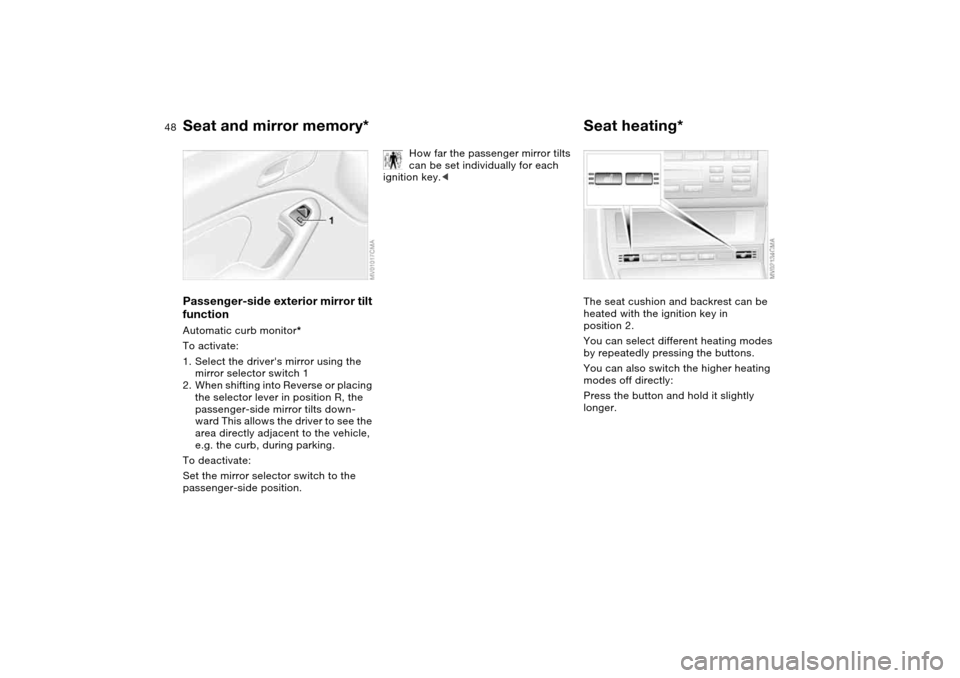
Passenger-side exterior mirror tilt
functionAutomatic curb monitor*
To activate:
1. Select the driver's mirror using the
mirror selector switch 1
2. When shifting into Reverse or placing
the selector lever in position R, the
passenger-side mirror tilts down-
ward This allows the driver to see the
area directly adjacent to the vehicle,
e.g. the curb, during parking.
To deactivate:
Set the mirror selector switch to the
passenger-side position.
How far the passenger mirror tilts
can be set individually for each
ignition key.<
Seat heating*The seat cushion and backrest can be
heated with the ignition key in
position 2.
You can select different heating modes
by repeatedly pressing the buttons.
You can also switch the higher heating
modes off directly:
Press the button and hold it slightly
longer.
Seat and mirror memory*
Page 49 of 174

49
MirrorsTo adjust exterior mirrors1Switch for 4-way adjustment
2Switch to select between mirrorsTo adjust manuallyThe mirrors can also be adjusted by
hand: press against the edges of the
lens.
For storing mirror settings, refer to Seat
and mirror memory on page 47.
The mirror on the passenger's
side is convex. When estimating
the distance between yourself and
other traffic, bear in mind that the
objects reflected in the mirror are closer
than they appear. This means that esti-
mates of the distance to following traffic
should not be regarded as precise.<
Electric defrosting*Both mirrors are automatically heated
when you turn the ignition key to posi-
tion 2.
Interior rearview mirrorTo reduce glare from vehicles behind
you when you are driving at night, tilt
the lens by turning the button.
Vehicles without alarm system:
Tilt the small lever forward.
OverviewControlsMaintenanceRepairsDataIndex
Page 50 of 174

50
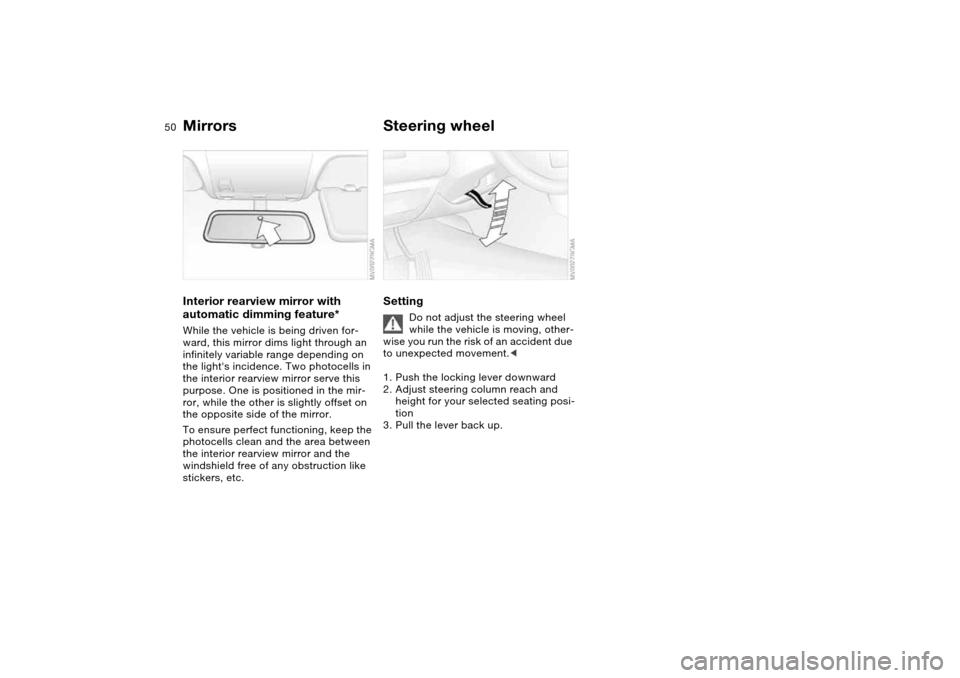
Interior rearview mirror with
automatic dimming feature*While the vehicle is being driven for-
ward, this mirror dims light through an
infinitely variable range depending on
the light's incidence. Two photocells in
the interior rearview mirror serve this
purpose. One is positioned in the mir-
ror, while the other is slightly offset on
the opposite side of the mirror.
To ensure perfect functioning, keep the
photocells clean and the area between
the interior rearview mirror and the
windshield free of any obstruction like
stickers, etc.
Steering wheelSetting
Do not adjust the steering wheel
while the vehicle is moving, other-
wise you run the risk of an accident due
to unexpected movement.<
1. Push the locking lever downward
2. Adjust steering column reach and
height for your selected seating posi-
tion
3. Pull the lever back up.
Mirrors
Page 58 of 174

58
Vehicle Memory, Key MemoryHow the system functionsNo doubt you have reflected at one
time or another on how great it would
be if you could permanently configure
your vehicle's various features and
adjustments to mirror your own individ-
ual preferences. In engineering your
vehicle, BMW has provided for a num-
ber of options for personal adjustment
that can be programmed into your vehi-
cle at your BMW center.
The available configuration data fall into
two categories, according to whether
their primary orientation is the vehicle –
Vehicle Memory – or the individual –
Key Memory. Provided that each per-
son has a separate remote-control key,
you can have your BMW center enter
adjustment data for as many as four dif-
ferent individuals into the system.
The system then relies on a bilateral
data exchange to identify the individual
user and executes the selected settings
whenever the remote control unit is
used to disengage the door locks.
Distinguishing between keysColor-coded decals have been pro-
vided to help you distinguish individual
keys with different settings.What the system can doYour BMW center can provide you with
details on the capabilities of the Vehicle
Memory and Key Memory systems.
You will see this symbol through-
out the Owner's Manual. It is to
remind you at appropriate places of the
settings that are available to you.<
Examples for Vehicle Memory:
>Various signals as acknowledgment
when locking or unlocking your vehi-
cle, refer to pages 29, 31
>Activates/deactivates the 'Follow me
home' function, refer to page 85
>Activates/deactivates daytime driv-
ing lamps, refer to page 85
>Sets the units of measure for display-
ing time, outside temperature, dis-
tance traveled and fuel consumption
in the instrument cluster
>When you shift into Reverse, an
acoustic signal indicates that PDC
has been activated, refer to page 80
>Switches on rear window defroster
automatically, refer to pages 92, 97
>Activates/deactivates various alarm
system functions, refer to page 37
>After giving an ice warning, the
onboard computer display returns to
the previous setting, refer to page 78.
Examples for Key Memory:
>Unlocks driver's door first, then the
vehicle's remaining locks, refer to
page 29
>Locks the vehicle automatically after
you start off, refer to page 32
>Automatically adjusts the driver's
seat to the personal programmed
settings when the vehicle is
unlocked, refer to page 47
>Automatic tilting of the passenger-
side mirror, refer to Automatic curb
monitor, page 48.
Page 71 of 174

71
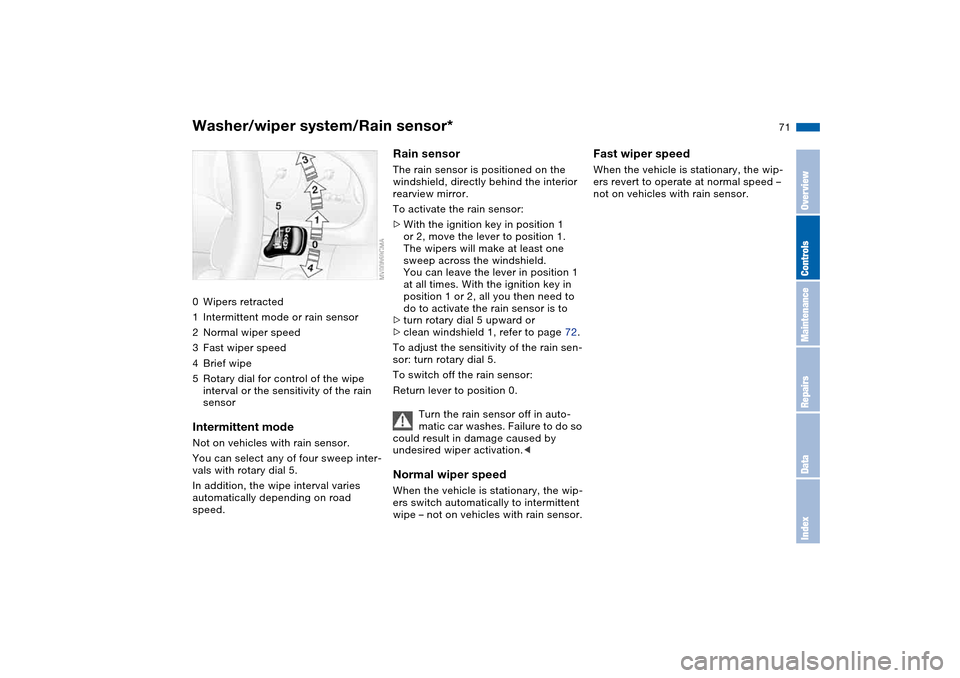
Washer/wiper system/Rain sensor*0Wipers retracted
1Intermittent mode or rain sensor
2Normal wiper speed
3Fast wiper speed
4Brief wipe
5Rotary dial for control of the wipe
interval or the sensitivity of the rain
sensorIntermittent modeNot on vehicles with rain sensor.
You can select any of four sweep inter-
vals with rotary dial 5.
In addition, the wipe interval varies
automatically depending on road
speed.
Rain sensorThe rain sensor is positioned on the
windshield, directly behind the interior
rearview mirror.
To activate the rain sensor:
>With the ignition key in position 1
or 2, move the lever to position 1.
The wipers will make at least one
sweep across the windshield.
You can leave the lever in position 1
at all times. With the ignition key in
position 1 or 2, all you then need to
do to activate the rain sensor is to
>turn rotary dial 5 upward or
>clean windshield 1, refer to page 72.
To adjust the sensitivity of the rain sen-
sor: turn rotary dial 5.
To switch off the rain sensor:
Return lever to position 0.
Turn the rain sensor off in auto-
matic car washes. Failure to do so
could result in damage caused by
undesired wiper activation.
wipe – not on vehicles with rain sensor.
Fast wiper speedWhen the vehicle is stationary, the wip-
ers revert to operate at normal speed –
not on vehicles with rain sensor.
OverviewControlsMaintenanceRepairsDataIndex