2004 BMW 325CI COUPE power
[x] Cancel search: powerPage 8 of 174

Contents
Notes
About this Owner's Manual4
Additional sources of
information4
Symbols used4
Your individual vehicle5
Status at time of printing5
For your own safety5
Service and warranty6
Reporting safety defects7
Overview
Cockpit14
Instrument cluster16
Indicator and warning lamps18
Buttons in steering wheel*21
Hazard warning triangle*22
First-aid kit*22
Refueling23
Fuel specifications24
Controls and features
Opening and closing:
Keys28
Central locking system28
Opening and closing – via the
remote control29
Opening and closing – via the
door lock31
Opening and closing – from the
inside32
Luggage compartment lid33
Luggage compartment35
Alarm system*36
Electric power windows38
Glass sunroof, electric*39
Adjustments:
Safe seating position41
Seats42
Manual seat adjustment42
Power seat adjustment*44
Lumbar support*44
Head restraints45
Entering the rear45
Safety belts46
Seat and mirror memory*47
Seat heating*48
Mirrors49
Steering wheel50
Page 30 of 174

30
Convenience opening modePress the button briefly and then keep it
pressed. The electric power windows
and the glass sunroof open.To lock and securePress button.To switch on the interior lampsWith the vehicle locked, press button.
With this function, you can also search
for your vehicle when parked in an
underground garage, for instance.To open the luggage
compartment lidPress button briefly.
The luggage compartment lid will open
slightly, regardless of whether it was
previously locked or unlocked.
If the vehicle was previously
locked, the luggage compartment
is also locked again after it is closed.
Before and after a trip, be sure that the
luggage compartment lid has not been
opened unintentionally.<
Panic mode* – trigger alarmBy pressing the button for more than
2 seconds, the alarm system* can be
triggered in the event of danger, if the
system is armed.
To switch off the alarm:
Press button.External systemsMalfunctions:
Local radio waves can impede the func-
tioning of the remote control.
If this occurs, open and close the vehi-
cle using a master key in the door lock.
For US owners onlyThe transmitter and receiver units com-
ply with part 15 of the FCC Federal
Communications Commission regula-
tions. Operation is governed by the fol-
lowing:
FCC ID:
>LX8EWS
>LX8FZVS
>LX8FZVE.
Compliance statement:
This device complies with part 15 of the
FCC Rules. Operation is subject to the
following two conditions:
>This device may not cause harmful
interference, and
>this device must accept any interfer-
ence received, including interference
that may cause undesired operation.
Any unauthorized modifications to
these devices could void the
user's authority to operate the equip-
ment.<
Opening and closing – via the remote control
Page 31 of 174
31
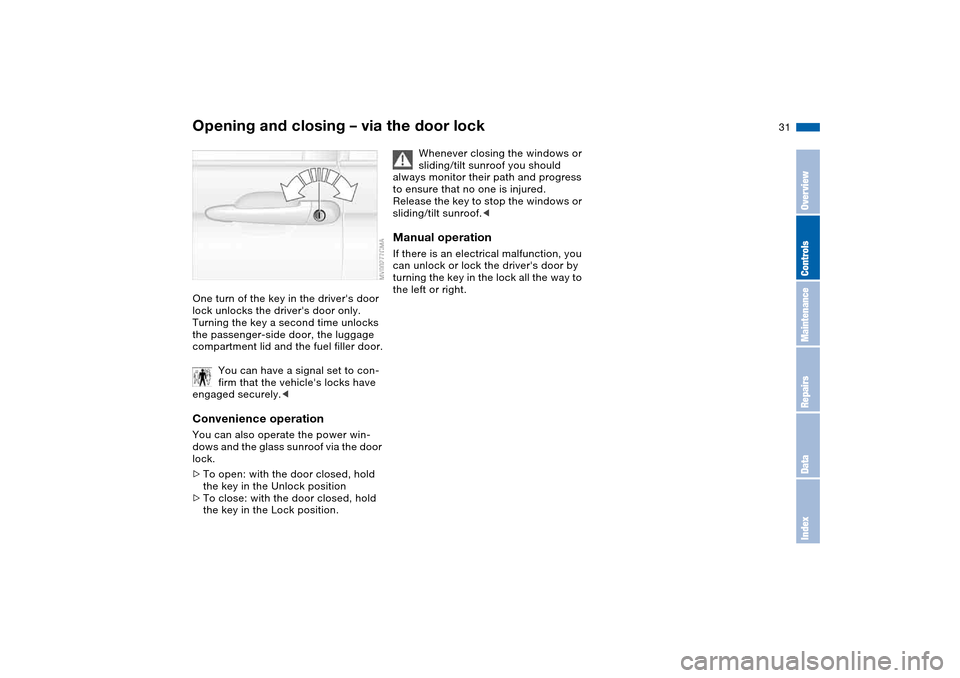
Opening and closing – via the door lockOne turn of the key in the driver's door
lock unlocks the driver's door only.
Turning the key a second time unlocks
the passenger-side door, the luggage
compartment lid and the fuel filler door.
You can have a signal set to con-
firm that the vehicle's locks have
engaged securely.
lock.
>To open: with the door closed, hold
the key in the Unlock position
>To close: with the door closed, hold
the key in the Lock position.
Whenever closing the windows or
sliding/tilt sunroof you should
always monitor their path and progress
to ensure that no one is injured.
Release the key to stop the windows or
sliding/tilt sunroof.<
Manual operationIf there is an electrical malfunction, you
can unlock or lock the driver's door by
turning the key in the lock all the way to
the left or right.
OverviewControlsMaintenanceRepairsDataIndex
Page 38 of 174
38
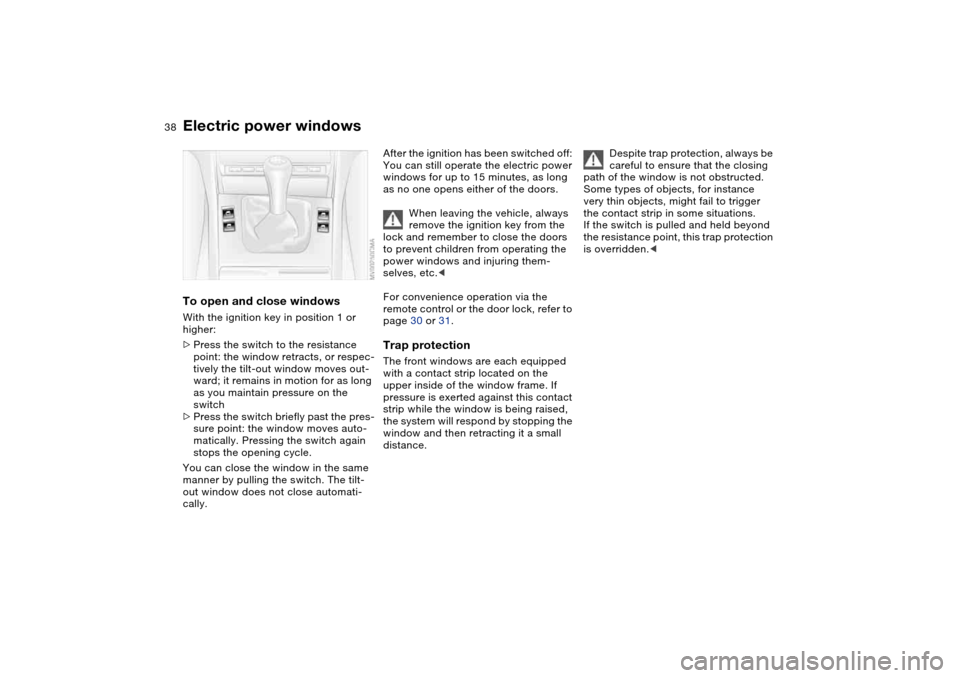
Electric power windowsTo open and close windowsWith the ignition key in position 1 or
higher:
>Press the switch to the resistance
point: the window retracts, or respec-
tively the tilt-out window moves out-
ward; it remains in motion for as long
as you maintain pressure on the
switch
>Press the switch briefly past the pres-
sure point: the window moves auto-
matically. Pressing the switch again
stops the opening cycle.
You can close the window in the same
manner by pulling the switch. The tilt-
out window does not close automati-
cally.
After the ignition has been switched off:
You can still operate the electric power
windows for up to 15 minutes, as long
as no one opens either of the doors.
When leaving the vehicle, always
remove the ignition key from the
lock and remember to close the doors
to prevent children from operating the
power windows and injuring them-
selves, etc.<
For convenience operation via the
remote control or the door lock, refer to
page 30 or 31.Trap protectionThe front windows are each equipped
with a contact strip located on the
upper inside of the window frame. If
pressure is exerted against this contact
strip while the window is being raised,
the system will respond by stopping the
window and then retracting it a small
distance.
Despite trap protection, always be
careful to ensure that the closing
path of the window is not obstructed.
Some types of objects, for instance
very thin objects, might fail to trigger
the contact strip in some situations.
If the switch is pulled and held beyond
the resistance point, this trap protection
is overridden.<
Page 42 of 174
42
SeatsWhen adjusting your seat, always
observe the following precautions
Never try to adjust your seat while
operating the vehicle. The seat
could respond with an unexpected
movement, and the ensuing loss of
vehicle control could lead to an acci-
dent. Never ride with the backrest
reclined to an extreme angle. This is
especially important for the front pas-
senger to remember. If you do, there is
a risk that you will slide under the safety
belt in an accident, thus reducing the
protection provided by the safety belt.<
Seat adjustment>Manual seat adjustment, refer to
page 42
>Power seat adjustment, refer to
page 44
>Head restraint, refer to page 45
>Entering the rear, refer to page 45.
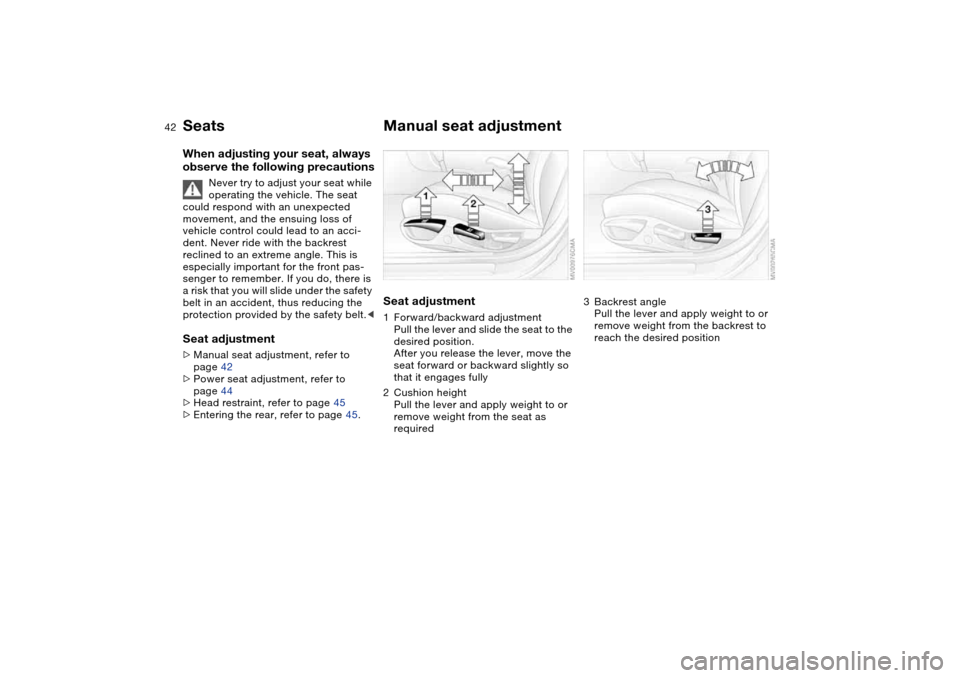
Manual seat adjustmentSeat adjustment1Forward/backward adjustment
Pull the lever and slide the seat to the
desired position.
After you release the lever, move the
seat forward or backward slightly so
that it engages fully
2Cushion height
Pull the lever and apply weight to or
remove weight from the seat as
required
3Backrest angle
Pull the lever and apply weight to or
remove weight from the backrest to
reach the desired position
Page 44 of 174
44
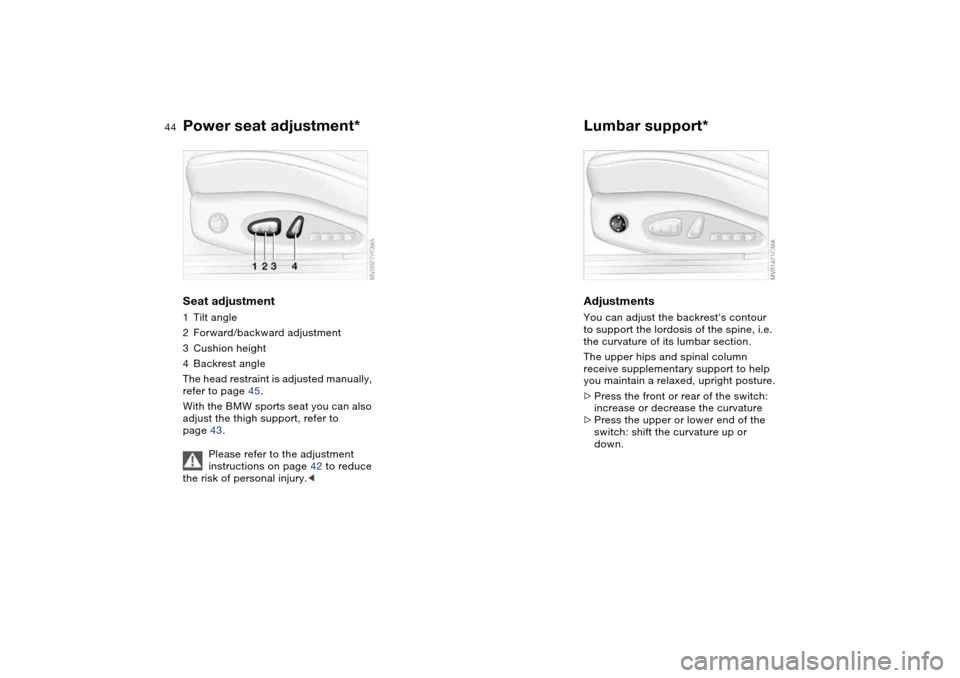
Power seat adjustment*Seat adjustment1Tilt angle
2Forward/backward adjustment
3Cushion height
4Backrest angle
The head restraint is adjusted manually,
refer to page 45.
With the BMW sports seat you can also
adjust the thigh support, refer to
page 43.
Please refer to the adjustment
instructions on page 42 to reduce
the risk of personal injury.<
Lumbar support*AdjustmentsYou can adjust the backrest's contour
to support the lordosis of the spine, i.e.
the curvature of its lumbar section.
The upper hips and spinal column
receive supplementary support to help
you maintain a relaxed, upright posture.
>Press the front or rear of the switch:
increase or decrease the curvature
>Press the upper or lower end of the
switch: shift the curvature up or
down.
Page 102 of 174
102
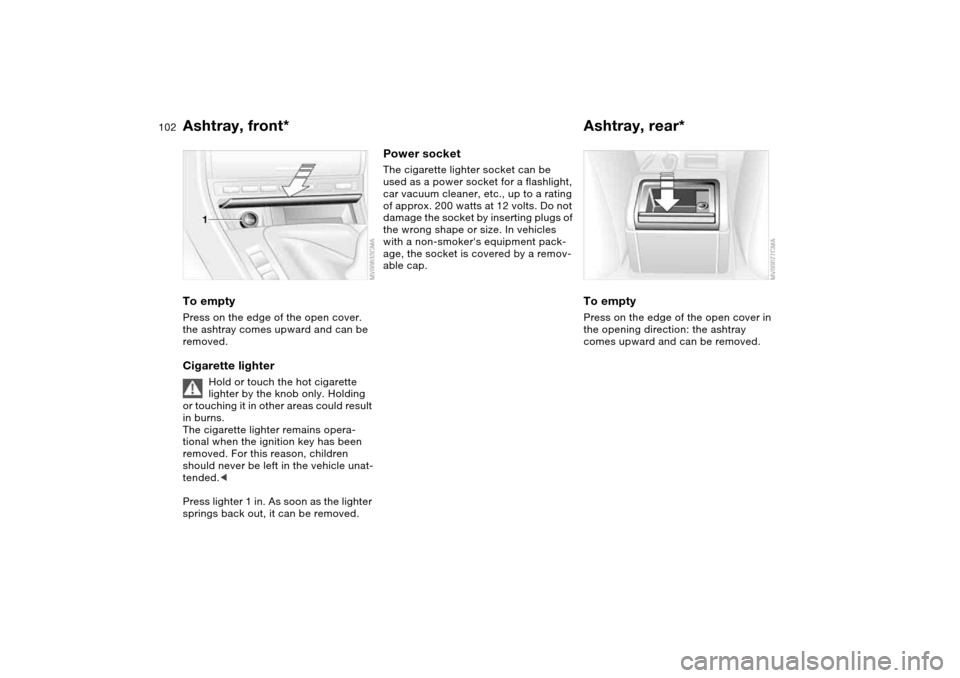
Ashtray, front*To emptyPress on the edge of the open cover.
the ashtray comes upward and can be
removed.Cigarette lighter
Hold or touch the hot cigarette
lighter by the knob only. Holding
or touching it in other areas could result
in burns.
The cigarette lighter remains opera-
tional when the ignition key has been
removed. For this reason, children
should never be left in the vehicle unat-
tended.<
Press lighter 1 in. As soon as the lighter
springs back out, it can be removed.
Power socketThe cigarette lighter socket can be
used as a power socket for a flashlight,
car vacuum cleaner, etc., up to a rating
of approx. 200 watts at 12 volts. Do not
damage the socket by inserting plugs of
the wrong shape or size. In vehicles
with a non-smoker's equipment pack-
age, the socket is covered by a remov-
able cap.
Ashtray, rear*To emptyPress on the edge of the open cover in
the opening direction: the ashtray
comes upward and can be removed.
Page 114 of 174
114
Inclines:
To prevent overheating and, as a
result, diminished braking effec-
tiveness, drive down long or steep
downhill grades in a gear which
requires the least braking. Otherwise,
even light but consistent pedal pres-
sure can lead to high temperatures,
brake wear and possibly even brake
failure.<
The braking power of the engine can be
further enhanced by downshifting the
automatic transmission in manual
mode, if necessary, into first gear. This
helps avoid placing excessive loads on
the brake system.
Do not coast with the clutch
depressed or with the transmis-
sion or selector lever in Neutral. Do not
coast with the engine switched off. Oth-
erwise, the engine provides no braking
effect while the transmission is in idling
position, and there is no power-assist
for braking or steering when the engine
is off.
Floor mats, floor carpets or other
objects must not be in the area near the
brake or accelerator pedal, as this
could impair the movement of the ped-
als.<
Corrosion on the brake rotorsLimited vehicle use, extended periods
with the vehicle parked or in storage,
and operating conditions in which brak-
ing is restricted to gentle, low-pressure
applications will all increase the ten-
dency for corrosion to form on the
rotors and contamination to accumulate
on the brake pads. This occurs because
the minimal pressure which must be
exerted by the pads to clean the rotors
by brake applications is not reached.
If the brake rotors are corroded, they
will tend to respond to braking with a
pulsating effect that even extended
brake applications will fail to cure.
Brake pads
For your own safety: use only
brake pads that BMW has
released for your particular vehicle
model. BMW cannot evaluate non-
approved brake pads to determine if
they are suitable for use, and therefore
cannot ensure the operating safety of
the vehicle if they are installed.<
Portable phone in the vehicle
BMW advises against using
mobile equipment, e.g. cellular
phones, inside the vehicle without con-
necting them directly to an outside
antenna. Otherwise, it cannot be ruled
out that vehicle electronics and the
mobile equipment interfere with one
another. In addition, it is not ensured
that the radio waves emitted during
transmission are directed outside of the
vehicle interior.<
General driving notes