2004 BMW 3.0i ROADSTER&COUPE change time
[x] Cancel search: change timePage 34 of 120
Adjustments
32 that each person uses his or her own
remote control key.
When your vehicle is unlocked with the
remote control, the vehicle recognizes the
individual user by means of a data
exchange with the key, and makes adjust-
ments accordingly.
Distinguishing between keys
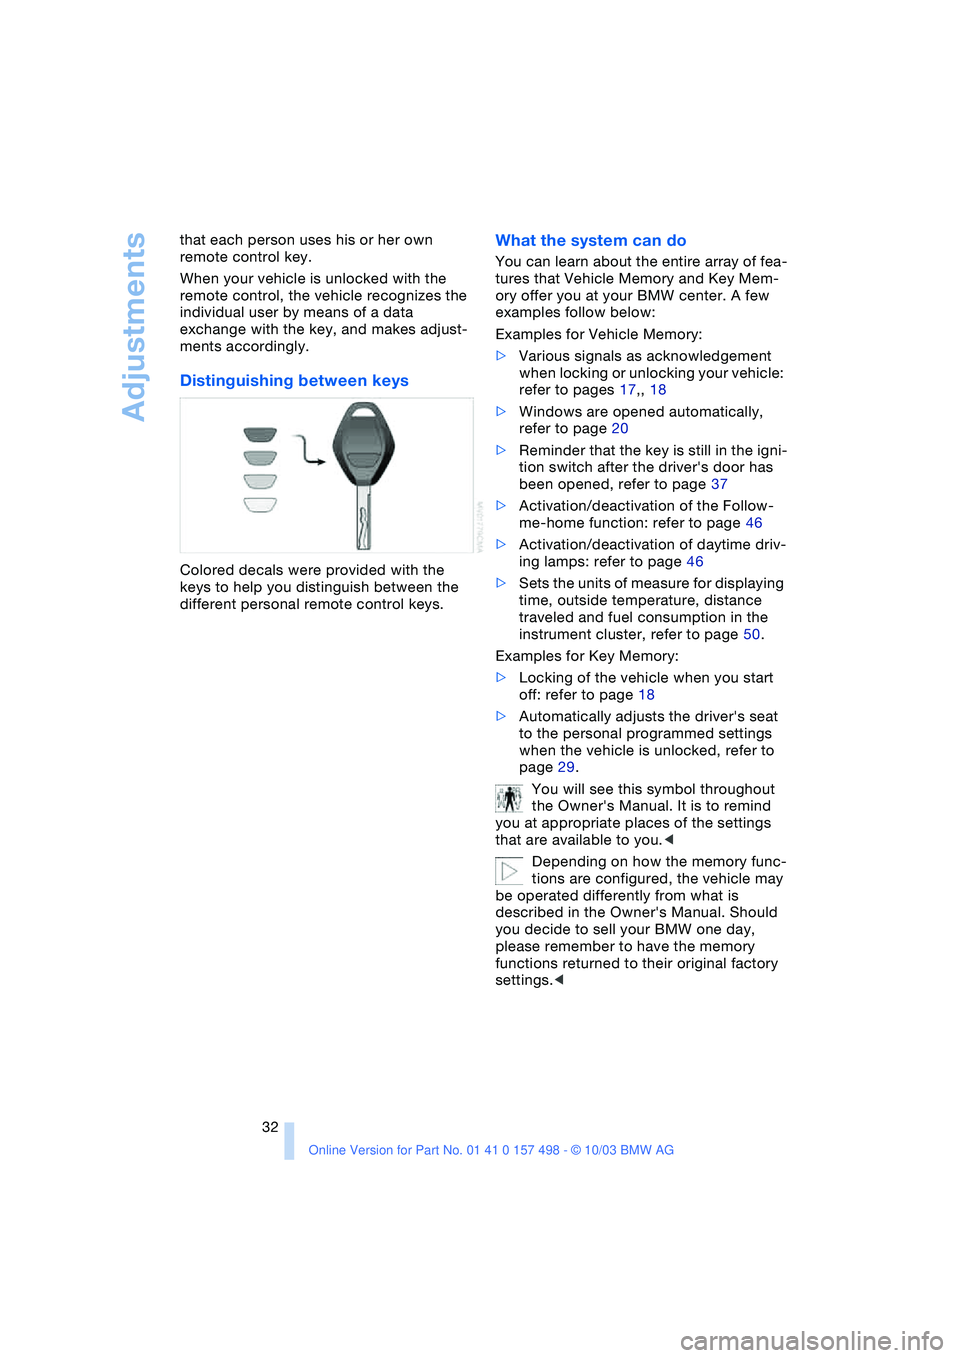
Colored decals were provided with the
keys to help you distinguish between the
different personal remote control keys.
What the system can do
You can learn about the entire array of fea-
tures that Vehicle Memory and Key Mem-
ory offer you at your BMW center. A few
examples follow below:
Examples for Vehicle Memory:
>Various signals as acknowledgement
when locking or unlocking your vehicle:
refer to pages 17,, 18
>Windows are opened automatically,
refer to page 20
>Reminder that the key is still in the igni-
tion switch after the driver's door has
been opened, refer to page 37
>Activation/deactivation of the Follow-
me-home function: refer to page 46
>Activation/deactivation of daytime driv-
ing lamps: refer to page 46
>Sets the units of measure for displaying
time, outside temperature, distance
traveled and fuel consumption in the
instrument cluster, refer to page 50.
Examples for Key Memory:
>Locking of the vehicle when you start
off: refer to page 18
>Automatically adjusts the driver's seat
to the personal programmed settings
when the vehicle is unlocked, refer to
page 29.
You will see this symbol throughout
the Owner's Manual. It is to remind
you at appropriate places of the settings
that are available to you.<
Depending on how the memory func-
tions are configured, the vehicle may
be operated differently from what is
described in the Owner's Manual. Should
you decide to sell your BMW one day,
please remember to have the memory
functions returned to their original factory
settings.<
Page 43 of 120
Reference
At a glance
Controls
Driving tips
Mobility
41
Forward position with one-touch functions:
Sequential mode
+:manual upshifting
—:manual downshifting
D: drive mode.
The SMG is ready for operation in ignition
key positions 2 and 3.
The gearbox is automatically taken
out of gear if the driver's door is
opened while the engine is running and the
driver does not actuate the pedals, the shift
paddles or the selector lever.
This is accompanied by an acoustic signal
and the flashing gear indicator.
The gear indicator in the instrument cluster
displays N.
A driving position can only be engaged
when the driver's door is closed.
When the vehicle is unlocked, a buzzing
sound in the area of the transmission indi-
cates that the system is ready to operate.<
Shiftlock
For your safety, it is only possible to
engage a driving position from selector
lever position N when the footbrake is
depressed.
Please keep in mind while driving
When driving off on inclines, drive
smoothly without pausing. Do not
keep the vehicle in place by depressing the
accelerator pedal; instead, apply the park-
ing brake. Otherwise, the SMG gearbox
could overheat.<
RReverse
Select reverse only when the vehicle is sta-
tionary.
NNeutral
Always engage before starting the engine,
refer to Starting the engine.
Sequential mode
Each time the engine is started, the
sequential mode is activated as soon as you move the selector lever into the for-
ward driving position.
The gears are shifted via the shift paddles
or the selector lever.
It is also possible to drive off in second
gear, e.g. on snow-covered roads.
D Drive mode
In the drive mode all forward gears are
shifted automatically.
To switch from sequential to drive mode:
tap the selector lever to the right toward D.
For rapid acceleration, e.g. during passing,
depress the accelerator pedal completely:
kickdown.
Kickdown:
In the kickdown mode, you achieve maxi-
mum acceleration.
Depress the accelerator pedal past the
increased resistance point at the full-throt-
tle position.
To switch back to sequential mode: tap the
selector lever again to the right toward D,
or change the current gear via the shift
paddles or the selector lever.
Shifting gears
With selector lever
>To upshift, tap the selector lever
toward +
>To downshift, tap the lever toward —.
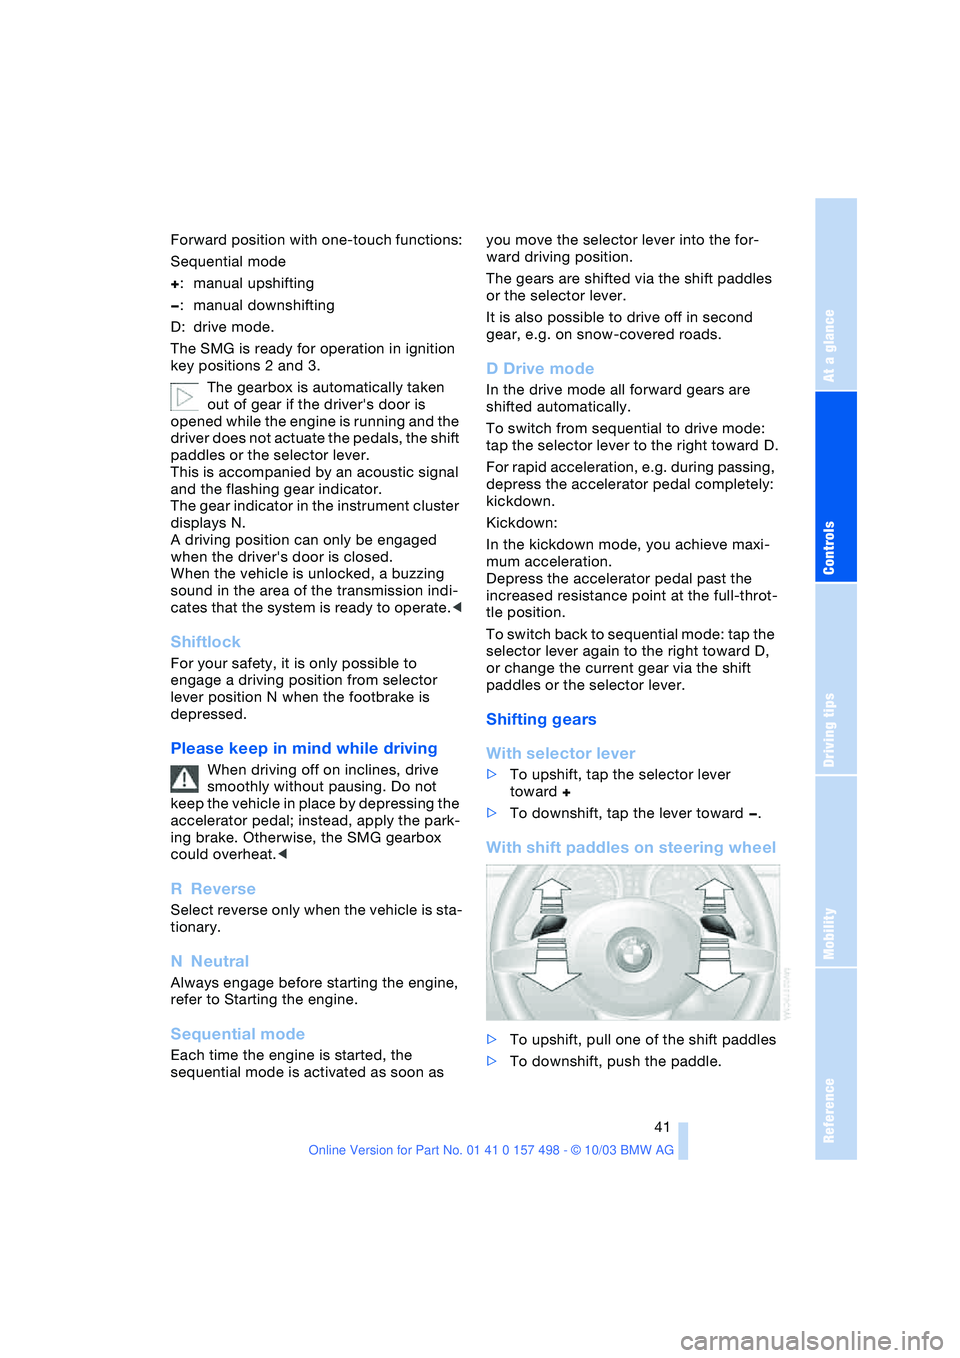
With shift paddles on steering wheel
>To upshift, pull one of the shift paddles
>To downshift, push the paddle.
Page 48 of 120
Lamps
46
Lamps
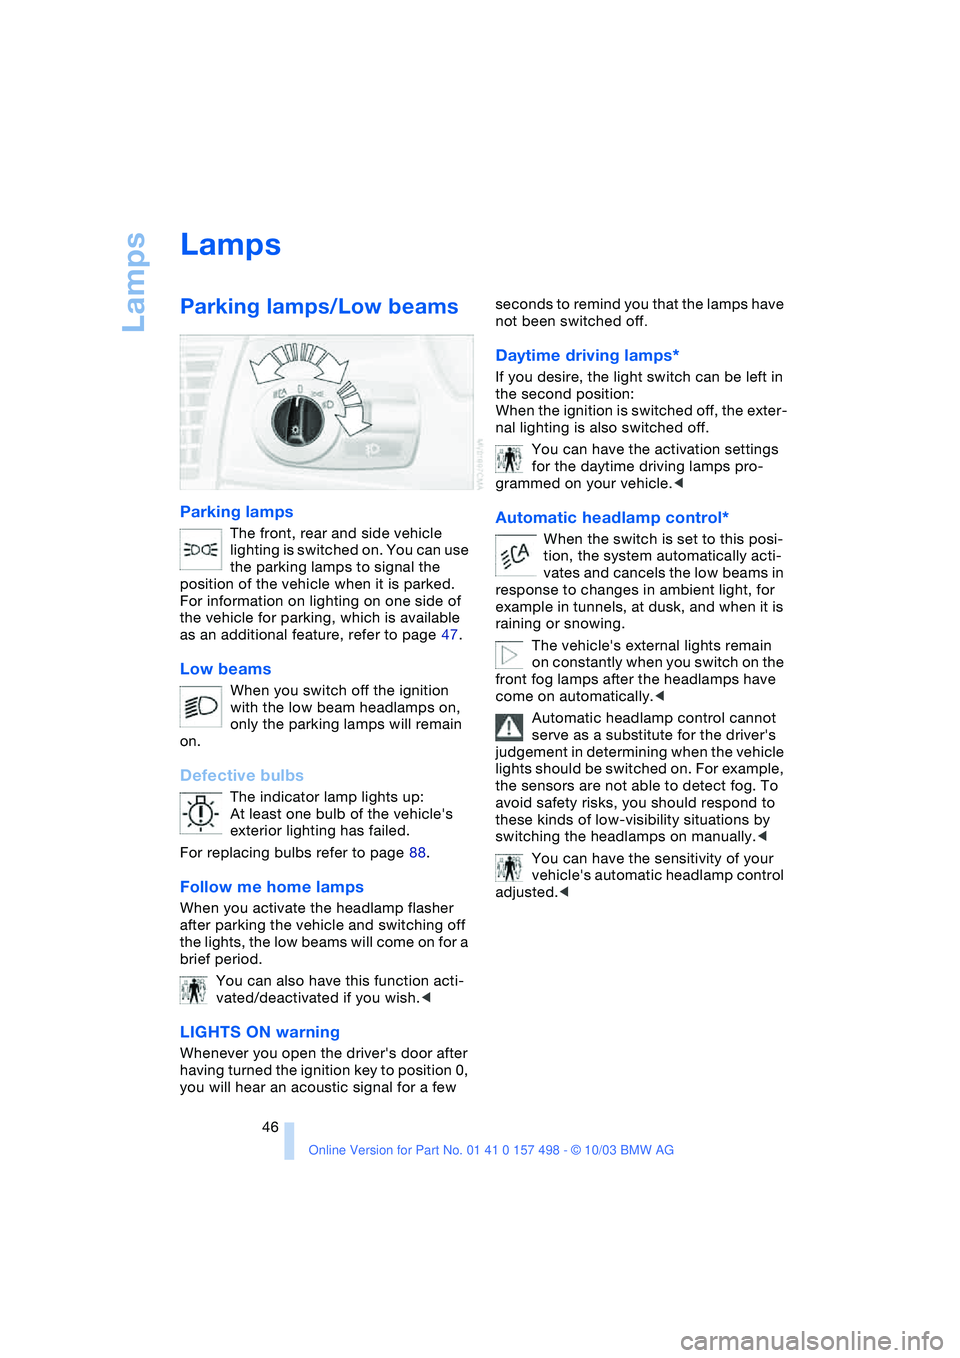
Parking lamps/Low beams
Parking lamps
The front, rear and side vehicle
lighting is switched on. You can use
the parking lamps to signal the
position of the vehicle when it is parked.
For information on lighting on one side of
the vehicle for parking, which is available
as an additional feature, refer to page 47.
Low beams
When you switch off the ignition
with the low beam headlamps on,
only the parking lamps will remain
on.
Defective bulbs
The indicator lamp lights up:
At least one bulb of the vehicle's
exterior lighting has failed.
For replacing bulbs refer to page 88.
Follow me home lamps
When you activate the headlamp flasher
after parking the vehicle and switching off
the lights, the low beams will come on for a
brief period.
You can also have this function acti-
vated/deactivated if you wish.<
LIGHTS ON warning
Whenever you open the driver's door after
having turned the ignition key to position 0,
you will hear an acoustic signal for a few seconds to remind you that the lamps have
not been switched off
.
Daytime driving lamps*
If you desire, the light switch can be left in
the second position:
When the ignition is switched off, the exter-
nal lighting is also switched off.
You can have the activation settings
for the daytime driving lamps pro-
grammed on your vehicle.<
Automatic headlamp control*
When the switch is set to this posi-
tion, the system automatically acti-
vates and cancels the low beams in
response to changes in ambient light, for
example in tunnels, at dusk, and when it is
raining or snowing.
The vehicle's external lights remain
on constantly when you switch on the
front fog lamps after the headlamps have
come on automatically.<
Automatic headlamp control cannot
serve as a substitute for the driver's
judgement in determining when the vehicle
lights should be switched on. For example,
the sensors are not able to detect fog. To
avoid safety risks, you should respond to
these kinds of low-visibility situations by
switching the headlamps on manually.<
You can have the sensitivity of your
vehicle's automatic headlamp control
adjusted.<
Page 52 of 120
Everything under control
50 4.Press button 1 repeatedly until the
required minutes are set
5.Press button 2 to confirm the settings.
The set time of day is transferred to the car
radio display or appears in the instrument
cluster display.
Display mode
In ignition key position 0:
Press button 1.
The time of day is displayed for several
seconds.
Computer*
Mode selection
With the ignition key in position 1 or higher,
you can use the button in the turn signal
lever to retrieve information from the com-
puter for display in the instrument cluster.
Every time you press the button briefly in
the direction of the steering column, a new
function is called up for display.
The displays appear in the following order:
time of day, outside temperature, average
fuel consumption, cruising range, average
vehicle speed.
With the ignition key in position 1 or higher,
the last active setting is displayed.
If you wish, you can have all the dis-
plays of the following functions
shown in another unit of measure.<
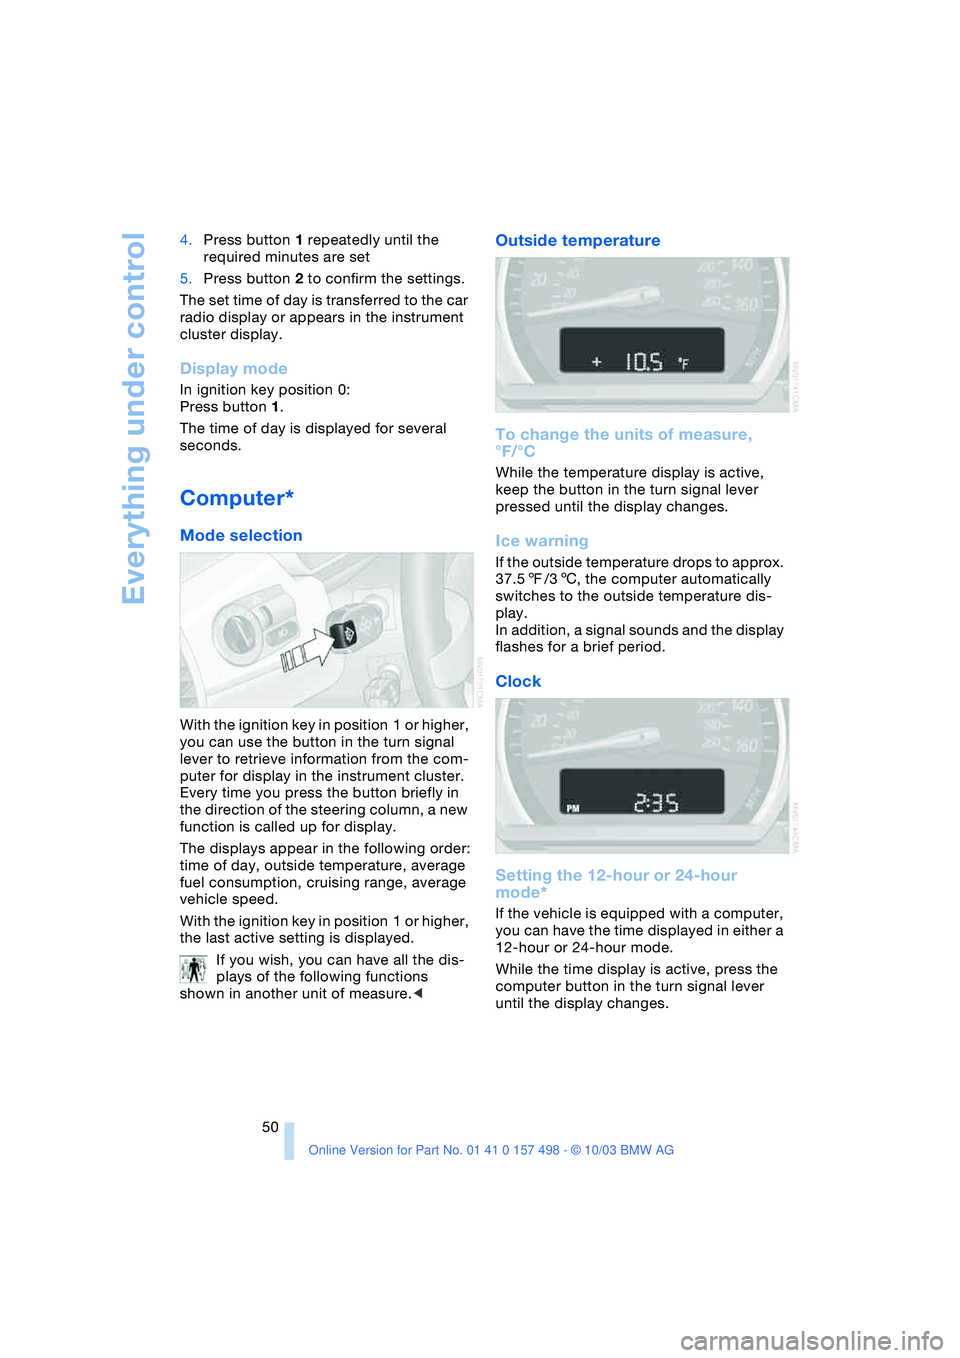
Outside temperature
To change the units of measure,
°F/°C
While the temperature display is active,
keep the button in the turn signal lever
pressed until the display changes.
Ice warning
If the outside temperature drops to approx.
37.57/36, the computer automatically
switches to the outside temperature dis-
play.
In addition, a signal sounds and the display
flashes for a brief period.
Clock
Setting the 12-hour or 24-hour
mode*
If the vehicle is equipped with a computer,
you can have the time displayed in either a
12-hour or 24-hour mode.
While the time display is active, press the
computer button in the turn signal lever
until the display changes.
Page 57 of 120
Reference
At a glance
Controls
Driving tips
Mobility
55
place in all four tires over an extended
period of time.<
On the other hand, the following situations
can lead to false warning, a delayed detec-
tion of pressure loss and even to the sys-
tem not functioning:
>Driving on snow-covered or slippery
roads
>Performance-oriented driving: slip at
the drive wheels, high levels of lateral
acceleration
>When driving with snow chains, false
warnings and undetected pressure
losses may occur
>If the Flat Tire Monitor was not initial-
ized after the last time the tire inflation
pressures were corrected, undetected
losses in pressure or false warnings
that indicate a non-existent flat tire are
possible.
Initializing the system
Each time you correct the pressure in
a tire, or change a wheel or tire, reini-
tialize the system immediately afterwards.
This requires driving.<
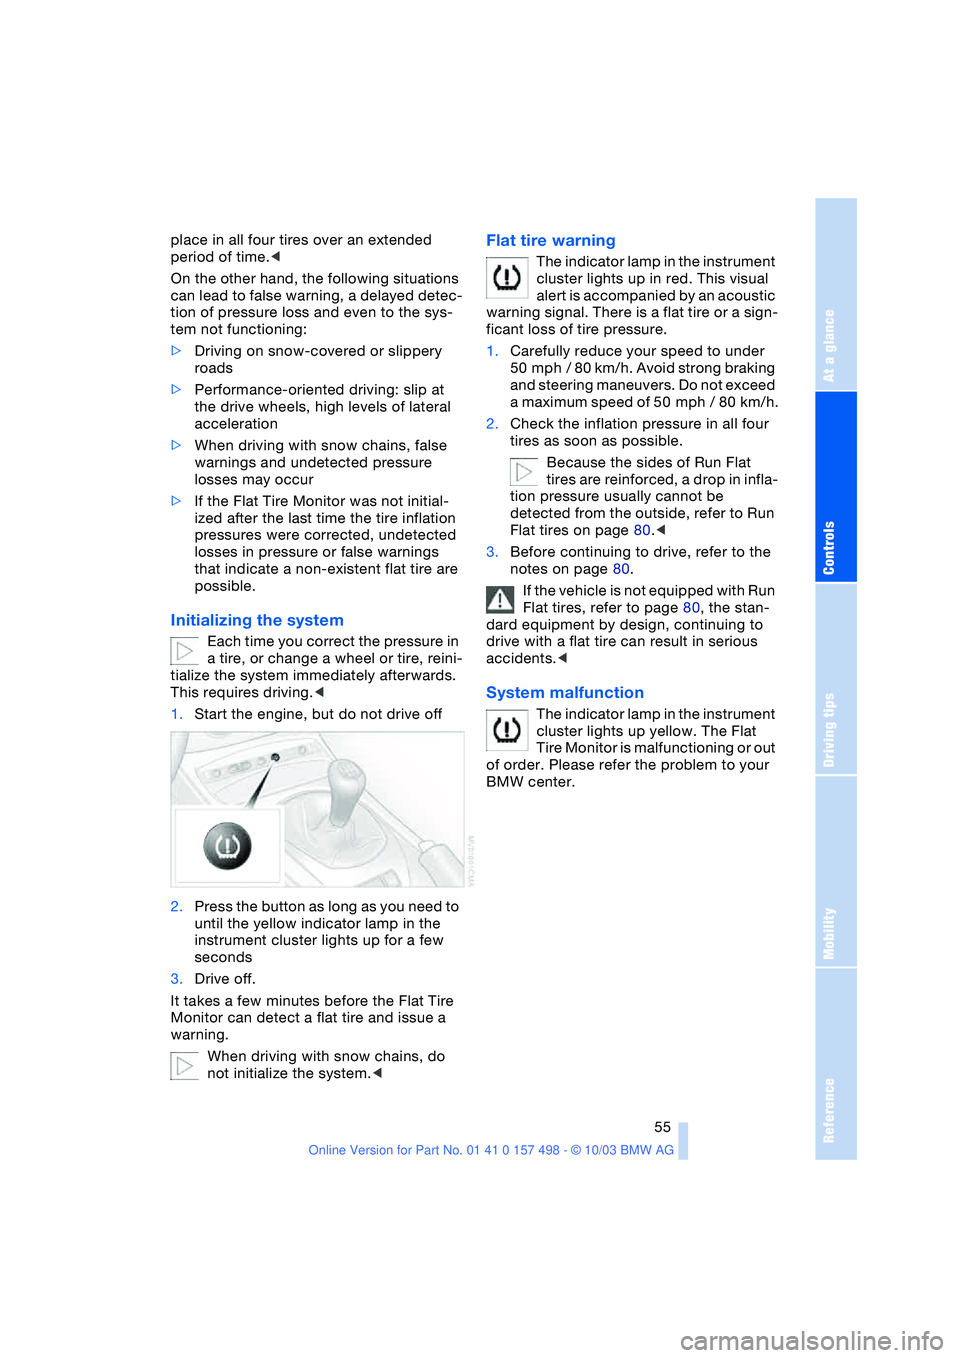
1.Start the engine, but do not drive off
2.Press the button as long as you need to
until the yellow indicator lamp in the
instrument cluster lights up for a few
seconds
3.Drive off.
It takes a few minutes before the Flat Tire
Monitor can detect a flat tire and issue a
warning.
When driving with snow chains, do
not initialize the system.<
Flat tire warning
The indicator lamp in the instrument
cluster lights up in red. This visual
alert is accompanied by an acoustic
warning signal. There is a flat tire or a sign-
ficant loss of tire pressure.
1.Carefully reduce your speed to under
50 mph / 80 km/h. Avoid strong braking
and steering maneuvers. Do not exceed
a maximum speed of 50 mph / 80 km/h.
2.Check the inflation pressure in all four
tires as soon as possible.
Because the sides of Run Flat
tires are reinforced, a drop in infla-
tion pressure usually cannot be
detected from the outside, refer to Run
Flat tires on page 80.<
3.Before continuing to drive, refer to the
notes on page 80.
If the vehicle is not equipped with Run
Flat tires, refer to page 80, the stan-
dard equipment by design, continuing to
drive with a flat tire can result in serious
accidents.<
System malfunction
The indicator lamp in the instrument
cluster lights up yellow. The Flat
Tire Monitor is malfunctioning or out
of order. Please refer the problem to your
BMW center.
Page 64 of 120
Controlling the climate for pleasant driving
62
Tips for pleasant driving
Use the automatic system – switch on with
AUTO button 6. Select the desired interior
temperature.
Detailed setting options are described for
you below.
Automatic air distribution and supply
The AUTO program assumes the
adjustment of the air distribution
and air supply for you and in addi-
tion adapts the temperature to
external influences, summer or winter, to
meet preferences you can specify.
In the AUTO program, the air conditioning
mode is also turned on at the same time.
The AUTO program functions only to
a limited extent when the convertible
top is open.<
Individual air distribution
You yourself can direct airflow
onto the windows , toward the
upper body and into the foot-
well . The arrow lights up. The
automatic air supply remains unchanged.
All intermediate settings are possible. By
pressing the AUTO button, you can reacti-
vate the air distribution.
Temperature
The interior temperature that
appears on the display panel is a
general figure intended for refer-
ence purposes. When you start
the vehicle, the system ensures that the
selected temperature is reached as quickly
as possible, regardless of the season. It
then maintains this temperature.
Air supply/blower
You can set the blower through
an infinitely variable range of
speeds. This shuts off the auto-
matic air supply. The arrow lights
up. The automatic air distribution remains
unchanged. You can reactivate the auto-
matic air supply by pressing the AUTO but-
ton.When you turn the rotary control toward
zero: the blower, heating and air condi-
tioner are switched off, and the air supply is
stopped. You can reactivate the system by
turning the control toward the right again.
To defrost windows and remove
condensation
This program quickly removes ice
and condensation from the wind-
shield and the side windows.
Maximum cooling
Above an outside temperature of
417/+56 and with the engine
running, you achieve a maximum
cooling effect as quickly as possi-
ble. At the same time, the air conditioning is
turned on.
The temperature is set to the lowest possi-
ble value. The system switches into the
recirculated air mode and air flows at max-
imum blower speed from the air outlets
only. Therefore, the air outlets must always
be open when you select this program.
Air conditioning
The air is cooled and dehumidi-
fied and, depending on the tem-
perature setting, rewarmed.
Depending on the weather, the
windshield may fog over briefly when the
engine is started.
The air conditioning system is automati-
cally switched on when you use the AUTO
program.
Condensation forms during operation
of the air conditioning system, which
then exits under the vehicle. Traces of con-
densed water on the ground underneath
the vehicle are thus normal.<
Page 87 of 120
Reference
At a glance
Controls
Driving tips
Mobility
85
allow accumulated pressure to escape,
then open completely
2.The coolant level is correct when the
upper end of the red float is at least
even with the upper edge of the filler
neck but no more than 3/4 in/2 cm
above it, that is up to the second mark
on the float. Refer also to the schematic
diagram next to the filler neck
3.If necessary, add coolant. Slowly add
coolant until the correct level is
reached; do not overfill.
Comply with the applicable environ-
mental laws regulating the disposal of
antifreeze with corrosion inhibitor.<
Brake fluid
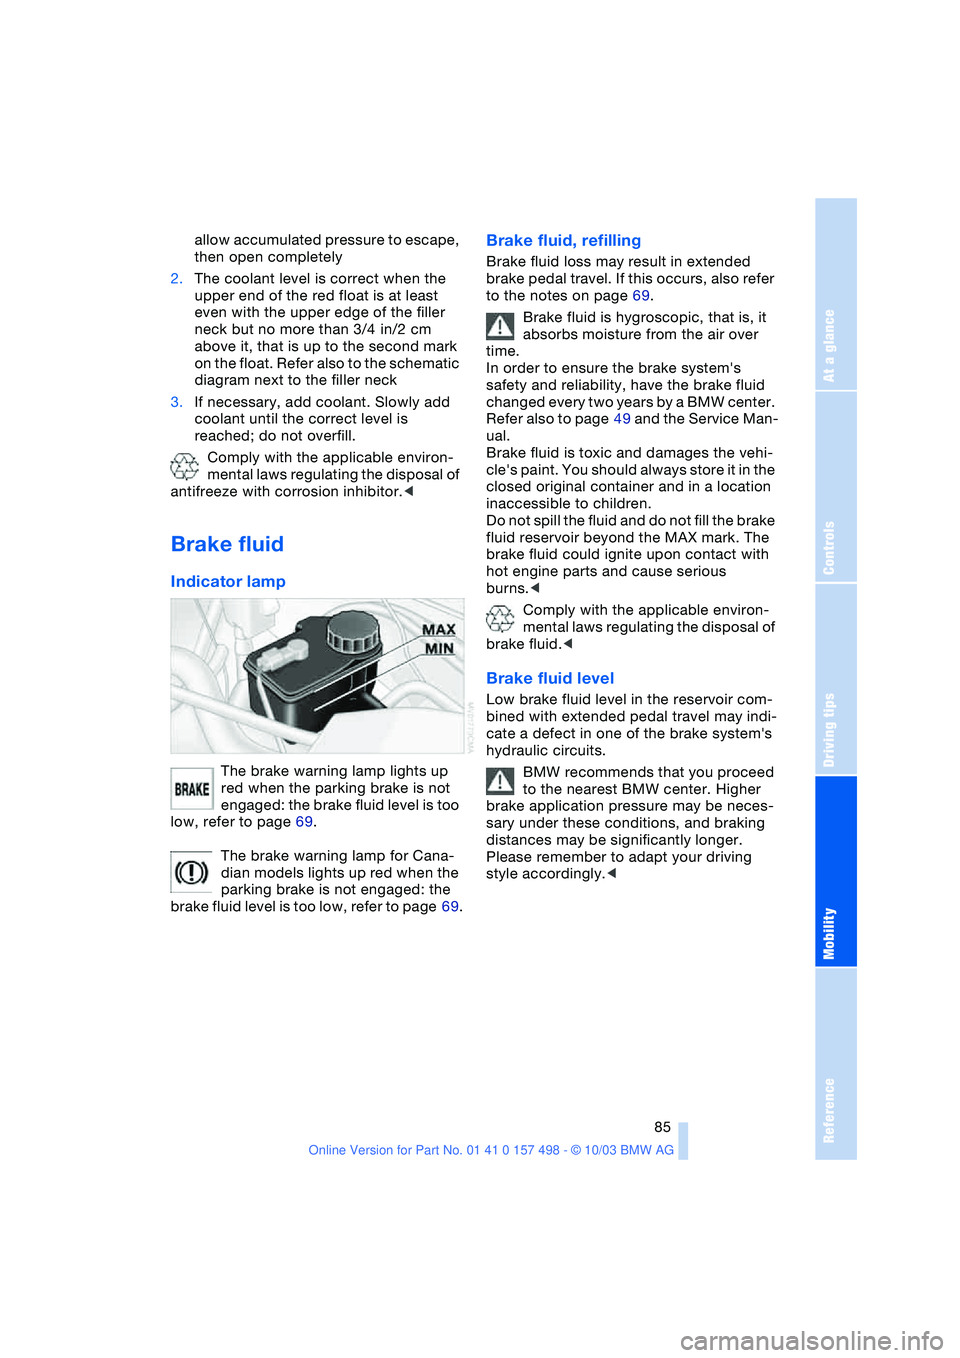
Indicator lamp
The brake warning lamp lights up
red when the parking brake is not
engaged: the brake fluid level is too
low, refer to page 69.
The brake warning lamp for Cana-
dian models lights up red when the
parking brake is not engaged: the
brake fluid level is too low, refer to page 69.
Brake fluid, refilling
Brake fluid loss may result in extended
brake pedal travel. If this occurs, also refer
to the notes on page 69.
Brake fluid is hygroscopic, that is, it
absorbs moisture from the air over
time.
In order to ensure the brake system's
safety and reliability, have the brake fluid
changed every two years by a BMW center.
Refer also to page 49 and the Service Man-
ual.
Brake fluid is toxic and damages the vehi-
cle's paint. You should always store it in the
closed original container and in a location
inaccessible to children.
Do not spill the fluid and do not fill the brake
fluid reservoir beyond the MAX mark. The
brake fluid could ignite upon contact with
hot engine parts and cause serious
burns.<
Comply with the applicable environ-
mental laws regulating the disposal of
brake fluid.<
Brake fluid level
Low brake fluid level in the reservoir com-
bined with extended pedal travel may indi-
cate a defect in one of the brake system's
hydraulic circuits.
BMW recommends that you proceed
to the nearest BMW center. Higher
brake application pressure may be neces-
sary under these conditions, and braking
distances may be significantly longer.
Please remember to adapt your driving
style accordingly.<
Page 88 of 120
Maintenance
86
Maintenance
The BMW Maintenance
System
The BMW Maintenance System has been
designed as a reliable means of providing
maximum driving and operating safety, and
as cost-effectively for you as possible.
Please keep in mind that regular mainte-
nance is not only necessary for the safety
of your vehicle, but also plays a significant
role in maintaining the resale value of your
vehicle.
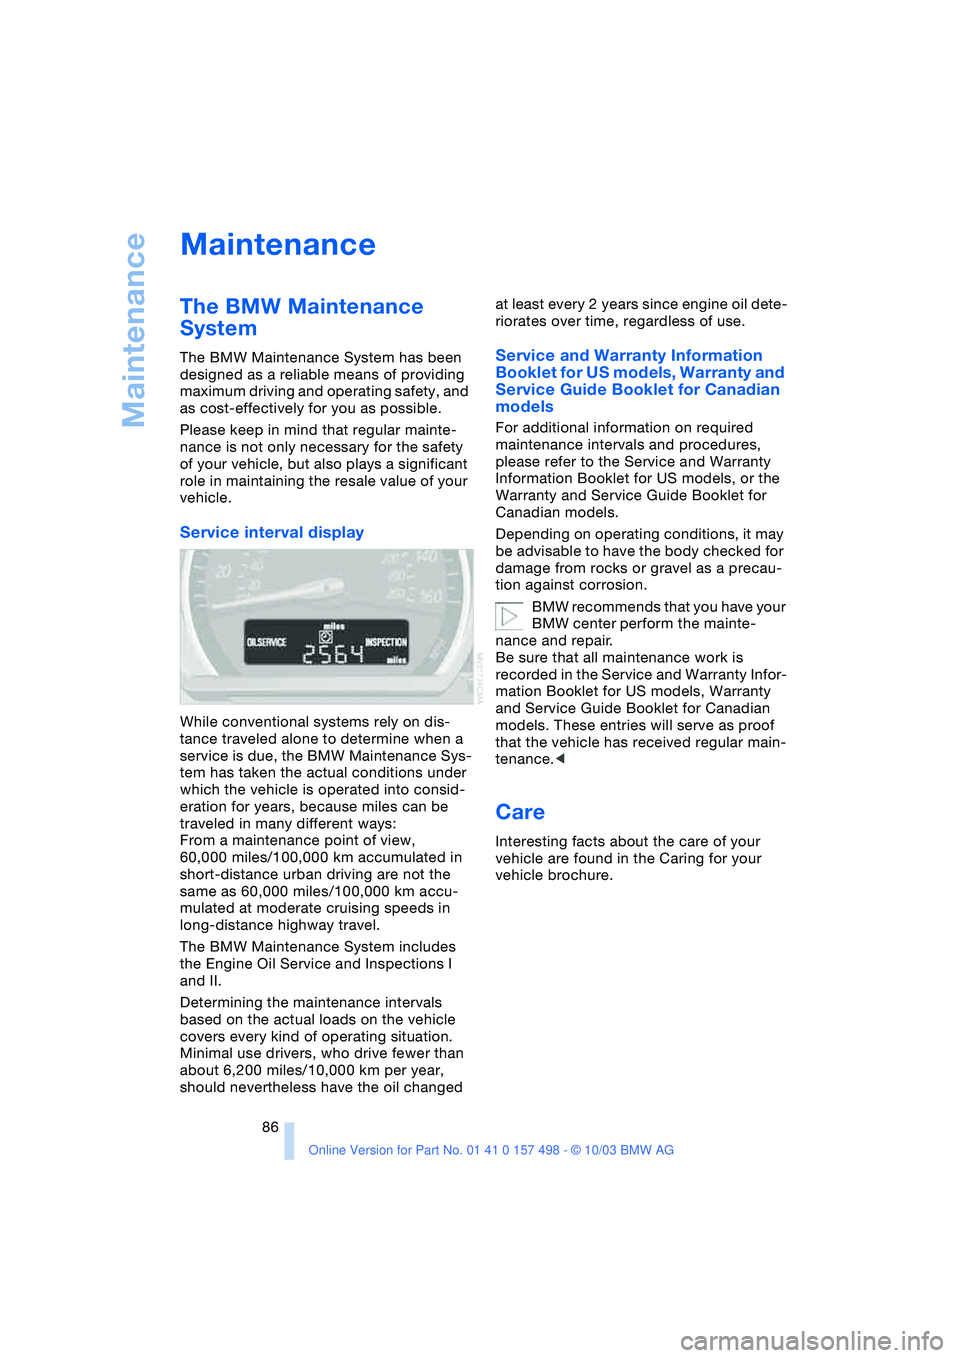
Service interval display
While conventional systems rely on dis-
tance traveled alone to determine when a
service is due, the BMW Maintenance Sys-
tem has taken the actual conditions under
which the vehicle is operated into consid-
eration for years, because miles can be
traveled in many different ways:
From a maintenance point of view,
60,000 miles/100,000 km accumulated in
short-distance urban driving are not the
same as 60,000 miles/100,000 km accu-
mulated at moderate cruising speeds in
long-distance highway travel.
The BMW Maintenance System includes
the Engine Oil Service and Inspections I
and II.
Determining the maintenance intervals
based on the actual loads on the vehicle
covers every kind of operating situation.
Minimal use drivers, who drive fewer than
about 6,200 miles/10,000 km per year,
should nevertheless have the oil changed at least every 2 years since engine oil dete-
riorates over time, regardless of use.
Service and Warranty Information
Booklet for US models, Warranty and
Service Guide Booklet for Canadian
models
For additional information on required
maintenance intervals and procedures,
please refer to the Service and Warranty
Information Booklet for US models, or the
Warranty and Service Guide Booklet for
Canadian models.
Depending on operating conditions, it may
be advisable to have the body checked for
damage from rocks or gravel as a precau-
tion against corrosion.
BMW recommends that you have your
BMW center perform the mainte-
nance and repair.
Be sure that all maintenance work is
recorded in the Service and Warranty Infor-
mation Booklet for US models, Warranty
and Service Guide Booklet for Canadian
models. These entries will serve as proof
that the vehicle has received regular main-
tenance.<
Care
Interesting facts about the care of your
vehicle are found in the Caring for your
vehicle brochure.