Page 69 of 104

6-24
PERIODIC MAINTENANCE AND MINOR REPAIR
6 Tire inspection
The tires must be checked before
each ride. If the center tread depth
reaches the specified limit, if the tire
has a nail or glass fragments in it, or
if the sidewall is cracked, have a
Yamaha dealer replace the tire imme-
diately.
NOTE:
The tire tread depth limits may differ
from country to country. Always com-
ply with the local regulations.
1a
1. Tire sidewall
a. Tire tread depth
EAU00683
w
8 8
Have a Yamaha dealer replace
excessively worn tires.
Besides being illegal, operat-
ing the scooter with exces-
sively worn tires decreases
riding stability and can lead to
loss of control.
8 8
The replacement of all wheel
and brake related parts,
including the tires, should be
left to a Yamaha dealer, who
has the necessary profession-
al knowledge and experience.
Tire information
This scooter is equipped with cast
wheels and tubeless tires.
EW000078
w
8 8
The front and rear tires should
be of the same make and
design, otherwise the handling
characteristics of the scooter
cannot be guaranteed.
8 8
After extensive tests, only the
tires listed below have been
approved for this model by
Yamaha Motor Co., Ltd.
Minimum tire tread depth
(front and rear)1.6 mm
FRONT
Manufacturer Size Model
DUNLOP 120/70-14M/C 55S D305FA
BRIDGESTONE120/70-14M/C 55S HOOP B03
REAR
Manufacturer Size Model
DUNLOP 150/70-14M/C 66S D305
BRIDGESTONE150/70-14M/C 66S HOOP B02
5GJ-28199-E2 9/9/02 9:15 AM Page 67
Page 70 of 104

6-25
PERIODIC MAINTENANCE AND MINOR REPAIR
6
EAU03773
Cast wheelsWheels
To maximize the performance, dura-
bility, and safe operation of your
scooter, note the following points
regarding the specified wheels.
8The wheel rims should be
checked for cracks, bends or
warpage before each ride. If any
damage is found, have a
Yamaha dealer replace the
wheel. Do not attempt even the
smallest repair to the wheel. A
deformed or cracked wheel must
be replaced.
8The wheel should be balanced
whenever either the tire or wheel
has been changed or replaced.
An unbalanced wheel can result
in poor performance, adverse
handling characteristics, and a
shortened tire life.
EAU03851
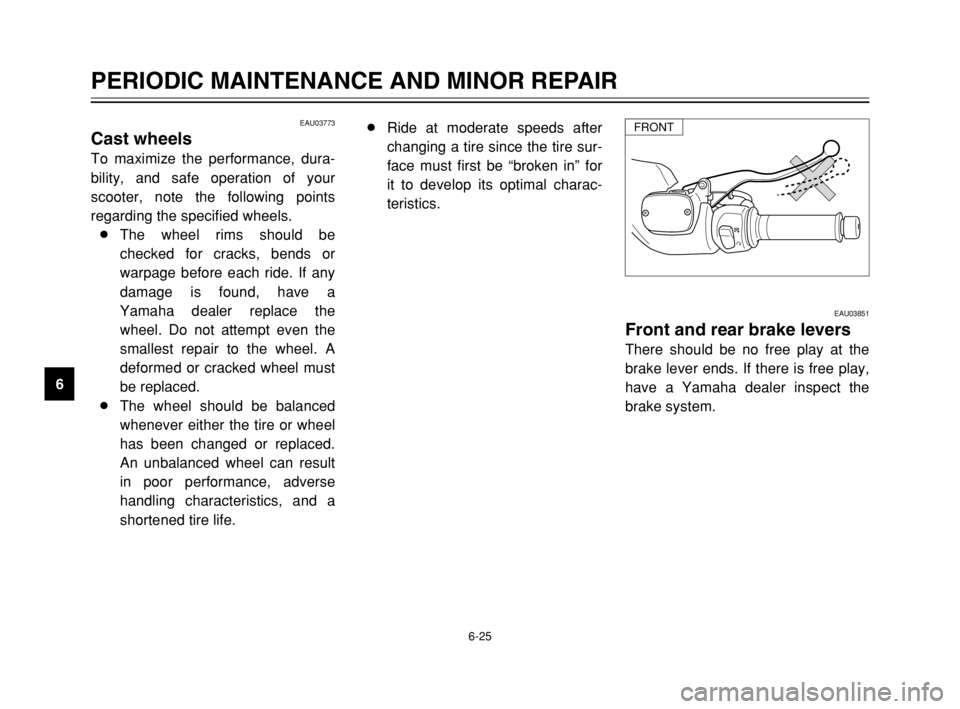
Front and rear brake levers
There should be no free play at the
brake lever ends. If there is free play,
have a Yamaha dealer inspect the
brake system.
8Ride at moderate speeds after
changing a tire since the tire sur-
face must first be “broken in” for
it to develop its optimal charac-
teristics.FRONT
5GJ-28199-E2 9/9/02 9:15 AM Page 68
Page 71 of 104
6-26
PERIODIC MAINTENANCE AND MINOR REPAIR
6
EAU03938
Front brake pads
Each front brake pad is provided with
wear indicator grooves, which allow
you to check the brake pad wear
without having to disassemble the
brake. To check the brake pad wear,
check the wear indicator grooves. If a
brake pad has worn to the point that
the wear indicator grooves have
almost disappeared, have a Yamaha
dealer replace the brake pads as a
set.
1 11 1
1. Brake pad wear indicator groove (×3)
EAU00721
Checking the front and rear
brake pads
Front and rear brake pads, checking
The front and rear brake pads must
be checked for wear at the intervals
specified in the periodic maintenance
and lubrication chart.
REARFRONT
5GJ-28199-E2 9/9/02 9:15 AM Page 69
Page 72 of 104

6-27
PERIODIC MAINTENANCE AND MINOR REPAIR
6
EAU01248
Rear brake pads
1. Remove the rear brake caliper
by removing the bolts.
2. Check each rear brake pad for
damage and measure the lining
thickness. If a brake pad is dam-
aged or if the lining thickness is
less than 0.8 mm, have a
Yamaha dealer replace the
brake pads as a set.
3. Install the rear brake caliper by
installing the bolts, then tighten-
ing them to the specified torque.
a1
1. Bolt (×2)
a. Brake pad wear limit
EAU04856
Checking the brake fluid
level
Brake fluid level, checking
Insufficient brake fluid may allow air
to enter the brake system, possibly
causing it to become ineffective.
Before riding, check that the brake
fluid is above the minimum level mark
and replenish if necessary. A low
brake fluid level may indicate worn
brake pads and/or brake system
leakage. If the brake fluid level is low,
be sure to check the brake pads for
wear and the brake system for leak-
age.
1
1. Minimum level mark
REARFRONTTightening torque:
Brake caliper bolt:
40 Nm (4.0 m·kgf)
5GJ-28199-E2 9/9/02 9:15 AM Page 70
Page 73 of 104

6-28
PERIODIC MAINTENANCE AND MINOR REPAIR
6 Observe these precautions:
8When checking the fluid level,
make sure that the top of the
brake fluid reservoir is level.
8Use only the recommended qual-
ity brake fluid, otherwise the rub-
ber seals may deteriorate, caus-
ing leakage and poor braking
performance.
1
1. Minimum level mark
EAU03976
Changing the brake fluidBrake fluid, changing
Have a Yamaha dealer change the
brake fluid at the intervals specified in
the NOTE after the periodic mainte-
nance and lubrication chart. In addi-
tion, have the oil seals of the master
cylinders and calipers as well as the
brake hoses replaced at the intervals
listed below or whenever they are
damaged or leaking.
8Oil seals: Replace every two
years.
8Brake hoses: Replace every four
years. 8Refill with the same type of brake
fluid. Mixing fluids may result in a
harmful chemical reaction and
lead to poor braking perfor-
mance.
8Be careful that water does not
enter the brake fluid reservoir
when refilling. Water will signifi-
cantly lower the boiling point of
the fluid and may result in vapor
lock.
8Brake fluid may deteriorate paint-
ed surfaces or plastic parts.
Always clean up spilled fluid
immediately.
8As the brake pads wear, it is nor-
mal for the brake fluid level to
gradually go down. However, if
the brake fluid level goes down
suddenly, have a Yamaha dealer
check the cause.
REAR
Recommended brake fluid:
DOT 4
5GJ-28199-E2 9/9/02 9:15 AM Page 71
Page 74 of 104

6-29
PERIODIC MAINTENANCE AND MINOR REPAIR
6
EAU04034
Checking and lubricating the
throttle grip and cable
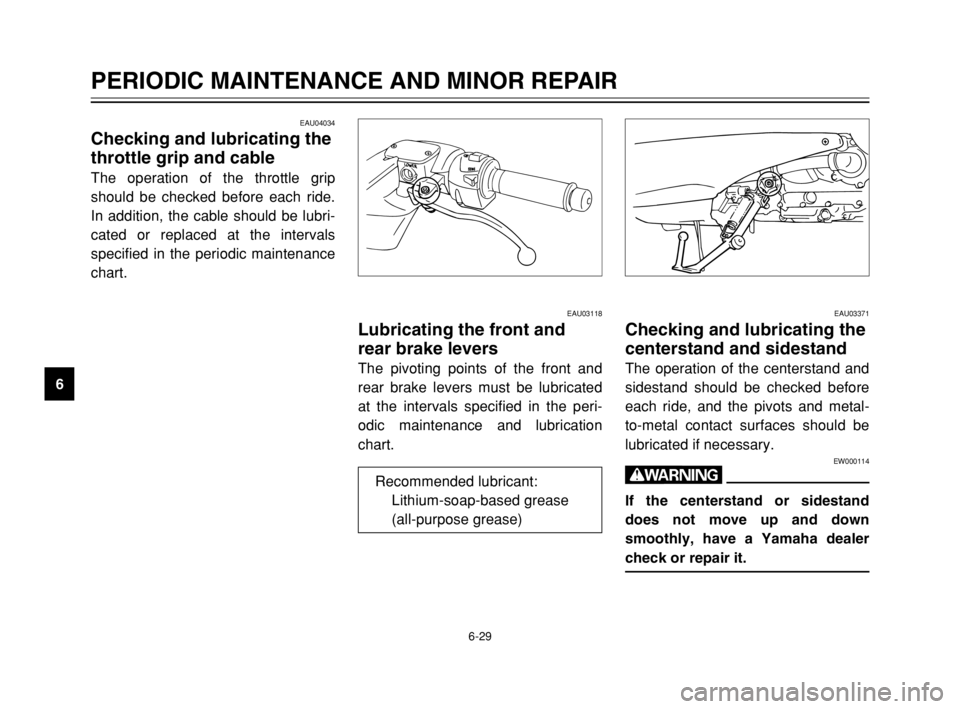
Throttle grip and cable, checking and lubricating
The operation of the throttle grip
should be checked before each ride.
In addition, the cable should be lubri-
cated or replaced at the intervals
specified in the periodic maintenance
chart.
EAU03371
Checking and lubricating the
centerstand and sidestand
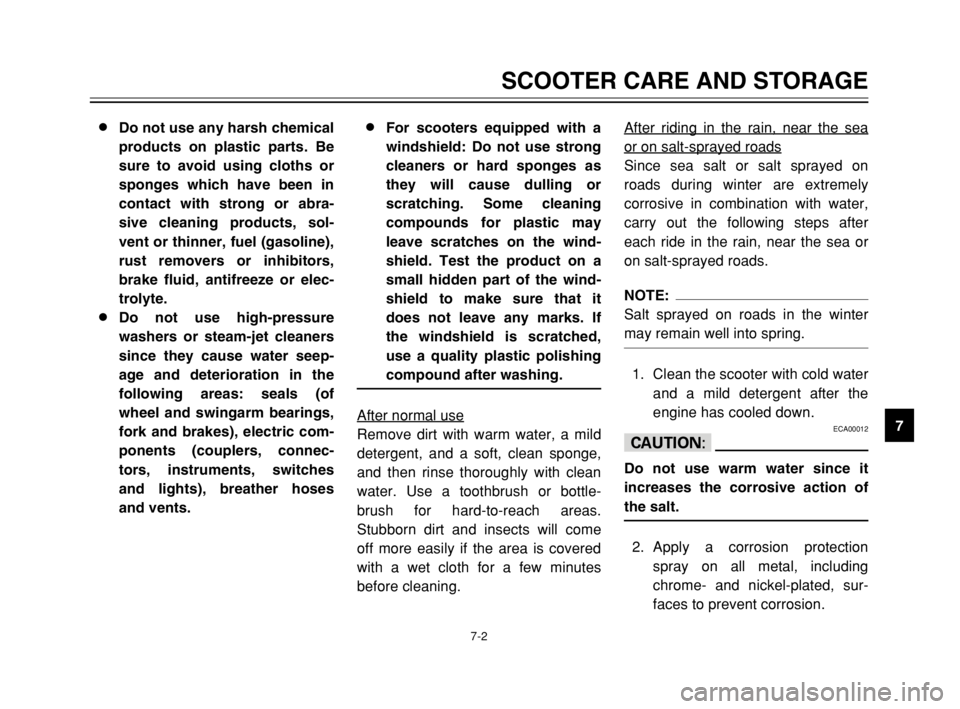
Centerstand and sidestand, checking and lubricating
The operation of the centerstand and
sidestand should be checked before
each ride, and the pivots and metal-
to-metal contact surfaces should be
lubricated if necessary.
EW000114
w
If the centerstand or sidestand
does not move up and down
smoothly, have a Yamaha dealer
check or repair it.
EAU03118
Lubricating the front and
rear brake levers
Brake levers, lubricating
The pivoting points of the front and
rear brake levers must be lubricated
at the intervals specified in the peri-
odic maintenance and lubrication
chart.
Recommended lubricant:
Lithium-soap-based grease
(all-purpose grease)
5GJ-28199-E2 9/9/02 9:15 AM Page 72
Page 75 of 104
6-30
PERIODIC MAINTENANCE AND MINOR REPAIR
6
To check the operation
1. Place the scooter on a level sur-
face and hold it in an upright
position.
2. While applying the front brake,
push down hard on the handle-
bars several times to check if the
front fork compresses and
rebounds smoothly.
EC000098
cC
If any damage is found or the front
fork does not operate smoothly,
have a Yamaha dealer check or
repair it.
EAU02939
Checking the front forkFront fork, checking
The condition and operation of the
front fork must be checked as follows
at the intervals specified in the peri-
odic maintenance and lubrication
chart.
To check the condition
EW000115
w
Securely support the scooter so
that there is no danger of it falling
over.
Check the inner tubes for scratches,
damage and excessive oil leakage. Recommended lubricant:
Lithium-soap-based grease
(all-purpose grease)
5GJ-28199-E2 9/9/02 9:15 AM Page 73
Page 87 of 104

7-2
SCOOTER CARE AND STORAGE
7 8 8
Do not use any harsh chemical
products on plastic parts. Be
sure to avoid using cloths or
sponges which have been in
contact with strong or abra-
sive cleaning products, sol-
vent or thinner, fuel (gasoline),
rust removers or inhibitors,
brake fluid, antifreeze or elec-
trolyte.
8 8
Do not use high-pressure
washers or steam-jet cleaners
since they cause water seep-
age and deterioration in the
following areas: seals (of
wheel and swingarm bearings,
fork and brakes), electric com-
ponents (couplers, connec-
tors, instruments, switches
and lights), breather hoses
and vents.8 8
For scooters equipped with a
windshield: Do not use strong
cleaners or hard sponges as
they will cause dulling or
scratching. Some cleaning
compounds for plastic may
leave scratches on the wind-
shield. Test the product on a
small hidden part of the wind-
shield to make sure that it
does not leave any marks. If
the windshield is scratched,
use a quality plastic polishing
compound after washing.After normal use
Remove dirt with warm water, a mild
detergent, and a soft, clean sponge,
and then rinse thoroughly with clean
water. Use a toothbrush or bottle-
brush for hard-to-reach areas.
Stubborn dirt and insects will come
off more easily if the area is covered
with a wet cloth for a few minutes
before cleaning.After riding in the rain, near the sea
or on salt-sprayed roads
Since sea salt or salt sprayed on
roads during winter are extremely
corrosive in combination with water,
carry out the following steps after
each ride in the rain, near the sea or
on salt-sprayed roads.
NOTE:
Salt sprayed on roads in the winter
may remain well into spring.
1. Clean the scooter with cold water
and a mild detergent after the
engine has cooled down.
ECA00012
cC
Do not use warm water since it
increases the corrosive action of
the salt.
2. Apply a corrosion protection
spray on all metal, including
chrome- and nickel-plated, sur-
faces to prevent corrosion.
5GJ-28199-E2 9/9/02 9:15 AM Page 85