Page 133 of 381

2-69
NOTICE:
If you keep driving your vehicle with this light
on, after a while, your emission controls may not
work as well, your fuel economy may not be as
good and your engine may not run as smoothly.
This could lead to costly repairs that may not be
covered by your warranty.
NOTICE:
Modifications made to the engine, transaxle,
exhaust, intake or fuel system of your vehicle or
the replacement of the original tires with other
than the proper matching tires can affect your
vehicle's emission controls and may cause this
light to come on. Modifications to these systems
could lead to costly repairs not covered by your
warranty. This may also result in a failure to pass
a required Emission Inspection/Maintenance test.
This light should come on, as a check to show you it is
working, when the ignition is on and the engine is not
running. If the light doesn't come on, have it repaired.
This light will also come on during a malfunction in one
of two ways:
�Light Flashing
-- A misfire condition has been
detected. A misfire increases vehicle emissions and
may damage the emission control system on your
vehicle. Dealer or qualified service center diagnosis
and service may be required.
�Light On Steady
-- An emission control system
malfunction has been detected on your vehicle.
Dealer or qualified service center diagnosis and
service may be required.
Page 136 of 381

2-72 Oil Pressure Light
If you have a problem with
your oil, this light may stay
on after you start your
engine or come on when
you are driving.
This indicates that there is not enough oil pressure to
keep your engine properly lubricated and cool.
The engine could be low on oil, or have some other oil
related problem. Have it fixed right away.
The oil light could also come on in three other
situations.
�When the ignition is on but the engine is not running,
the light will come on as a test to show you it is
working, but the light will go out when you turn the
ignition to START. If it doesn't come on with the
ignition on, you may have a problem with the fuse or
bulb. Have it fixed right away.�Sometimes when the engine is idling at a stop, the
light may blink on and off. This is normal.
�If you make a hard stop, the light may come on for a
moment. This is normal.
CAUTION:
Don't keep driving if the oil pressure is low.
If you do, your engine can become so hot that it
catches fire. You or others could be burned.
Check your oil as soon as possible and have
your vehicle serviced.
NOTICE:
Damage to your engine from neglected oil
problems can be costly and is not covered by
your warranty.
Page 138 of 381
2-74 Fuel Gage
United States
Canada
Your fuel gage shows about how much fuel is in your
tank. The fuel gage works only when the ignition switch
is ON. When the gage first indicates E or empty, you
still have a little fuel left about 1 or 2 gallons (3.8 L or
7.6 L), but you need to get more right away. When your
vehicle is low on fuel the low fuel warning light will
also come on to remind you to add fuel.
Page 139 of 381
2-75
Here are five things some owners ask about. None of
these show a problem with your fuel gage.
�At the gas station, the fuel pump shuts off before the
gage reads F or full.
�It takes a little more or less fuel to fill up than the
gage indicated. For example, the gage may have
indicated the tank was half full, but it actually took
more or less than half the tank's capacity to fill it.
�It takes the gage several minutes to read F or full
after filling the vehicle with fuel.
�The gage moves a little when you turn, stop or
speed up.
�The gage doesn't go back to E or empty when you
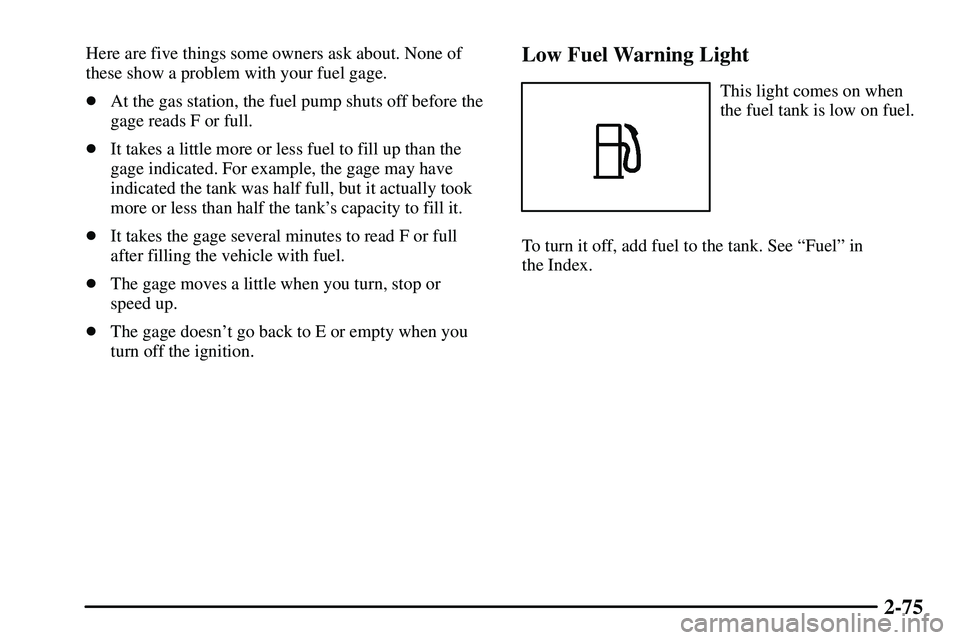
turn off the ignition.Low Fuel Warning Light
This light comes on when
the fuel tank is low on fuel.
To turn it off, add fuel to the tank. See ªFuelº in
the Index.
Page 147 of 381
. The heater
and defroster will work far better, reducing the
chance of fogging the i")
3-7
Ventilation Tips
�Keep the hood and front air inlet free of ice, snow or
any other obstruction (such as leaves). The heater
and defroster will work far better, reducing the
chance of fogging the inside of your windows.
�When you enter a vehicle in cold weather, move the
fan knob toward HI for a few moments before
driving off. This helps clear the intake ducts of snow
and moisture, and reduces the chance of fogging the
inside of your windows.
�Keep the air path under the front seats clear of
objects. This helps air to circulate throughout
your vehicle.
�Close outboard instrument panel vents to keep cold
air from blowing in.Audio Systems
Your audio system has been designed to operate easily
and to give years of listening pleasure. You will get the
most enjoyment out of it if you acquaint yourself with it
first. Find out what your audio system can do and how
to operate all of its controls to be sure you're getting the
most out of the advanced engineering that went into it.
Setting the Time
Your radio may have a button marked with an
H or HR to represent hours and an M or MIN to
represent minutes.
Press and hold the hour button until the correct hour
appears on the display. AM will also appear for morning
hours. Press and hold the minute button until the correct
minute appears on the display. The time may be set with
the ignition on or off.
To synchronize the time with an FM station
broadcasting Radio Data System (RDS) information,
press and hold the hour and minute buttons at the same
time until TIME UPDATED appears on the display. If
the time is not available from the station, NO UPDATE
will appear on the display instead.
Page 148 of 381

Playing the Radio
PWR (Power): Press this knob to turn the system on
and off.
VOL (Volume): Turn the knob to in")
3-8 AM-FM Radio with Compact Disc
Player with Equalization and Radio
Data System (RDS)
Playing the Radio
PWR (Power): Press this knob to turn the system on
and off.
VOL (Volume): Turn the knob to increase or to
decrease volume.
RCL (Recall): Press this button to switch the display
between the radio station frequency and the time.
Pressing this button with the ignition off will display
the timeFinding a Station
AM FM: Press this button to switch between AM, FM1
and FM2. The display will show your selection.
TUNE: Turn this knob to choose radio stations.
SEEK : Press the up or the down arrow to go
to the next or to the previous station and stay there.
The radio will seek only to stations that are in the
selected band and only to those with a strong signal.
SCAN : Press and hold one of the SCAN arrows
for two seconds until SCAN appears on the display and
you hear a beep. The radio will go to a station, play for a
few seconds, then go on to the next station. Press one of
the SCAN arrows again to stop scanning.
To scan preset stations, press and hold one of the SCAN
arrows for more than four seconds until PSCAN and the
preset number appear on the display. You will hear a
double beep. The radio will go to the first preset station
stored on your pushbuttons, play for a few seconds, then
go on to the next preset station. Press one of the SCAN
arrows again to stop scanning presets.
The radio will scan only to stations that are in the
selected band and only to those with a strong signal.
Page 153 of 381

3-13
Playing a Compact Disc
With the ignition on, insert a disc partway into the slot,
label side up. The player will pull it in and the disc
should begin playing. If you want to insert a CD when
the ignition is off, first press the eject symbol or press
the RCL button. If you insert a CD with the radio off
and the ignition on, it will start to play.
When the disc is inserted, the CD symbol will be
displayed. If you select an EQ setting for your CD, it
will be activated each time you play a CD.
As each new track starts to play, the track number will
appear on the display.
If an error appears on the display, see ªCompact Disc
Messagesº later in this section.
1 (Forward): Press and hold this pushbutton
to advance quickly within a track. You will hear sound
at a reduced volume. Release it to play the passage.
The display will show elapsed time.
RDM 3 (Random): Press this pushbutton to hear the
tracks in random, rather than sequential, order. RDM
and the track number will appear on the display.4
(Reverse): Press and hold this pushbutton
to reverse quickly within a track. You will hear sound
at a reduced volume. Release it to play the passage.
The display will show elapsed time.
EQ (Equalizer): Press EQ to select the desired
customized equalization setting while playing a compact
disc. The equalization will be automatically set
whenever you play a compact disc. See ªEQº listed
previously for more information.
SEEK : Press the down arrow while playing a
CD to go to the start of the current track if more than
eight seconds have played. Press the up arrow to go to
the next track. If you hold the button or press it more
than once, the player will continue moving backward or
forward through the disc.
SCAN : Press and hold one of the arrows
for more than two seconds until SCAN and the track
number appear on the display and you hear a beep. The
disc will go to the next track, play for a few seconds,
then go on to the next track. Press this button again to
stop scanning.
Page 154 of 381
: Press this button to see how long the
current track has been playing. To change what is
normally shown on the display (track or elapsed time),
press the button until you see the dis")
3-14
RCL (Recall): Press this button to see how long the
current track has been playing. To change what is
normally shown on the display (track or elapsed time),
press the button until you see the display you want, then
hold the button until the display flashes. While elapsed
time is showing, CD TIME will appear on the display.
AM FM: Press this button to listen to the radio when a
CD is playing. The inactive CD will remain safely inside
the radio for future listening.
CD AUX (Auxiliary): Press this button to play a
compact disc when listening to the radio. CD will appear
on the display when a compact disc is loaded.
(Eject): Press this button to eject a CD. Eject may
be activated with either the ignition or radio off. CDs
may be loaded with the radio and ignition off if this
button is pressed first.Compact Disc Messages
CHECK CD: If this message appears on the radio
display and the disc comes out, it could be for one of the
following reasons:
�You're driving on a very rough road. When the road
becomes smoother, the disc should play.
�The disc is dirty, scratched, wet or upside down.
�The air is very humid. If so, wait about an hour and
try again.
If the CD is not playing correctly, for any other reason,
try a known good CD.
If any error occurs repeatedly or if an error can't be
corrected, contact your dealer. If your radio displays an
error message, write it down and provide it to your
dealer when reporting the problem.