2003 PONTIAC GRAND PRIX instrument panel
[x] Cancel search: instrument panelPage 140 of 378
Notice: Adding some electrical equipment to your
vehicle can damage
it or keep other things from
working as they should. This wouldn’t be covered by
your warranty. Check with your dealer before
adding electricai
equipment, and never use anything
that exceeds the amperage
rating.
When adding electrical equipment, be sure to follow the
proper installation instructions included with the
equipment.
Notices Power outlets are designed for accessory
plugs only. Do not hang any type of accessory
or accessory bracket from the plug. Improper use
of the power outlet can cause damage not covered
by your warranty.
Auxiliary Power Connection
(Power Drop)
The vehicle is equipped with an auxiliary power
connection. This feature provides power, ground and
accessing wires which can
be used to add aftermarket
electrical equipment to the vehicle. The connection
is located on the passenger’s side of the vehicle, below
the glove box on the right side of the console.
Ashtrays and Cigarette Lighter
The center front ashtray is on the instrument panel.
To open it, pull at the bottom of the ashtray until it is fully
open.
To remove the ashtray cup, lift the tabs on the
sides and pull out.
Notice: Don’t put papers or other flammable
items into your ashtrays. Hot cigarettes
or other
smoking materials could ignite them, causing
a damaging fire.
To use the lighter, located inside the center front
ashtray, push it in all the way and let go. When it’s
ready, it will pop back out by itself.
Notice: Don’t hold a cigarette lighter in with you
hand while
it is heating. If you do, it won’t be able to
back away from the heating element when
it’s
ready. That can make it overheat, damaging the
lighter and the heating element.
3-1 9
Page 141 of 378

Climate Controls
Dual Climate Control System
f;' (Vent): This mode directs air to the instrument
panel outlets.
+2 (Bi-Level): This mode directs half of the air to the
instrument panel outlets, and then directs the
With this system you can control the heating, cooling
and ventilation for your vehicle. remaining air
to the floor outlets. Some air may be
directed toward the windshield. Cooler air is directed to
the upper outlets and warmer air to the floor outlets.
(Floor): This mode directs most of the air to
the floor outlets with some air directed toward the
outboard outlets (for the side windows) and a little air
directed to the windshield.
The mode knob can also be used to select defog or
defrost mode. Information on defogging and defrosting,
see "Defogging and Defrosting" later in this section.
3f (Fan): Turn the knob located on the left of
the climate control panel clockwise or counterclockwise
Use the mode knob located on the right side of the to increase or decrease the fan speed.
climate control panel to select the following modes:
Driver or Passenger (Temperature Levers): Slide the
2 MAX (Maximum): This mode recirculates much of
the air inside your vehicle and sends it through the
instrument panel outlets. The air conditioning
compressor will run automatically in this setting unless
the temperature is at or below freezing. lever(s)
up or down to increase or decrease the
temperature.
3-20
Page 145 of 378
Instrument Panel Cluster
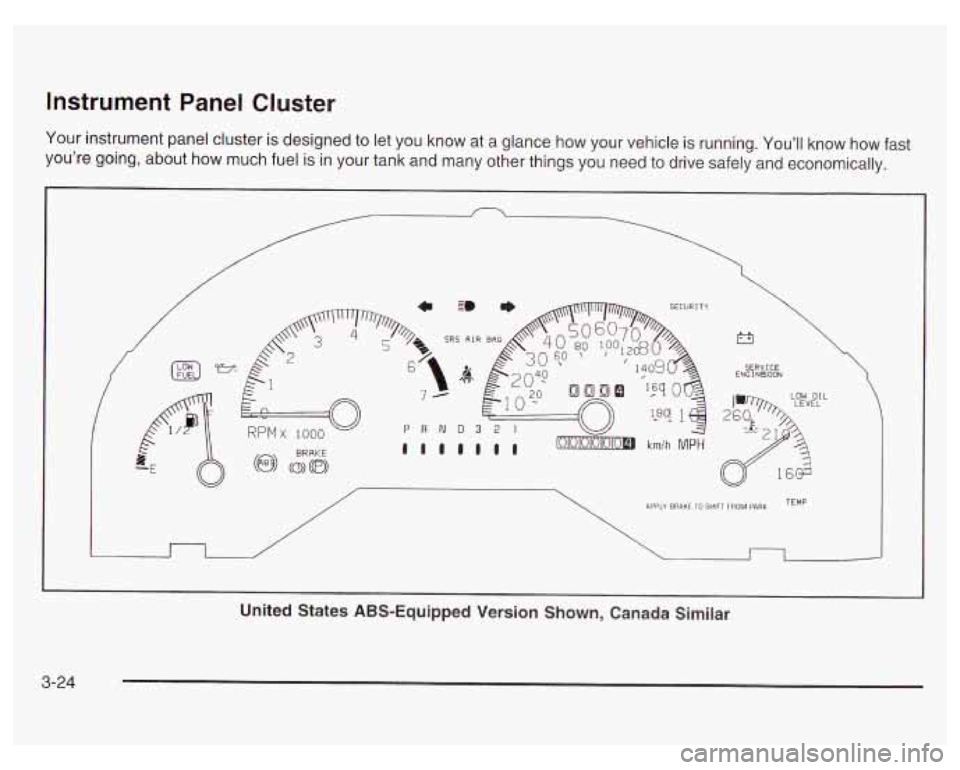
Your instrument panel cluster is designed to let you know at a glance how your vehicle is running. You’ll know how fast
you’re going, about how much fuel
is in your tank and many other things you need to drive safely and economically.
c 3 * SECURI TY
SRS AIR e,
/
r3
SERVICE ENG I NBOON
>>L LOW OIL
n /
APPLY BRAKE 10 SHIFT FROM PARK TEMP
I
United States ABS-Equipped Version Shown, Canada Similar
3-24
Page 146 of 378
Your vehicle is equipped with this cluster or one very
similar to it. It includes indicator warning lights and
gages that are explained on the following pages.
Be sure to read about them.
Speedometer and Odometer
The speedometer lets you see your speed in both miles
per hour (mph) and kilometers per hour (km/h). The
odometer shows how far the vehicle has been driven in
either miles (used in the United States) or in kilometers
(used in Canada).
The vehicle has a tamper-resistant odometer.
If you see
silver lines between the numbers, you’ll know someone
has probably tampered with
it and the numbers may
not be correct.
You may wonder what happens
if the vehicle needs a
new odometer installed.
If the new one can be set to the
mileage total of the old odometer, then that will be
done.
If it can’t, then it will be set at zero and a label
must be put on the driver’s door to show the old mileage
reading when the new odometer was installed.
Trip Odometer
The trip odometer tells how far you have driven since
you last reset it.
To set it to zero, press the reset button
located to the right of the instrument panel cluster.
Tachometer
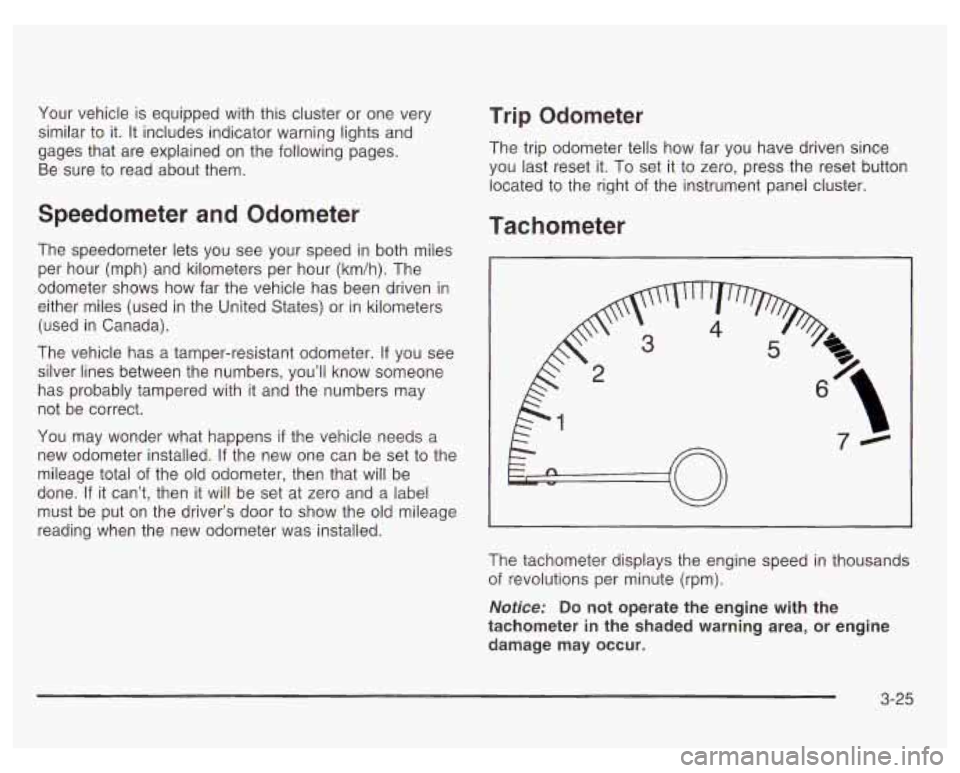
The tachometer displays the engine speed in thousands
of revolutions per minute (rpm).
Notice: Do not operate the engine with the
tachometer in the shaded warning area, or engine
damage may occur.
3-25
Page 147 of 378

Safety Belt Reminder Light
When the key is turned to RUN, a chime will come on
for several seconds to remind people to fasten their
safety belts, unless the driver’s safety belt is already
buckled.
The safety belt light will
also come on and stay
on for several seconds,
then
it will flash for
several more.
If the driver’s belt
is already buckled, neither the chime
nor the light will come on.
Air Bag Readiness Light
There is an air bag readiness light on the instrument
panel, which shows the words SRS AIR BAG or the air
bag symbol. The system checks the air bag’s electrical
system for malfunctions. The light tells you
if there is an
electrical problem. The system check includes the air
bag sensors, the air bag modules, the wiring and
the crash sensing and diagnostic module. For more
information on the air bag system, see Supplemental
Restraint System (SRS)
on page 1-51.
SRS AIR BAG
United States
Canada
This light will come on when you start your vehicle, and
it will flash for a few seconds. Then the light should
go out. This means the system is ready.
3-26
Page 188 of 378

And, of course, actual stopping distances vary greatly
with the surface of the road (whether it’s pavement
or gravel); the condition of the road (wet, dry, icy);
tire tread; the condition of your brakes; the weight of the
vehicle and the amount of brake force applied.
Avoid needless heavy braking. Some people drive in
spurts
- heavy acceleration followed by heavy
braking
- rather than keeping pace with traffic. This is
a mistake. Your brakes may not have time
to cool
between hard stops. Your brakes will wear out much
faster
if you do a lot of heavy braking. If you keep pace
with the traffic and allow realistic following distances,
you will eliminate a lot of unnecessary braking.
That means better braking and longer brake life.
If your engine ever stops while you’re driving, brake
normally but don’t pump your brakes.
If you do,
the pedal may get harder to push down. If your engine
stops, you will still have some power brake assist.
But you will use it when you brake. Once the power
assist is used up, it may take longer to stop and
the brake pedal will be harder to push.
Anti-lock Brake System (ABS)
Your vehicle may have anti-lock brakes. ABS is an
advanced electronic braking system that will help
prevent a braking skid.
If your vehicle has anti-lock
brakes, this warning light
on the instrument panel will
come on briefly when
you start your vehicle.
When you start your engine, or when you begin to
drive away, your anti-lock brake system will check itself.
You may hear a momentary motor or clicking noise
while this test is going on, and you may even notice that
your brake pedal moves or pulses a little.
This is normal.
4-7
Page 192 of 378
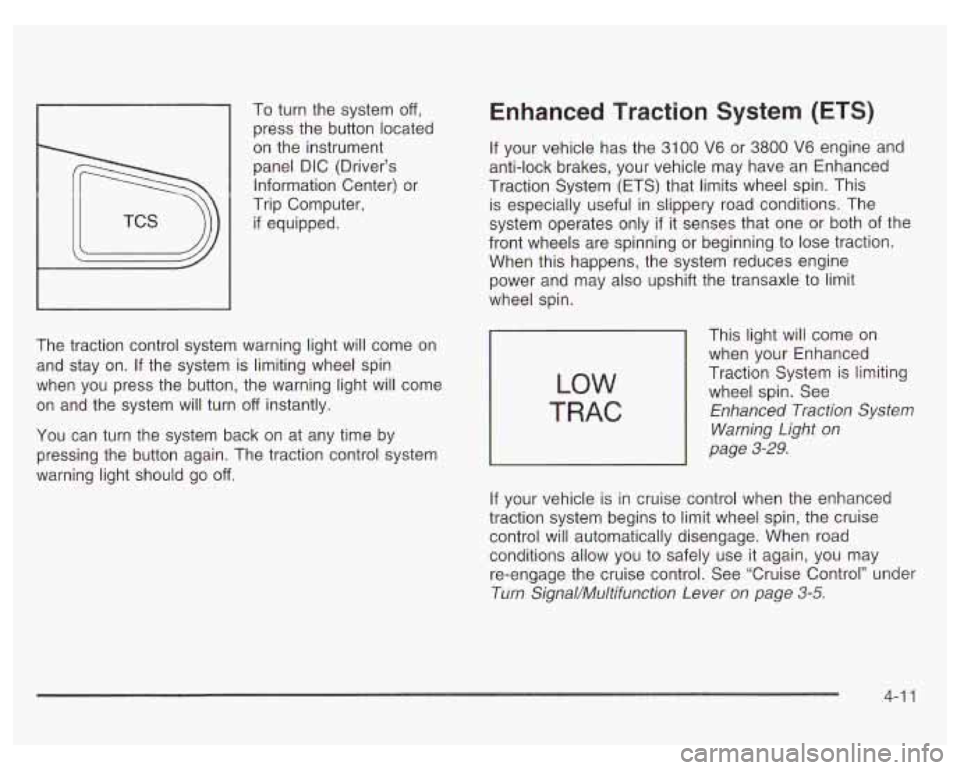
1 press the button located
To
turn the system
off,
on the instrument
panel DIC (Driver’s
Information Center) or
Trip Computer,
if equipped.
The traction control system warning light will come on
and stay on. If the system is limiting wheel spin
when you press the button, the warning light will come
on and the system will turn
off instantly.
You can turn the system back on at any time by
pressing the button again. The traction control system
warning light should go
off.
Enhanced Traction System (ETS)
If your vehicle has the 3100 V6 or 3800 V6 engine and
anti-lock brakes, your vehicle may have an Enhanced
Traction System (ETS) that limits wheel spin. This
is especially useful in slippery road conditions. The
system operates only
if it senses that one or both of the
front wheels are spinning or beginning to lose traction.
When this happens, the system reduces engine
power and may also upshift the transaxle to limit
wheel spin.
LOW
TRAC
This light will come on
when your Enhanced
Traction System is limiting
wheel spin. See
Enhanced Traction System
Warning Light
on
page 3-29.
If your vehicle is in cruise control when the enhanced
traction system begins to limit wheel spin, the cruise
control will automatically disengage. When road conditions allow you to safely use
it again, you may
re-engage the cruise control. See ‘Cruise Control’’ under
Turn Signal/Multifunction Lever
on page 3-5.
4-1 1
Page 223 of 378
Turn Signals When Towing a Trailer
When you tow a trailer, your vehicle may need a
different turn signal flasher and/or extra wiring. Check
with your dealer. The arrows on your instrument
panel will flash whenever you signal a turn or lane
change. Properly hooked up, the trailer lamps will also
flash, telling other drivers you’re about to turn,
change lanes or stop.
When towing a trailer, the arrows on your instrument
panel will flash for turns even
if the bulbs on the trailer
are burned out. Thus, you may think drivers behind
you are seeing your signal when they are not. It’s
important to check occasionally to be sure the trailer
bulbs are still working.
Your vehicle has bulb warning lights. When you plug a
trailer lighting system into your vehicle’s lighting
system, its bulb warning lights may not let you know
if
one of your lamps goes out. So, when you have a trailer
lighting system plugged in, be sure to check your
vehicle and trailer lamps from time to time to be sure
they’re all working. Once you disconnect the trailer
lamps, the bulb warning lights again can tell you
if one
of your vehicle lamps is out.
Driving On Grades
Reduce speed and shift to a lower gear before you start
down a long or steep downgrade.
If you don’t shift
down, you might have to use your brakes
so much that
they would get hot and no longer work well.
On a long uphill grade, shift down and reduce your
speed to around
45 mph (70 km/h) to reduce the
possibility of engine and transaxle overheating.
If you have overdrive, you may have to drive in
THIRD (3) instead of AUTOMATIC OVERDRIVE (D).
Parking on Hills
1 -J really should not ,,rk yo^, wG,kle, with a
trailer attached, on a hill.
If something goes
wrong, your rig could start to move. People
can be injured, and both your vehicle and the
trailer can be damaged.
4-42