2003 PONTIAC BONNEVILLE ignition
[x] Cancel search: ignitionPage 89 of 418
Canadian Owners: If you lose or damage your keys,
only a
GM dealer can service PASS-Key@ Ill to
have new keys made.
To program additional keys you
will require two current driver’s keys. You must add
a step to the following procedure. After Step 2 repeat
Steps
1 and 2 with the second current driver’s key.
Then continue with Step
3.
To program the new key, do the following:
1. Verify that the new key has PK3@ stamped on it.
2. Insert the current driver’s key in the ignition
and start the engine.
If the engine will not start, see
your dealer for service.
and remove the key.
3. After the engine has started, turn the key to OFF,
4. Insert the key to be programmed and turn it to ON
within 10 seconds of removing the previous key.
5. The SECURITY telltale light will turn off once the
key has been programmed.
It may not be apparent
that the SECURITY light went on due to how
quickly the key is programmed.
6. Repeat Steps 1 through 4 if additional keys are to
be programmed.
If you are ever driving and the SECURITY light comes
on and stays on, you will be able
to restart your
engine
if you turn it off. Your PASS-Key@ Ill system,
however, is not working properly and must be serviced
by your dealer. Your vehicle
is not protected by the
PASS-Key@
Ill system at this time.
If you lose or damage a PASS-Key@ Ill key, see your
dealer to have
a new key made.
2-24
Page 90 of 418
Starting and Operating Your
Vehicle
New Vehicle Break-In
Notice: Your vehicle doesn’t need an elaborate
“break-in.” But
it will perform better in the long run
if you follow these guidelines:
e
-
Don’t drive at any one speed - fast or
slow
- for the first 500 miles (805 km).
Don’t make full-throttle starts.
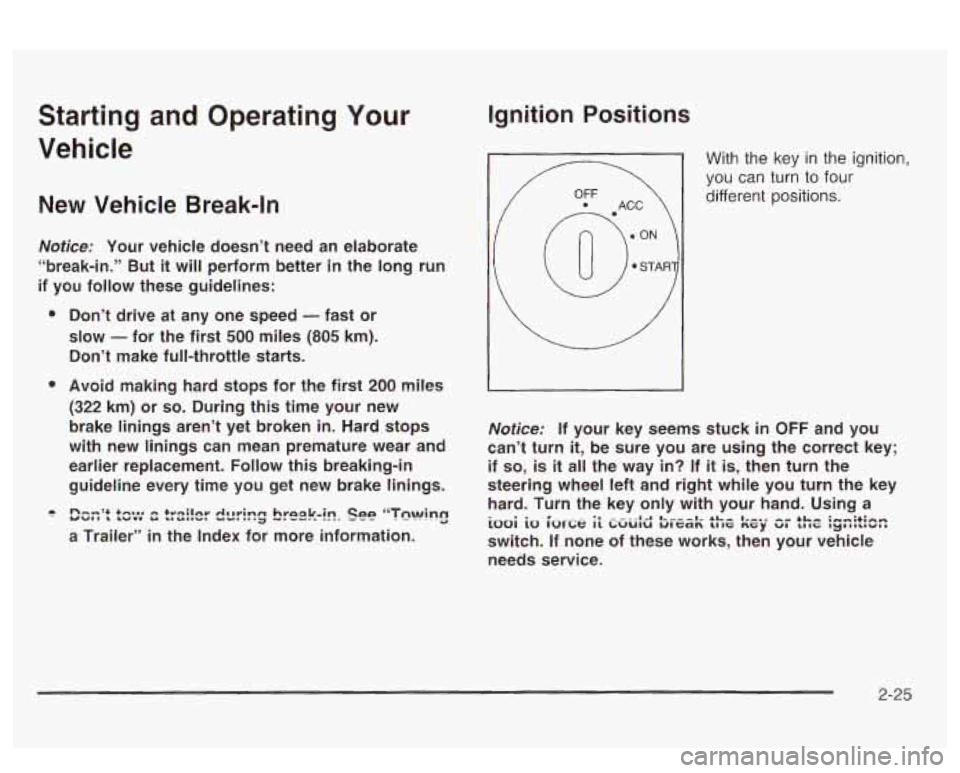
Ignition Positions
I
With the key in the ignition,
you can turn
to four
different positions.
Avoid making hard steps for the first 200 mI!es L
(322 km) or so. During this time your new
brake linings aren’t yet broken
in. Hard stops Notice: If your key seems stuck in OFF and you
with new linings can mean premature wear and can’t turn
it, be sure you are using the correct key;
earlier replacement. Follow
this breaking-in if so, is it all the way in? If it is, then turn the
guideline every time you get new brake
linings. steering wheel left and right while you turn the key hard. Turn the key only with your hand. Using a
a Trailer”
in the Index for more information. switch. If none of these works\
, then your vehicle
ne-’+ +ma*. - +v-ilnv Am~rinrc hrnsk-in Ispp ‘‘Tewing YW8a 0 LWUU U C1UmIIL.n ew*a.a= -.--.- a_.- --- iooi io Cori;e Ei CWUIU urean ut~ ~zY vu &tee; IyJIIILIVlI - - -8-8 I- ____ I- AI-- I,-..
needs service.
2-25
Page 91 of 418
OFF: This is the only position from which you can
remove the key. This position locks your ignition and
transaxle. It’s a theft-deterrent feature.
ACC (Accessory): In this position you can operate
your electrical accessories such as power windows,
sunroof (option), audio system and windshield wipers.
ON: This is the position the switch returns to after
you start your engine and release the switch. Even when
the engine is not running, you can use ON
to operate
your electrical accessories and to display some
instrument panel cluster warning lights. This is the
position for driving your vehicle.
START: This position starts the engine. When the
engine starts, release the key. The ignition switch will
return to
ON for normal driving.
Even
if the engine is not running, ACC and ON are
positions that allow you to operate your electrical
accessories.
Key Reminder Warning
If you leave your key in OFF you will hear a warning
tone when you open the driver’s door.
Retained Accessory Power (RAP)
After you turn the ignition off and remove the key, you
will still have power to such accessories as the
radio, sunroof (option) and power windows for up to
10 minutes. Power is turned off if you open a door.
Always leave your key in
OFF. If you leave your key in
any position other than
OFF, your battery will
discharge prematurely.
Starting Your Engine
Move your shift lever to PARK (P) or NEUTRAL (N).
Your engine won’t start in any other position - that’s a
safety feature. To restart when you’re already moving,
use NEUTRAL
(N) only.
Notice: Don’t try to shift to PARK (P) if your
vehicle
is moving. If you do, you could damage the
transaxle. Shift
to PARK (P) only when your
vehicle
is stopped.
1. With your foot off the accelerator pedal, turn your
ignition key to START. When the engine starts, let
go of the key. The idle speed will go down as
your engine gets warm.
2-26
Page 94 of 418
PARK (P): This position locks your front wheels. It’s the
best position to use when you start your engine
because your vehicle can’t move easily.
s dangerous to get out of your veh ? if the
shift lever is not fully
in PARK (P) with the
parking brake firmly set. Your vehicle can roll.
Don’t leave your vehicle when the engine is
running unless you have to. If you have left the
engine running, the vehicle can move
suddeniy.
You or others; could be injured. To
be sure your vehicle won’t move, even when
you’re on fairly level ground, always set your parking brake and move the
shift lever to
PARK (P). See “Shifting Into Park (P)” in the
Index. If you’re pulling
a trailer, see “Towing a
Tr2?!!er” in the !ndPY=
Ensure the shift lever is fully in PARK (P) before starting
the engine. Your vehicle has an automatic transaxle
shift lock control system. You have to fully apply
your regular brakes before you can shift from PARK (P)
when the ignition key is in
ON. If you cannot shift out
of PARK
(P), ease pressure on the shift lever - push the
shift lever all the way into PARK (P) and also release
the shift lever button on console shift models as
you maintain brake application. Then move the shift
lever into the gear you wish (press the shift lever button
before moving the shift lever on floor shift console
models). See
Shifting Out of Park (P) on page 2-35.
REVERSE (R): Use this gear to back up.
Notice: Shifting to REVERSE (R) while your vehicle
is moving forward could damage your transaxle.
Shift
to REVERSE (R) only after your vehicle
is stopped.
To rock your vehicle back and forth to get out of snow,
ice
or sand without damaging your transaxle, see If
You Are Stuck: In Sand, Mud, Ice or Snow on
paye 4-53.
2-29
Page 96 of 418
SECOND (2): This position gives you more power but
lower fuel economy.
You can use SECOND (2) on
hills. It can help control your speed as you go down
steep mountain roads, but then you would also want to
use your brakes
off and on.
Notice: Don’t drive in SECOND (2) for more than
5 miles (8 km), or at speeds over 55 mph (98 km/h),
or you can damage your transaxle. Use AUTOMATIC
OVERDRIVE
(@) or THIRD (3) as much as
possible.
Don’t shift into SECOND
(2) unless you are going
slower than
65 mph (105 km/h), or you can damage
your engine.
FIRST
(1): This position gives you even more power
but lower fuel economy than SECOND
(2). You can use
it on very steep hills, or
in deep snow or mud. If the
shift lever is put in
FIRST (l), the transaxle won’t shift
into first gear until the vehicle is going slowly enough.
Notice: If your front wheels won’t turn, don’t
try to drive. This might happen if you were stuck
in
very deep sand or mud or were up against a solid
object. You could damage your transaxle.
Also,
if you stop when going uphill, don’t hold your
vehicle there with only the accelerator pedal. This
could overheat and damage the transaxle. Use your
brakes to
hold your vehicle in position on a hill.
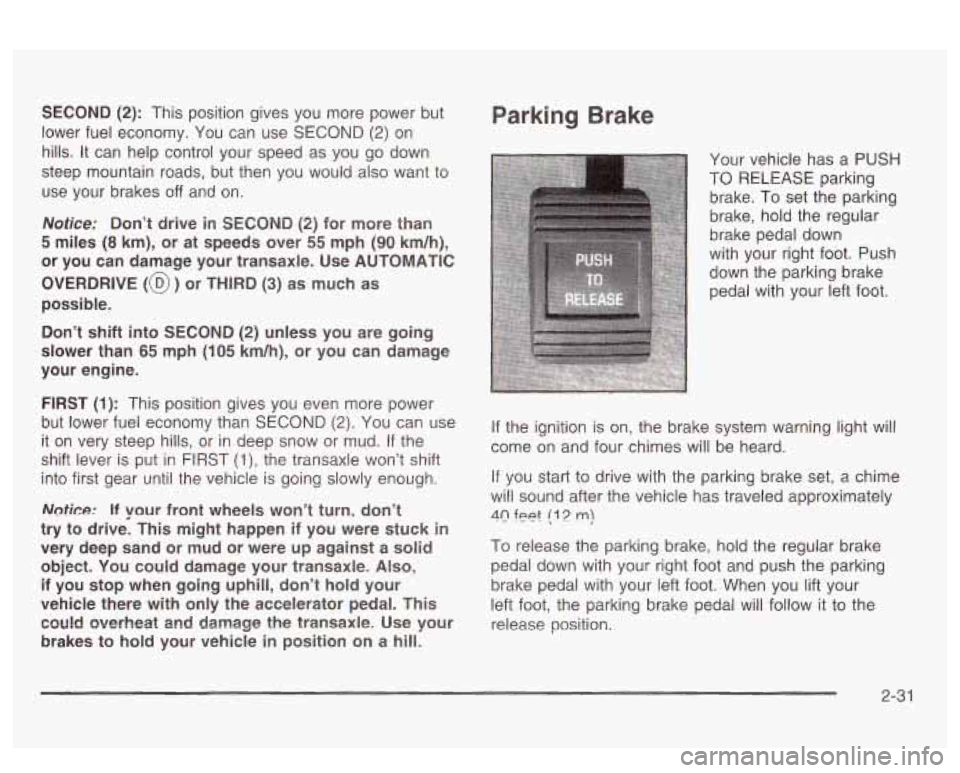
Parking Brake
Your vehicle has a PUSH
TO RELEASE parking
brake. To set the parking
brake, hold the regular
brake pedal down
with your right foot. Push
down the parking brake
pedal with your left foot.
If the ignition is on, the brake system warning light will
come on and four chimes will be heard.
If you start to drive with the parking brake set, a chime
will sound after the vehicle has traveled approximately
40 feet (1 2 m)
To release the parking brake, hold the regular brake
pedal down with your right foot and push the parking
brake pedal with your left foot. When you lift your
left foot, the parking brake pedal will follow it to the
release position.
2-3 1
Page 98 of 418
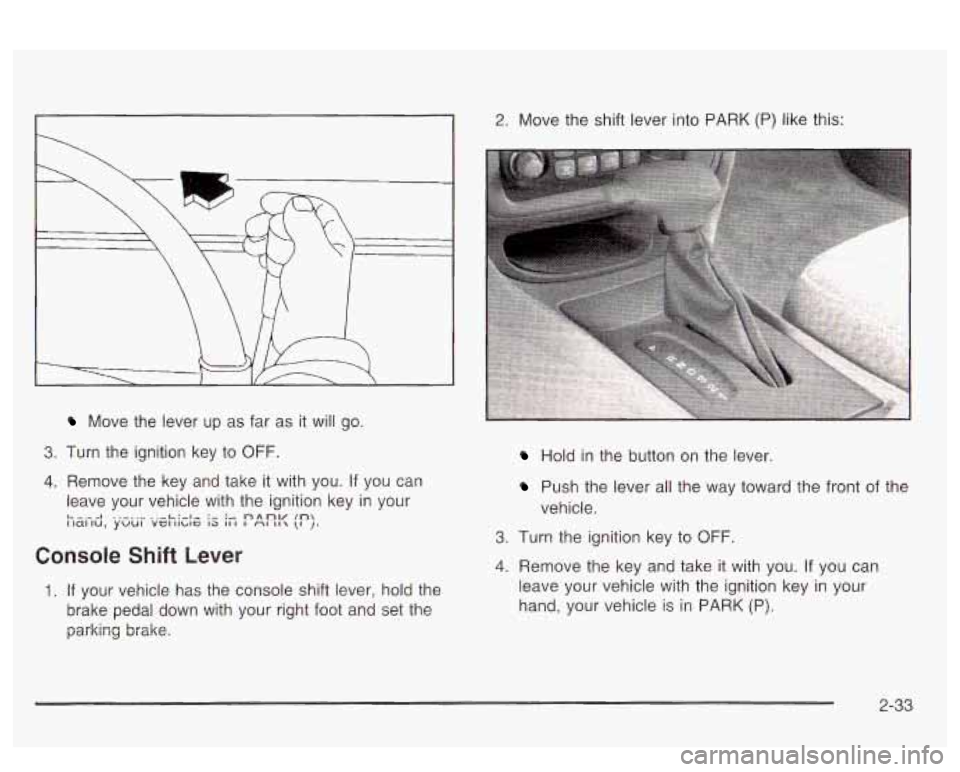
Move the lever up as far as it will go.
3. Turn the ignition key to OFF.
4. Remove the key and take it with you. If you can
leave your vehicle with the ignition key in your
L. -.-- I .,-..I ..-L:-l- :- :- nAOV In I id1 iU,
YUUl Vel IlLlG 13 II 1 I r\l II \I J.
Console Shift Lever
1. If your vehicle has the console shift lever, hold the
brake pedal down with your right foot and set the
parking brake.
2. Move the shift lever into PARK (P) like this:
Hold in the button on the lever
Push the lever all the way toward the front of the
vehicle.
3. Turn the ignition key to OFF.
4. Remove the key and take it with you. If you can
leave your vehicle with the ignition key in your
hand, your vehicle is in PARK (P).
2-33
Page 100 of 418
Shifting Out of Park (P)
Your vehicle has an automatic transaxle shift lock
control system. You have to fully apply your regular
brake before you can shift from PARK (P) when
the ignition is in
ON. See Automatic Transaxle Operation
on page
2-28.
If you cannot shift out of PARK (P), ease pressure on
the shift lever
- push the shift lever all the way into
PARK
(P) as you maintain brake application. Then move
the shift lever into the gear you want (if you have the
console shift lever, press the button first). If you
ever hold the brake pedal down but still can’t shift out of
PARK (P),
try this:
1. Turn the key to OFF.
2. Apply and hold the brake until the end of Step 4.
3. Shift to NEUTRAL (N).
4. Start the vehicle and then shift to the drive
gear you want.
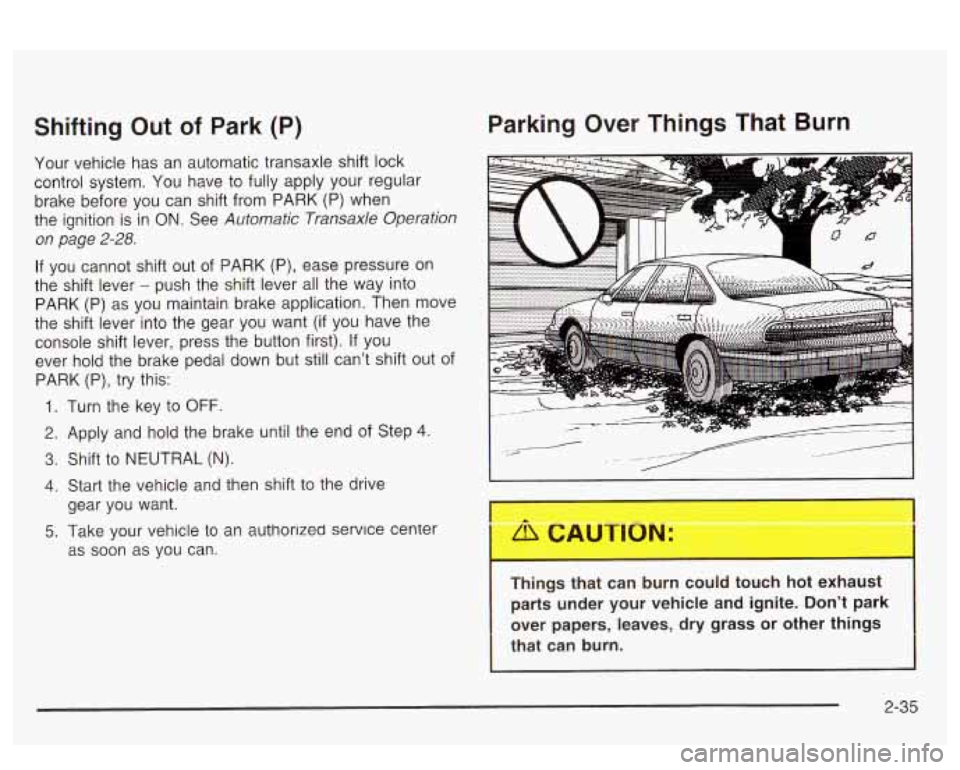
Parking Over Things That Burn
5. Take your vehicle to an authorlzed service center
as soon as you can.
Things that can burn could touch hot exhaust
parts under your vehicle and ignite. Don’t park
over papers, leaves, dry grass or other things
that can burn.
2-35
Page 112 of 418
Sunroof
Your vehicle may be equipped with a sunroof.
The sunroof has both manual and express features for
opening the glass panel and sunshade. Comfort
Stop: Press and
release the switch rearward
to the second position to express open the glass
panel to the comfort stop position. The comfort stop
position
is designed to help reduce noise and make
passengers more comfortable.
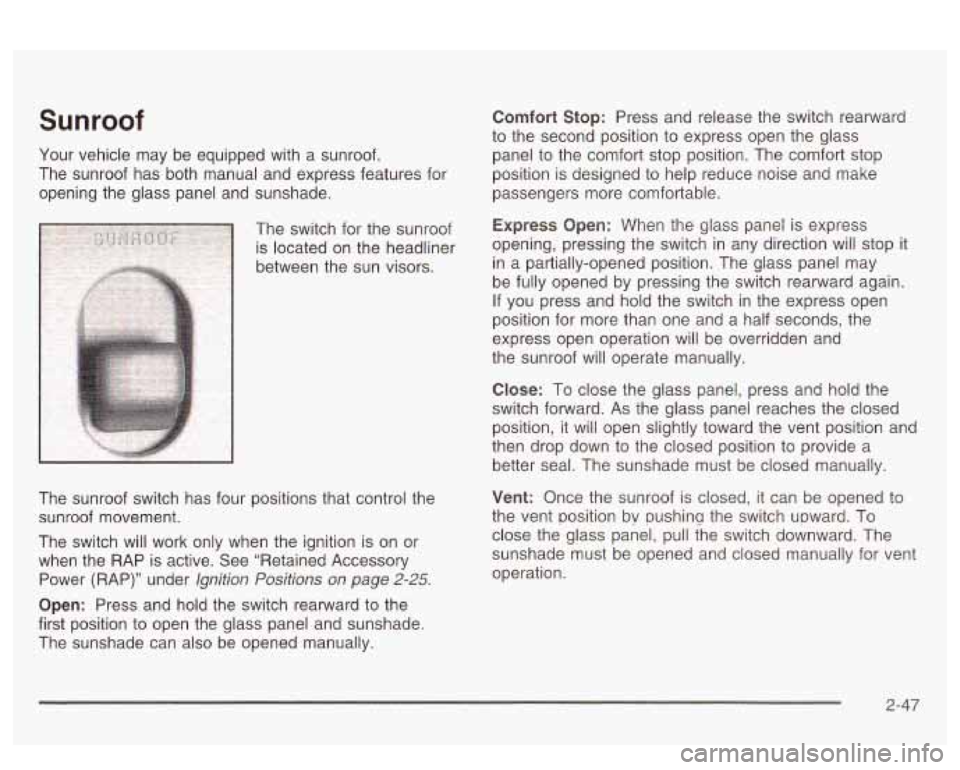
The switch for the sunroof
Express Opefl: When the glass panel is express
is located on the headliner opening,
pressing the switch in any direction
Will Stop it
between the sun visors. in
a partially-opened position. The glass panel may
be fully opened by pressing the switch rearward again.
If you press and hold the switch in the express open
position for more than one and a half seconds, the
express open operation will be overridden and
the sunroof will operate manually.
The sunroof switch has four positions that control the
sunroof movement.
The switch will work only when the ignition is on or
when the RAP is active. See “Retained Accessory
Power (RAP)” under
lgnition Positions on page 2-25.
Open: Press and hold the switch rearward to the
first position to open the glass panel and sunshade.
The sunshade can also be opened manually.
C!ose: To close the g!ass panel, press and held the
switch forward. As the glass panel reaches the closed
position, it will open slightly toward the vent position and
then drop down to the closed position to provide a
better seal. The sunshade must be closed manually.
Vent: Once the sunroof is closed, it can be opened to
the vent position bv pushina the switch upward. To
close the glass panel, pull the switch downward. The
sunshade must be opened and closed manually for vent
operation.
2-47