2003 Oldsmobile Bravada reset
[x] Cancel search: resetPage 98 of 410

Outside Convex Mirror
A convex mirror’s surface is curved so you can see
more from the driver’s seat.
A convex mirror can make things (like other
vehicles) look farther away than they really are.
If you cut too sharply into the right or left lane,
you could hit a vehicle. Check your inside
mirror or glance over your shoulder before
changing lanes.
Outside Heated Mirrors
Your vehicle may have this feature,
When you operate the rear window defogger, a defogger
also warms the heated driver’s and passenger’s
outside rearview mirrors to help clear them of ice, snow
and condensation.
Outside Automatic Dimming Mirror
with Curb View Assist
If your vehicle has this feature, the driver’s and/or
Passenger’s outside mirror will adjust to a preset tilt
losition while the vehicle is in REVERSE
(R) gear. Curb
view assist may be useful when you are parallel
parking. The mirror(s) will return
to normal position
when the vehicle is shifted out of REVERSE
(R) gear.
Automatic mirror movement in either direction will follow
a short delay.
To first activate this feature, perform the following steps:
1. Press the Personalization button, located on the
steering wheel, until “Tilt Mirror in REVERSE
(R)”
is displayed on the DIC display.
passenger’s side mirror, twice for the driver’s side
mirror and three times for both mirrors. Then
press the Personalization button repeatedly until the
display goes blank.
2. Press the Select button once to select the
2-33
Page 105 of 410

Reprogramming a Single HomeLink@
Button
To program a device to HomeLink@ using a HomeLink@
button previously trained, follow these steps:
1. Press and hold the desired HomeLink@ button. Do
2. The indicator light will begin to flash after
not release the button.
20 seconds. While
still holding the HomeLinkO
button, proceed with Step
2 under “Programming
HomeLinka
.”
Resetting Defaults
To reset HomeLink@ to default settings do the following:
1. Hold down the two outside buttons for about
20 seconds until the indicator light begins to flash.
2. Continue to hold both buttons until the HomeLink@
indicator light turns
off.
3. Release both buttons.
For questions or comments, contact HomeLink@ at
1-800-355-3515, or on the internet at
www.homelink.com.
2-40
Page 112 of 410

Vehicle Personalization
Memory Seat
Your vehicle may have this
feature. The controls are located on the driver’s
door, and are used
to program and recall memory settings for the
driver’s seating and
outside mirror positions.
Adjust the driver’s seat (including the seatback recliner
and lumbar) and both of the outside mirrors to the
desired position. Then press and hold button
1
(for driver 1) for three seconds. A double chime will
sound
to let you know that the position has been stored.
A second mirror and seating position can be
programmed by repeating the procedure with a second
driver and pressing button
2 for three seconds. Each
time button
1 or 2 is pressed and released while
the vehicle is in PARK
(P), a single chime will sound,
and the memory position will be recalled.
If you use the unlock button on the remote keyless entry
transmitter to enter your vehicle, the preset driver’s
seat and mirror positions will be recalled
if programmed
to do
so through the Driver Information Center (DIC).
The numbers on the back of the transmitters,
1
or 2, correspond to the numbers on the memory
controls.
The seat and mirror positions can also be recalled by
placing the key in the ignition
if programmed to do
so through the Driver Information Center (DIC).
To stop recall movement of the memory feature at any
time, press one of the power seat controls or memory
buttons.
2-47
Page 123 of 410

Windshield Washer
(Windshield Washer): To spray washer fluid on the
windshield, press the windshield washer paddle. The
wipers will clear the window and then either stop
or return to your preset speed.
~
A CAUTION:
In freezing weather, don’t use your washer
until the windshield is warmed. Otherwise the
washer fluid can form ice on the windshield,
blocking your vision.
I
Rear Window WasherMliper
This control is located to
the right of the steering
wheel on the instrument
panel.
To turn the rear wiper on, turn the control
to either 1 , 2,
or 3. For delayed wiping, turn the control to 1 or 2.
For steady wiping, turn the control to 3. To turn the wiper
off, turn the control to 0.
To wash the rear window, press the washer symbol
located in the center of the control.
The rear window washer uses the same fluid bottle as
the windshield washer. However, the rear window
washer will run out
of fluid before the windshield washer.
If you can wash your windshield but not your rear
window, check the fluid level.
3-1 0
Page 125 of 410

Setting Cruise Control
1. Move the cruise control switch to on.
2. Get up to the speed you want.
3. Press in the set button at the end of the lever and
4. Take your foot off the accelerator pedal. The
release
it.
accelerator pedal will
not go down.
CRUISE
United States Canada
Resuming a Set Speed
Suppose you set your cruise control at a desired speed
and then you apply the brake. This, of course, shuts
off the cruise control. But you don’t need to reset it.
Once you’re going about
25 mph (40 km/h) or more, you
can move the cruise control switch briefly from on to
resume/accelerate.
You’ll go right back up to your chosen speed and stay
there.
If you hold the switch at resume/accelerate, the vehicle
will keep going faster until you release the switch or
apply the brake.
So unless you want to go faster, don’t
hold the switch at resume/accelerate.
The CRUISE light on the instrument panel cluster will
come on when the cruise control is engaged.
3-1 2
Page 134 of 410

Climate Controls
Dual Automatic Climate Control
System
Your vehicle may have the optional dual automatic
climate control system. With this system you can control
the heating, cooling and ventilation for your vehicle.
When your vehicle is first started, the display will show
the driver’s temperature setting and air delivery mode for
five seconds. Then it will show the outside temperature.
0 (Off): Press this button to turn off the entire climate
control system. Outside air will still enter the vehicle,
and will be directed to the floor. Press the AUTO button,
the mode button, the fan arrows, or either temperature
knob to turn the system on.
Q., *d (Mode): Press this button to manually select the air
delivery mode to the floor, instrument panel, or
windshield outlets. The system will stay in the selected
mode until the mode button is pressed again or the
AUTO button is pressed.
Driver’s Side Temperature Knob: Turn this knob
clockwise or counterclockwise to manually raise or lower
the temperature on the driver’s side of the vehicle. The
display will show the temperature setting decreasing or
increasing and the word “DRIVER” will light up. This knob
can also adjust the passenger’s side temperature setting
simultaneously
if the two zones are linked. The words
“DRIVER and PASS” will then light up.
Passenger’s Side Temperature Knob: Turn this knob
clockwise or counterclockwise to manually raise or lower
the temperature on the passenger’s side of the vehicle.
The display will show the temperature setting decreasing
or increasing and the word “PASS” will light up. The
passenger’s temperature setting can be set to match and
link to the driver’s temperature setting by pressing and
holding the AUTO button for three seconds. By adjusting
the driver’s side temperature setting, the passenger’s
side temperature setting will follow and both “DRIVER
and PASS” will be displayed. The passenger’s side
temperature setting also resets and relinks to the driver’s
side temperature setting
if the vehicle has been off for
more than two hours.
3-21
Page 143 of 410

Speedometer and Odometer
Your speedometer lets you see your speed in both
miles per hour (mph) and kilometers per hour (km/h).
Your odometer shows how far your vehicle has
been driven, in either miles (used in the United States)
or kilometers (used in Canada).
The odometer mileage can be checked without the
vehicle running. Simply press the trip odometer button.
You may wonder what happens
if your vehicle needs
a new odometer installed. The new one will be set to the
correct millage total of the old odometer.
Trip Odometer
I
The trip odometer is part of the Driver Information
Center (DIC). For vehicles without a DIC, press the stem
located on the instrument panel cluster
to display the
trip odometer. Press and hold the stem to reset the trip
odometer once it is displayed.
Tachometer
The tachometer displays the engine speed in revolutions
per minute (rpm).
Notice: Do not operate the engine with the
tachometer in the shaded warning area,
or engine
damage may occur.
Safety Belt Reminder Light
When the key is turned to RUN, a chime will come on
for several seconds
to remind people to fasten their
safety belts, unless the driver’s safety belt is already
buckled.
The trip odometer can tell you how far your vehicle has
been driven since you last set the trip odometer
to zero.
3-30
Page 152 of 410

Don’t keep driving if the oil pressure is low. If
you do, your engine can become so hot that it
catches fire. You or others could be burned.
Check your oil as
soon as possible and have
your vehicle serviced.
Notice: Damage to your engine from neglected oil
problems can be costly and is not covered by
your warranty.
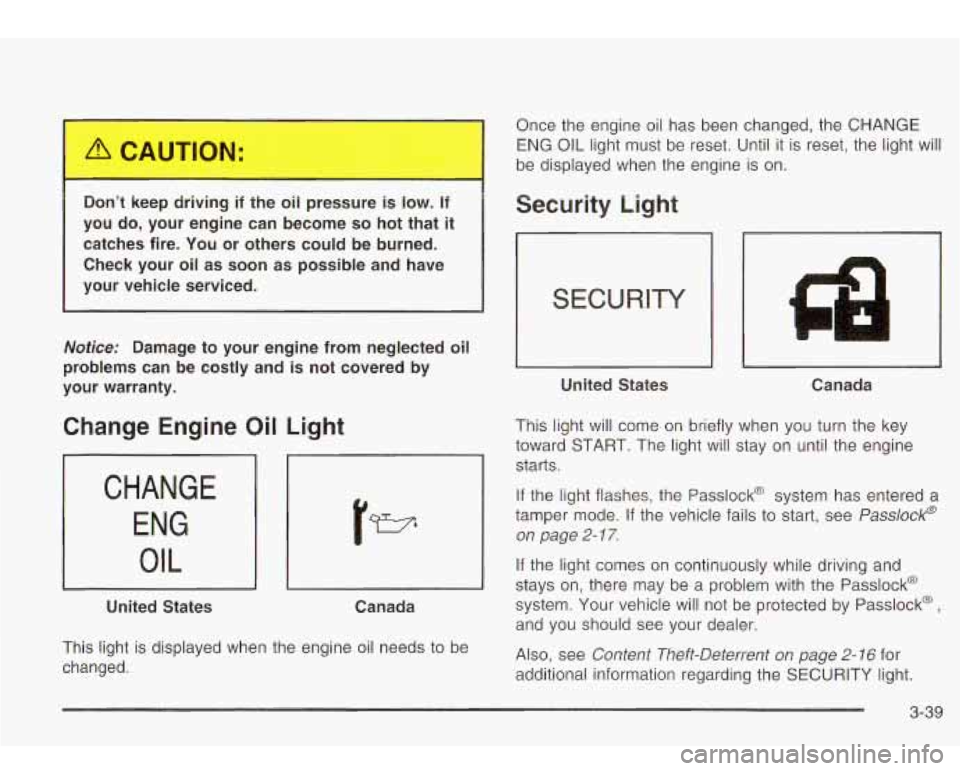
Change Engine Oil Light
CHANGE ENG
I OIL
United States Canada
This light is displayed when the engine oil needs to be
changed. Once the engine oil has been changed, the CHANGE
ENG OIL light
must be reset. Until it is reset, the light will
be displayed when the engine is on.
Security Light
United States Canada
This light will come on briefly when you turn the key
toward START. The light will stay on until the engine
starts.
If the light flashes, the Passlock@ system has entered a
tamper mode. If the vehicle fails to start, see
Passlock@
on page
2- 1 7.
If the light comes on continuously while driving and
stays on, there may be a problem with the Passlock@
system. Your vehicle will not be protected by Passlock@
,
and you should see your dealer.
Also, see
Content Theft-Deterrent on page 2- 16 for
additional information regarding the SECURITY light.
3-39