2003 Oldsmobile Bravada power steering
[x] Cancel search: power steeringPage 60 of 410

What Will You See After an Air Bag
Inflates?
After the air bag inflates, it quickly deflates, so quickly
that some people may not even realize the air bag
inflated. Some components of the air bag module will be
hot for a short time. These components include the
steering wheel hub for the driver’s frontal air bag and the
instrument panel for the right front passenger’s frontal
air bag. For vehicles with side impact air bags, the side
of the seatback closest
to the driver’s and/or right
front passenger’s door will be hot. The parts of the bag
that come into contact with you may be warm, but
not
too hot to touch. There will be some smoke and dust
coming from the vents in the deflated air bags. Air
bag inflation doesn’t prevent the driver from seeing or
being able to steer the vehicle, nor does it
stop
people from leaving the vehicle. When an
air bag inflates, there
is dust in the
air. This dust could cause breathing problems
for people with a history of asthma or other
breathing trouble.
To avoid this, everyone in
the vehicle should get out as soon as
it is safe
to do
so. If you have breathing problems but
can’t get out of the vehicle after an
air bag
inflates, then get fresh air by opening a
window or
a door. If you experience breathing
problems following an
air bag deployment, you
should seek medical attention.
Your vehicle has a feature that will automatically unlock
the doors and turn the interior lamps on when the air
bags inflate
(if battery power is available). You can lock
the doors again and turn the interior lamps
off by
using the door
lock and interior lamp controls.
1-53
Page 114 of 410

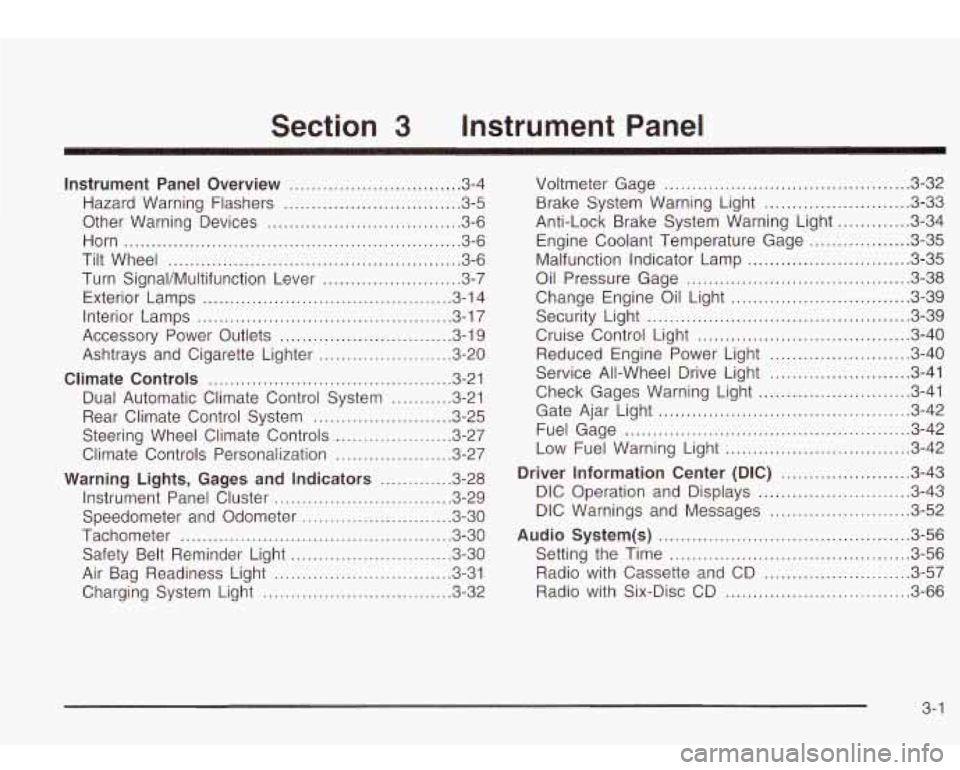
Section 3 Instrument Panel
Instrument Panel Overview ............................... 3.4
Hazard Warning Flashers
................................ 3.5
Other Warning Devices
................................... 3.6
Horn
............................................................. 3.6
Tilt Wheel
..................................................... 3.6
Turn SignaVMultifunction Lever
......................... 3.7
Exterior Lamps
............................................. 3.14
Interior Lamps
.............................................. 3.17
Accessory Power Outlets
............................... 3.19
Ashtrays and Cigarette Lighter
........................ 3.20
Climate Controls ......................................... 3.21
Dual Automatic Climate Control System
........ 3.21
Rear Climate Control System
......................... 3.25
Steering Wheel Climate Controls
..................... 3.27
Climate Controls Personalization
..................... 3.27
Warning Lights, Gages and Indicators ............. 3.28
Instrument Panel Cluster
................................ 3.29
Speedometer and Odometer
........................... 3.30
Tachometer
................................................. 3.30
Safety Belt Reminder Light
............................. 3.30
Air Bag Readiness Light
................................ 3-31
Charging System Light
.................................. 3.32 Voltmeter Gage
............................................ 3.32
Anti-Lock Brake System Warning Light
......... 3.34
Engine Coolant Temperature Gage
.............. 3.35
Malfunction Indicator Lamp
............................. 3.35
Oil Pressure Gage
........................................ 3.38
Change Engine Oil Light
................................ 3-39
Security Light
............................................... 3.39
Cruise Control Light
...................................... 3.40
Reduced Engine Power Light
......................... 3.40
Service All-Wheel Drive Light
......................... 3.41
Check Gages Warning Light
........................... 3.41
Gate Ajar Light
............................................. 3.42
Fuel Gage
................................................... 3.42
Low Fuel Warning Light
............................. 3.42
Driver information Center (DiC) .. .............. 3.43
DIC Operation and Displays
........................... 3.43
DIC Warnings and Messages
......................... 3.52
Audio System(s) ............................................. 3.56
Setting the Time
........................................... 3.56
Radio with Cassette and CD
.......................... 3.57
Radio with Six-Disc CD
................................. 3.66
Brake System Warning
Light
.......................... 3-33
3- 1
Page 118 of 410

The main components of your instrument panel are the
following:
A. Exterior Lamp Controls
B. Air Outlets
C. Turn Signal/Multifunction Lever
D. Climate Control Steering Wheel Controls
E. Instrument Panel Cluster
F. Audio Steering Wheel Controls
G. Ignition Switch
H. Audio System
I. Climate Controls
J. Hood Release
K. Driver Information Center (DIC) Steering Wheel
Controls
L. Rear Window Washermiper
M. Lighter
N. Accessory Power Outlet
0. Rear Window Defogger
D. Glove Box
Hazard Warning Flashers
Your hazard warning flashers let you warn others. They
also let police know you have a problem. Your front
and rear turn signal lamps will flash on and
off.
3-5
Page 202 of 410

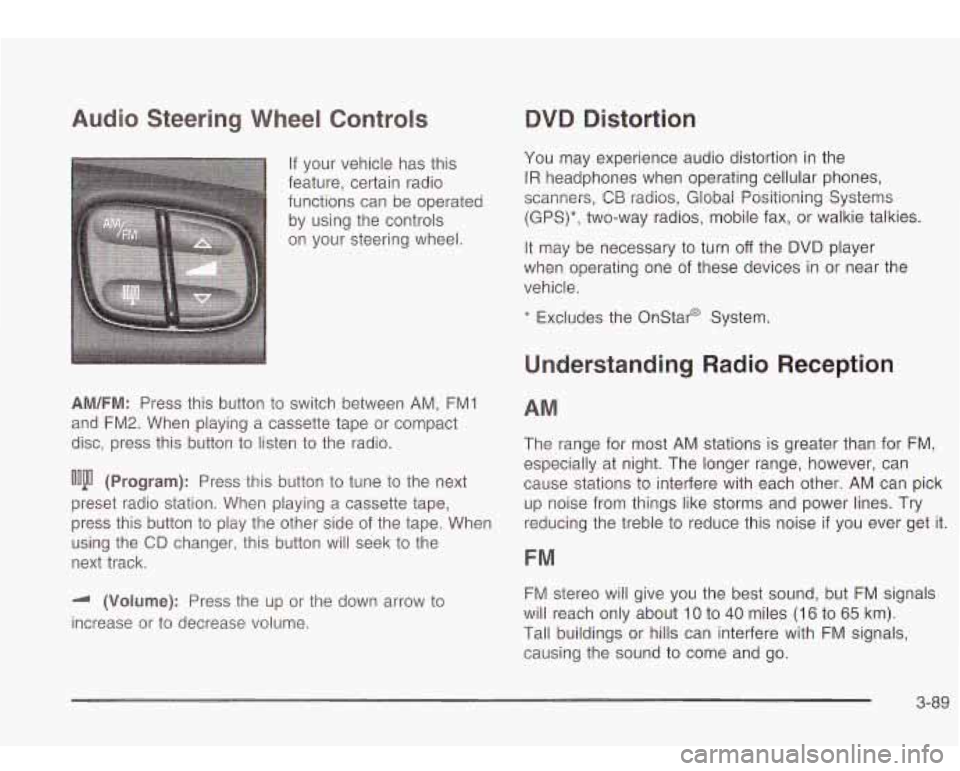
Audio Steering Wheel Controls
If your vehicle has this
feature, certain radio
functions can be operated
by using the controls
on your steering wheel.
AM/FM: Press this button to switch between AM, FMI
and FM2. When playing a cassette tape or compact
disc, press this button
to listen to the radio.
ooju (Program): Press this button to tune to the next
preset radio station. When playing a cassette tape,
press this button
to play the other side of the tape. When
using the
CD changer, this button will seek to the
next track.
-I (Volume): Press the up or the down arrow to
increase or to decrease volume.
QVQ Distortion
You may experience audio distortion in the
IR headphones when operating cellular phones,
scanners,
CB radios, Global Positioning Systems
(GPS)*, two-way radios, mobile fax, or walkie talkies.
It may be necessary to turn
off the DVD player
when operating one of these devices in or near the
vehicle.
* Excludes the Onstar@ System.
Understanding Radio Reception
AM
The range for most AM stations is greater than for FM,
especially at night. The longer range, however, can
cause stations
to interfere with each other. AM can pick
up noise from things like storms and power lines. Try
reducing the treble
to reduce this noise if you ever get it.
FM
FM stereo will give you the best sound, but FM signals
will reach only about
10 to 40 miles (16 to 65 km).
Tall buildings or hills can interfere with FM signals,
causing the sound to come and go.
3-89
Page 215 of 410

To turn the system on or
off, press the TAS OFF/ON
button located near the
shift lever.
If you used the
button to turn the system
off, the TRAC OFF light on
the button will come on
and stay on.
You can turn the system back on at any time by
pressing the button again. The TRAC OFF light on the
button should go off.
If desired, you can change the TAS automatic
engagement feature
so that the system will not come on
automatically when the engine is started. To do
so:
1.
Park the vehicle with the ignition off and the
2. Turn the ignition to RUN; do not start the engine.
3. Apply the brake pedal, press the accelerator
transmission in
PARK (P).
pedal
to the floor and then press the TAS OFF/ON
button and hold it down for at least six seconds.
4. Release the TAS button and both pedals. The next time you
start your vehicle, the TAS will not
automatically come on. You can restore the automatic
feature by using the same procedure. Whether the TAS
is set
to come on automatically or not, you can always
turn the system on or off by pressing the TAS on/off
button.
Locking Rear Axle
If your vehicle has this feature, your locking rear axle
can give you additional traction on snow, mud, ice, sand
or gravel. It works like a standard axle most of the
time, but when one
of the rear wheels has no traction
and the other does, this feature will allow the wheel with
traction to move the vehicle.
Steering
Power Steering
If you lose power steering assist because the engine
stops or the system is not functioning, you can steer but
it will take much more effort.
5. Turn off the ignition and wait a few seconds.
4-1 0
Page 225 of 410

Here are some other things to consider as you
approach a hill.
Is there a constant incline, or does the hill get
sharply steeper in places?
Is there good traction on the hillside, or will the
surface cause tire slipping?
Is there a straight path up or down the hill so you
won’t have to make turning maneuvers?
Are there obstructions on the hill that can block
your path (boulders, trees, logs or ruts)?
What’s beyond the hill? Is there a cliff, an
embankment, a drop-off, a fence? Get out and walk
the
hill if you don’t know. It’s the smart way to
find out.
Is the hill simply too rough? Steep hills often have
ruts, gullies, troughs and exposed rocks because
they are more susceptible to the effects
of erosion.
Driving Uphill
Once you decide you can safely drive up the hill, you
need
to take some special steps.
Use a low gear and get a firm grip on the steering
wheel.
Get a smooth start up the hill and try to maintain
your speed, Don’t use more power than you
need, because you don’t want your wheels
to start
spinning or sliding.
4-20
Try to drive straight up the hill if at all possible. If
the path twists and turns, you might want to find
another route.
Turning or driving across steep hills can be
dangerous. You could
lose traction, slide
sideways, and possibly roll over. You could be
seriously injured or killed. When driving up
hills, always try to go straight up.
Ease up on your speed as you approach the top of
the hill.
Attach a flag to the vehicle to make you more
visible
to approaching traffic on trails or hills.
Sound the horn as you approach the top of the hill
to let opposing traffic know you’re there.
Use your headlamps even during the day. They
make you more visible to oncoming traffic.
Page 260 of 410

Section 5 Service and Appearance Care
............................................................ Service 5.3
Doing Your Own Service Work
......................... 5-4
Adding Equipment to the Outside of Your
Vehicle 5.4
Fuel 5.5
......................................................
................................................................
Gasoline Octane ............................................ 5.5
Gasoline Specifications
.................................... 5.5
California Fuel
............................................... 5.6
Filling Your lank
............................................ 5-7
Filling a Portable Fuel Container
....................... 5-9
Checking Things Under the Hood .................... 5-10
Hood Release
.............................................. 5-10
Engine Compartment Overview
....................... 5-12
Engine
Oil ................................................... 5-13
Engine Air Cleaner/Filter
............................... 5-18
Automatic Transmission Fluid
......................... 5-20
Engine Coolant
............................................. 5-22
Radiator Pressure Cap
.................................. 5-24
Engine Overheating
....................................... 5-24
Cooling System
............................................ 5-26
Engine Fan Noise
.................................. 5-32
Power Steering Fluid
.................... ..... 5-33
....................................................... Additives 5.6
Fuels in Foreign Countries
............................... 5-6 Windshield
Washer Fluid
................................ 5-33
Brakes
........................................................ 5-34
Battery
........................................................ 5-38
Jump Starting
.......... ............................. 5-39
All-Wheel Drive ............. ......................... 5-44
Rear Axle ....................................................... 5-46
Bulb Replacement .......................................... 5.47
Taillamps and Turn Signal Lamps
................... 5.47
Replacement Bulbs
....................................... 5.48
Windshield Wiper Blade Replacement .............. 5.49
.............................................................. Tires 5.52
Inflation
.. lire Pressure ................................ 5.53
lire Inspection and Rotation
........................... 5.53
Buying New Tires
......................................... 5.56
Uniform Tire Quality Grading
.......................... 5.57
Wheel Replacement
...................................... 5.58
lire Chains
.................................................. 5.60
Accessory Inflator
......................................... 5.60
If a lire Goes Flat ........................................ 5.61
When It
Is Time
for New Tires ....................... 5-55
Wheel Alignment and lire Balance
.................. 5-58
Changing a Flat lire
..................................... 5-62
5-
1
Page 272 of 410

A. Coolant Recovery Tank
B. Engine Air CleanedFilter
C. Windshield Washer Fluid Reservoir
D. Engine Air Cleaner/Filter Indicator (If Equipped)
E. Power Steering Fluid Reservoir
F. Automatic Transmission Dipstick
G. Engine Oil Dipstick
H. Radiator Pressure Cap
I. Engine Oil Fill Cap
J. Remote Negative (-) Terminal Marked “GND”
K. Brake Master Cylinder
L. Battery
M. Engine Compartment Fuse Block Before closing
the hood, be sure all filler caps are on
properly. Then lift the hood to relieve pressure on
the hood prop. Remove the hood prop from its slot in
the hood and return the prop to its retainer. Then pull the
hood down firmly to close. It will latch when dropped
from
6 to 8 inches (15 to 20 cm) without pressing on
the hood.
Engine Oil
You should check your engine oil level regularly; this is
an added reminder.
5-1 3