2003 Oldsmobile Bravada instrument panel
[x] Cancel search: instrument panelPage 144 of 410
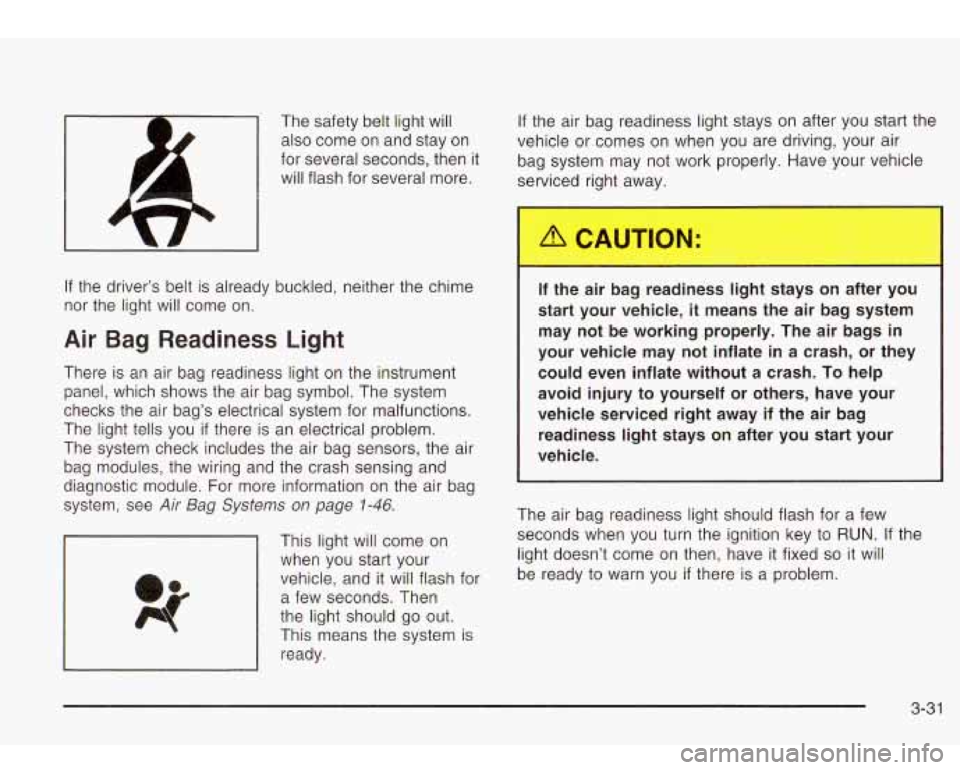
The safety belt light will also come
on and stay on
for several seconds, then it
will flash for several more.
If the driver’s belt is already buckled, neither the chime
nor the light will come on.
Air Bag Readiness Light
There is an air bag readiness light on the instrument
panel, which shows the air bag symbol. The system
checks the air bag’s electrical system for malfunctions.
The light tells you
if there is an electrical problem.
The system check includes the air bag sensors, the air
bag modules, the wiring and the crash sensing and
diagnostic module. For more information on the air baa
system, see
Air Bag Systems on page 1-46.
This light will come on
when you start your
vehicle, and it will flash for
a few seconds. Then
the light should
go out.
This means the system is
ready. If
the air bag readiness light stays on after you start the
vehicle or comes on when you are driving, your air
bag system may not work properly. Have your vehicle
serviced right away.
If the air bag readiness light stays on after you
start your vehicle, it means the air bag system
may not be working properly. The air bags in
your vehicle may not inflate in a crash, or they
could even inflate without a crash.
To help
avoid injury to yourself or others, have your
vehicle serviced right away
if the air bag
readiness light stays on after you start your
vehicle.
The air bag readiness light should flash for a few
seconds when you turn the ignition key to
RUN. If the
light doesn’t come on then, have it fixed
so it will
be ready to warn you
if there is a problem.
3-3 1
Page 156 of 410
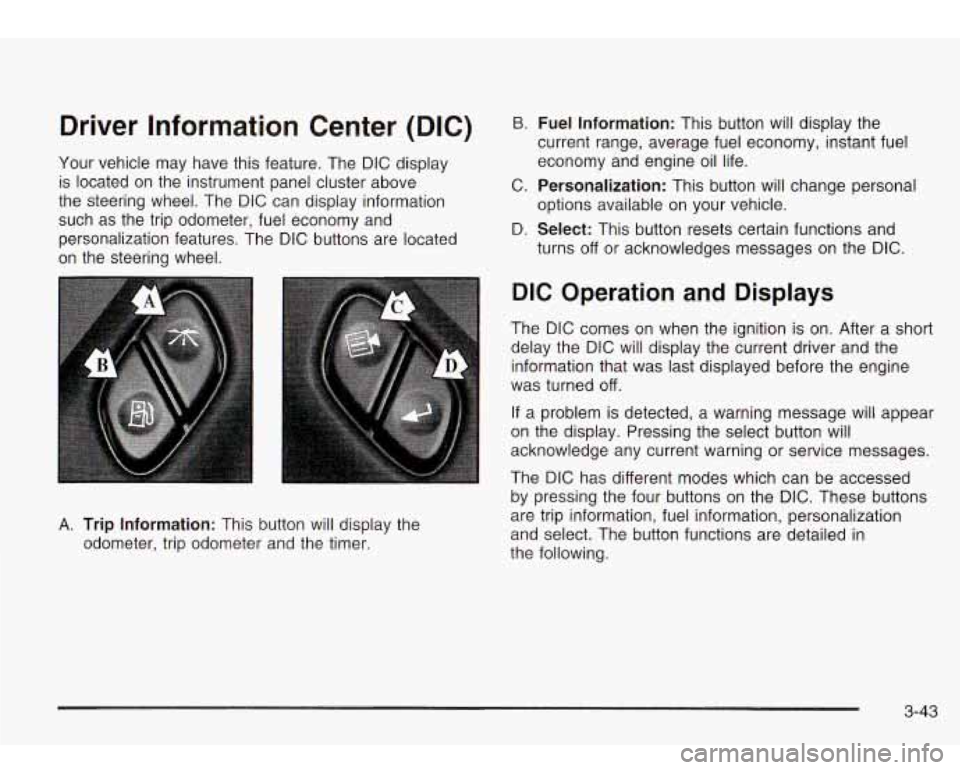
Driver Information Center (DIC)
Your vehicle may have this feature. The DIC display
is located on the instrument panel cluster above
the steering wheel. The DIC can display information
such as the trip odometer, fuel economy and
personalization features. The DIC buttons are located
on the steering wheel.
B. Fuel Information: This button will display the
current range, average fuel economy, instant fuel
economy and engine oil life.
C.
Personalization: This button will change personal
D.
Select: This button resets certain functions and
options available
on your vehicle.
turns
off or acknowledges messages on the DIC.
A. Trip Information: This button will display the
odometer, trip odometer and the timer.
DIC Operation and Displays
The DIC comes on when the ignition is on. After a short
delay the DIC will display the current driver and the
information that was last displayed before the engine
was turned
off.
If a problem is detected, a warning message will appear
on the display. Pressing the select button will
acknowledge any current warning or service messages.
The DIC has different modes which can be accessed
by pressing the four buttons on the DIC. These buttons
are trip information, fuel information, personalization
and select. The button functions are detailed in
the following.
3-43
Page 192 of 410

When the video screen is not in use, push it up into its
locked position.
The DVD player and display will continue
to operate
when the display is in either the up or the down position.
Notice: Avoid directly touching the video screen,
as damage may occur. See “Cleaning the Video
Screen” in the Index for more information.
DVD Player
The DVD player is located in the overhead console. The
DVD player can be controlled by the buttons on the
DVD player and by the buttons on the remote control.
See
Remote Control later in this section for more
information.
The DVD player works while the ignition is in RUN or
ACCESSORY. The entertainment system is only compatible with
Region
1 DVDs authorized for use in the United States.
Canada, Puerto Rico, Bermuda, the Virgin Islands
and some islands in the Pacific. On some DVD jackets,
you will see the region displayed. Regular audio CDs
can also be played by the DVD player. The video screen
will default to
off when an audio CD is played. Home
recorded CDs (CDRs) may not play in this DVD player.
Try the audio system’s CD player instead.
If an error message appears on the front instrument
panel display, see DVD
Messages later in this section.
DVD Player Buttons
(I> PWR (Power): Press this button to turn the DVD
player on.
-c)+ (Wired Headphone Volume): Press the plus (+) or
minus (- ) symbol to increase or to decrease the
wired headphone volume.
,/I1 (Play/Pause): Press this button to start play. Press
this button while a DVD is playing
to pause it. Press
it again to continue playing the DVD.
w/h (StopIEject): Press this button to stop playing,
rewinding or fast forwarding. Press the button a second
time
to eject the disc.
3-79
Page 256 of 410
Backing Up
Hold the bottom of the steering wheel with one hand.
Then,
to move the trailer to the left, just move that hand
to the left.
To move the trailer to the right, move your
hand to the right. Always back up slowly and,
if possible,
have someone guide you.
Making Turns
Notice: Making very sharp turns while trailering
could cause the trailer to
come in contact with the
vehicle. Your vehicle could be damaged. Avoid
making very sharp turns while trailering.
When you’re turning with a trailer, make wider turns
than normal. Do this
so your trailer won’t strike
soft shoulders, curbs, road signs, trees or other objects.
Avoid jerky or sudden maneuvers. Signal well in
advance.
Turn Signals When Towing a Trailer
The arrows on your instrument panel will flash whenever
you signal a turn or lane change. Properly hooked up,
the trailer lamps will also flash, telling other drivers
you’re about to turn, change lanes or stop. When towing a trailer,
the arrows on your instrument
panel will flash for turns even
if the bulbs on the trailer
are burned out. Thus, you may think drivers behind
you are seeing your signal when they are not. It’s important to check occasionally to be sure the trailer
bulbs are still working.
Driving On Grades
Reduce speed and shift to a lower gear before you start
down a long or steep downgrade.
If you don’t shift
down, you might have to use your brakes
so much that
they would get hot and no longer work well.
You can tow in DRIVE
(D). You may want to shift the
transmission to THIRD
(3) or a lower gear, under heavy
loads or hilly conditions.
When towing at high altitude on steep uphill grades,
consider the following: Engine coolant will boil at a lower
temperature than at normal altitudes. If you turn your
engine
off immediately after towing at high altitude
on steep uphill grades, your vehicle may show signs
similar to engine overheating, To avoid this, let the
engine run while parked (preferably on level ground)
with the automatic transmission in PARK (P) for a
few minutes before turning the engine
off. If you do get
the overheat warning, see
Engine Overheating on
page 5-24.
4-5 1
Page 258 of 410
Trailer Wiring Harness
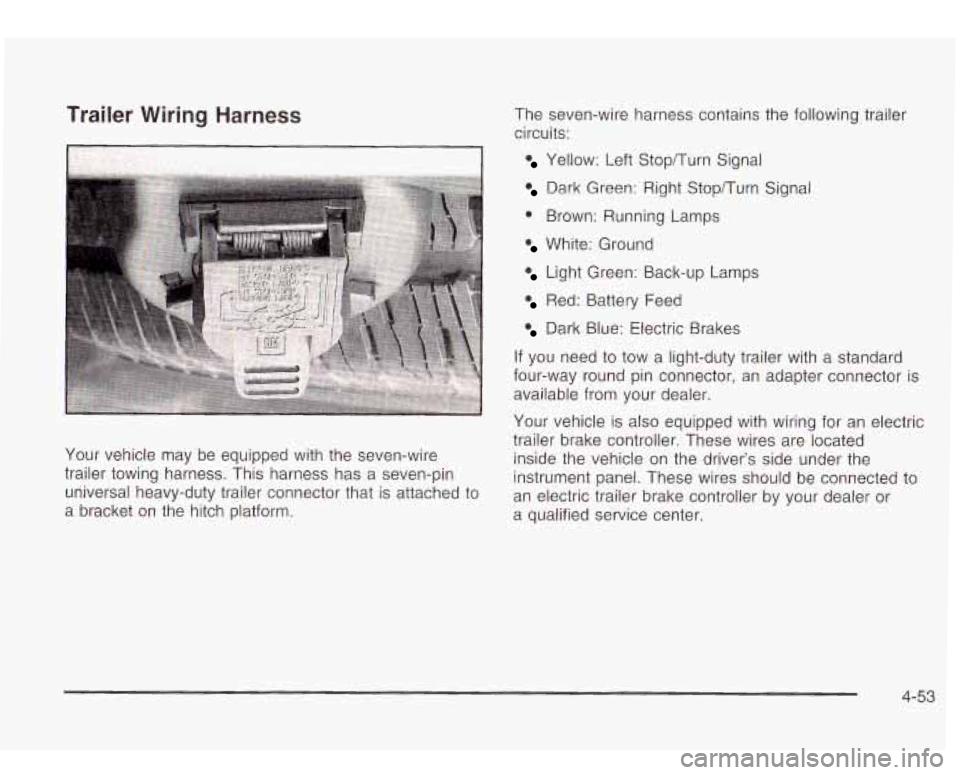
Your vehicle may be equipped with the seven-wire
trailer towing harness. This harness has a seven-pin
universal heavy-duty trailer connector that is attached to
a bracket on the hitch platform.
Yellow: Left Stop/Turn Signal
Dark Green: Right Stopnurn Signal
@ Brown: Running Lamps
White: Ground
Light Green: Back-up Lamps
Red: Battery Feed
Dark Blue: Electric Brakes
If you need to tow a light-duty trailer with a standard
four-way round pin connector, an adapter connector is
available from your dealer.
Your vehicle is also equipped with wiring for an electric
trailer brake controller. These wires are located inside the vehicle on the driver’s side under the
instrument panel. These wires should be connected to
an electric trailer brake controller by your dealer or
a qualified service center.
4-53
Page 269 of 410
Checking Things Under the Hood
Things that burn can get on hot engine parts
and start
a fire. These include liquids like fuel,
oil, coolant, brake fluid, windshield washer and
other fluids, and plastic or rubber. You or
others could be burned. Be careful not to drop
or spill things that
will burn onto a hot engine.
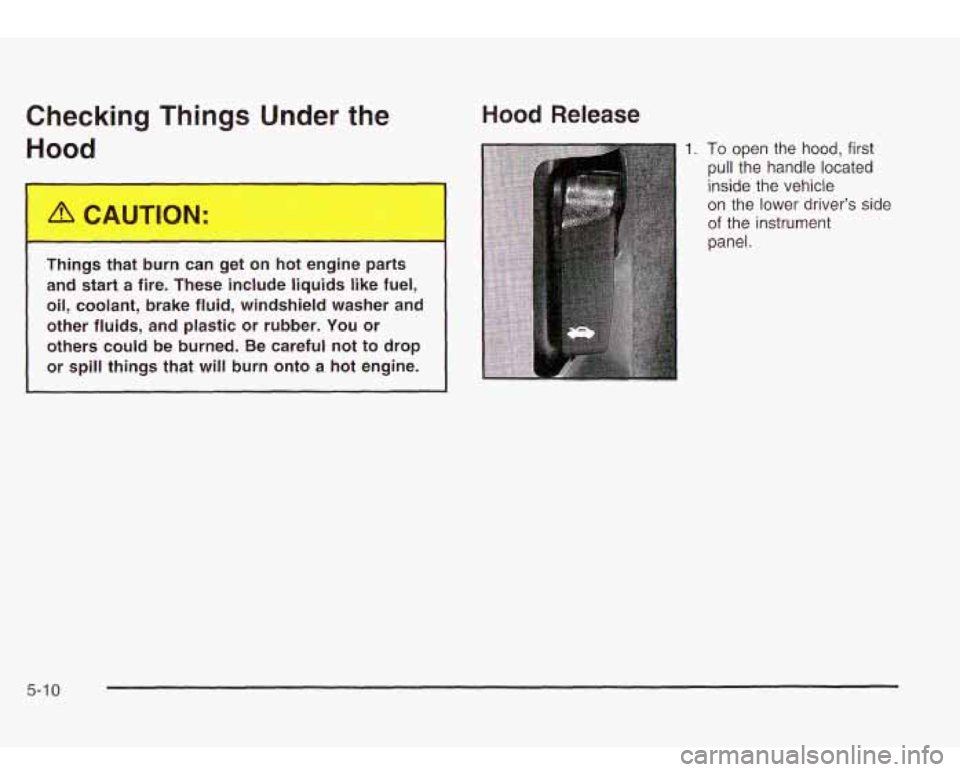
Hood Release
To open the hood, first
pull the handle located
inside the vehicle
on the lower driver’s side
of the instrument
panel.
5-1 0
Page 283 of 410

Adding Coolant
If you need more coolant, add the proper DEX-COOL@
coolant mixture at the coolant recovery tank.
Turning the radiator pressure cap when the
engine and radiator are hot can allow steam and scalding liquids to blow out and burn you
badly. With the coolant recovery tank, you will
almost never have to add coolant at the
radiator. Never turn the radiator pressure
cap
-- even a little -- when the engine and
radiator are hot.
1
Add coolant mixture at the recovery tank, but be careful
not
to spill it. You can be burned
if you SI coolant on hot
engine parts. Coolant contains ethylene glycol, and
it will burn if the engine parts are hot
enough. Don’t spill coolant on a hot engine.
Occasionally check the coolant level in the radiator. For
information on how to add coolant to the radiator,
see
Cooling System on page 5-26.
Radiator Pressure Cap
Notice: Your pressure cap is a pressure-type cap
and must be tightly installed to prevent coolant
loss
and possible engine damage from overheating.
See “Capacities and Specifications” for more
information.
See
Engine Compartment Overview on page 5-72 for
information on location.
Engine Overheating
You will find a coolant temperature gage on your
vehicle’s instrument panel.
5-24
Page 338 of 410
Interior Plastic Components
Use only a mild soap and water solution on a soft cloth
or sponge. Commercial cleaners may affect the
surface finish.
Vinyl
Use warm water and a clean cloth.
Rub with a clean, damp cloth to remove dirt. You
may have to do this more than once.
Things like tar, asphalt and shoe polish will stain if
you don’t get them off quickly. Use a clean cloth
and vinyl/leather cleaner. See your dealer for
this product.
Leather
Use a soft cloth with lukewarm water and a mild soap or
saddle soap and wipe dry with a soft cloth. Then, let
the leather dry naturally.
Do not use heat to dry.
0 For stubborn stains, use a leather cleaner. See your
dealer for this product.
Never use oils, varnishes, solvent-based or abrasive
cleaners, furniture polish or shoe polish on leather.
Soiled or stained leather should be cleaned
immediately.
If dirt is allowed to work into the finish,
it can harm the leather.
Top of the Instrument Panel
Use only mild soap and water to clean the top surfaces
of the instrument panel. Sprays containing silicones
or waxes may cause annoying reflections in the
windshield and even make it difficult
to see through the
windshield under certain conditions.
Glass Surfaces
Glass should be cleaned often. GM Glass Cleaner or a
liquid household glass cleaner will remove normal
tobacco smoke and dust films on interior glass. See
GM
Vehicle Care/Appearance Materials on page
5-83.
Notice: Don’t use abrasive cleaners on glass,
because they may cause scratches. Avoid placing
decals on the inside rear window, since they
may have to be scraped
off later. If abrasive cleaners
are used on the inside
of the rear window, an
electric defogger element may be damaged. Any
temporary license should
not be attached across the
defogger grid.
5-79