2003 Oldsmobile Bravada ECU
[x] Cancel search: ECUPage 110 of 410

To remove the cargo cover, do the following:
1. Release the cover from the latch posts and carefully
roll it back up.
2. Compress one endcap and remove it from the
pocket in the trim panel.
3. Remove the cargo cover from the other endcap so
that you can remove the shade from the vehicle.
A improperly stored cargo cover could be
thrown about the vehicle during a collision or
sudden maneuver. You or others could be
injured.
If you remove the cover, always store
it in the proper storage location. When you put
it back, always be sure that is securely
reattached.
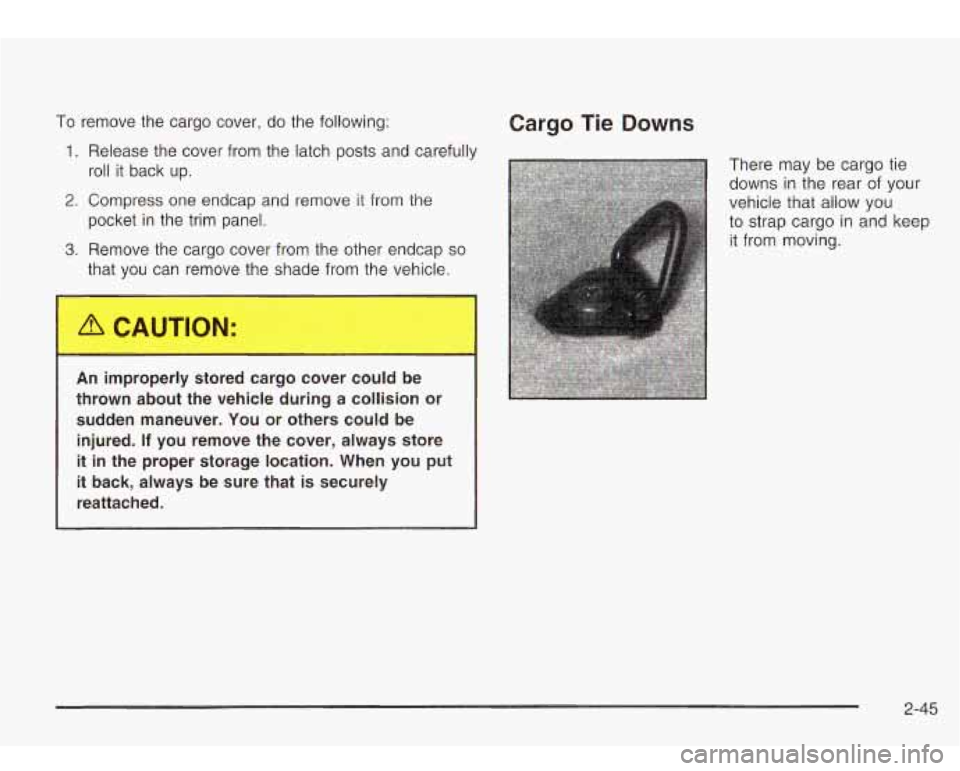
Cargo Tie Downs
There may be cargo tie
downs in the rear of your
vehicle that allow you
to strap cargo
in and keep
it from moving.
2-45
Page 114 of 410

Section 3 Instrument Panel
Instrument Panel Overview ............................... 3.4
Hazard Warning Flashers
................................ 3.5
Other Warning Devices
................................... 3.6
Horn
............................................................. 3.6
Tilt Wheel
..................................................... 3.6
Turn SignaVMultifunction Lever
......................... 3.7
Exterior Lamps
............................................. 3.14
Interior Lamps
.............................................. 3.17
Accessory Power Outlets
............................... 3.19
Ashtrays and Cigarette Lighter
........................ 3.20
Climate Controls ......................................... 3.21
Dual Automatic Climate Control System
........ 3.21
Rear Climate Control System
......................... 3.25
Steering Wheel Climate Controls
..................... 3.27
Climate Controls Personalization
..................... 3.27
Warning Lights, Gages and Indicators ............. 3.28
Instrument Panel Cluster
................................ 3.29
Speedometer and Odometer
........................... 3.30
Tachometer
................................................. 3.30
Safety Belt Reminder Light
............................. 3.30
Air Bag Readiness Light
................................ 3-31
Charging System Light
.................................. 3.32 Voltmeter Gage
............................................ 3.32
Anti-Lock Brake System Warning Light
......... 3.34
Engine Coolant Temperature Gage
.............. 3.35
Malfunction Indicator Lamp
............................. 3.35
Oil Pressure Gage
........................................ 3.38
Change Engine Oil Light
................................ 3-39
Security Light
............................................... 3.39
Cruise Control Light
...................................... 3.40
Reduced Engine Power Light
......................... 3.40
Service All-Wheel Drive Light
......................... 3.41
Check Gages Warning Light
........................... 3.41
Gate Ajar Light
............................................. 3.42
Fuel Gage
................................................... 3.42
Low Fuel Warning Light
............................. 3.42
Driver information Center (DiC) .. .............. 3.43
DIC Operation and Displays
........................... 3.43
DIC Warnings and Messages
......................... 3.52
Audio System(s) ............................................. 3.56
Setting the Time
........................................... 3.56
Radio with Cassette and CD
.......................... 3.57
Radio with Six-Disc CD
................................. 3.66
Brake System Warning
Light
.......................... 3-33
3- 1
Page 152 of 410

Don’t keep driving if the oil pressure is low. If
you do, your engine can become so hot that it
catches fire. You or others could be burned.
Check your oil as
soon as possible and have
your vehicle serviced.
Notice: Damage to your engine from neglected oil
problems can be costly and is not covered by
your warranty.
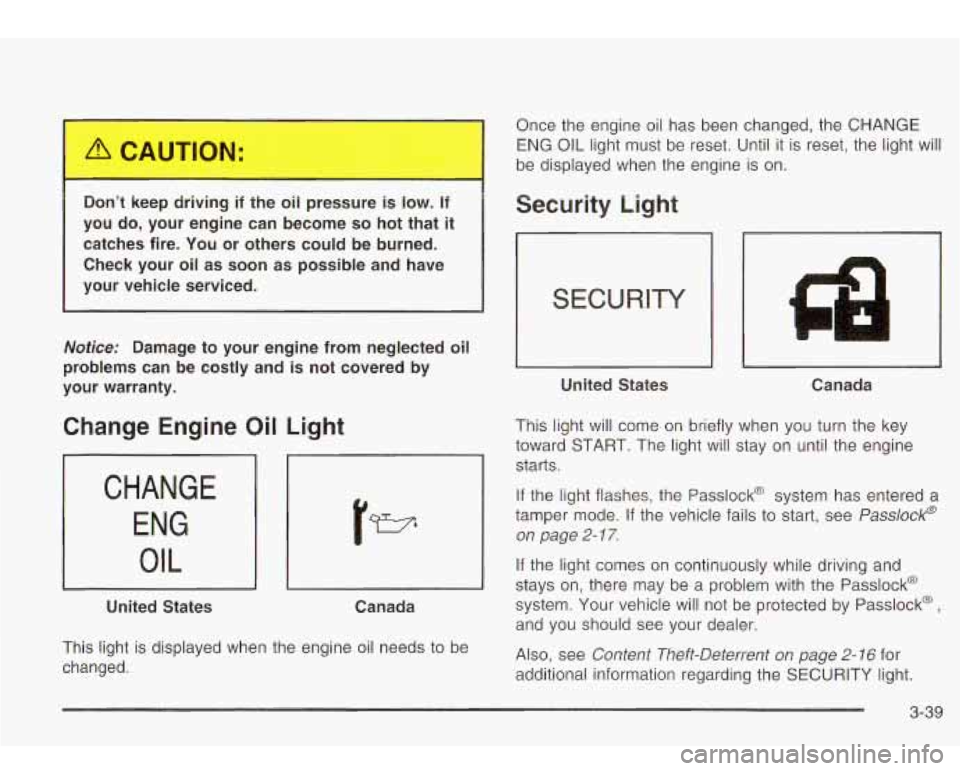
Change Engine Oil Light
CHANGE ENG
I OIL
United States Canada
This light is displayed when the engine oil needs to be
changed. Once the engine oil has been changed, the CHANGE
ENG OIL light
must be reset. Until it is reset, the light will
be displayed when the engine is on.
Security Light
United States Canada
This light will come on briefly when you turn the key
toward START. The light will stay on until the engine
starts.
If the light flashes, the Passlock@ system has entered a
tamper mode. If the vehicle fails to start, see
Passlock@
on page
2- 1 7.
If the light comes on continuously while driving and
stays on, there may be a problem with the Passlock@
system. Your vehicle will not be protected by Passlock@
,
and you should see your dealer.
Also, see
Content Theft-Deterrent on page 2- 16 for
additional information regarding the SECURITY light.
3-39
Page 196 of 410

CQMP/AUDIO (Compression) CQMP: Press and
release this button
to display the current compression
displayed on the screen. Press this button again
to
select the next compression state. Three compression
states are available inciuding minimum, standard
and
off. The compression feature only functions on AC3
(Dolby@ Digital Surround) encoded DVD video discs.
Press and hold this button
to see if the DVD playing has
optional audio tracks, such as different languages or
commentaries. Press and release to change selections.
INPUT/TITLE DVD AUX (Auxiliary): Press and
release this button to switch between the auxiliary input
device and the DVD player.
Press and hold this button to see a display of the DVD’s
titles. Press and release
to change the titles available.
6-h RTN (Return): When a DVD menu is active
and this button is pressed, the selected option will be
disabled. This button could have different functions with
different discs.
SCREEN BRIGHTNESS: Press the plus or the
minus symbol
to increase or to decrease the brightness
of the screen. This button can also be found on the
video screen.
-:q- LIGHT: Press this button to illuminate the keypad
for about eight seconds.
Setup Menu
To access the setup menu, ensure a DVD is in the
player and the video is in stop mode. Press the menu
key. Once the menu is activated, use the UP, DOWN, RIGHT,
LEFT, and Enter buttons to navigate the screen.
The setup menu allows the use
to select default
preferences for Menu Language, Subtitle Language,
Audio Language, TV Aspect, TV Mode, and Dynamic
Range Compression.
Not all DVDs support all the feature defaults in the
setup menus. In the event a particular feature is
not supported, defaults will be provided by the DVD
media.
Exit the setup menu by pressing the RETURN button on
the remote control. If you make changes
to the system
setup defaults, the disc will resume play from the
beginning and not where it previously left off.
Battery Replacement
To change the batteries, do the following:
1. Unclip the battery door located on the back of the
2. Replace the two AAA batteries in the compartment.
3. Close the battery door securely.
remote control.
Make sure that they are installed correctly.
If the remote control is to be stored for a long period of
time, remove the batteries and keep them in a cool,
dry place.
3-83
Page 221 of 410

Before You Go Off-Roading
There are some things to do before you go out. For
example, be sure to have all necessary maintenance
and service work done. Check to make sure all
underbody shields (if
so equipped) are properly
attached.
Is there enough fuel? Is the spare tire fully
inflated? Are the fluid levels up where they should be?
What are the local laws that apply to off-roading
where you’ll be driving?
If you don’t know, you should
check with law enforcement people in the area. Will you
be on someone’s private land? If
so, be sure to get
the necessary permission.
Loading Your Vehicle for Off-Road
Driving
There are some important things to remember about
how to load your vehicle.
0 The heaviest things should be on the load floor and
forward
of your rear axle. Put heavier items as far
forward as you can.
Be sure the load is secured properly, so driving on
the off-road terrain doesn’t toss things around.
m
0 Largo on the load floor piled h.,.rer than
the seatbacks can be thrown forward during a sudden stop. You or your passengers could be injured. Keep cargo
below the top of the seatbacks.
Unsecured cargo on the load floor can be
tossed about when driving over rough
terrain. You or your passengers can be struck by flying objects. Secure the cargo
properly.
0 Heavy loads on the roof raise the vehicle’s
center
of gravity, making it more likely to
roll over. You can be seriously or fatally
injured
if the vehicle rolls over. Put heavy
loads inside the cargo area, not on the
roof. Keep cargo in the cargo area
as far
forward and low as possible.
You’ll find other important information in this manual.
See
Loading Your Vehicle on page 4-4 1, Luggage
Carrier on page 2-42 and Tires on page 5-52.
4-1 6
Page 241 of 410

Winter Driving
Here are some tips for winter driving:
Have your vehicle in good shape for winter.
You may want to put winter emergency supplies in
your vehicle. Include
an ice scraper, a small brush or broom, a
supply of windshield washer fluid, a rag, some winter
outer clothing, a small shovel, a flashlight, a red
cloth and reflective warning triangles. And,
if you will be
driving under severe conditions, include a small bag
of sand, a piece of old carpet or
a couple of burlap bags
to help provide traction. Be sure you properly secure
these items in your vehicle.
Driving on Snow or Ice
Most of the time, those places where your tires meet
the road probably have good traction.
However,
if there is snow or ice between your tires and
the road, you can have a very slippery situation.
You’ll have a
lot less traction or “grip” and will need to
very careful.
4-36
Page 248 of 410

Don’t leave an unsecured child resL,int in
your vehicle.
When you carry something inside the
vehicle, secure it whenever you
can.
Don’t leave a seat folded down unless you
need to.
There’s also important loading information for off-road
driving in this manual.
Electronically Controlled Air
Suspension System
Your vehicle may be equipped with an electronically
controlled air suspension system that automatically
keeps your vehicle level as you load and unload. The
system includes a compressor, two height sensors
and two air springs supporting the rear axle. The system also has an internal clock to prevent
overheating.
If the system overheats, all leveling function
stops until the system cools down. During this time, the
indicator light on the air inflator system will be flashing.
The ignition has
to be on for the system to inflate, in
order
to raise the vehicle to the standard ride height after
loading. The system can lower the vehicle
to the
standard ride height after unloading with the ignition on
and also for up
to 30 minutes after the ignition has
been turned
off.
You may hear the compressor operating when you load
your vehicle, and periodically as the system adjusts
the vehicle
to the standard ride height.
Load leveling will not function normally with the inflator
hose attached
to the inflator outlet. Remove the
inflator hose from the outlet during loading and
unloading.
If the vehicle is parked for an extended period of time,
some bleed down of the suspension is normal. Upon
starting the vehicle, proper height will be achieved.
4-43
Page 255 of 410

Driving with a ‘railer
I..
If you have a rear-most window open and you
pull a trailer with your vehicle, carbon
monoxide
(CO) could come into your vehicle.
You can’t see or smell CO.
It can cause
unconsciousness
or death. See “Engine
Exhaust” in the Index.
To maximize your safety
when towing a trailer:
Have your exhaust system inspected for
leaks, and make necessary repairs before
starting on your trip.
Keep the rear-most windows closed.
If exhaust does come into your vehicle
through a window
in the rear or another
opening, drive with your front, main heating
or cooling system on and with the
fan on any speed. This will bring fresh,
outside air into your vehicle.
Do not use
the climate control setting for maximum air because
it only recirculates the air inside
your vehicle. See “Climate Controls”
in the
Index. Towing a trailer requires a certain
amount of experience.
Before setting out for the open road, you’ll want to get
to know your rig. Acquaint yourself with the feel of
handling and braking with the added weight of the trailer.
And always keep in mind that the vehicle you are
driving is now a good deal longer and not nearly as
responsive as your vehicle is by itself.
Before you
start, check the trailer hitch and platform
(and attachments), safety chains, electrical connector,
lamps, tires and mirror adjustment.
If the trailer has
electric brakes,
start your vehicle and trailer moving and
then apply the trailer brake controller by hand
to be
sure the brakes are working. This lets you check your
electrical connection at the same time.
During your trip, check occasionally
to be sure that the
load is secure, and that the lamps and any trailer
brakes are still working.
Following Distance
Stay at least twice as far behind the vehicle ahead as
you would when driving your vehicle without a trailer.
This can help you avoid situations that require
heavy braking and sudden turns.
Passing
You’ll need more passing distance up ahead when
you’re towing a trailer. And, because you’re a good deal
longer, you’ll need
to go much farther beyond the
passed vehicle before you can return
to your lane.
4-50