Page 127 of 410
Exterior Lamps
Your exterior lamps knob
is located on your
instrument panel to the left
of the steering wheel.
/I (Off): Turn the knob to this symbol and release it to
turn
off the Daytime Running Lamps (DRL) and the
automatic headlamps. An indicator will illuminate when
the position is selected.
:::. (Automatic DRUAHL): Turning the knob to this
symbol puts the system into automatic headlamp mode.
An indicator will illuminate when the position is
selected.
coo: (Parking Lamps): Turn the knob to this symbol to
manually turn on the following:
...
Parking Lamps
Sidemarker Lamps
Taillamps
License Plate Lamps
Instrument Panel Lights
so (Headlamps): Turn the knob to this symbol to turn
on all the lamps listed
as well as the headlamps.
3-1 4
Page 131 of 410

Entry Lighting
Your vehicle is equipped with an illuminated entry
feature.
When a door is opened, the dome lamps will come on
if
the dome override button is in the “out” position.
When all the doors are closed, the lamps will stay on for
a short period of time and will then turn
off automatically.
If you use your keyless entry transmitter
to unlock the
vehicle, the interior lights will come on for a short
time whether or not the dome override is on.
Exit Lighting
With exit lighting, the interior lamps will come on when
you remove the key from the ignition
to help you
see while exiting the vehicle. With the dome override
button in the “out” position, these lights will stay on for a
short period of time and then will
go out.
Reading Lamps
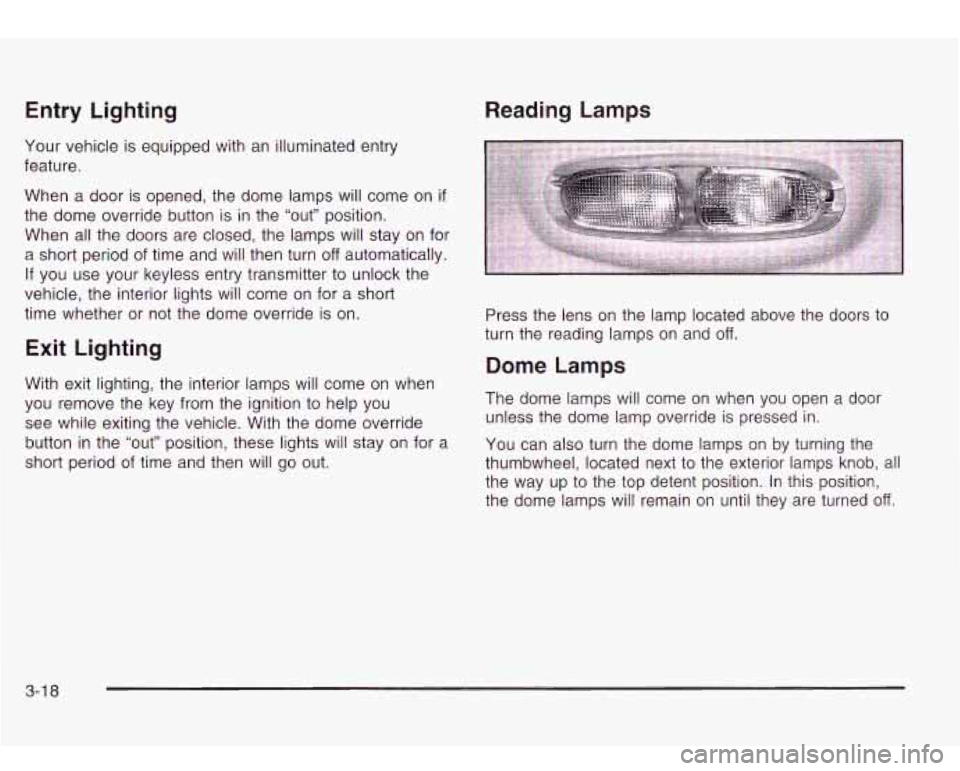
Press the lens on the lamp located above the doors to
turn the reading lamps on and off.
Dome Lamps
The dome lamps will come on when you open a door
unless the dome lamp override is pressed in.
You can also turn the dome lamps on by turning the
thumbwheel, located next to the exterior lamps knob, all
the way up to the top detent position. In this position,
the dome lamps will remain on until they are turned
off.
3-1 8
Page 139 of 410

Ventilation System
For mild outside temperatures when little heating or
cooling is needed, use the panel outlet setting to direct
outside air through your vehicle. Air will flow through
the instrument panel outlets.
Your vehicle’s flow-through ventilation system supplies outside air into the vehicle when it’s moving. When the
vehicle is not moving, you can get outside air to flow
through by selecting any air delivery mode and any fan
speed. Move the control
in the center of each outlet side-to-side
to direct the air from the outlet. Use the thumbwheel
under the outlet to close the louvers. For the most
efficient airflow and temperature control, keep the
louvers in the fully opened position.
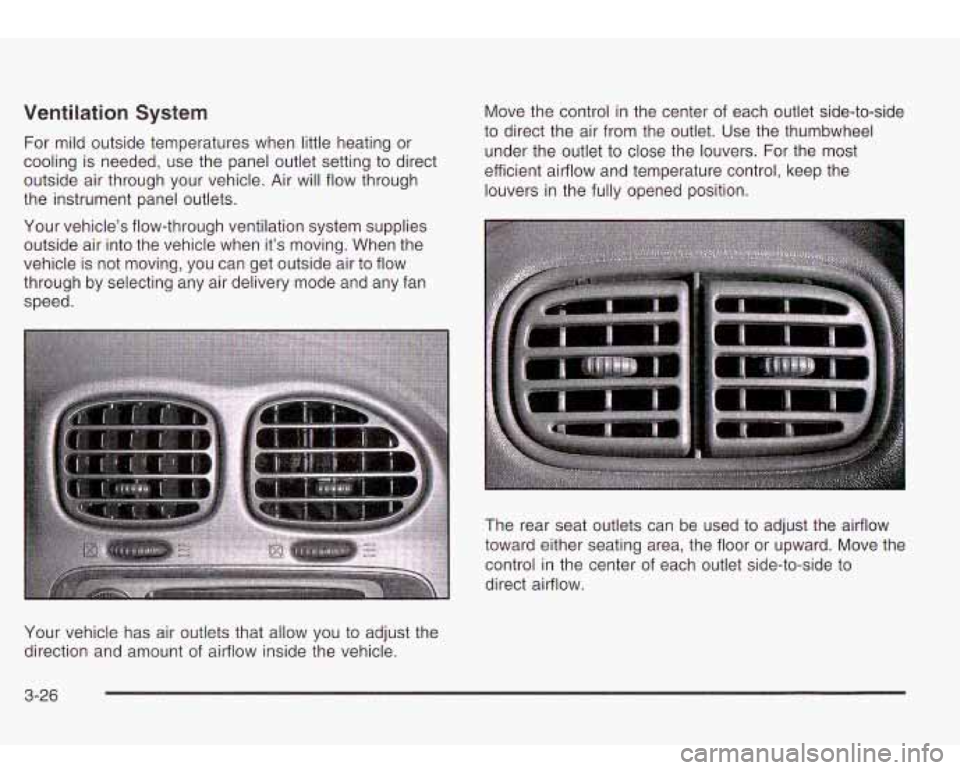
The rear seat outlets can be used to adjust the airflow
toward either seating area, the floor or upward. Move the
control in the center of each outlet side-to-side to
direct airflow.
Your vehicle has air outlets that allow you to adjust the
direction and amount
of airflow inside the vehicle.
3-26
Page 140 of 410

Steering Wheel Climate Controls
You can adjust the fan speed and temperature of the
front climate control system by using the buttons located
on your steering wheel.
&? (Fan): Press the up or down arrow on this switch to
increase or decrease the fan speed.
Climate Controls Personalization
If your vehicle is equipped with the Driver Information
Center (DIC), you can store and recall the climate
control settings for temperature, air delivery mode and
fan speed for two different drivers. The personal
choice settings recalled are determined by the
transmitter used to enter the vehicle. After the button
with the unlock symbol on a remote keyless entry
transmitter is pressed, the climate control will adjust to
the last settings of the identified driver. The settings
can also be changed by pressing one of the memory
buttons
(1 or 2) located on the driver’s door. When
adjustments are made,
automatically saved for the new
settings are
the driver.
& (Temperature): Press the up or down arrow on this
switch to increase or decrease the temperature of
the air flowing through the system.
3-27
Page 154 of 410
Service All-Wheel Drive Light
S IC
AWD
United States Canada
This light should come on briefly when you turn on the
ignition, as a check to show you
it is working.
The SERVICE AWD light comes on
to indicate that
there may be a problem with the drive system and
service is required. Malfunctions can be indicated by the
system before any problem is apparent, which may
prevent serious damage
to the vehicle. This system is
also designed
to assist your service technician in
correctly diagnosing a malfunction.
Check Gages Warning Light
CHECK
GAGES
1 United States J
Canada
The CHECK GAGES light will come on briefly when you
are starting the engine.
If the light comes on and stays on while you are driving,
check your coolant temperature and engine oil pressure gages
to see if they are in the warning zones.
3-4 1
Page 156 of 410

Driver Information Center (DIC)
Your vehicle may have this feature. The DIC display
is located on the instrument panel cluster above
the steering wheel. The DIC can display information
such as the trip odometer, fuel economy and
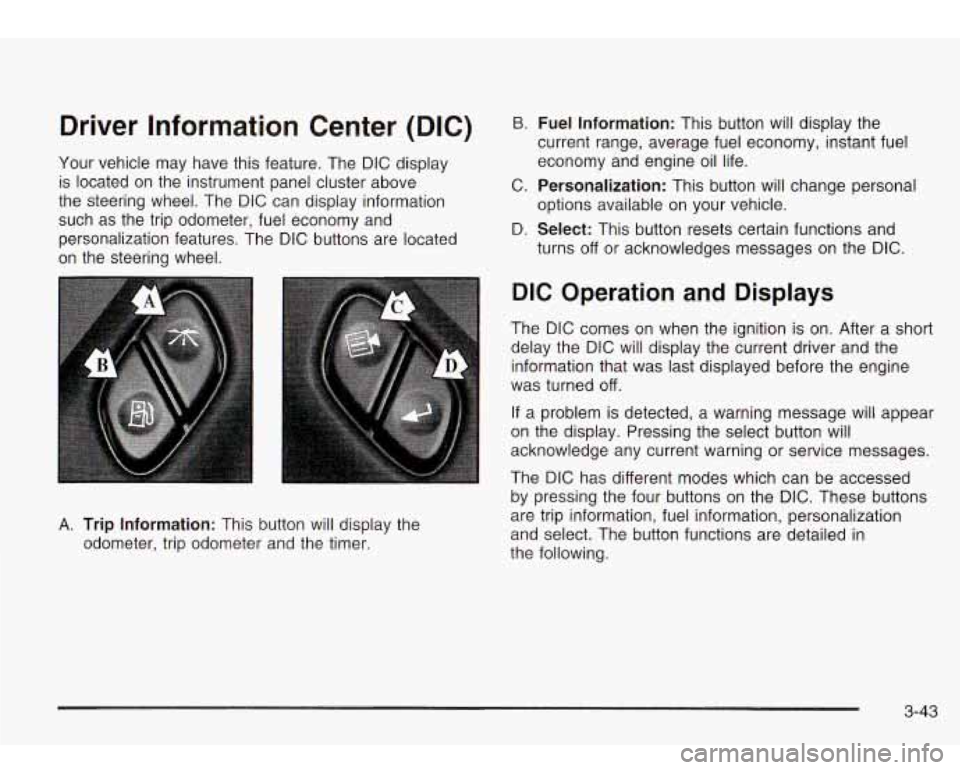
personalization features. The DIC buttons are located
on the steering wheel.
B. Fuel Information: This button will display the
current range, average fuel economy, instant fuel
economy and engine oil life.
C.
Personalization: This button will change personal
D.
Select: This button resets certain functions and
options available
on your vehicle.
turns
off or acknowledges messages on the DIC.
A. Trip Information: This button will display the
odometer, trip odometer and the timer.
DIC Operation and Displays
The DIC comes on when the ignition is on. After a short
delay the DIC will display the current driver and the
information that was last displayed before the engine
was turned
off.
If a problem is detected, a warning message will appear
on the display. Pressing the select button will
acknowledge any current warning or service messages.
The DIC has different modes which can be accessed
by pressing the four buttons on the DIC. These buttons
are trip information, fuel information, personalization
and select. The button functions are detailed in
the following.
3-43
Page 202 of 410

Audio Steering Wheel Controls
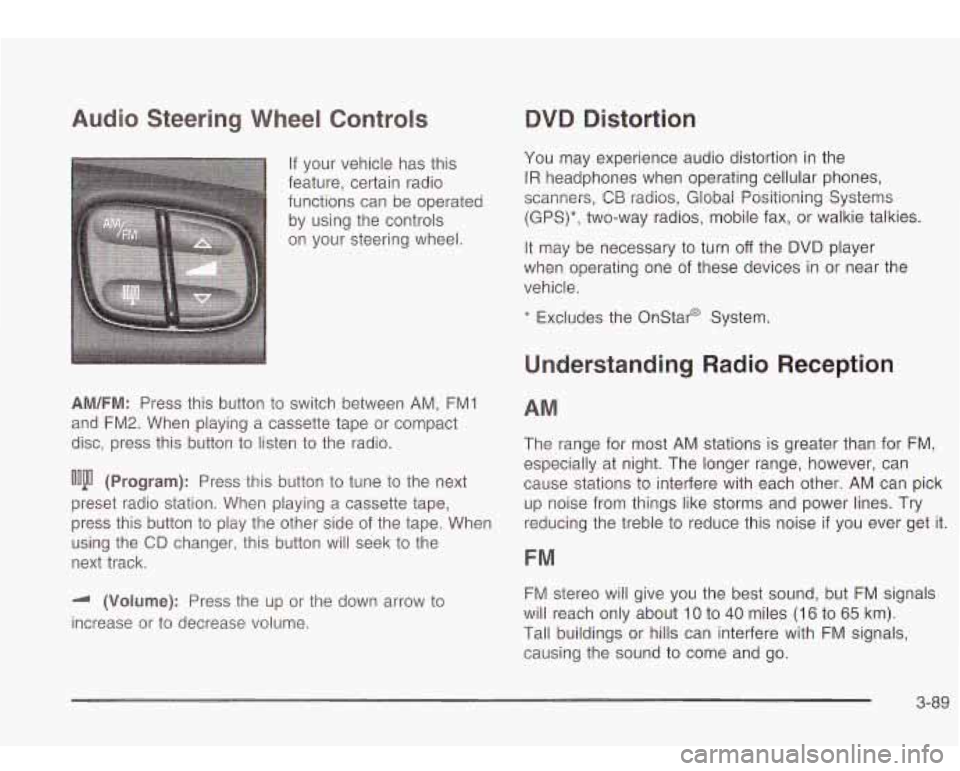
If your vehicle has this
feature, certain radio
functions can be operated
by using the controls
on your steering wheel.
AM/FM: Press this button to switch between AM, FMI
and FM2. When playing a cassette tape or compact
disc, press this button
to listen to the radio.
ooju (Program): Press this button to tune to the next
preset radio station. When playing a cassette tape,
press this button
to play the other side of the tape. When
using the
CD changer, this button will seek to the
next track.
-I (Volume): Press the up or the down arrow to
increase or to decrease volume.
QVQ Distortion
You may experience audio distortion in the
IR headphones when operating cellular phones,
scanners,
CB radios, Global Positioning Systems
(GPS)*, two-way radios, mobile fax, or walkie talkies.
It may be necessary to turn
off the DVD player
when operating one of these devices in or near the
vehicle.
* Excludes the Onstar@ System.
Understanding Radio Reception
AM
The range for most AM stations is greater than for FM,
especially at night. The longer range, however, can
cause stations
to interfere with each other. AM can pick
up noise from things like storms and power lines. Try
reducing the treble
to reduce this noise if you ever get it.
FM
FM stereo will give you the best sound, but FM signals
will reach only about
10 to 40 miles (16 to 65 km).
Tall buildings or hills can interfere with FM signals,
causing the sound to come and go.
3-89
Page 206 of 410

Section Driving Your Vehicle
Your
Driving. the Road. and Your Vehicle .......... 4-2
Defensive Driving
........................................... 4.2
Drunken Driving
........................... ....... 4.2
Control
of a Vehicle ...................... ....... 4.5
Braking
......................................................... 4.6
Traction Assist System (TAS)
........................... 4.9
Locking Rear Axle
........................................ 4.10
Steering
...................................................... 4.10
Off-Road Recovery
....................................... 4-12
Passing
....................................................... 4. 1 3
Loss of Control ............................................. 4-14
Operating Your All-Wheel-Drive Vehicle
Off
Paved Roads ............................................ 4-15
Driving in Rain and on Wet Roads
.............. 4-28
Driving at Night
............................................ 4-27 City
Driving
.................................................. 4-31
Freeway Driving
........................................... 4-32
Before Leaving on a Long Trip
....................... 4-33
Highway Hypnosis
........................................ 4-34
Hill and Mountain Roads
................................ 4-34
Winter Driving
.............................................. 4-36
If You Are Stuck: In Sand, Mud,
Ice or Snow
.............................................. 4-40
Towing Your Vehicle
..................................... 4-41
Recreational Vehicle Towing
........................... 4-41
Loading Your Vehicle
.................................... 4-41
Adding a Snow Plow or Similar Equipment
....... 4-44
Towing a Trailer
........................................... 4-45
Towing .......................................................... 4-41
4- 1