2003 Oldsmobile Bravada warning
[x] Cancel search: warningPage 143 of 410

Speedometer and Odometer
Your speedometer lets you see your speed in both
miles per hour (mph) and kilometers per hour (km/h).
Your odometer shows how far your vehicle has
been driven, in either miles (used in the United States)
or kilometers (used in Canada).
The odometer mileage can be checked without the
vehicle running. Simply press the trip odometer button.
You may wonder what happens
if your vehicle needs
a new odometer installed. The new one will be set to the
correct millage total of the old odometer.
Trip Odometer
I
The trip odometer is part of the Driver Information
Center (DIC). For vehicles without a DIC, press the stem
located on the instrument panel cluster
to display the
trip odometer. Press and hold the stem to reset the trip
odometer once it is displayed.
Tachometer
The tachometer displays the engine speed in revolutions
per minute (rpm).
Notice: Do not operate the engine with the
tachometer in the shaded warning area,
or engine
damage may occur.
Safety Belt Reminder Light
When the key is turned to RUN, a chime will come on
for several seconds
to remind people to fasten their
safety belts, unless the driver’s safety belt is already
buckled.
The trip odometer can tell you how far your vehicle has
been driven since you last set the trip odometer
to zero.
3-30
Page 145 of 410

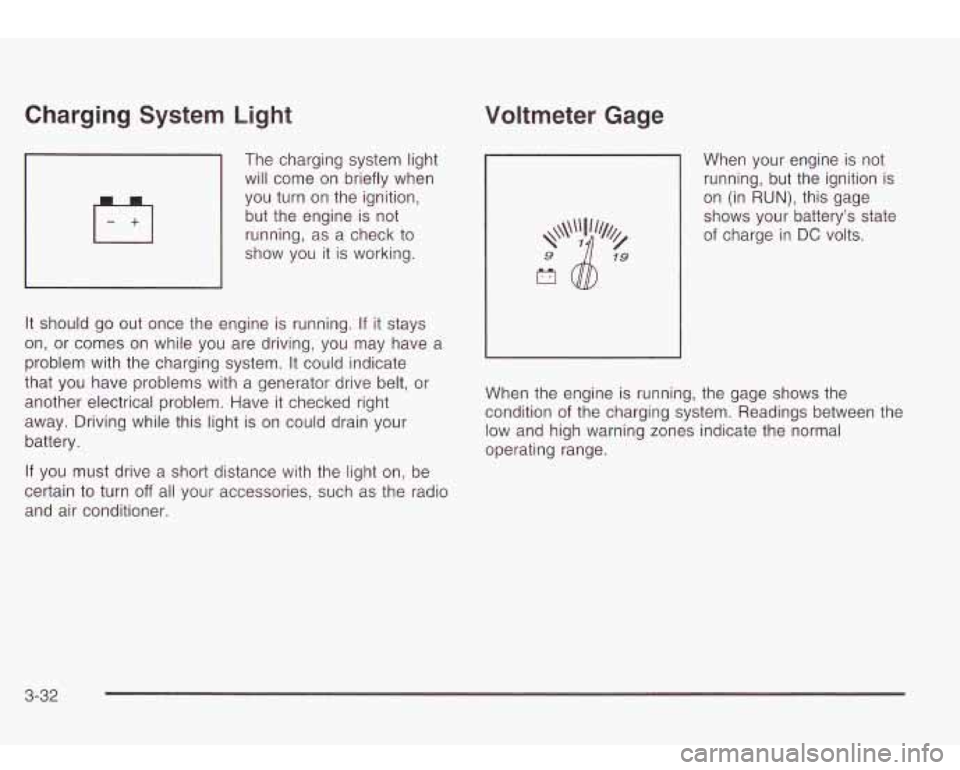
Charging System Light
7 will come on briefly when
The
charging system light
you turn on the ignition,
but the engine is not
running, as a check to
show you it is working.
It should go out once the engine is running.
If it stays
on, or comes on while you are driving, you may have
problem with the charging system.
It could indicate
that you have problems with a generator drive belt,
or
another electrical problem. Have it checked right
away. Driving while this light is on could drain your
battery. a
If you must drive a short distance with the light on, be
certain
to turn off all your accessories, such as the radio
and air conditioner.
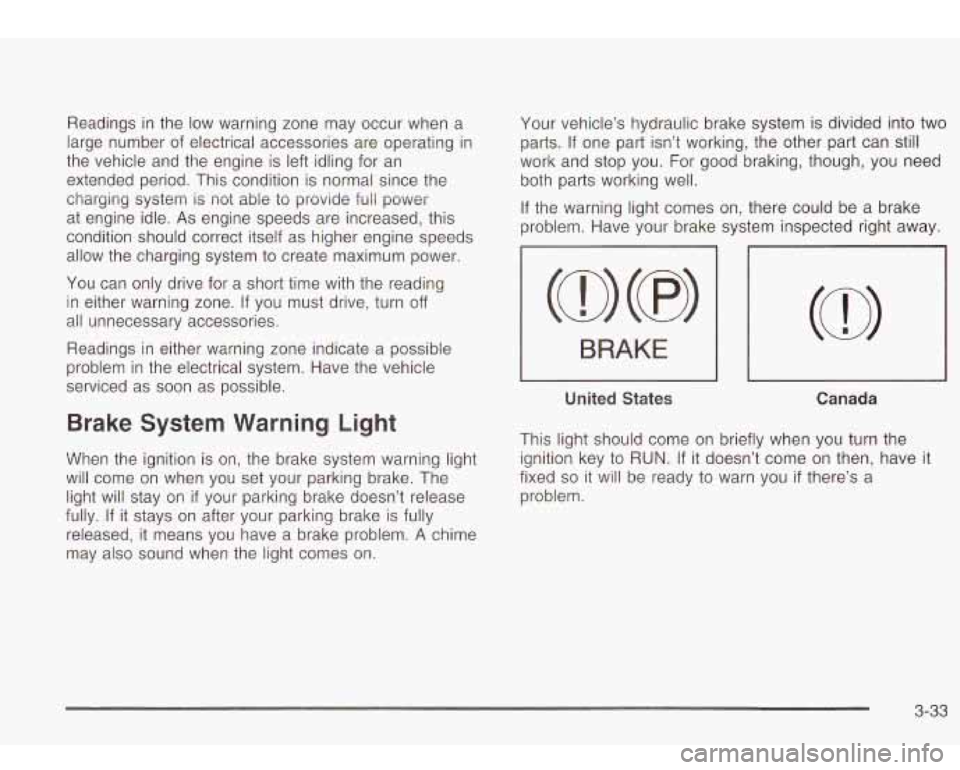
Voltmeter Gage
When your engine is not
running, but the ignition is
on (in
RUN), this gage
shows your battery's state of charge in
DC volts.
When the engine is running, the gage shows the
condition of the charging system. Readings between the
low and high warning zones indicate the normal
operating range.
3-32
Page 146 of 410

Readings in the low warning zone may occur when a
large number of electrical accessories are operating in
the vehicle and the engine is left idling for an
extended period. This condition is normal since the
charging system is not able
to provide full power
at engine idle. As engine speeds are increased, this
condition should correct itself as higher engine speeds
allow the charging system
to create maximum power.
You can only drive for a short time with the reading
in either warning zone. If you must drive, turn
off
all unnecessary accessories.
Readings in either warning zone indicate a possible
problem in the electrical system. Have the vehicle
serviced as soon as possible. Your
vehicle’s hydraulic brake system
is divided into two
parts.
If one part isn’t working, the other part can still
work and stop you. For good braking, though, you need
both parts working well.
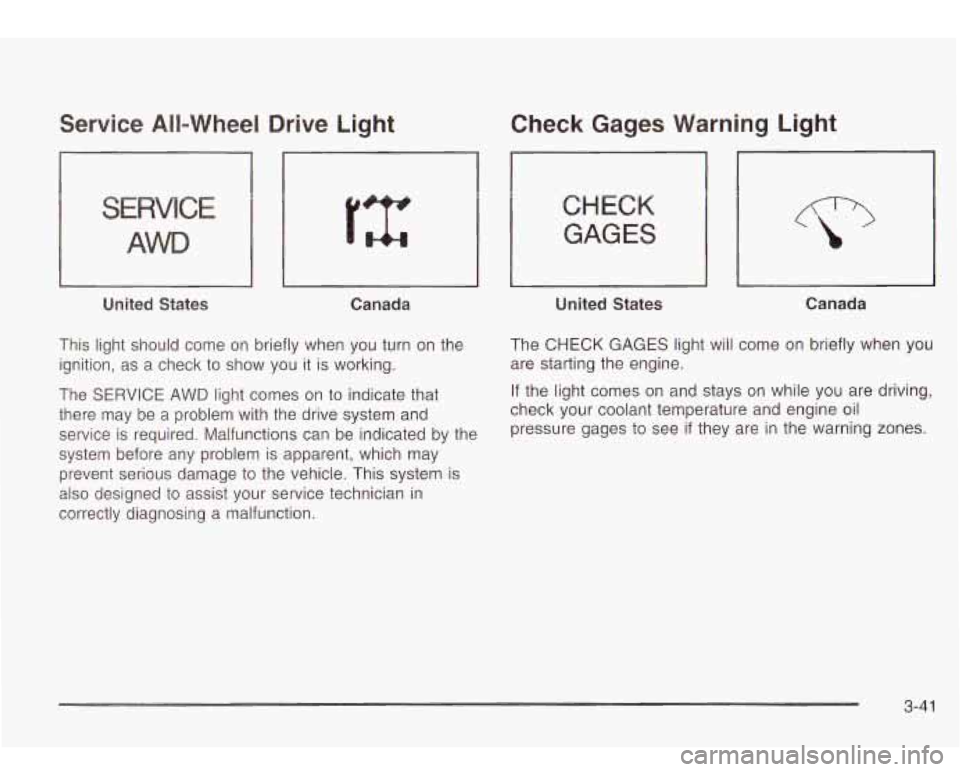
If the warning light comes on, there could be a brake
problem. Have your brake system inspected right away.
-7
I BRAKE I I
I I I
United States Canada
Brake System Warning Light
When the ignition is on, the brake system warning light
will come on when you set your parking brake. The
light will stay on
if your parking brake doesn’t release
fully. If it stays on after your parking brake is fully
released, it means you have a brake problem.
A chime
may also sound when the light comes on. This light should come on briefly when you turn the
ignition key
to RUN. If it doesn’t come on then, have it
fixed
so it will be ready to warn you if there’s a
problem.
3-33
Page 147 of 410

If the light comes on while you are driving, pull off the
road and stop carefully. You may notice that the pedal is
harder to push. Or, the pedal may go closer to the
floor. It may take longer to stop. If the light is still on,
have the vehicle towed for service. See
Towing
Your Vehicle
on page 4-41.
. ,UT brake sl ,,em m,, not be WOL ... ng
properly if the brake system warning light is
on. Driving with the brake system warning light
on can lead to an accident.
If the light is still
on after you’ve pulled
off the road and stopped
carefully, have the vehicle towed for service.
I
Anti-Lock Brake System Warning
Light
With the anti-lock brake
system, this light will come
on when you start your
engine and may stay on for
several seconds. That’s
normal.
A chime may also
sound when the light
comes on.
If the light stays on, or comes on when you’re driving,
your vehicle needs service. If the regular brake
system warning light isn’t on, you still have brakes, but
you don’t have anti-lock brakes. If the regular brake
system warning light is also on, you don’t have anti-lock
brakes and there’s a problem with your regular
brakes. See
Brake System Warning Light on page 3-33
earlier in this section.
The anti-lock brake system warning light should come
on briefly when you turn the ignition key to
RUN. If
the light doesn’t come on then, have it fixed
so it will be
ready to warn you
if there is a problem.
3-34
Page 154 of 410

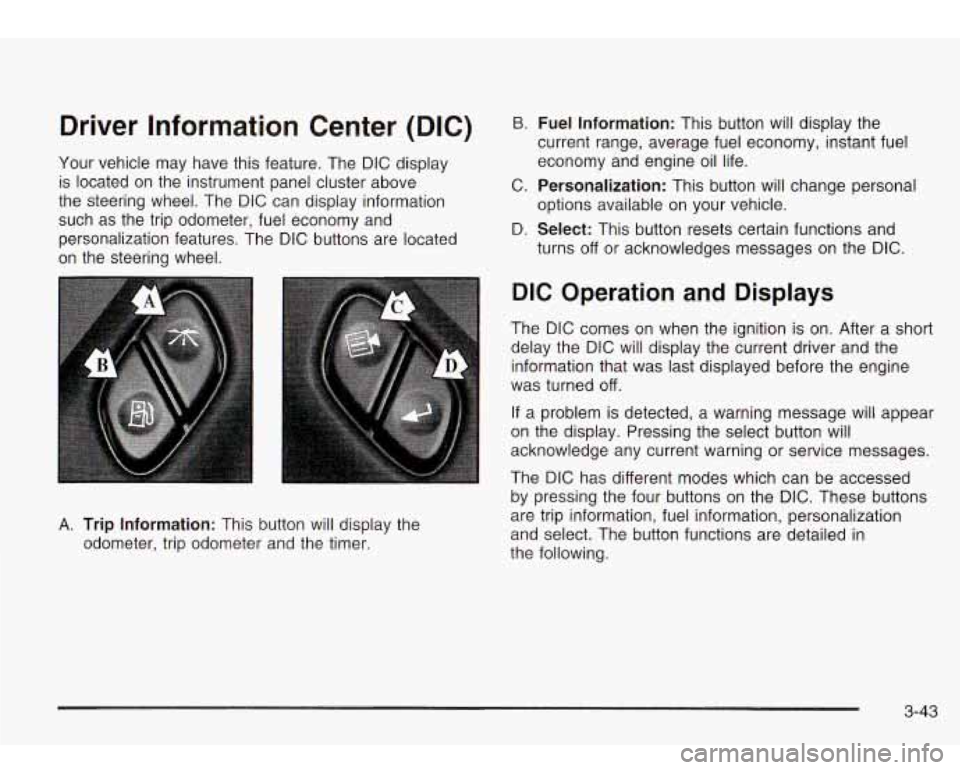
Service All-Wheel Drive Light
S IC
AWD
United States Canada
This light should come on briefly when you turn on the
ignition, as a check to show you
it is working.
The SERVICE AWD light comes on
to indicate that
there may be a problem with the drive system and
service is required. Malfunctions can be indicated by the
system before any problem is apparent, which may
prevent serious damage
to the vehicle. This system is
also designed
to assist your service technician in
correctly diagnosing a malfunction.
Check Gages Warning Light
CHECK
GAGES
1 United States J
Canada
The CHECK GAGES light will come on briefly when you
are starting the engine.
If the light comes on and stays on while you are driving,
check your coolant temperature and engine oil pressure gages
to see if they are in the warning zones.
3-4 1
Page 155 of 410

Gate Ajar Light
‘1
United States Canada
If this light comes on, your liftgate or liftglass is ajar. Try
closing the liftgate or liftglass again. Never drive with
the liftgate or liftglass even partially open.
Fuel Gage
a
When the ignition is on, the fuel gage tells you about
how much fuel you have remaining.
Here are four things that some owners ask about. None
of these show a problem with your fuel gage:
At the gas station, the gas pump shuts off before
the gage reads full.
It takes a little more or less fuel to fill up than the
gage indicated. For example, the gage may have
indicated the tank was half full, but
it actually took a
little more or less than half the tank’s capacity to
fill the tank.
The gage moves a little when you turn a corner or
The gage doesn’t go back to empty when you turn
speed up.
off the
ignition.
Low Fuel Warning Light
The light next to the fuel gage will come on briefly when
you are starting the engine.
This light comes on when the fuel tank is low on fuel.
To turn it
off, add fuel to the fuel tank. See Fuel on
page 5-5.
United States Canada
3-42
Page 156 of 410

Driver Information Center (DIC)
Your vehicle may have this feature. The DIC display
is located on the instrument panel cluster above
the steering wheel. The DIC can display information
such as the trip odometer, fuel economy and
personalization features. The DIC buttons are located
on the steering wheel.
B. Fuel Information: This button will display the
current range, average fuel economy, instant fuel
economy and engine oil life.
C.
Personalization: This button will change personal
D.
Select: This button resets certain functions and
options available
on your vehicle.
turns
off or acknowledges messages on the DIC.
A. Trip Information: This button will display the
odometer, trip odometer and the timer.
DIC Operation and Displays
The DIC comes on when the ignition is on. After a short
delay the DIC will display the current driver and the
information that was last displayed before the engine
was turned
off.
If a problem is detected, a warning message will appear
on the display. Pressing the select button will
acknowledge any current warning or service messages.
The DIC has different modes which can be accessed
by pressing the four buttons on the DIC. These buttons
are trip information, fuel information, personalization
and select. The button functions are detailed in
the following.
3-43
Page 159 of 410

Personalization
You can program certain features to a preferred setting
for up to two people. Press the personalization button
to scroll through the following personalization features.
All of the personalization options may not be available
on your vehicle. Only the options available will be
displayed on your DIC.
ALARM WARNING TYPE
AUTOMATIC LOCKING
AUTOMATIC UNLOCKING
SEAT POSITION RECALL
PERIMETER LIGHTING
REMOTE LOCK FEEDBACK
REMOTE UNLOCK FEEDBACK
HEADLAMPS ON AT EXIT
MIRROR CURB VIEW ASSIST
EASY EXIT DRIVER SEAT
DISPLAY UNITS (E/M)
DISPLAY LANGUAGE
The driver’s preferences are recalled by pressing the
unlock button on the remote keyless entry transmitter or
by pressing the appropriate memory button
1 or 2
located on the driver’s door.
Alarm Warning Type
Press the personalization button until ALARM
WARNING TYPE appears in the display. To select your
personalization for alarm warning type, press the
select button while ALARM WARNING TYPE is
displayed on the DIC. Pressing the select button will
scroll through the following choices:
ALARM WARNING: BOTH (default)
ALARM WARNING: OFF
ALARM WARNING: HORN
ALARM WARNING: LAMPS
If you choose BOTH, the headlamps will flash and the
horn will chirp when the alarm is active.
If you choose OFF, there will be no alarm warning on
activation.
If you choose HORN, the horn will chirp when the alarm
is active.
If you choose LAMPS, the headlamps will flash when
the alarm is active.
Choose one of the four options and press the
personalization button while it is displayed
on the DIC to
select it and move on to the next feature. For more
information on alarm warning type, see
Content
Theft-Deterrent on page
2- 16.
3-46