2003 NISSAN XTERRA tow
[x] Cancel search: towPage 32 of 272
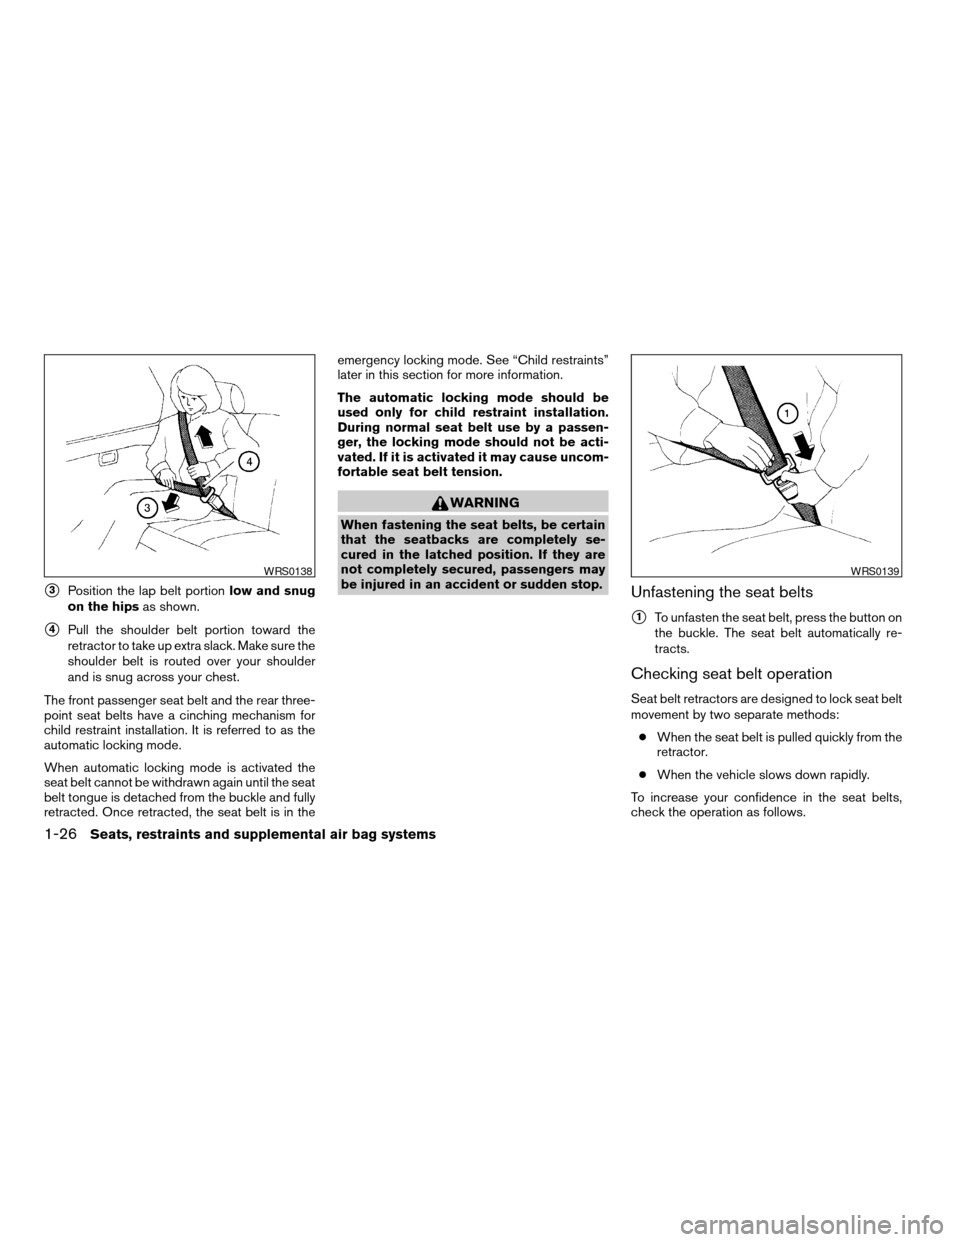
s3Position the lap belt portionlow and snug
on the hipsas shown.
s4Pull the shoulder belt portion toward the
retractor to take up extra slack. Make sure the
shoulder belt is routed over your shoulder
and is snug across your chest.
The front passenger seat belt and the rear three-
point seat belts have a cinching mechanism for
child restraint installation. It is referred to as the
automatic locking mode.
When automatic locking mode is activated the
seat belt cannot be withdrawn again until the seat
belt tongue is detached from the buckle and fully
retracted. Once retracted, the seat belt is in theemergency locking mode. See “Child restraints”
later in this section for more information.
The automatic locking mode should be
used only for child restraint installation.
During normal seat belt use by a passen-
ger, the locking mode should not be acti-
vated. If it is activated it may cause uncom-
fortable seat belt tension.
WARNING
When fastening the seat belts, be certain
that the seatbacks are completely se-
cured in the latched position. If they are
not completely secured, passengers may
be injured in an accident or sudden stop.
Unfastening the seat belts
s1To unfasten the seat belt, press the button on
the buckle. The seat belt automatically re-
tracts.
Checking seat belt operation
Seat belt retractors are designed to lock seat belt
movement by two separate methods:
cWhen the seat belt is pulled quickly from the
retractor.
cWhen the vehicle slows down rapidly.
To increase your confidence in the seat belts,
check the operation as follows.
WRS0138WRS0139
1-26Seats, restraints and supplemental air bag systems
ZREVIEW COPY:Ð2003 Xterra(xtr)
Owners Manual(owners)ÐUSA English(nna)
02/21/03Ðtbrooks
X
Page 63 of 272
2. If the brake fluid level is correct, have the
brake system checked by a NISSAN dealer.
WARNING
cYour brake system may not be working
properly if the warning light is on. Driv-
ing could be dangerous. If you judge it
to be safe, drive carefully to the nearest
service station for repairs. Otherwise,
have your vehicle towed because driv-
ing it could be dangerous.
cPressing the brake pedal with the en-
gine stopped and/or a low brake fluid
level may increase your stopping dis-
tance and braking will require greater
pedal effort as well as pedal travel.
cIf the brake fluid level is below the
MINIMUM or MIN mark on the brake
fluid reservoir, do not drive until the
brake system has been checked at a
NISSAN dealer.
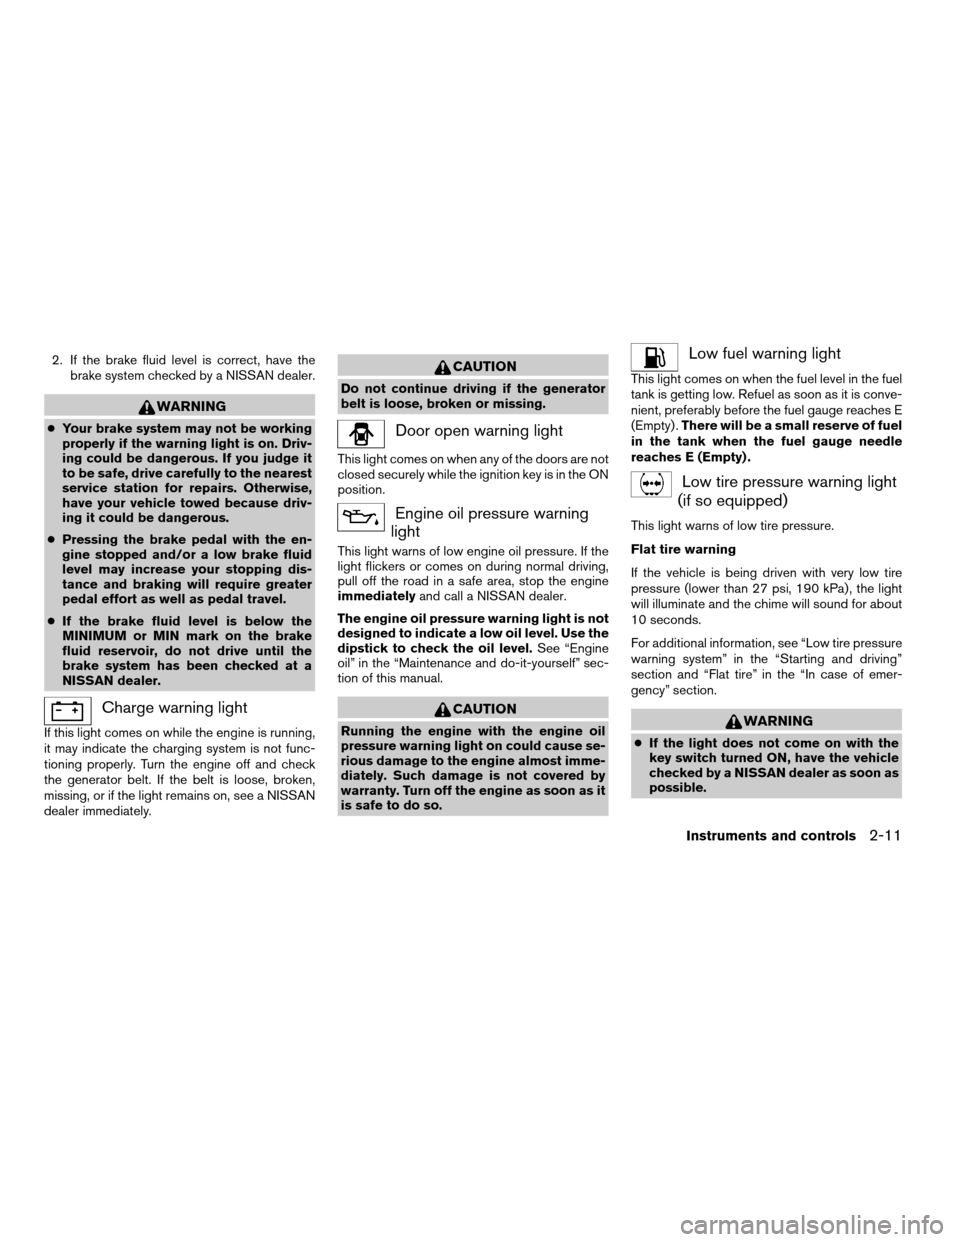
Charge warning light
If this light comes on while the engine is running,
it may indicate the charging system is not func-
tioning properly. Turn the engine off and check
the generator belt. If the belt is loose, broken,
missing, or if the light remains on, see a NISSAN
dealer immediately.
CAUTION
Do not continue driving if the generator
belt is loose, broken or missing.
Door open warning light
This light comes on when any of the doors are not
closed securely while the ignition key is in the ON
position.
Engine oil pressure warning
light
This light warns of low engine oil pressure. If the
light flickers or comes on during normal driving,
pull off the road in a safe area, stop the engine
immediatelyand call a NISSAN dealer.
The engine oil pressure warning light is not
designed to indicate a low oil level. Use the
dipstick to check the oil level.See “Engine
oil” in the “Maintenance and do-it-yourself” sec-
tion of this manual.
CAUTION
Running the engine with the engine oil
pressure warning light on could cause se-
rious damage to the engine almost imme-
diately. Such damage is not covered by
warranty. Turn off the engine as soon as it
is safe to do so.
Low fuel warning light
This light comes on when the fuel level in the fuel
tank is getting low. Refuel as soon as it is conve-
nient, preferably before the fuel gauge reaches E
(Empty) .There will be a small reserve of fuel
in the tank when the fuel gauge needle
reaches E (Empty) .
Low tire pressure warning light
(if so equipped)
This light warns of low tire pressure.
Flat tire warning
If the vehicle is being driven with very low tire
pressure (lower than 27 psi, 190 kPa) , the light
will illuminate and the chime will sound for about
10 seconds.
For additional information, see “Low tire pressure
warning system” in the “Starting and driving”
section and “Flat tire” in the “In case of emer-
gency” section.
WARNING
cIf the light does not come on with the
key switch turned ON, have the vehicle
checked by a NISSAN dealer as soon as
possible.
Instruments and controls2-11
ZREVIEW COPY:Ð2003 Xterra(xtr)
Owners Manual(owners)ÐUSA English(nna)
02/21/03Ðtbrooks
X
Page 65 of 272
WARNING
If the supplemental air bag warning light
is on, it could mean that the supplemental
front air bag, supplemental curtain side-
impact air bag systems (if so equipped)
and/or pre-tensioner seat belt systems
will not operate in an accident.
INDICATOR LIGHTS
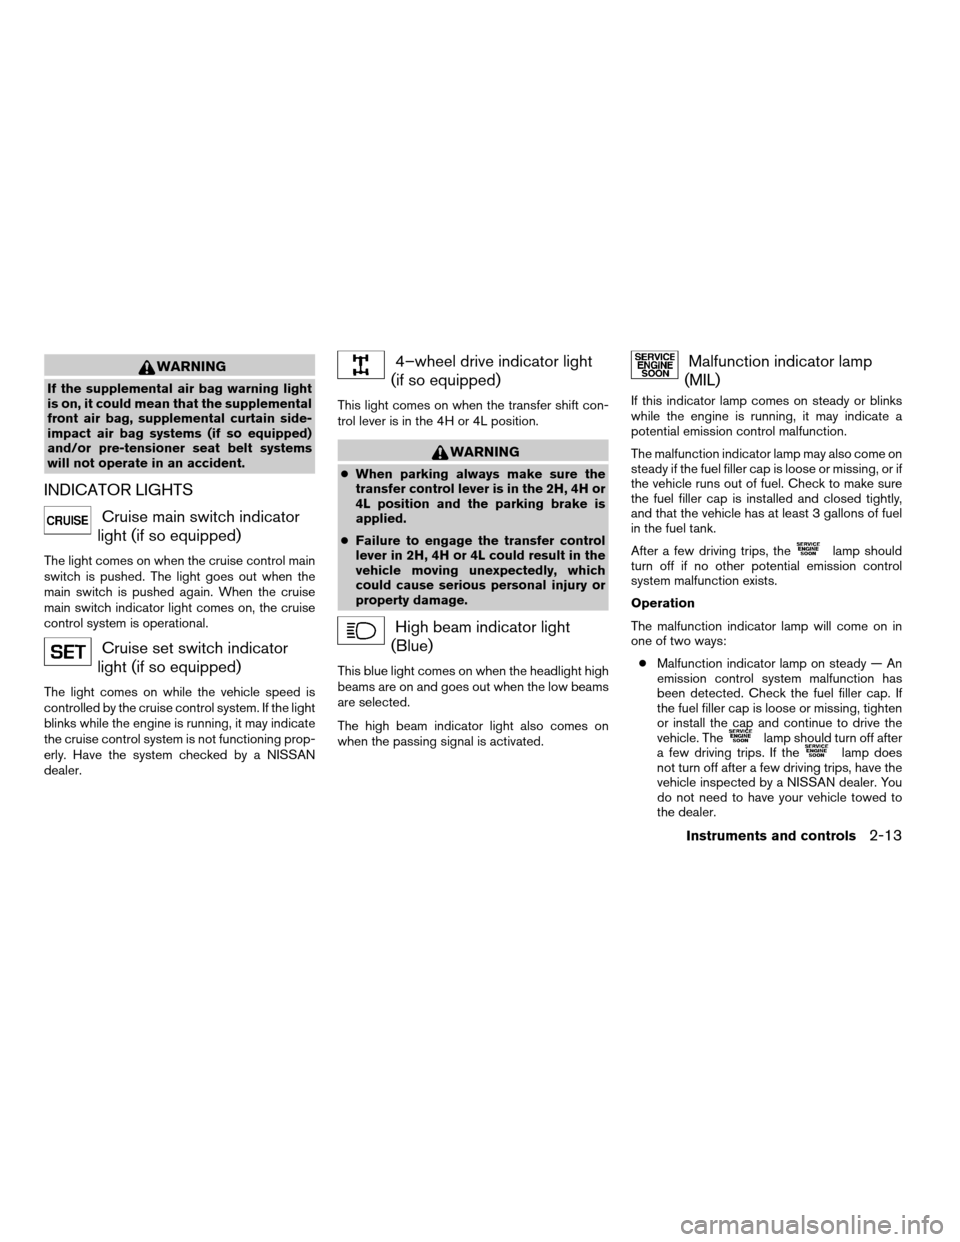
Cruise main switch indicator
light (if so equipped)
The light comes on when the cruise control main
switch is pushed. The light goes out when the
main switch is pushed again. When the cruise
main switch indicator light comes on, the cruise
control system is operational.
Cruise set switch indicator
light (if so equipped)
The light comes on while the vehicle speed is
controlled by the cruise control system. If the light
blinks while the engine is running, it may indicate
the cruise control system is not functioning prop-
erly. Have the system checked by a NISSAN
dealer.
4–wheel drive indicator light
(if so equipped)
This light comes on when the transfer shift con-
trol lever is in the 4H or 4L position.
WARNING
cWhen parking always make sure the
transfer control lever is in the 2H, 4H or
4L position and the parking brake is
applied.
cFailure to engage the transfer control
lever in 2H, 4H or 4L could result in the
vehicle moving unexpectedly, which
could cause serious personal injury or
property damage.
High beam indicator light
(Blue)
This blue light comes on when the headlight high
beams are on and goes out when the low beams
are selected.
The high beam indicator light also comes on
when the passing signal is activated.
Malfunction indicator lamp
(MIL)
If this indicator lamp comes on steady or blinks
while the engine is running, it may indicate a
potential emission control malfunction.
The malfunction indicator lamp may also come on
steady if the fuel filler cap is loose or missing, or if
the vehicle runs out of fuel. Check to make sure
the fuel filler cap is installed and closed tightly,
and that the vehicle has at least 3 gallons of fuel
in the fuel tank.
After a few driving trips, the
lamp should
turn off if no other potential emission control
system malfunction exists.
Operation
The malfunction indicator lamp will come on in
one of two ways:
cMalfunction indicator lamp on steady — An
emission control system malfunction has
been detected. Check the fuel filler cap. If
the fuel filler cap is loose or missing, tighten
or install the cap and continue to drive the
vehicle. The
lamp should turn off after
a few driving trips. If thelamp does
not turn off after a few driving trips, have the
vehicle inspected by a NISSAN dealer. You
do not need to have your vehicle towed to
the dealer.
Instruments and controls2-13
ZREVIEW COPY:Ð2003 Xterra(xtr)
Owners Manual(owners)ÐUSA English(nna)
02/21/03Ðtbrooks
X
Page 66 of 272
cMalfunction indicator lamp blinking — An
engine misfire has been detected which may
damage the emission control system. To re-
duce or avoid emission control system dam-
age:
– do not drive at speeds above 45 MPH
(72 km/h) .
– avoid hard acceleration or deceleration.
– avoid steep uphill grades.
– if possible, reduce the amount of cargo
being hauled or towed.
The malfunction indicator lamp may stop blinking
and come on steady. Have the vehicle inspected by
a NISSAN dealer. You do not need to have your
vehicle towed to the dealer.
CAUTION
Continued vehicle operation without hav-
ing the emission control system checked
and repaired as necessary could lead to
poor driveability, reduced fuel economy,
and possible damage to the emission con-
trol system.
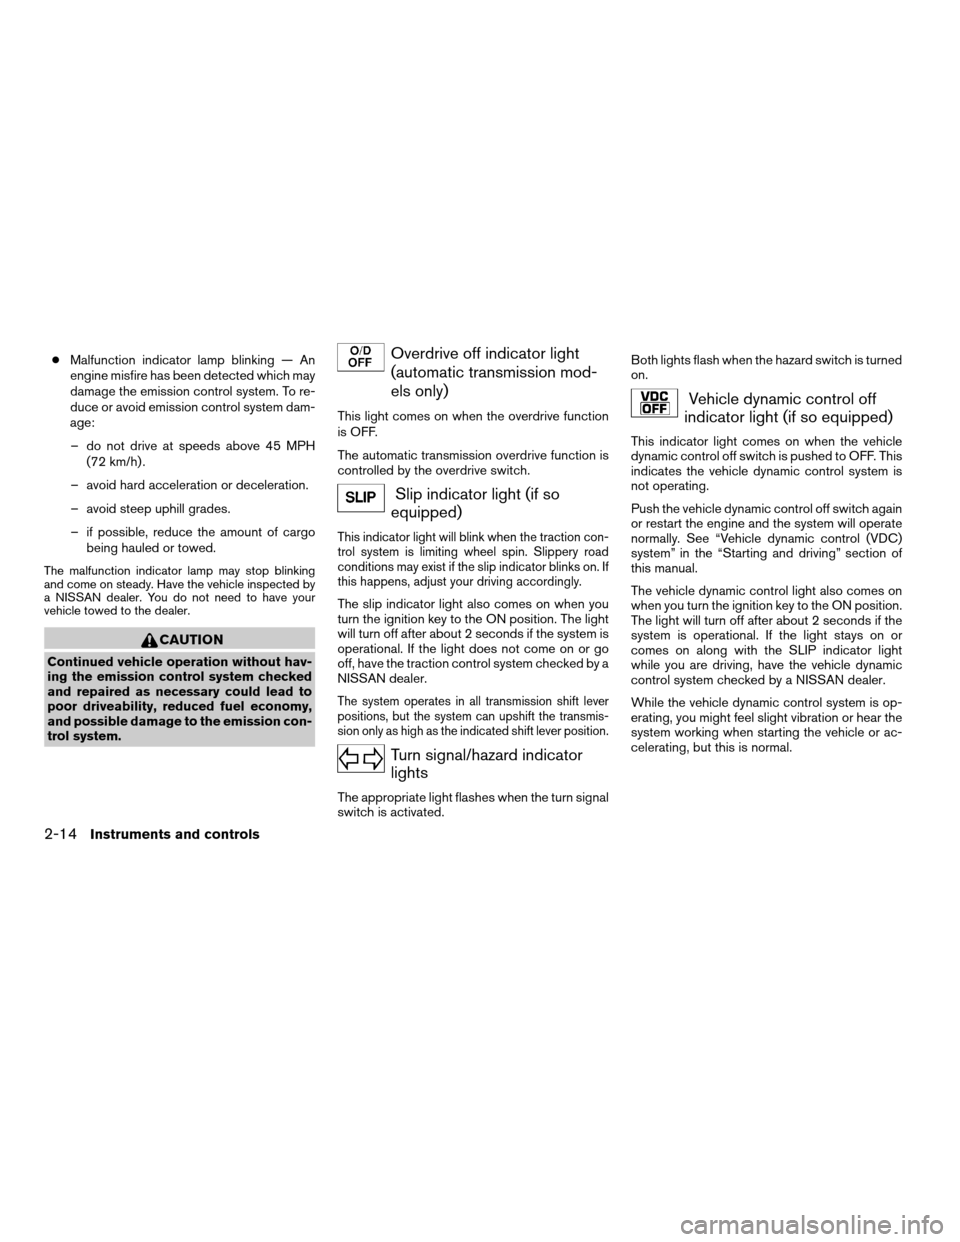
Overdrive off indicator light
(automatic transmission mod-
els only)
This light comes on when the overdrive function
is OFF.
The automatic transmission overdrive function is
controlled by the overdrive switch.
Slip indicator light (if so
equipped)
This indicator light will blink when the traction con-
trol system is limiting wheel spin. Slippery road
conditions may exist if the slip indicator blinks on. If
this happens, adjust your driving accordingly.
The slip indicator light also comes on when you
turn the ignition key to the ON position. The light
will turn off after about 2 seconds if the system is
operational. If the light does not come on or go
off, have the traction control system checked by a
NISSAN dealer.
The system operates in all transmission shift lever
positions, but the system can upshift the transmis-
sion only as high as the indicated shift lever position.
Turn signal/hazard indicator
lights
The appropriate light flashes when the turn signal
switch is activated.Both lights flash when the hazard switch is turned
on.
Vehicle dynamic control off
indicator light (if so equipped)
This indicator light comes on when the vehicle
dynamic control off switch is pushed to OFF. This
indicates the vehicle dynamic control system is
not operating.
Push the vehicle dynamic control off switch again
or restart the engine and the system will operate
normally. See “Vehicle dynamic control (VDC)
system” in the “Starting and driving” section of
this manual.
The vehicle dynamic control light also comes on
when you turn the ignition key to the ON position.
The light will turn off after about 2 seconds if the
system is operational. If the light stays on or
comes on along with the SLIP indicator light
while you are driving, have the vehicle dynamic
control system checked by a NISSAN dealer.
While the vehicle dynamic control system is op-
erating, you might feel slight vibration or hear the
system working when starting the vehicle or ac-
celerating, but this is normal.
2-14Instruments and controls
ZREVIEW COPY:Ð2003 Xterra(xtr)
Owners Manual(owners)ÐUSA English(nna)
02/21/03Ðtbrooks
X
Page 70 of 272
The hazard lights will quickly flash once and the
horn will sound once to confirm that the horn
beep feature has been reactivated.
Deactivating the horn feature does not silence
the horn if the alarm is triggered.
If the system does not operate as described
above, have it checked by a NISSAN dealer.
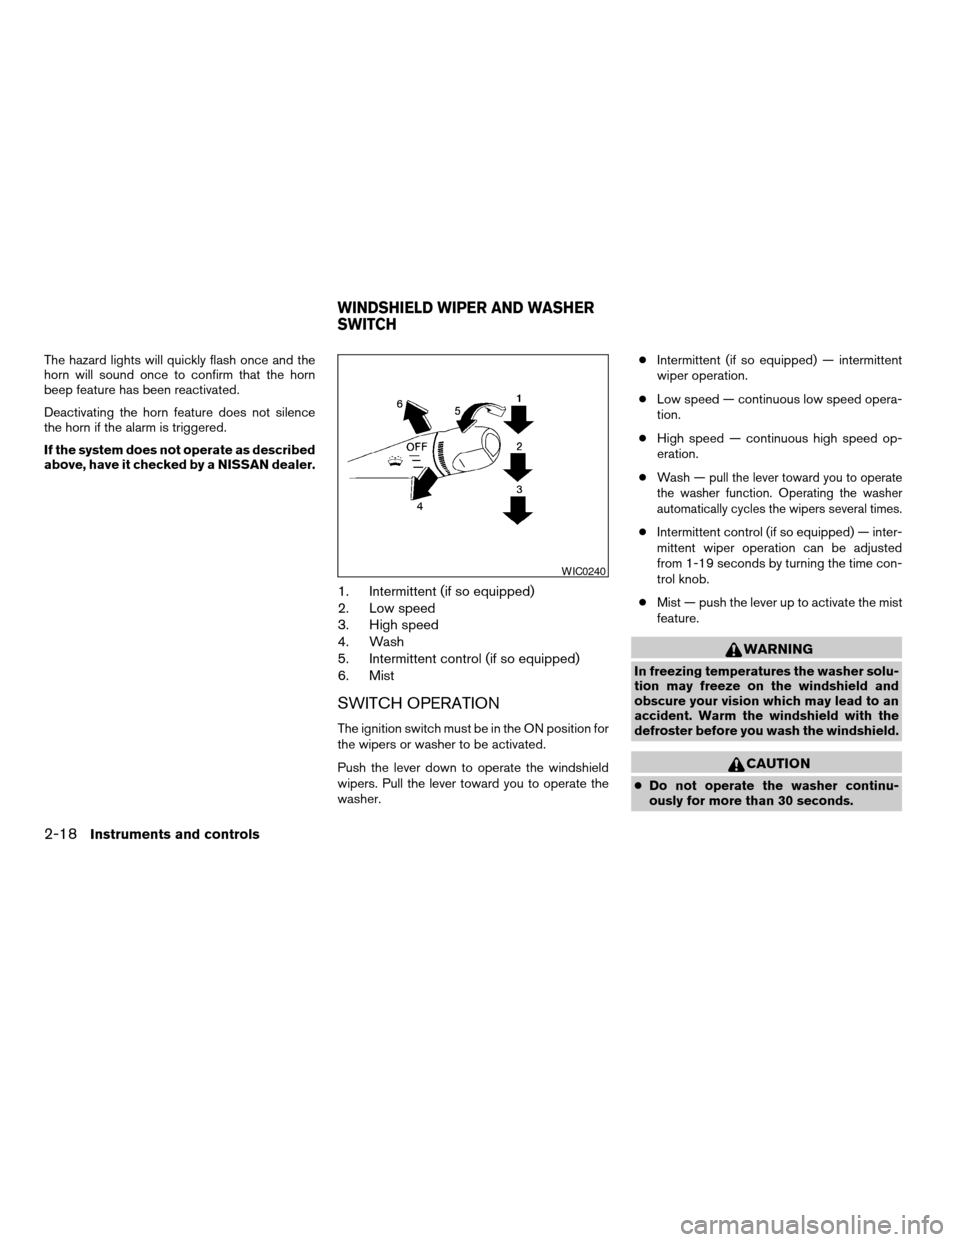
1. Intermittent (if so equipped)
2. Low speed
3. High speed
4. Wash
5. Intermittent control (if so equipped)
6. Mist
SWITCH OPERATION
The ignition switch must be in the ON position for
the wipers or washer to be activated.
Push the lever down to operate the windshield
wipers. Pull the lever toward you to operate the
washer.cIntermittent (if so equipped) — intermittent
wiper operation.
cLow speed — continuous low speed opera-
tion.
cHigh speed — continuous high speed op-
eration.
cWash —
pull the lever toward you to operate
the washer function. Operating the washer
automatically cycles the wipers several times.
cIntermittent control (if so equipped) — inter-
mittent wiper operation can be adjusted
from 1-19 seconds by turning the time con-
trol knob.
cMist — push the lever up to activate the mist
feature.
WARNING
In freezing temperatures the washer solu-
tion may freeze on the windshield and
obscure your vision which may lead to an
accident. Warm the windshield with the
defroster before you wash the windshield.
CAUTION
cDo not operate the washer continu-
ously for more than 30 seconds.
WIC0240
WINDSHIELD WIPER AND WASHER
SWITCH
2-18Instruments and controls
ZREVIEW COPY:Ð2003 Xterra(xtr)
Owners Manual(owners)ÐUSA English(nna)
03/17/03Ðcathy
X
Page 90 of 272
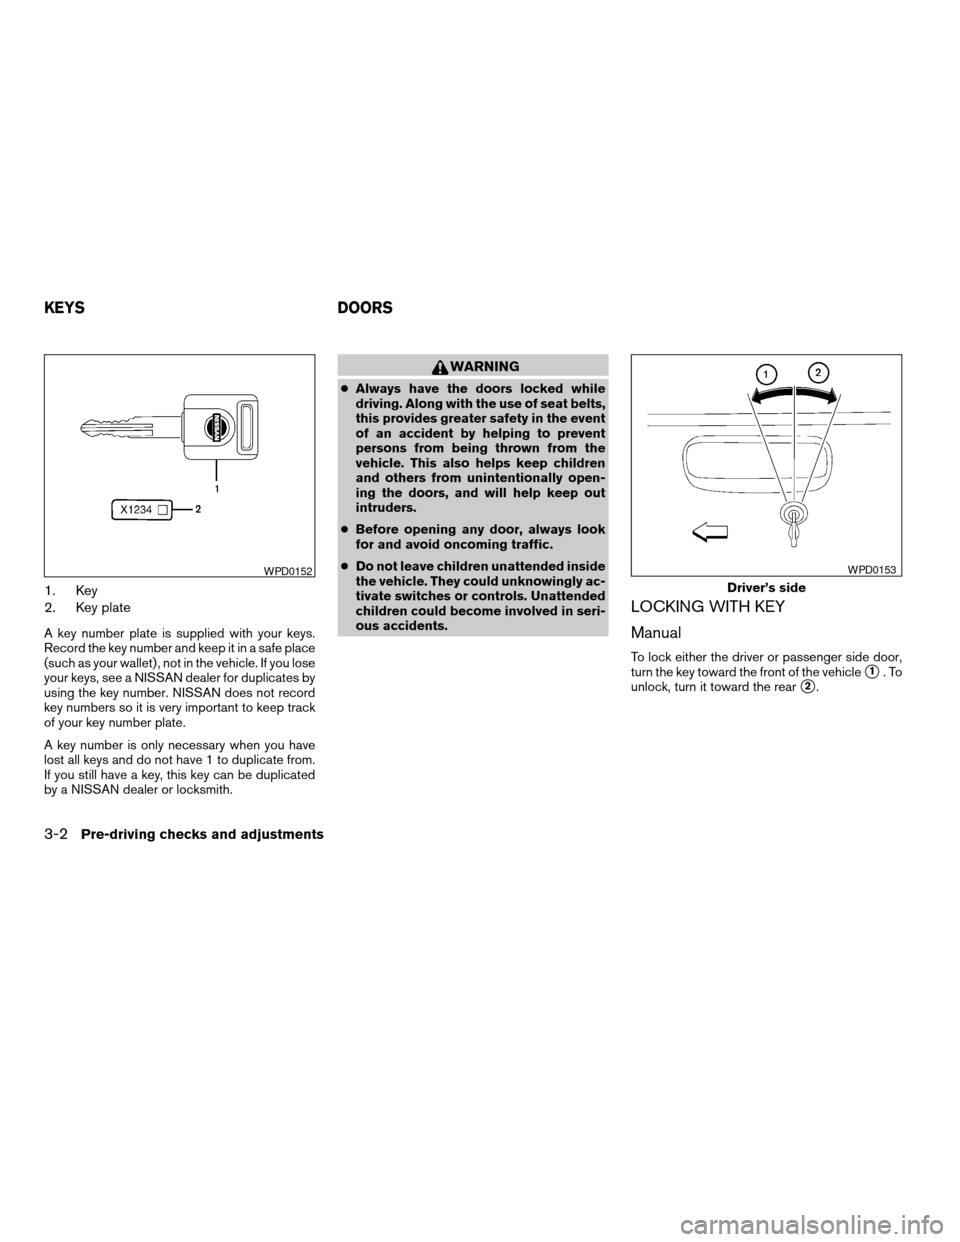
1. Key
2. Key plate
A key number plate is supplied with your keys.
Record the key number and keep it in a safe place
(such as your wallet) , not in the vehicle. If you lose
your keys, see a NISSAN dealer for duplicates by
using the key number. NISSAN does not record
key numbers so it is very important to keep track
of your key number plate.
A key number is only necessary when you have
lost all keys and do not have 1 to duplicate from.
If you still have a key, this key can be duplicated
by a NISSAN dealer or locksmith.
WARNING
cAlways have the doors locked while
driving. Along with the use of seat belts,
this provides greater safety in the event
of an accident by helping to prevent
persons from being thrown from the
vehicle. This also helps keep children
and others from unintentionally open-
ing the doors, and will help keep out
intruders.
cBefore opening any door, always look
for and avoid oncoming traffic.
cDo not leave children unattended inside
the vehicle. They could unknowingly ac-
tivate switches or controls. Unattended
children could become involved in seri-
ous accidents.
LOCKING WITH KEY
Manual
To lock either the driver or passenger side door,
turn the key toward the front of the vehicle
s1.To
unlock, turn it toward the rear
s2.
WPD0152
Driver’s side
WPD0153
KEYS DOORS
3-2Pre-driving checks and adjustments
ZREVIEW COPY:Ð2003 Xterra(xtr)
Owners Manual(owners)ÐUSA English(nna)
03/17/03Ðcathy
X
Page 91 of 272

Power (if so equipped)
Turning the key toward the fronts1of the vehicle
locks all doors.
Turning the key 1 time toward the rear
s2of the
vehicle unlocks that door. From that position,
returning the key to neutral
s3(where the key can
only be removed and inserted) and turning it
toward the rear again
s4within 5 seconds un-
locks all doors.
LOCKING WITH INSIDE LOCK
KNOB
To lock the door without the key, move the inside
lock knob to the lock position
s1, then close the
door.
To unlock the door without the key, move the
inside lock knob to the unlock position
s2.
LOCKING WITH POWER DOOR
LOCK SWITCH (if so equipped)
To lock all the doors without a key, push the door
lock switch (driver or front passenger side) , to the
lock position
s1, then close the door. When
locking the door this way, be certain not to leave
the key inside the vehicle.
To unlock all the doors without a key, push the
door lock switch (driver or front passenger side)
to the unlock position
s2.
Driver’s side
WPD0154
Inside lock
WPD0155
Driver’s side
WPD0156
Pre-driving checks and adjustments3-3
ZREVIEW COPY:Ð2003 Xterra(xtr)
Owners Manual(owners)ÐUSA English(nna)
03/17/03Ðcathy
X
Page 100 of 272

b. When the clamp is loosened, move the cross-
bars so the cargo can be positioned between
the crossbars.
c. Tighten the crossbar adjusting screws with
the torxdriver by turning clockwise.
d. Secure the cargo with rope.
e. Always check the tightness of the crossbar
adjusting screws.
To remove:
a. Loosen the adjusting screws with the
torxdriver by turning counterclockwise.
b. Rotate the clamps.
c. Remove the crossbars.
d. Reverse to install.
e. Always check the tightness of the crossbar
adjusting screws.
If you hear wind noise coming from the roof rack
while driving, adjust the roof rack crossbars to the
most rearward position.
The roof rack is equipped with a removable gear
basket.The maximum gear basket load is 30
lb (13.6 kg) evenly distributed.To remove the gear basket:
a. Unscrew the 4 hold down bolts by turning
them counterclockwise.
b. Lift up the rear of the basket.
c. Lift out the gear basket by moving it toward
the rear of the vehicle.
APD1092
3-12Pre-driving checks and adjustments
ZREVIEW COPY:Ð2003 Xterra(xtr)
Owners Manual(owners)ÐUSA English(nna)
03/17/03Ðcathy
X