Page 215 of 265

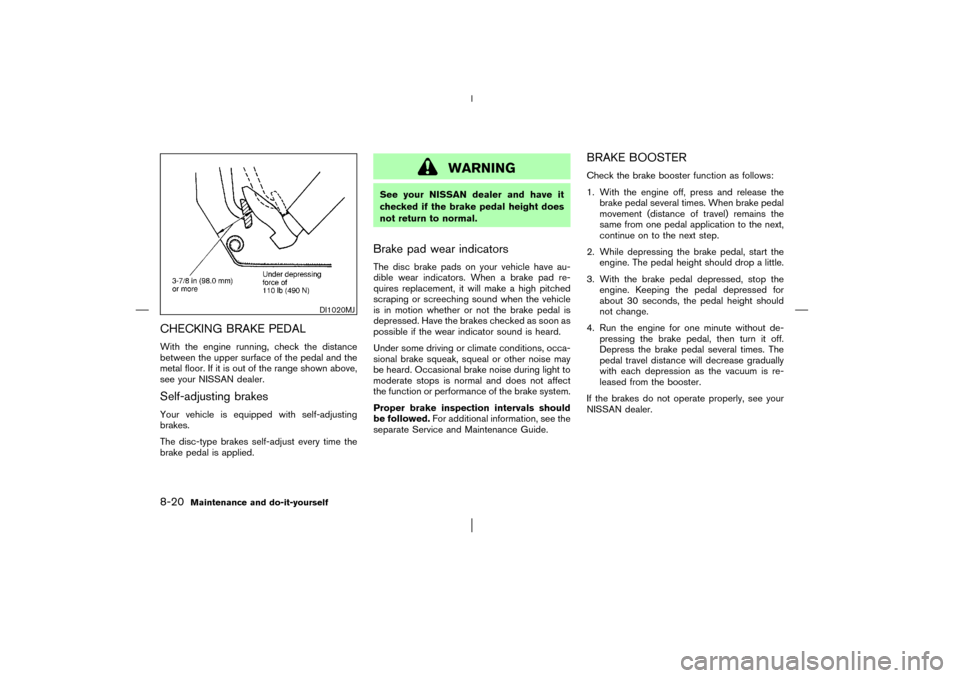
CHECKING BRAKE PEDALWith the engine running, check the distance
between the upper surface of the pedal and the
metal floor. If it is out of the range shown above,
see your NISSAN dealer.Self-adjusting brakesYour vehicle is equipped with self-adjusting
brakes.
The disc-type brakes self-adjust every time the
brake pedal is applied.
WARNING
See your NISSAN dealer and have it
checked if the brake pedal height does
not return to normal.Brake pad wear indicatorsThe disc brake pads on your vehicle have au-
dible wear indicators. When a brake pad re-
quires replacement, it will make a high pitched
scraping or screeching sound when the vehicle
is in motion whether or not the brake pedal is
depressed. Have the brakes checked as soon as
possible if the wear indicator sound is heard.
Under some driving or climate conditions, occa-
sional brake squeak, squeal or other noise may
be heard. Occasional brake noise during light to
moderate stops is normal and does not affect
the function or performance of the brake system.
Proper brake inspection intervals should
be followed.For additional information, see the
separate Service and Maintenance Guide.
BRAKE BOOSTERCheck the brake booster function as follows:
1. With the engine off, press and release the
brake pedal several times. When brake pedal
movement (distance of travel) remains the
same from one pedal application to the next,
continue on to the next step.
2. While depressing the brake pedal, start the
engine. The pedal height should drop a little.
3. With the brake pedal depressed, stop the
engine. Keeping the pedal depressed for
about 30 seconds, the pedal height should
not change.
4. Run the engine for one minute without de-
pressing the brake pedal, then turn it off.
Depress the brake pedal several times. The
pedal travel distance will decrease gradually
with each depression as the vacuum is re-
leased from the booster.
If the brakes do not operate properly, see your
NISSAN dealer.
DI1020MJ
8-20
Maintenance and do-it-yourself
�
03.1.28/Z50-D/V5.0
�
Page 216 of 265
CAUTION
Never use a fuse of higher amperage
rating than that specified on the fuse
box cover. This could damage the elec-
trical system or cause a fire.
ENGINE COMPARTMENTIf any electrical equipment does not operate,
check for an open fuse.
1. Be sure the ignition key and headlight switch
are OFF.
2. Open the engine hood.
3. Remove the fusible link cover.
4. Remove the fuse with the fuse puller.
5. If the fuse is open, replace it with a new fuse.
6. If a new fuse also opens, have the electricalsystem checked and repaired by your
NISSAN dealer.
Fusible linksIf any electrical equipment does not operate and
fuses are in good condition, check the fusible
links. If any of these fusible links are melted,
replace only with genuine NISSAN parts.
SDI1504
FUSES
Maintenance and do-it-yourself
8-21
�
03.1.28/Z50-D/V5.0
�
Page 217 of 265
PASSENGER COMPARTMENTIf any electrical equipment does not operate,
check for an open fuse.
1. Be sure the ignition key and the headlight
switch are OFF.
2. Pull to open the fuse box lid
�1.
3. Pinch the fuse perpendicularly with the fuse
puller
�A
and pull it out.
4. If the fuse is open, replace it with a new fuse
�B.
5. If a new fuse also opens, have the electrical
system checked and repaired by yourNISSAN dealer.
Replace the battery as follows:
1. Open the lid using a suitable tool.
2. Replace the battery with a new one.
Recommended battery: Sanyo CR2025 or
equivalent
SDI1505
SPA1374
KEYFOB BATTERY
REPLACEMENT
8-22
Maintenance and do-it-yourself
�
03.1.28/Z50-D/V5.0
�
Page 219 of 265
1. Front turn signal light or front park light
2. Headlight (low-beam, high-beam)
3. Front park light or front turn signal light
4. Map light
5. Ceiling light
6. Rear personal light
7. Front fog light (if so equipped)/Daytime, run-
ning light (for Canada)
8. Front side marker light
9. Step light
10. High-mounted stop light
Rear combination lights
11. Turn signal light (Rear combination lights)
12. Side marker light (Rear combination lights)
13. License plate lights
14. Back-up light
15. Luggage light
16. Stop/tail light (Rear combination lights)
SDI1497
LIGHTS8-24
Maintenance and do-it-yourself
�
03.1.28/Z50-D/V5.0
�
Page 220 of 265

HEADLIGHTS
ReplacingIf replacement is required, see a NISSAN dealer.
Xenon headlight bulb:
WARNINGHIGH VOLTAGE
When xenon headlights are on, they
produce a high voltage. To prevent an
electric shock, never attempt to modify
or disassemble the headlight assembly.
Always have your xenon headlights re-
placed at a NISSAN dealer. For addi-
tional information, see “Headlight and
turn signal switch” in the “2. Instru-
ments and controls” section.
Halogen headlight bulb:
The headlight is a semi-sealed beam type which
uses a replaceable headlight (halogen) bulb. If
replacement is required, see your NISSAN
dealer.
CAUTION
�High pressure halogen gas is sealed
inside the halogen bulb. The bulb
may break if the glass envelope is
scratched or the bulb is dropped.
�When handling the bulb, do not touch
the glass envelope.
�Do not touch the bulb.
�Use the same number and wattage as
originally installed:
Bulb no. (Wattage)
D2R (35W) - Xenon low/high-beam
or
HB5 (65/55W) - Halogen low/high-
beam
�Do not leave the bulb out of the
headlight reflector for a long period
of time as dust, moisture, and smoke
may enter the headlight body and
affect the performance of the head-
light.
Maintenance and do-it-yourself
8-25
�
03.1.28/Z50-D/V5.0
�
Page 221 of 265
EXTERIOR AND INTERIOR LIGHTS
Item Wattage (W) BulbNo.
Front turn signal* 21 T20
Front park light* 3.8 T10 C-2F
Front side marker light* 3.8 T10 C-2F
Front fog light (if so equipped)* 51 HB4
Rear combination light*
Turn signal 21 T20
Stop/Tail 21/5 T20
Side marker light 5 T10
Back-up* 16 21CP
License plate light* 5 T10
High-mounted stop light* 2.4 LED
Ceiling light 8
Map light 8
Rear personal light* 8
Step light* 2.7 161
Luggage light 8 158
Vanity mirror light (if so equipped) 2 —
*: See a NISSAN dealer for replacement.
Replacement proceduresAll other lights are either type A, B, C or D. When
replacing a bulb, first remove the lens and/or
cover.
MDI0006
8-26
Maintenance and do-it-yourself
�
03.1.28/Z50-D/V5.0
�
Page 223 of 265

parked for 3 or more hours, or driven less than 1
mile (1.6 km) at moderate speeds. COLD tire
pressures are shown on the tire placard affixed
to the center pillar.Low tire pressure warning system (if
so equipped)The low tire pressure warning system displays
the tire pressure of all tires (except the spare tire)
on the display screen by sending a signal from a
sensor that is installed in each wheel. For more
details, refer to “Low tire pressure warning light”
in the “2. Instruments and controls” section,
“Low tire pressure warning system” in the “5.
Starting and driving” section, and “Flat tire” in
the “6. In case of emergency” section. If the tire
pressure displayed on the display screen is
lower than the COLD tire pressure shown on the
tire placard, check the pressure of all four tires
and adjust them to the COLD tire pressure as
indicated above. The low tire pressure warning
system will activate only when the vehicle is
driven at speeds above 20 MPH (32 km/h).
WARNING
�Improperly inflated tires can fail sud-
denly and cause an accident.�The vehicle capacity weight is indi-
cated on the tire placard. Do not load
your vehicle beyond this capacity.
Overloading your vehicle may result
in reduced tire life, unsafe operating
conditions due to premature tire fail-
ure, or unfavorable handling charac-
teristics and could also lead to a
serious accident. Loading beyond the
specified capacity may also result in
failure of other vehicle components.
�Before taking a long trip, or when-
ever you have loaded your vehicle
heavily, use a tire pressure gauge to
ensure that the tire pressure is at the
specified level.
�Do not drive your vehicle over 85
MPH (140 km/h) unless it is equipped
with high speed capability tires. Driv-
ing faster than 85 MPH (140 km/h)
may result in tire failure, loss of con-
trol and possible injury.
�For additional information regarding
tires, refer to “Important Tire Safety
Information” (US) or “Tire Safety In-formation” (Canada) in the Warranty
Information booklet.
TYPES OF TIRES
CAUTION
�When changing or replacing tires, be
sure all four tires are of the same
type (for example, summer, all sea-
son or snow) and construction. Your
NISSAN dealer may be able to help
you with information about tire type,
size, speed rating and availability.
Replacement tires may have a lower
speed rating than the factory
equipped tires, and may not match
the potential maximum vehicle
speed. Never exceed the maximum
speed rating of the tire.
�For additional information regarding
tires, refer to “Important Tire Safety
Information” (US) or “Tire Safety In-
formation” (Canada) in the Warranty
Information booklet.
8-28
Maintenance and do-it-yourself
�
03.1.28/Z50-D/V5.0
�
Page 226 of 265

Tire wear and damage
WARNING
�Tires should be periodically in-
spected for wear, cracking, bulging,
or objects caught in the tread. If ex-
cessive wear, cracks, bulging, or
deep cuts are found, the tire should
be replaced.
�The original tires have a built-in tread
wear indicator. When the wearindicator is visible, the tire should be
replaced.
�Improper service for a spare tire may
result in serious personal injury. If it
is necessary to repair the spare tire,
contact your NISSAN dealer.
�For additional information regarding
tires, refer to “Important Tire Safety
Information” (US) or “Tire Safety In-
formation” (Canada) in the Warranty
Information booklet.
Replacing wheels and tiresWhen replacing a tire, use the same size, speed
rating and load carrying capacity as originally
equipped. See “Specifications” in the “9. Tech-
nical and consumer information” section for rec-
ommended types and sizes of tires and wheels.
WARNING
�The use of tires other than those
recommended or the mixed use of
tires of different brands, construction(bias, bias-belted or radial), or tread
patterns can adversely affect the ride,
braking, handling, ground clearance,
body-to-tire clearance, tire chain
clearance, speedometer calibration,
headlight aim and bumper height.
Some of these effects may lead to
accidents and could result in serious
personal injury.
�If the wheels are changed for any
reason, always replace with wheels
which have the same offset dimen-
sion. Wheels of a different offset
could cause early tire wear, possibly
degraded vehicle handling character-
istics and/or interference with the
brake discs. Such interference can
lead to decreased braking efficiency
and/or early brake pad wear.
�When a spare tire is mounted or a
wheel is replaced, the pressure of
that tire will not be indicated and not
be monitored by the low tire pressure
warning system. Contact your
NISSAN dealer as soon as possible
MDI0004
Maintenance and do-it-yourself
8-31
�
03.1.28/Z50-D/V5.0
�