2003 NISSAN ALTIMA glove box
[x] Cancel search: glove boxPage 21 of 256

1. SRS curtain side-impact air bag (right)
(if so equipped)
2. Supplemental side air bag modules (if
so equipped)
3. SRS curtain side-impact air bag mod-
ule (if so equipped)4. Satellite sensors
5. Seat belt pre-tensioner retractor
6. Diagnosis sensor unit
7. Supplemental front air bag modules
8. Crash zone sensor9. SRS curtain side-impact air bag (left) (if
so equipped)
10. Seat belt buckle switches
Supplemental front air bag system
The driver supplemental front air bag is located in
the center of the steering wheel. The passenger
supplemental front air bag is mounted in the
dashboard above the glove box.
These systems are designed to meet optional
certification requirements under U.S. regulations.
They are also permitted in Canada. The optional
certification allows the front air bags to be de-
signed to inflate somewhat less forcefully than
previously.However, all of the information,
cautions and warnings in this manual still
apply and must be followed.
The supplemental front air bag system is de-
signed to inflate in higher severity frontal colli-
sions, although it may inflate if the forces in an-
other type of collision are similar to those of a
higher severity frontal impact. It may not inflate in
certain frontal collisions. Vehicle damage (or lack
of it) is not always an indication of proper supple-
mental front air bag system operation.
The supplemental air bag system has dual stage
inflators for both the driver and passenger air
bags. The system monitors information from the
crash zone sensor, the diagnosis sensor unit and
WRS0168
Seats, restraints and supplemental air bag systems1-15
ZREVIEW COPY:Ð2003 Altima(l30)
Owners Manual(owners)ÐUSA English(nna)
04/21/03Ðdebbie
X
Page 48 of 256

2 Instruments and controls
Instrument panel...................................2-2
Meters and gauges................................2-3
Speedometer and odometer.....................2-3
Trip computer..................................2-4
Tachometer....................................2-5
Engine coolant temperature gauge...............2-6
Fuel gauge....................................2-7
Warning/indicator lights and audible reminders.......2-8
Checking bulbs................................2-8
Warning lights.................................2-8
Indicator lights................................2-10
Audible reminders.............................2-12
Security systems.................................2-12
Nissan vehicle immobilizer system (NVIS)........2-12
Vehicle security system (if so equipped)..........2-14
Windshield wiper and washer switch...............2-16
Switch operation..............................2-16
Rear window defroster switch......................2-17
Headlight and turn signal switch....................2-18
Xenon headlights..............................2-18
Headlight control switch........................2-19
Daytime running light system (Canada only)......2-21
Instrument brightness control...................2-22Turn signal switch.............................2-22
Fog light switch (if so equipped)................2-22
Hazard warning flasher switch.....................2-24
Horn............................................2-24
Heated seat (if so equipped).......................2-25
Traction control system (TCS) off switch
(if so equipped)..................................2-26
Power outlet.....................................2-26
Storage.........................................2-27
Seatback pockets (if so equipped)..............2-27
Seatback side pockets (if so equipped)..........2-27
Sunglasses holder.............................2-28
Cup holders..................................2-28
Glove box....................................2-29
Console box..................................2-30
Covered storage box...........................2-31
Cargo net (if so equipped)......................2-32
Windows........................................2-33
Power windows...............................2-33
Sunroof (if so equipped)...........................2-35
Electric sunroof...............................2-35
Interior light......................................2-36
Map lights.......................................2-37
ZREVIEW COPY:Ð2003 Altima(l30)
Owners Manual(owners)ÐUSA English(nna)
04/21/03Ðdebbie
X
Page 50 of 256

1. Headlight and turn signal switch
2. Meters and gauges
3. Windshield wiper/washer switch
4. Center ventilator
5. Audio system
6. Front passenger supplemental air bag
7. Glove box
8. Heater and air conditioner (manual)
9. Hazard warning flasher switch
10. Power outlet
11. Rear window defroster switch (manual)
12. Cruise control main/set switch
13. Driver supplemental air bag
14. Steering wheel switch for audio control
15. Tilt/telescopic steering wheel lever
16. Traction control system (TCS) cancel
switch
17. Instrument brightness control
18. Outside mirror remote control
19. Heater and air conditioner (automatic)
20. Rear window defroster switch
(automatic)
21. Front defroster switch (automatic)
WIC0315
INSTRUMENT PANEL
2-2Instruments and controls
ZREVIEW COPY:Ð2003 Altima(l30)
Owners Manual(owners)ÐUSA English(nna)
04/21/03Ðdebbie
X
Page 77 of 256

WARNING
The cup holder should not be used while
driving so full attention may be given to
vehicle operation.
CAUTION
cAvoid abrupt starting and braking when
the cup holder is being used to prevent
spilling the drink. If the liquid is hot, it
can scald you or your passenger.cUse only soft cups in the cup holder.
Hard objects can injure you in an
accident.
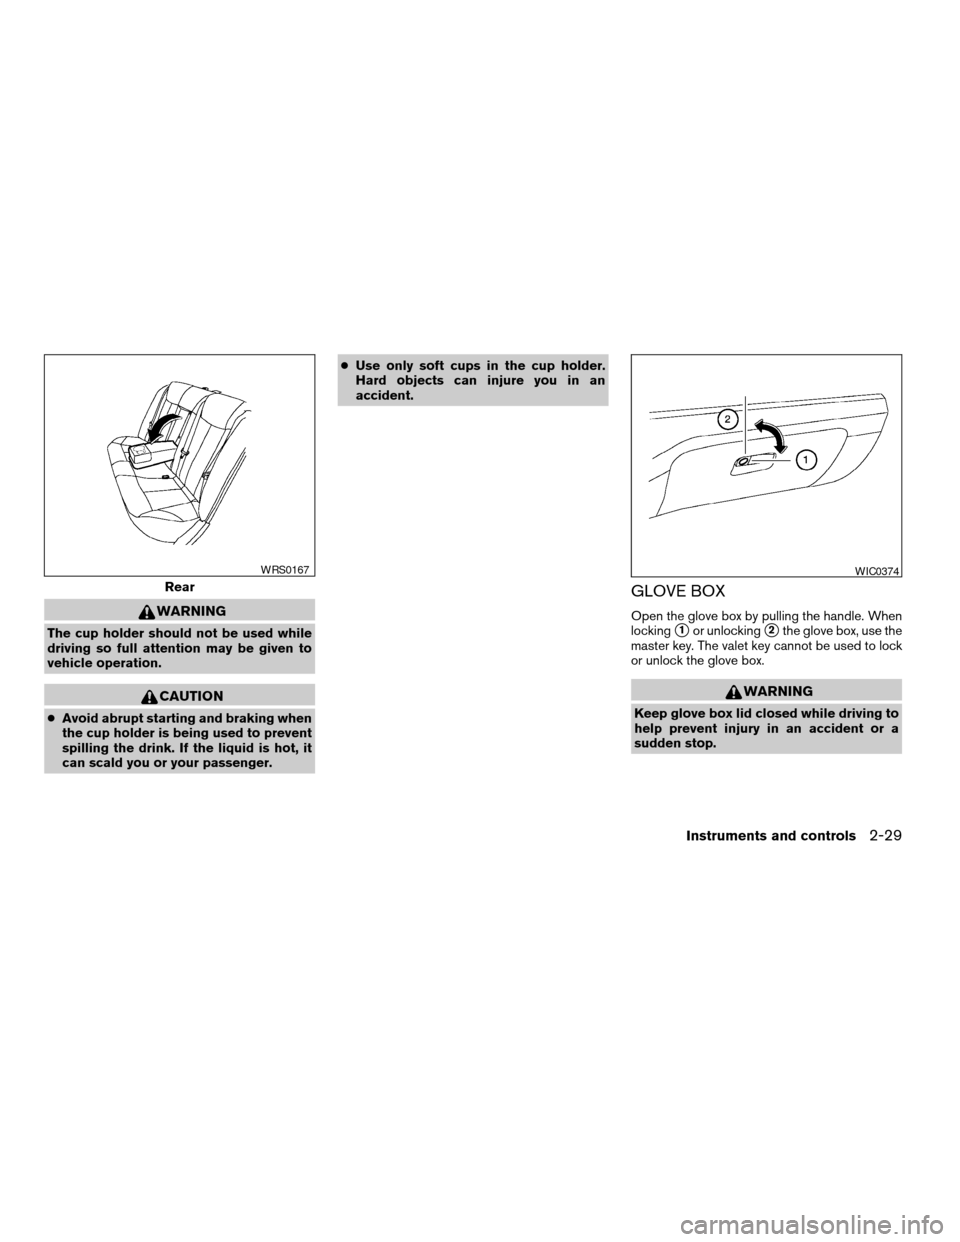
GLOVE BOX
Open the glove box by pulling the handle. When
locking
s1or unlockings2the glove box, use the
master key. The valet key cannot be used to lock
or unlock the glove box.
WARNING
Keep glove box lid closed while driving to
help prevent injury in an accident or a
sudden stop.
Rear
WRS0167WIC0374
Instruments and controls2-29
ZREVIEW COPY:Ð2003 Altima(l30)
Owners Manual(owners)ÐUSA English(nna)
04/21/03Ðdebbie
X
Page 92 of 256

1. Master key (black) with transponder
chip
2. Valet key (red) with transponder chip
3. Key number plate
4. Transponder chip
A key number plate is supplied with your keys.
Record the key number and keep it in a safe place
(such as your wallet) , not in the vehicle. If you lose
your keys, see a NISSAN dealer for duplicates by
using the key number. NISSAN does not record
key numbers so it is very important to keep track
of your key number plate.
A key number is only necessary when you have
lost all keys and do not have one to duplicatefrom. If you still have a key, your NISSAN dealer
can duplicate it.
NISSAN VEHICLE IMMOBILIZER
SYSTEM (NVIS) KEYS
You can only drive your vehicle using the master
or valet keys which are registered to the NISSAN
Vehicle Immobilizer System components in your
vehicle. These keys have a transponder chip in
the key head.
The master key can be used for all the locks.
The valet key cannot be used for the trunk lid,
glove box lock or rear seatback lock.
To protect belongings when you leave a key with
someone, give them the valet key only.
Never leave these keys in the vehicle.
Additional or replacement keys:
If you still have a key, the key number is not
necessary when you need extra NISSAN Vehicle
Immobilizer System keys. Your dealer can dupli-
cate your existing key. As many as five NVIS keys
can be used with one vehicle. You should bring all
NVIS keys that you have to your NISSAN dealer
for registration. This is because the registration
process will erase the memory of all key codes
previously registered into the NISSAN Vehicle
Immobilizer System. After the registration pro-cess, these components will only recognize keys
coded into the NISSAN Vehicle Immobilizer Sys-
tem (NVIS) during registration. Any key that is not
given to your dealer at the time of registration will
no longer be able to start your vehicle.
WPD0128
KEYS
3-2Pre-driving checks and adjustments
ZREVIEW COPY:Ð2003 Altima(l30)
Owners Manual(owners)ÐUSA English(nna)
04/21/03Ðdebbie
X
Page 101 of 256

OPENER OPERATION
WARNING
cDo not drive with the trunk lid open. This
could allow dangerous exhaust gases
to be drawn into the vehicle. See “Ex-
haust gas” in the “Starting and driving”
section of this manual.cClosely supervise children when they
are around cars to prevent them from
playing and becoming locked in the
trunk where they could be seriously in-
jured. Keep the car locked, with the rear
seatback and trunk lid securely latched
when not in use, and prevent children’s
access to car keys.
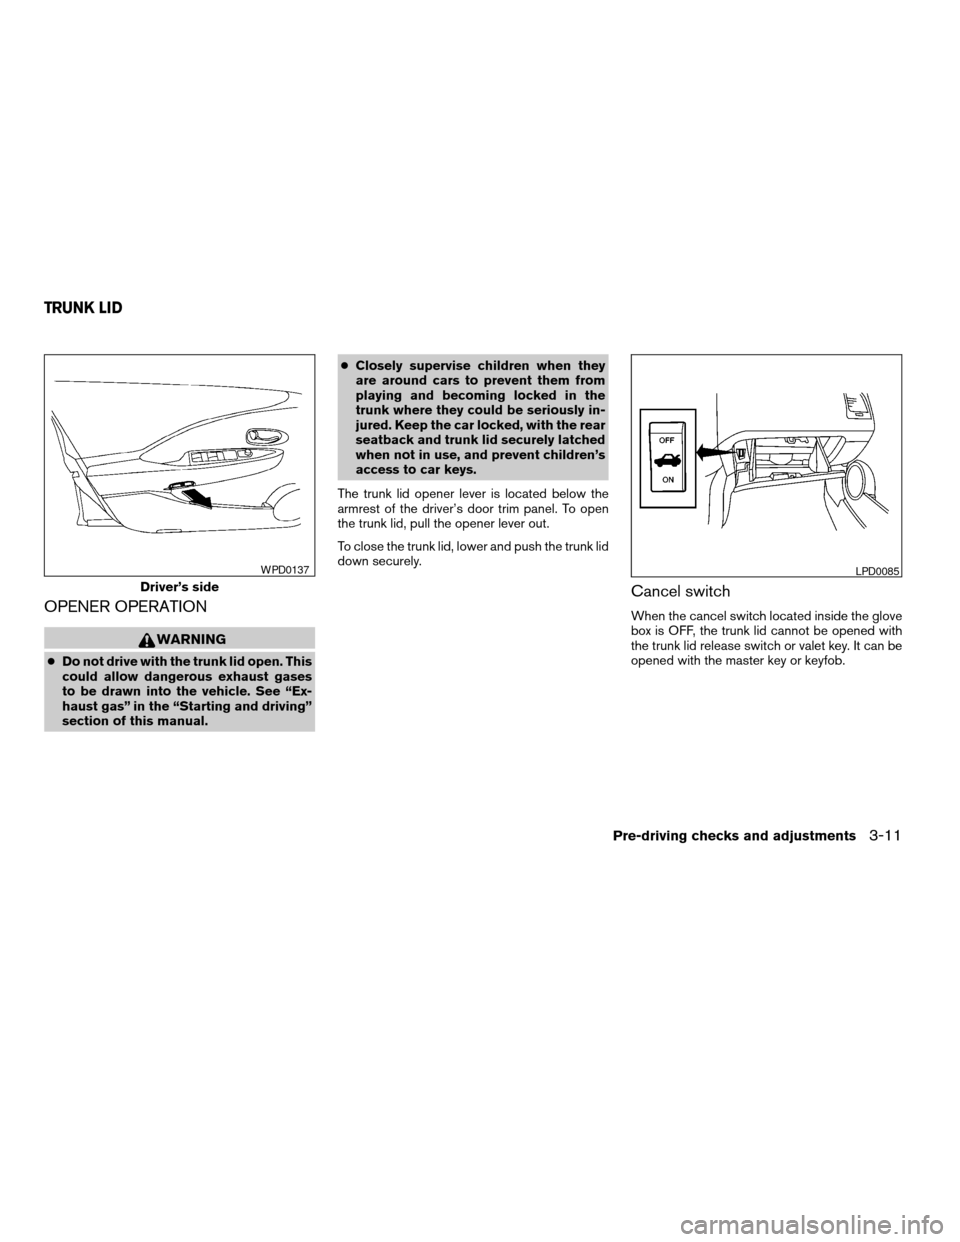
The trunk lid opener lever is located below the
armrest of the driver’s door trim panel. To open
the trunk lid, pull the opener lever out.
To close the trunk lid, lower and push the trunk lid
down securely.
Cancel switch
When the cancel switch located inside the glove
box is OFF, the trunk lid cannot be opened with
the trunk lid release switch or valet key. It can be
opened with the master key or keyfob.
Driver’s side
WPD0137LPD0085
TRUNK LID
Pre-driving checks and adjustments3-11
ZREVIEW COPY:Ð2003 Altima(l30)
Owners Manual(owners)ÐUSA English(nna)
04/21/03Ðdebbie
X
Page 198 of 256

The air cleaner filter should not be cleaned and
reused. Replace it according to the maintenance
intervals shown in the “NISSAN Service and
Maintenance Guide.” When replacing the filter,
wipe the inside of the air cleaner filter housing
and the cover with a damp cloth.
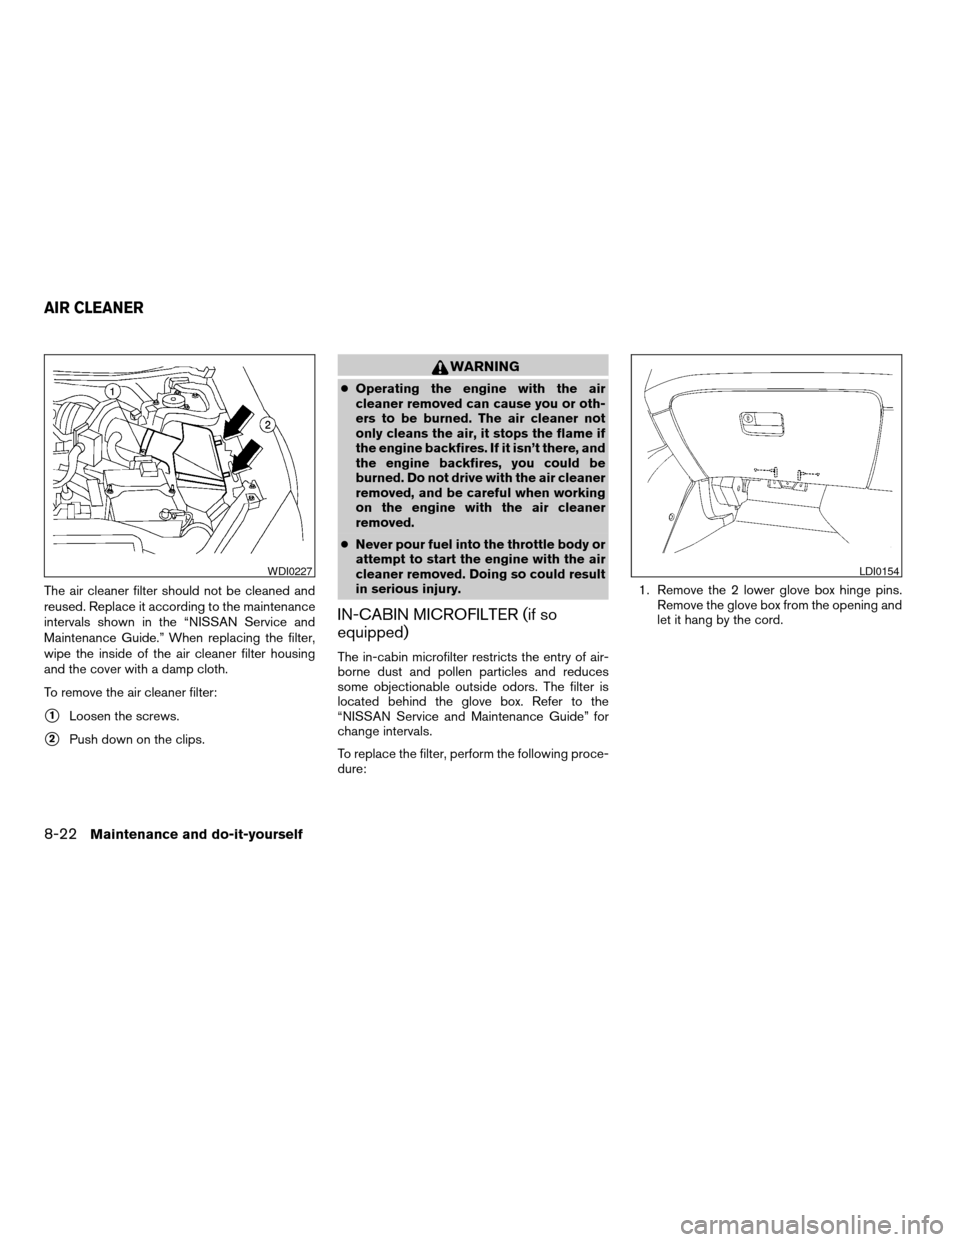
To remove the air cleaner filter:
s1Loosen the screws.
s2Push down on the clips.
WARNING
cOperating the engine with the air
cleaner removed can cause you or oth-
ers to be burned. The air cleaner not
only cleans the air, it stops the flame if
the engine backfires. If it isn’t there, and
the engine backfires, you could be
burned. Do not drive with the air cleaner
removed, and be careful when working
on the engine with the air cleaner
removed.
cNever pour fuel into the throttle body or
attempt to start the engine with the air
cleaner removed. Doing so could result
in serious injury.
IN-CABIN MICROFILTER (if so
equipped)
The in-cabin microfilter restricts the entry of air-
borne dust and pollen particles and reduces
some objectionable outside odors. The filter is
located behind the glove box. Refer to the
“NISSAN Service and Maintenance Guide” for
change intervals.
To replace the filter, perform the following proce-
dure:1. Remove the 2 lower glove box hinge pins.
Remove the glove box from the opening and
let it hang by the cord.
WDI0227LDI0154
AIR CLEANER
8-22Maintenance and do-it-yourself
ZREVIEW COPY:Ð2003 Altima(l30)
Owners Manual(owners)ÐUSA English(nna)
04/21/03Ðdebbie
X
Page 200 of 256

NOTE:
Make sure the filter sits on top of the 2
supporting tabs on the housing.
4. Replace the cover by inserting the upper
tabs inside the housing slot and pushing the
hook tabs until they snap on to the housing
lip.
5. Install the glove box door.
6. Fill out the date information on the small
replacement label and attach it to the glove
box lid.
LDI0157
8-24Maintenance and do-it-yourself
ZREVIEW COPY:Ð2003 Altima(l30)
Owners Manual(owners)ÐUSA English(nna)
04/21/03Ðdebbie
X