Page 63 of 304

63 Safety and Security
Occupant safety
The
7
indicator lamp located in the
center console will be illuminated, except
with the key removed or in the steering
lock position0.Self-test BabySmart
TM
without special
child seat installed
After turning the key in the steering lock to
position1 or2, the
7
indicator lamp
located in the center console lights up for
approx. 6 seconds and then goes out.
If the indicator lamp should not come on or
is continuously lit, the system is not func-
tioning. You must see an authorized
Mercedes-Benz Center before seating any
child on the passenger seat.
More information can be found in the
“Practical hints” section (�page 205).
iThe system does not deactivate the
side impact airbag and the emergency
tensioning device.
Warning!
G
The BabySmart
TM airbag deactivation sys-
tem will ONLY work with a special child seat
designed to operate with it. It will not work
with child seats which are not BabySmart
TM
compatible.
Never place anything between seat cushion
and child seat (e.g. pillow), since it reduces
the effectiveness of the deactivation sys-
tem. The bottom of the child seat must
make full contact with the passenger seat
cushion. An incorrectly mounted child seat
could cause injuries to the child in case of an
accident, instead of protecting the child.
Follow the manufacturer’s instructions for
installation of special child seats.
Page 67 of 304

67 Safety and Security
Driving safety systems
Continuous steady brake pedal pressure
yields the advantages provided by the ABS,
namely braking power and ability to steer
the vehicle.
On slippery road surfaces, the ABS will re-
spond even with light brake pressure. The
pulsating brake pedal can be an indication
of hazardous road conditions and func-
tions as a reminder to take extra care while
driving.ABS control
The
-
malfunction indicator lamp in
the instrument cluster lights up when you
turn the key in the steering lock to
position2. It goes out when the engine is
running.
More information can be found in the
“Practical hints” section (
�page 196).
iTo alert following vehicles to slippery
road conditions you discover, operate
your hazard warning flashers as appro-
priate.
Warning!
G
The ABS cannot prevent the natural laws of
physics from acting on the vehicle, nor can
it increase braking or steering efficiency be-
yond that afforded by the condition of the
vehicle brakes and tires or the traction. The
ABS cannot prevent accidents, including
those resulting from excessive speed in
turns, following another vehicle too closely,
or hydroplaning. Only a safe, attentive, and
skillful driver can prevent accidents. The ca-
pabilities of an ABS equipped vehicle must
never be exploited in a reckless or danger-
ous manner which could jeopardize the us-
er’s safety or the safety of others.
Page 68 of 304
 operates in
emergency situations. If you apply the
brakes very quickly, the BAS automatically
provides full brake boost")
68 Safety and SecurityDriving safety systemsBAS
The Brake Assist System (BAS) operates in
emergency situations. If you apply the
brakes very quickly, the BAS automatically
provides full brake boost, thereby poten-
tially reducing braking distance. Apply con-
tinuous full braking pressure until the
emergency braking situation is over. The
ABS will prevent the wheels from locking.
When you release the brake pedal, the
brakes function again as normal. The BAS
is then deactivated.
The malfunction indicator lamp for the ESP
is combined with that of the BAS.
The
¿
malfunction indicator lamp in
the instrument cluster lights up when you
turn the key in the steering lock to
position2. It goes out when the engine is
running.
More information can be found in the
“Practical hints” section.
ESP
The Electronic Stability Program (ESP)
monitors the vehicle's traction (force of
adhesive friction between the tires and the
road surface) and handling.
The ESP recognizes when a wheel is spin-
ning or if the vehicle starts to skid. By ap-
plying brakes to the appropriate wheel and
by limiting engine output, the ESP works to
stabilize the vehicle. The ESP is especially
useful while driving off and on wet or slip-
pery road surfaces.
The ESP warning lamp
v
in the speed-
ometer dial flashes when the ESP is en-
gaged.
The warning lamp
v
in the speedome-
ter dial lights up when you turn the key in
the steering lock to position2. It goes out
when the engine is running.
Warning!
G
The BAS cannot prevent the natural laws of
physics from acting on the vehicle, nor can
it increase braking efficiency beyond that af-
forded by the condition of the vehicle brakes
and tires or the traction. The BAS cannot
prevent accidents, including those resulting
from excessive speed in turns, following an-
other vehicle too closely, or hydroplaning.
Only a safe, attentive, and skillful driver can
prevent accidents. The capabilities of a BAS
equipped vehicle must never be exploited in
a reckless or dangerous manner which
could jeopardize the user’s safety or the
safety of others.
Page 81 of 304
.
Heated seats*
The seat heater switches are located in the
center conso")
81 Controls in detail
Seats
Seats
Information on seat adjustment can be
found in the “Getting started” section
(�page 30).
Heated seats*
The seat heater switches are located in the
center console.
1Normal heating
2Rapid heating�
Make sure that the ignition is switched
on.
All the lamps in the instrument cluster
light up.Switching on seat heating
�
Press upper switch position1.
One indicator lamp on the switch lights
up.
Switching on rapid seat heating
�
Press lower switch position2.
Both indicator lamps on the switch light
up.Switching off seat heating
�
If one indicator lamp is on, press upper
switch position1.
�
If both indicator lamps are on, press
lower switch position2.
!If one or both of the indicator lamps on
the seat heater switch are blinking,
there is insufficient voltage available
since too many electrical consumers
are turned on. The seat heater switches
off automatically.
The seat heater will switch back on
again automatically as soon as suffi-
cient voltage is available.
iThe system switches over to normal
heating mode after approximately five
minutes. Only one indicator lamp re-
mains lit. iThe seat heater will be automatically
switched off after approximately
30 minutes.
Page 83 of 304
.
Exterior lamp switch
The exterior la")
83 Controls in detail
Lighting
Lighting
For notes on how to switch on the head-
lamps and use the turn signals, see the
“Getting started” section (
�page 43).
Exterior lamp switch
The exterior lamp switch is located on the
dashboard to the left of the steering wheel.Exterior lamp switch
M
Off
C
Parking lamps (also side marker
lamps, tail lamps, license plate
lamps, instrument panel lamps)
Canada only: When engine is run-
ning, the low beam is also switched
on.
B
Low beam plus parking lamps or
high beam headlamps (combination
switch pushed forward).
ˆ
Standing lamps, right (turn left one
stop)
‚
Standing lamps, left (turn left two
stops)Daytime running lamp mode (Canada
only)
Vehicles with automatic transmission
When the engine is running and the
selector lever is in driving position, the low
beam headlamps are automatically
switched on.
When you shift from a driving position to
positionN orP, the low beam switches off
(2 seconds delay).
Vehicles with manual transmission
With the engine running, the low beam
headlamps are automatically switched on.
iIf you remove the key and open the
driver’s door while the parking lamps or
low beam headlamps are switched on,
then a warning sounds.
iWith the daytime running lamp mode
activated and the engine running, the
low beam headlamps cannot be
switched off manually.
Page 84 of 304
84 Controls in detailLightingFor nighttime driving you should turn the
exterior lamp switch to position
B
to
permit activation of the high beam head-
lamps.
Switching on front fog lamps
�
Check that the low beam headlamps
are switched on.
�
Pull out exterior lamp switch to first
stop.
The green indicator lamp
‡
in the
lamp switch lights up.Switching on rear fog lamp
�
Check that the low beam headlamps
are switched on.
�
Pull out exterior lamp switch to second
stop.
The yellow indicator lamp
†
in the
lamp switch lights up.
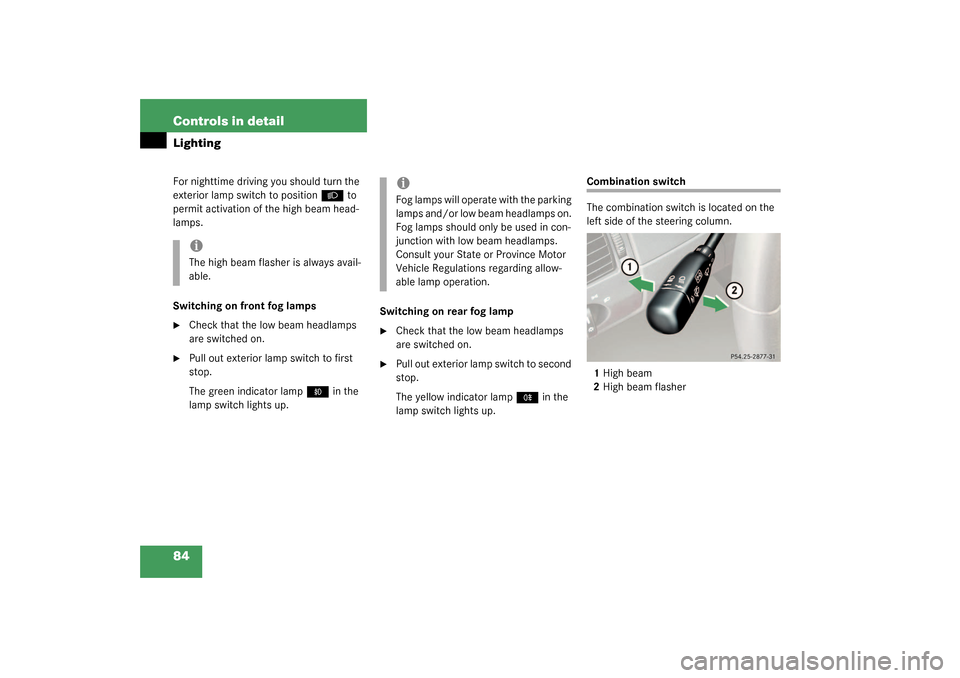
Combination switch
The combination switch is located on the
left side of the steering column.
1High beam
2High beam flasher
iThe high beam flasher is always avail-
able.
iFog lamps will operate with the parking
lamps and/or low beam headlamps on.
Fog lamps should only be used in con-
junction with low beam headlamps.
Consult your State or Province Motor
Vehicle Regulations regarding allow-
able lamp operation.
Page 85 of 304
85 Controls in detail
Lighting
Switching on high beams�
Turn exterior lamp switch to
position
B
�
Push the combination switch in
direction1.
The high beam symbol is illuminated on
the instrument cluster.
High beam flasher
�
Pull the combination switch briefly in
direction2.
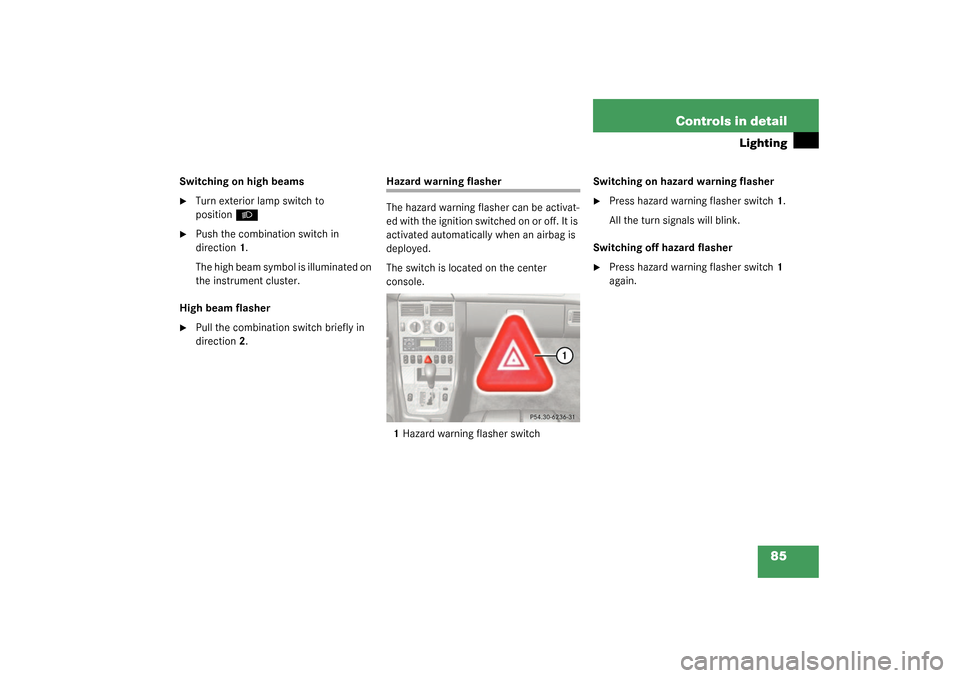
Hazard warning flasher
The hazard warning flasher can be activat-
ed with the ignition switched on or off. It is
activated automatically when an airbag is
deployed.
The switch is located on the center
console.
1Hazard warning flasher switchSwitching on hazard warning flasher
�
Press hazard warning flasher switch1.
All the turn signals will blink.
Switching off hazard flasher
�
Press hazard warning flasher switch1
again.
Page 143 of 304
.
�
Slide cover2 rearward.
�
Push in cigarette lighter1.")
143 Controls in detail
Useful features
Cigarette lighter
1Cigarette lighter
2Cover�
Turn key in the steering lock to
position1 or2 (
�page 29).
�
Slide cover2 rearward.
�
Push in cigarette lighter1.
The cigarette lighter will pop out auto-
matically when hot.
Telephone*
Radio transmitters, such as a portable tele-
phone or a citizens band unit, should only
be used inside the vehicle if they are con-
nected to an antenna that is installed on
the outside of the vehicle.
The external antenna must be approved by
Mercedes-Benz. Please contact an autho-
rized Mercedes-Benz Center for informa-
tion on the installation of an approved
external antenna. Refer to the radio trans-
mitter operation instructions regarding use
of an external antenna.
Warning!
G
Never touch the heating element or sides of
the cigarette lighter; they are extremely hot.
Hold the knob only.
When leaving the vehicle, always remove the
key from the steering lock, and lock your
vehicle. Do not leave children unattended in
the vehicle, or with access to an unlocked
vehicle. Unsupervised use of vehicle equip-
ment may cause an accident and/or serious
personal injury.iThe cigarette lighter socket can be
used to accommodate electrical acces-
sories up to a maximum 85 W.
Warning!
G
Never operate radio transmitters equipped
with a built-in or attached antenna (i.e. with-
out being connected to an external antenna)
from inside the vehicle while the engine is
running. Doing so could lead to a malfunc-
tion of the vehicle’s electronic system, pos-
sibly resulting in an accident and/or serious
personal injury.