33 Getting started
Adjusting
The seat adjustment switch is located in
the door.
1Seat fore and aft adjustment
2Seat height
3Seat cushion tilt
4Backrest tilt
5Seat cushion depth
6Head restraint height�
Switch on the ignition by turning the
key in the starter switch to position2
or pressing the KEYLESS GO*
start/stop button twice.Seat fore and aft adjustment
�
Press the switch forward or backward
in the direction of arrow1.
Seat height
�
Press the switch up or down in the di-
rection of arrow2.
Seat cushion tilt
�
Press the switch up or down in the di-
rection of arrow3 until your upper legs
are lightly supported.
Backrest tilt
�
Press the switch forward or back in the
direction of arrow4.Seat cushion depth
�
Press the switch forward or back in the
direction of arrow5.
Head restraint height
�
Press the switch up or down in the di-
rection of arrow6.
!When moving the seat, be sure that
nothing is in the auxiliary cup holder
and that there are no items in the foot-
well or behind the seats. Otherwise the
seats could be damaged.
Warning!
G
For your protection, drive only with properly
positioned head restraints.
Adjust head restraint to support the back of
the head approximately at ear level.
Do not drive the vehicle without the seat
head restraints. Head restraints are intend-
ed to help reduce injuries during an acci-
dent.
199 Controls in detail
Useful features
Lowering the hardtop
The hardtop can only be lowered when the
luggage cover is closed and the trunk lid is
completely opened.�
Close the luggage cover.
�
Press button3.
The hardtop lowers. Button3 is dimly
lit.
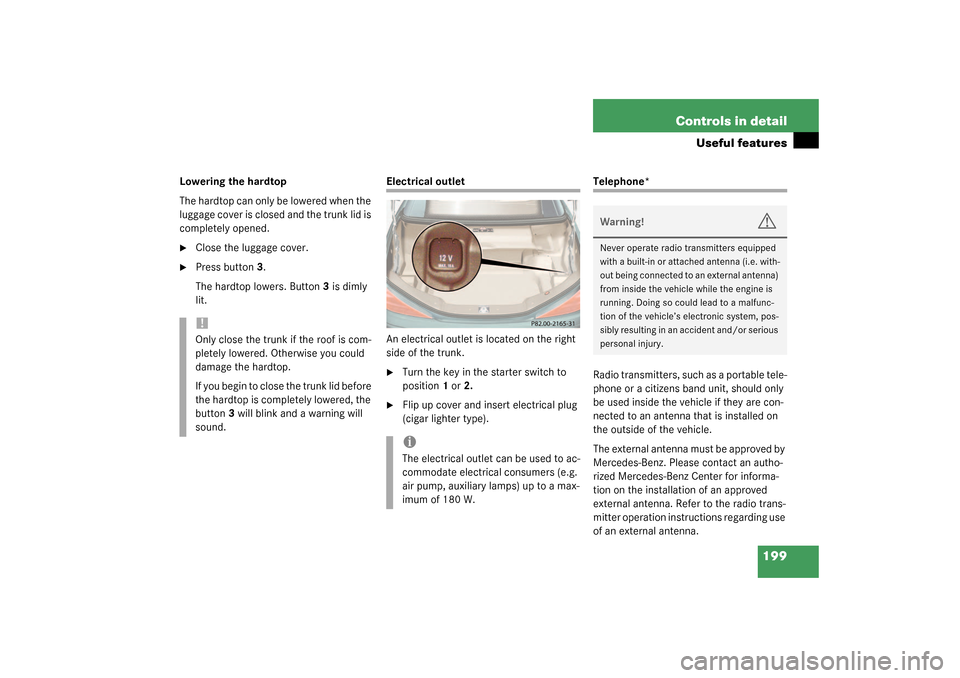
Electrical outlet
An electrical outlet is located on the right
side of the trunk.�
Turn the key in the starter switch to
position1 or2.
�
Flip up cover and insert electrical plug
(cigar lighter type).
Telephone*
Radio transmitters, such as a portable tele-
phone or a citizens band unit, should only
be used inside the vehicle if they are con-
nected to an antenna that is installed on
the outside of the vehicle.
The external antenna must be approved by
Mercedes-Benz. Please contact an autho-
rized Mercedes-Benz Center for informa-
tion on the installation of an approved
external antenna. Refer to the radio trans-
mitter operation instructions regarding use
of an external antenna.
!Only close the trunk if the roof is com-
pletely lowered. Otherwise you could
damage the hardtop.
If you begin to close the trunk lid before
the hardtop is completely lowered, the
button3 will blink and a warning will
sound.
iThe electrical outlet can be used to ac-
commodate electrical consumers (e.g.
air pump, auxiliary lamps) up to a max-
imum of 180 W.
Warning!
G
Never operate radio transmitters equipped
with a built-in or attached antenna (i.e. with-
out being connected to an external antenna)
from inside the vehicle while the engine is
running. Doing so could lead to a malfunc-
tion of the vehicle’s electronic system, pos-
sibly resulting in an accident and/or serious
personal injury.
358 IndexAnti-theft alarm system 75
Arming 76
Canceling the alarm 76
Disarming 76
Anti-theft systems
Anti-theft alarm system 75
Tow-away alarm 77
Aquaplaning see Hydroplanning 219
Armrest
Storage space 193
Ashtray 23, 196
ATF (automatic transmission fluid) 230
Automatic climate control 23, 147
Center air vents 23
Deactivating 154
Residual heat utilization 154
Side air vents 23
Temperature sensor 25
Automatic transmission 137
Emergency operation (Limp Home
Mode) 144
Gear ranges 139
Gear shifting malfunctions 144
Kickdown 142
Manual shift program mode
(SL 55 AMG Kompressor) 142Manual shifting 138
One-touch gearshifting 138
Program mode selector switch 24,
141
Selector lever 24
Selector lever position 137
Transmission fluid 230
Winter program mode 141
Auxiliary cup holder 191
Inserting 191
Removing 192
B
BabySmart
TM airbag deactivation
system 64, 351
BabySmartTM compatible child
seats 351
Backrest supports
Lumbar region 94
Shoulder region 94
Backrest tilt 33
Backup lamp bulbs 296
Backup lamps 299
BAS 68, 69, 351
Messages in display 260Batteries, electronic key
Changing 293
Check lamp 81
Checking 82
Batteries, KEYLESS-GO* card
Changing 294
Check lamp 87
Checking 87
Batteries, vehicle 232
Charging 321
Disconnecting 320
For electrical consumers 232, 289,
319
For starter 232, 319
Messages in display 263, 264
Reconnecting 321
Removing 321
Service 319
Bi-Xenon headlamps 351
Block heater 240
Brake fluid 226, 342, 343
Brake lamp bulb, high mounted 296
Brake lamp bulbs, left and right 296
Brake pads
Message in display 265