Page 118 of 416

118 Controls in detailMemory functionStoring positions into memory�
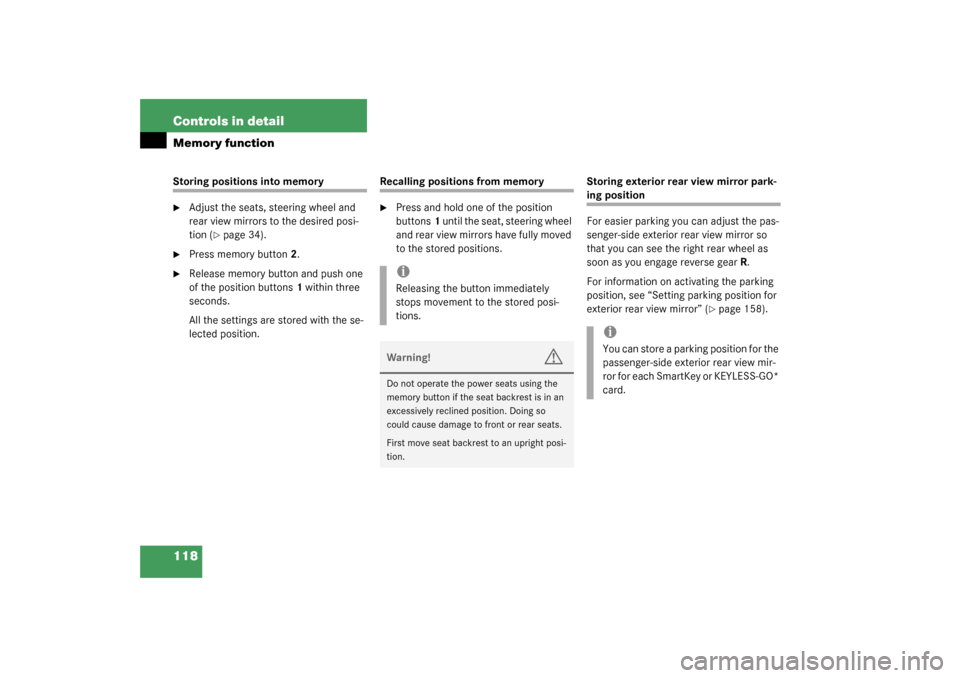
Adjust the seats, steering wheel and
rear view mirrors to the desired posi-
tion (
�page 34).
�
Press memory button2.
�
Release memory button and push one
of the position buttons1 within three
seconds.
All the settings are stored with the se-
lected position.
Recalling positions from memory�
Press and hold one of the position
buttons1 until the seat, steering wheel
and rear view mirrors have fully moved
to the stored positions.Storing exterior rear view mirror park-
ing position
For easier parking you can adjust the pas-
senger-side exterior rear view mirror so
that you can see the right rear wheel as
soon as you engage reverse gearR.
For information on activating the parking
position, see “Setting parking position for
exterior rear view mirror” (
�page 158).
iReleasing the button immediately
stops movement to the stored posi-
tions.Warning!
G
Do not operate the power seats using the
memory button if the seat backrest is in an
excessively reclined position. Doing so
could cause damage to front or rear seats.
First move seat backrest to an upright posi-
tion.
iYou can store a parking position for the
passenger-side exterior rear view mir-
ror for each SmartKey or KEYLESS-GO*
card.
Page 120 of 416

120 Controls in detailLighting
LightingFor notes on how to switch on the head-
lamps and use the turn signals, see the
“Getting started” section (
�page 46).
Exterior lamp switch
The exterior lamp switch is located on the
dashboard to the left of the steering wheel.
M
Off
U
Automatic headlamp mode
C
Parking lamps (also side marker
lamps, tail lamps, license plate
lamps, instrument panel lamps)
Canada only: When engine is run-
ning, the low beam is also switched
on.
B
Parking lamps plus low beam or
high beam headlamps (combination
switch pushed forward).
ˆ
Standing lamps, right (turn left one
stop)
‚
Standing lamps, left (turn left two
stops)
iIf you remove the SmartKey and open
the driver’s door while the parking
lamps or low beam headlamps are
switched on, then: �
A warning sounds.
�
$
appears in the multifunction
display.
�
The message
TURN OFF LIGHTS!
ap-
pears in the multifunction display.
iWith the daytime running lamp mode
activated and the engine running, the
low beam headlamps cannot be
switched off manually.
Page 124 of 416
124 Controls in detailLightingHazard warning flasher
The hazard warning flasher can be activat-
ed with the starter switched on or off. It is
activated automatically when an airbag is
deployed.
The switch is located on the center con-
sole.
1Hazard warning flasher switchSwitching on the hazard warning
flasher
�
Press the hazard warning flasher
switch.
All turn signals will blink.
Switching off the hazard warning
flasher
�
Press hazard warning flasher switch
again.
Interior lighting
The controls are located in the overhead
control panel.
1Left front reading lamp
2Rear interior lights
3Right front reading lamp
4Rocker switch for automatic control
system
iWith the hazard warning flasher acti-
vated and the combination switch set
for either left or right turn, only the re-
spective left or right turn signals will
operate when the SmartKey in the
starter switch is in position1 or2.iIf the hazard warning flasher was acti-
vated automatically, press switch1
twice.
Page 125 of 416
125 Controls in detail
Lighting
Automatic control
Activating�
Press rocker switch 4 to the center po-
sition.
Interior lamps are switched on in dark-
ness, when:�
the vehicle is unlocked
�
a door is opened
�
the SmartKey is removed from the
starter switch
The interior lamps are switched off after a
set time (�page 153).Deactivating
�
Press the
ñ
symbol on rocker
switch 4.
The interior lighting remains switched
off in darkness even when you
�
unlock the vehicle
�
open a door
�
remove the SmartKey from the
starter switchManual control
Switching lamps on
�
Press the
ð
symbol on rocker
switch 4.
The front interior lighting switches on.
Switching lamps off
�
Press the
ñ
symbol on rocker
switch 4.
The interior lighting switches off. The
automatic control function is switched
on.
iIf the door remains open, the interior
lamps switch off automatically after ap-
proximately five minutes.
Page 126 of 416
126 Controls in detailLightingSwitching rear interior lights on�
Press switch2.
The rear compartment lighting is
switched on.
Switching rear interior lights off
�
Press switch2.
The rear compartment lighting is
switched off.
Front reading lamps
Switching on
�
Press switch 1 or 3.
The corresponding reading lamp is
switched on.
Switching off
�
Press switch 1 or 3.
The corresponding reading lamp is
switched off.
Courtesy lighting
For better orientation in the dark, courtesy
lamps will illuminate the interior of your ve-
hicle as follows:
With parking lamps switched on:�
the door entry lamps
�
the driver and passenger footwells
With SmartKey in starter switch position1:
�
the door entry lamps
�
the center consoleiIf you turn the SmartKey in the starter
switch to position0 and switch off the
headlamps, the door entry lamps will
remain lit for approximately five min-
utes.
Page 130 of 416

130 Controls in detailControl system
Control systemThe control system is activated as soon as
the SmartKey in the starter switch is
turned to position1. The control system
enables you to:�
call up information about your vehicle
�
change vehicle settings
For example, you can use the control sys-
tem to find out when your vehicle is next
due for service, to set the language for
messages in the instrument cluster dis-
play, and much more.
The control system relays information to
the multifunction display.
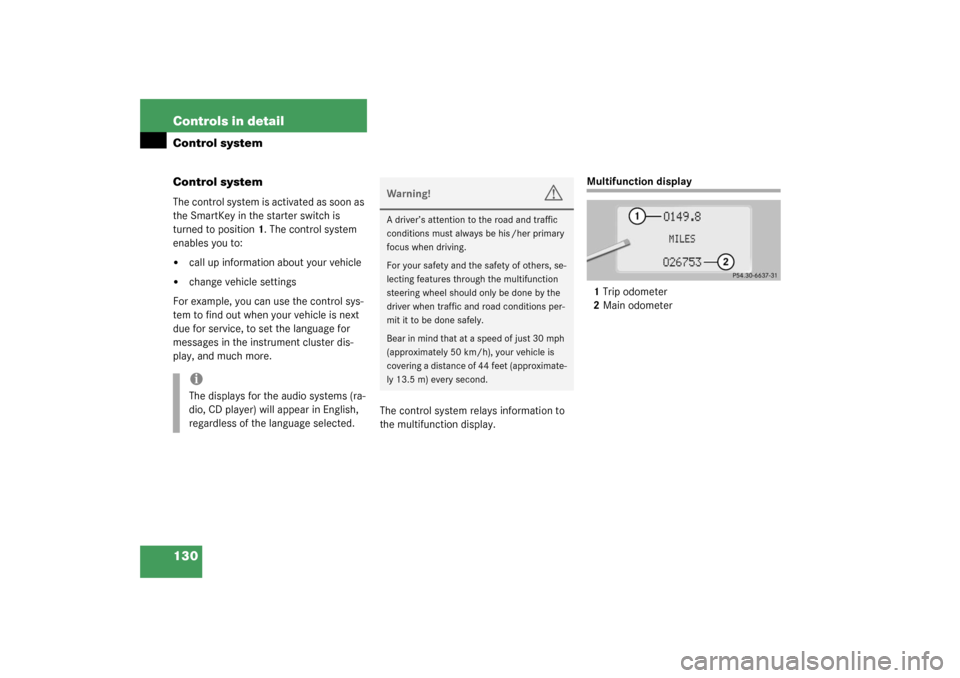
Multifunction display
1Trip odometer
2Main odometer
iThe displays for the audio systems (ra-
dio, CD player) will appear in English,
regardless of the language selected.
Warning!
G
A driver’s attention to the road and traffic
conditions must always be his /her primary
focus when driving.
For your safety and the safety of others, se-
lecting features through the multifunction
steering wheel should only be done by the
driver when traffic and road conditions per-
mit it to be done safely.
Bear in mind that at a speed of just 30 mph
(approximately 50 km/h), your vehicle is
covering a distance of 44 feet (approximate-
ly 13.5 m) every second.
Page 146 of 416

146 Controls in detailControl system�
Press button
k
or
j
.
The stored messages will now be dis-
played in the order in which the mal-
functions have occurred. See the
“Practical hints” section for malfunc-
tion and warning messages
(
�page 296).
Should any malfunctions occur while driv-
ing, the number of malfunctions will reap-
pear in the display when the SmartKey in
the starter switch is turned to position0 or
removed from the starter switch.
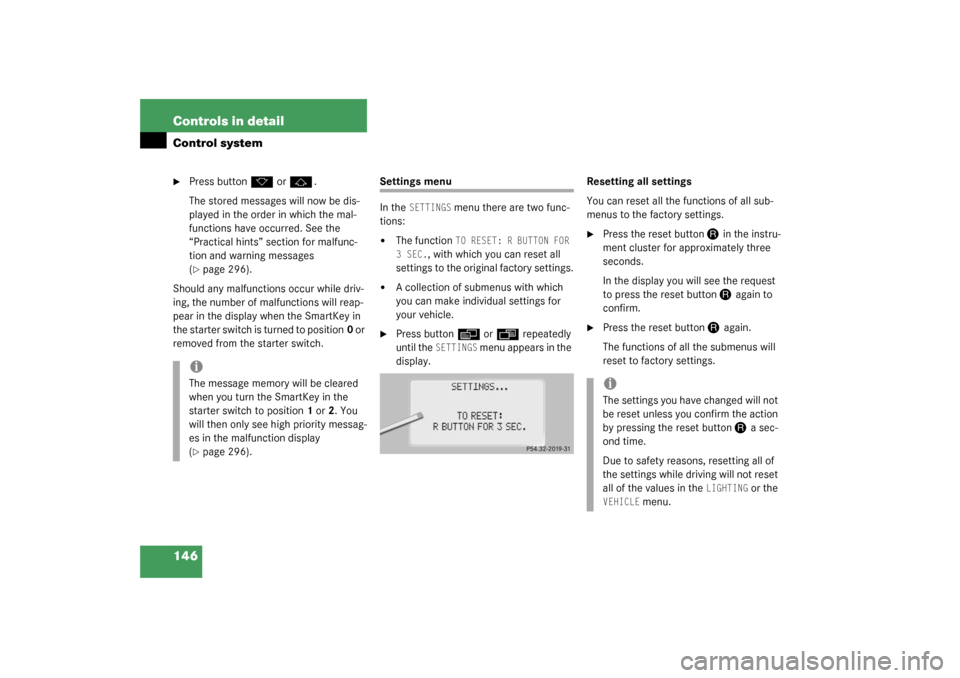
Settings menu
In the
SETTINGS
menu there are two func-
tions:
�
The function
TO RESET: R BUTTON FOR
3 SEC.
, with which you can reset all
settings to the original factory settings.
�
A collection of submenus with which
you can make individual settings for
your vehicle.
�
Press button
è
or
ÿ
repeatedly
until the
SETTINGS
m e n u a p p e a r s i n t h e
display.Resetting all settings
You can reset all the functions of all sub-
menus to the factory settings.
�
Press the reset button
J
in the instru-
ment cluster for approximately three
seconds.
In the display you will see the request
to press the reset button J
again to
confirm.
�
Press the reset button
J
again.
The functions of all the submenus will
reset to factory settings.
iThe message memory will be cleared
when you turn the SmartKey in the
starter switch to position1 or2. You
will then only see high priority messag-
es in the malfunction display
(�page 296).
iThe settings you have changed will not
be reset unless you confirm the action
by pressing the reset button
J
a sec-
ond time.
Due to safety reasons, resetting all of
the settings while driving will not reset
all of the values in the
LIGHTING
or the
VEHICLE
menu.
Page 152 of 416

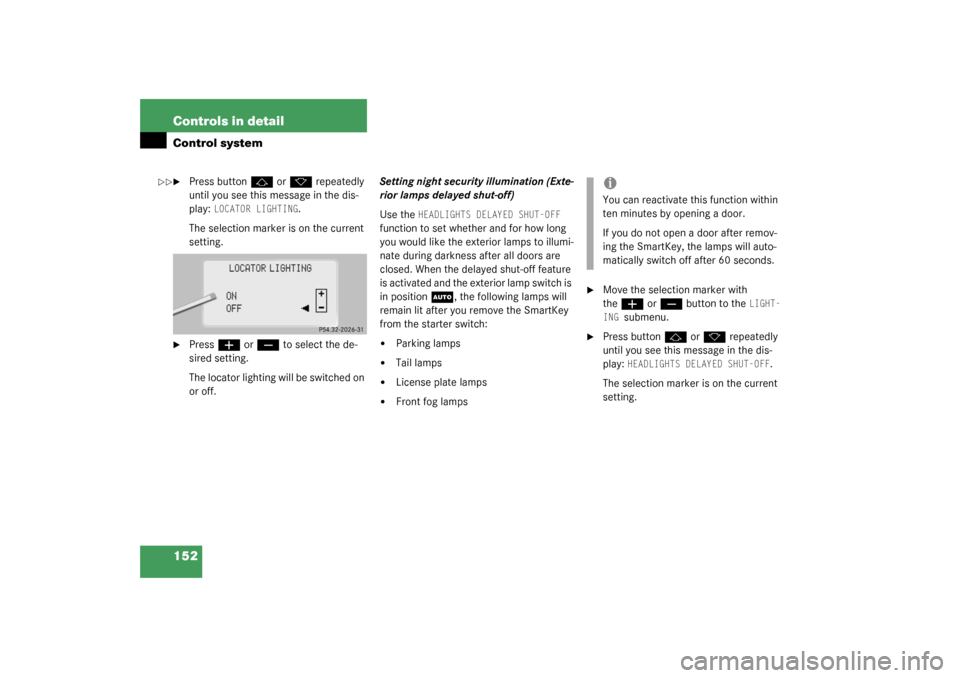
152 Controls in detailControl system�
Press button
j
or
k
repeatedly
until you see this message in the dis-
play:
LOCATOR LIGHTING
.
The selection marker is on the current
setting.
�
Press
æ
or
ç
to select the de-
sired setting.
The locator lighting will be switched on
or off.Setting night security illumination (Exte-
rior lamps delayed shut-off)
Use the
HEADLIGHTS DELAYED SHUT-OFF
function to set whether and for how long
you would like the exterior lamps to illumi-
nate during darkness after all doors are
closed. When the delayed shut-off feature
is activated and the exterior lamp switch is
in position
U
, the following lamps will
remain lit after you remove the SmartKey
from the starter switch:
�
Parking lamps
�
Tail lamps
�
License plate lamps
�
Front fog lamps
�
Move the selection marker with
the
æ
or
ç
button to the
LIGHT-
ING
submenu.
�
Press button
j
or
k
repeatedly
until you see this message in the dis-
play:
HEADLIGHTS DELAYED SHUT-OFF
.
The selection marker is on the current
setting.
��
iYou can reactivate this function within
ten minutes by opening a door.
If you do not open a door after remov-
ing the SmartKey, the lamps will auto-
matically switch off after 60 seconds.