Page 293 of 416

293 Practical hints
What to do if …?
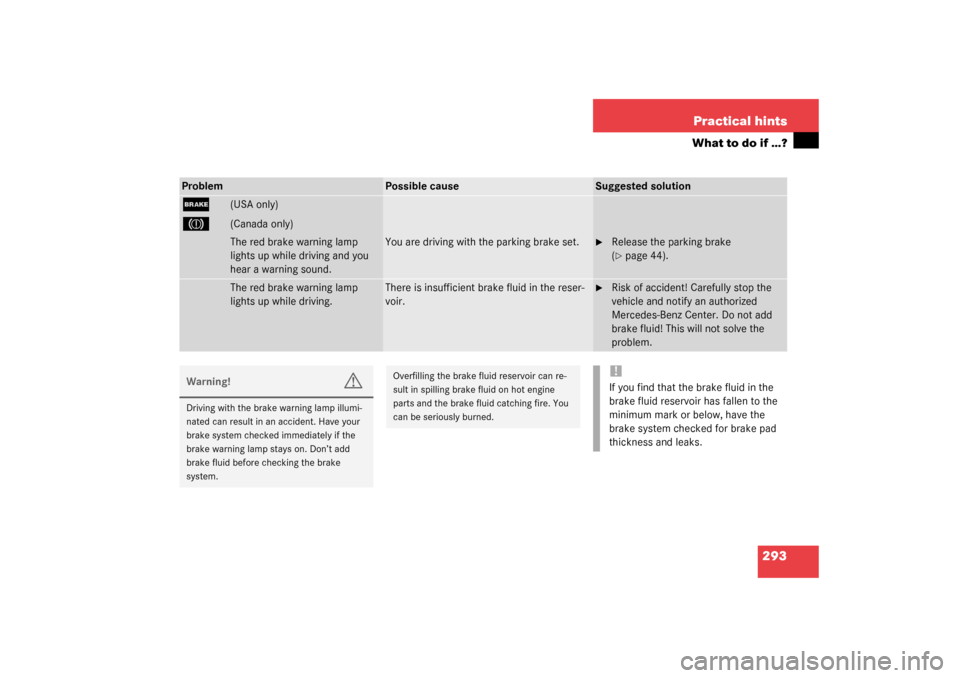
Problem
Possible cause
Suggested solution
;
(USA only)
3
(Canada only)The red brake warning lamp
lights up while driving and you
hear a warning sound.
You are driving with the parking brake set.
�
Release the parking brake
(�page 44).
The red brake warning lamp
lights up while driving.
There is insufficient brake fluid in the reser-
voir.
�
Risk of accident! Carefully stop the
vehicle and notify an authorized
Mercedes-Benz Center. Do not add
brake fluid! This will not solve the
problem.
Warning!
G
Driving with the brake warning lamp illumi-
nated can result in an accident. Have your
brake system checked immediately if the
brake warning lamp stays on. Don’t add
brake fluid before checking the brake
system.
Overfilling the brake fluid reservoir can re-
sult in spilling brake fluid on hot engine
parts and the brake fluid catching fire. You
can be seriously burned.
!If you find that the brake fluid in the
brake fluid reservoir has fallen to the
minimum mark or below, have the
brake system checked for brake pad
thickness and leaks.
Page 294 of 416

294 Practical hintsWhat to do if …?Problem
Possible cause
Suggested solution
?
The yellow “CHECK ENGINE”
malfunction indicator lamp
comes on while driving.
There is a malfunction in:�
The fuel management system
�
The ignition system
�
The emission control system
�
Systems which affect emissions
Such malfunctions may result in excessive
emissions values and may switch the engine
to its limp-home (emergency operation)
mode.
�
Have the vehicle checked as soon as
possible by an authorized
Mercedes-Benz Center.
An on-board diagnostic connector is
used by the service station to link the
vehicle to the shop diagnostics sys-
tem. It allows the accurate identifica-
tion of system malfunctions through
the readout of diagnostic trouble
codes. It is located in the front left
area of the footwell next to the park-
ing brake pedal.
The fuel cap is not closed tightly.
�
Close the fuel cap.
Your gas tank is empty.
�
After refuelling, start the engine three
or four times in succession.
The limp-home mode is canceled. You do
not need to have your vehicle checked.
The yellow fuel tank reserve
warning lamp lights up while
driving.
The fuel level has gone below the reserve
mark.
�
Refuel at the next gas station
(�page 261).
<
The red seat belt warning lamp
blinks for a brief period after
starting the engine.
The warning lamp reminds you to fasten seat
belts.
�
Fasten your seat belt.
Page 332 of 416

332 Practical hintsReplacing bulbsRear lamps Notes on bulb replacement
�
Use only 12 volt bulbs of the same type
and with the specified watt rating.
�
Switch lights off before changing a bulb
to prevent short circuits.
�
Always use a clean lint-free cloth when
handling bulbs.
�
Your hands should be dry and free of oil
and grease.
�
If the newly installed bulb does not light
up, visit an authorized Mercedes-Benz
Center.
�
Have the LEDs and bulbs for the follow-
ing lamps replaced by an authorized
Mercedes-Benz Center.�
Additional turn signal lamps in the
exterior rear view mirrors
�
High mounted brake lamp
�
Bi-Xenon lamps*
�
Front fog lamps
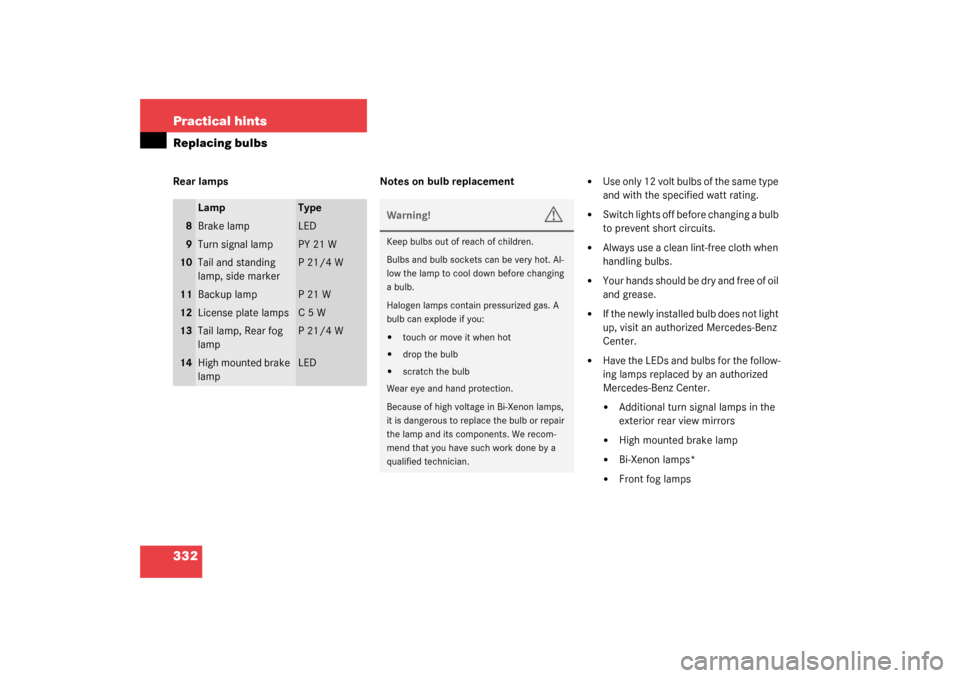
Lamp
Type
8
Brake lamp
LED
9
Turn signal lamp
PY 21 W
10
Tail and standing
lamp, side marker
P21/4W
11
Backup lamp
P21W
12
License plate lamps
C5W
13
Tail lamp, Rear fog
lamp
P21/4W
14
High mounted brake
lamp
LED
Warning!
G
Keep bulbs out of reach of children.
Bulbs and bulb sockets can be very hot. Al-
low the lamp to cool down before changing
a bulb.
Halogen lamps contain pressurized gas. A
bulb can explode if you:�
touch or move it when hot
�
drop the bulb
�
scratch the bulb
Wear eye and hand protection.
Because of high voltage in Bi-Xenon lamps,
it is dangerous to replace the bulb or repair
the lamp and its components. We recom-
mend that you have such work done by a
qualified technician.
Page 333 of 416
333 Practical hints
Replacing bulbs
Replacing bulbs for front lamps
1Headlamp cover for fog lamp
2Headlamp cover for high beam head-
lamp bulb, parking and standing lamp
3Headlamp cover for low beam
(Bi-Xenon* or halogen) headlamp bulb4Bulb socket for fog lamp
5Bulb socket for parking and standing
lamp
6Electrical connector for high beam
headlamp bulb
7Electrical connector for low beam
headlamp bulb
8Bulb socket for turn signal lampReplacing low beam bulbs
Bi-Xenon* headlamp
Halogen headlamp
�
Switch off the lights.
�
Open the hood (
�page 263).
�
Press the tab on cover3 and remove
cover.
�
Pull connector7 off of the lamp.
�
Release the retaining springs and take
out the bulb.Warning!
G
Do not remove the cover for the Bi-Xenon
headlamp. Because of high voltage in xenon
lamps, it is dangerous to replace the bulb or
repair the lamp and its components. We rec-
ommend that you have such work done by a
qualified technician.
��
Page 348 of 416

348 Practical hintsJump startingThe battery is located on the right side of
the trunk under the battery cover
(�page 344).
�
Make sure that the two vehicles do not
touch.
�
Turn off all electrical consumers.
�
Apply parking brake.
�
Shift gear selector lever to positionP.
�
Open the trunk lid.
�
Remove battery cover (
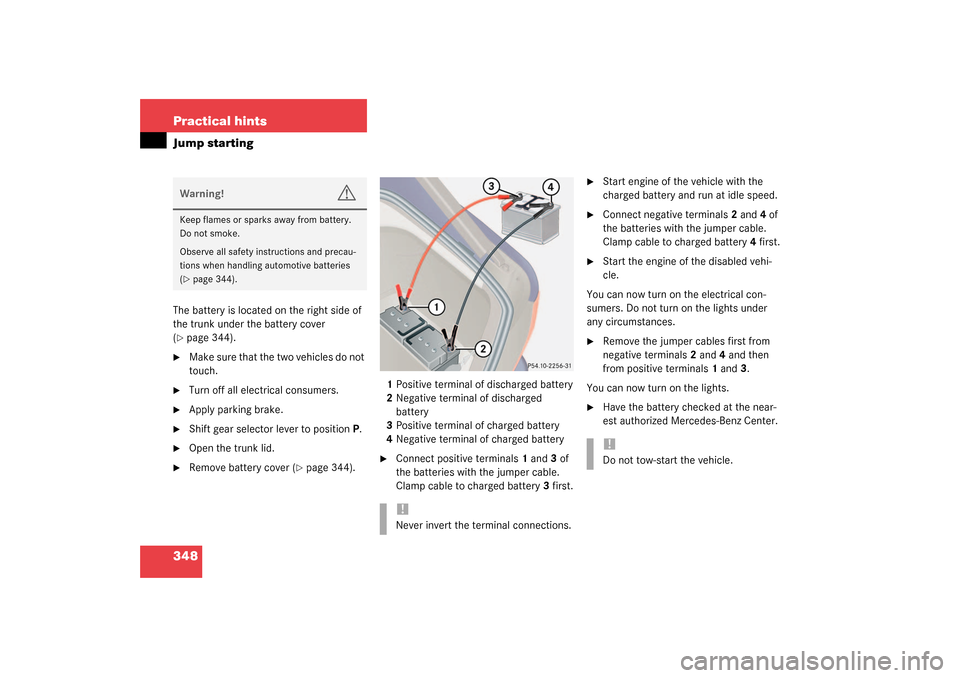
�page 344).1Positive terminal of discharged battery
2Negative terminal of discharged
battery
3Positive terminal of charged battery
4Negative terminal of charged battery
�
Connect positive terminals1 and3 of
the batteries with the jumper cable.
Clamp cable to charged battery3 first.
�
Start engine of the vehicle with the
charged battery and run at idle speed.
�
Connect negative terminals2 and4 of
the batteries with the jumper cable.
Clamp cable to charged battery4 first.
�
Start the engine of the disabled vehi-
cle.
You can now turn on the electrical con-
sumers. Do not turn on the lights under
any circumstances.
�
Remove the jumper cables first from
negative terminals2 and4 and then
from positive terminals1 and3.
You can now turn on the lights.
�
Have the battery checked at the near-
est authorized Mercedes-Benz Center.
Warning!
G
Keep flames or sparks away from battery.
Do not smoke.
Observe all safety instructions and precau-
tions when handling automotive batteries
(�page 344).
!Never invert the terminal connections.
!Do not tow-start the vehicle.
Page 381 of 416

381 Technical terms
ABS
(A
ntilock B
rake S
ystem)
Prevents the wheels from locking up
during braking so that the vehicle can
continue to be steered.
Alignment bolt
Metal pin with thread. The centering
pin is an aid used when changing a tire
to align the wheel with the wheel hub.
BabySmart
TM
airbag deactivation
system
This system detects if a special system
compatible child restraint seat is in-
stalled on the front passenger seat. The
system will automatically deactivate
the front passenger-side airbag when
such a seat is properly installed (indica-
tor lamp PASSENGER AIRBAG OFF in
the center console lights up). See your
authorized Mercedes-Benz Center for
availability.BabySmart
TM
compatible child seats
Special restraint system for children.
The sensor system for the passenger
seat prevents deployment of the front
passenger-side airbag if a
BabySmartTM compatible child seat is
installed.
BAS
(B
rake A
ssist S
ystem)
System for potentially reducing braking
distances in emergency braking situa-
tions. The system is activated when it
senses an emergency based on how
fast the brake is applied.
Bi-xenon headlamps*
Headlamps which use an electric arc as
the light source and produce a more in-
tense light than filament headlamps.
Bi-xenon headlamps produce low beam
and high beam.CAC
(C
ustomer A
ssistance C
enter)
Mercedes-Benz customer service cen-
ter, which can help you with any ques-
tions about your vehicle and provide
assistance in the event of a break-
down.
CAN system
(C
ontroller A
rea N
etwork)
Data bus network serving to control ve-
hicle functions such as door locking or
windshield wiping.
Cockpit
All instruments, switches, buttons and
indicator/warning lamps in the passen-
ger compartment needed for vehicle
operation and monitoring.