Page 35 of 150
32 Audio
Radio operation
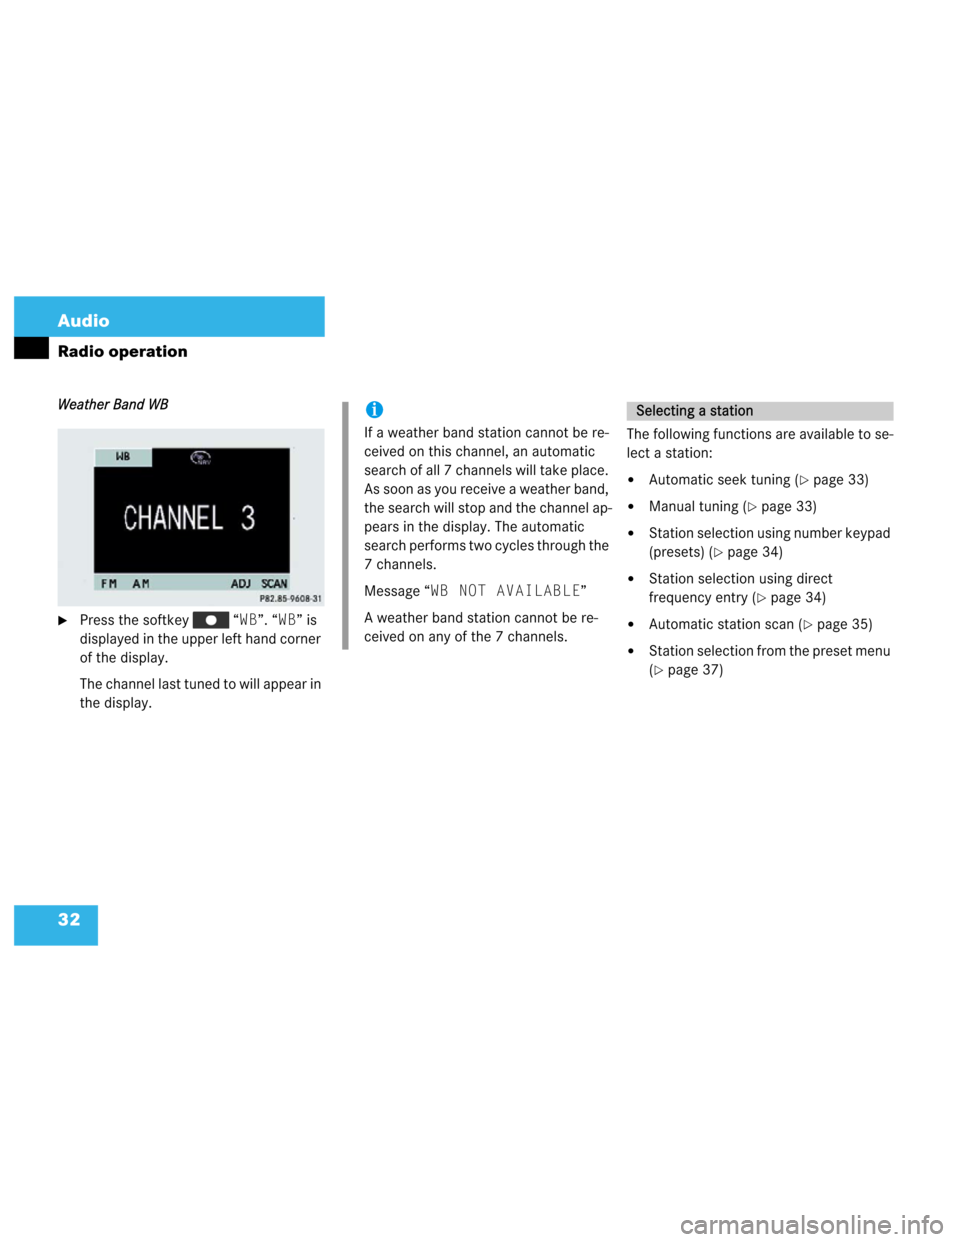
Weather Band WB
�Press the softkey “WB”. “WB” is
displayed in the upper left hand corner
of the display.
The channel last tuned to will appear in
the display.The following functions are available to se-
lect a station:
�Automatic seek tuning (�page 33)
�Manual tuning (�page 33)
�Station selection using number keypad
(presets) (
�page 34)
�Station selection using direct
frequency entry (
�page 34)
�Automatic station scan (�page 35)
�Station selection from the preset menu
(
�page 37)
i
If a weather band station cannot be re-
ceived on this channel, an automatic
search of all 7 channels will take place.
As soon as you receive a weather band,
the search will stop and the channel ap-
pears in the display. The automatic
search performs two cycles through the
7 channels.
Message “WB NOT AVAILABLE”
A weather band station cannot be re-
ceived on any of the 7 channels.
Selecting a station
Page 36 of 150
33 Audio
Radio operation
Automatic seek tuning
�Push the joystick to .
The next receivable ascending frequen-
cy is tuned in and begins to play. The
station frequency appears on the
screen.
�Push the joystick to .
The next receivable descending fre-
quency is tuned in and begin to play.
The station frequency appears on the
screen.Manual tuning (FM, AM)
�Push the joystick to .
The frequency displayed ascends in
increments of 200 kHz (FM) or 10 kHz
(AM). This process begins slowly and
then gradually increases.
�Push the joystick to .
The frequency displayed descends in
increments of 200 kHz (FM) or 10 kHz
(AM). This process begins slowly and
then gradually increases.
i
The MCS needs about 10 seconds to
seek through the entire band. If you
cannot receive a station, activate an-
other radio function to stop the seek
function.
Page 38 of 150
35 Audio
Radio operation
Automatic station scan
The stations on the bands (FM/AM/WB)
can be scanned in succession for
8 seconds each.
�Press the softkey “SCAN”.
The scan function will begin. “SCAN” is
highlighted.Weather Band WB
The 7 individual weather channels stored
in memory are scanned in succession.
The scan function stops automatically
when the first station received has been
scanned twice.
Ending the scan function
�Press the softkey “SCAN”.
The station selected appears and the
station frequency is displayed.
i
If you do not make another entry within
8 seconds, the function cancels.
i
A frequency entered outside the allow-
able input range will not be accepted.
Page 40 of 150
37 Audio
Radio operation
Saving (FM, AM) stations automatically
If the FM/AM main radio menu is dis-
played.
�Press the softkey “AUTO” for
longer than two seconds.
The radio stores the 10 strongest sta-
tions. The station frequencies available
will appear in the memory list.
While the stations are being stored
“AUTO STORE IN PROGRESS” ap-
pears in the display.Selecting a (FM, AM) station from the
preset menu
You can view the preset menu with all the
preset positions.
�To view the preset menu, press the
softkey “LIST”.
�To select a desired station, press one
of the number keys, e.g. .
�To exit the preset menu, press the soft-
key “FM” or “AM”.Return to the radio menu
�Press the softkey “LIST”.
Selecting channels from the WB preset
The WB menu is displayed:
�Press a number key from to
to select the desired weather
band.
Page 43 of 150
40 Audio
Tape operation
Inserting
�Press .
The control panel opens.
�Insert a cassette into the cassette com-
partment.
The control panel closes automatically
after a few seconds.
Make sure that the wider portion of the
tape faces right.Ejecting
�Press .
�Press to eject the cassette.
�Press .
The control panel closes. After the cas-
sette has been ejected, the MCS
switches to the last audio mode.
Inserting or ejecting a tapei
If a cassette is inserted, a cassette icon
will be displayed in the radio and CD
mode.
Page 47 of 150
.
�Press if a cassette")
44 Audio
Tape operation
Listening to a cassette
To begin tape playback:
�Insert a cassette into the cassette com-
partment. Tape playback will begin au-
tomatically (
�page 40).
�Press if a cassette has already
been inserted.The telephone and navigation functions
can be used while a tape is playing.
Switch off tape operation
�Eject the cassette, switch to the radio
or CD mode or switch off the MCS.
The following screen messages can appear
after is pressed:
�“NO TAPE...” - no cassette is inserted.
Insert a cassette.
�“TAPE ERROR, TAPE MAY BE TOO
TIGHT” - the cassette cannot be played.
The tape is too tight or is damaged. The
MCS will switch to the radio mode.
I
�Press the softkey “SIDE”.
The other side of the tape automatical-
ly starts to play. The side selected is
displayed in the main tape menu.
Listening to a cassette
i
The cassette side facing upward is con-
sidered SIDE 1.
Error messages
Changing sides
i
When the end of the tape has been
reached, the cassette changes sides
automatically.
Page 48 of 150
45 Audio
Tape operation
Fast forward
�Push the joystick to .
The tape winds fast forward and “FOR-
WARD” is displayed in the main tape
menu.
Rewind
�Push the joystick to .
The tape rewinds and “REWIND” is dis-
played in the main tape menu.Forward
�Push the joystick to .
The MCS locates and plays the next
track. While searching “MUSIC
SEARCH FORWARD” is displayed in
the main tape menu.
Reverse
�Push the joystick to .
The MCS locates and plays the previ-
ous track. While searching “MUSIC
SEARCH REVERSE” is displayed in
the main tape menu.
Cancelling music search
�Push the joystick in any direction.
Fast forward and rewindMusic search
i
The music search function will not work
properly unless there is enough blank
tape (approx. 2 seconds) separating the
individual tracks.
Page 49 of 150

46 Audio
Tape operation
When this function is activated, you can
play back the first 8 seconds of each track
in succession.
Activating scan
�Press the softkey “SCAN”.Scan begins. “SCAN” is highlighted in
the softkey menu and “SCANNING” is
displayed in the tape menu.
Cancelling scan
�Press the highlighted softkey
“SCAN”.
or
�Push the joystick in any direction.
Playback resumes with the desired
track.When this function is activated, the unit
skips blank segments longer than 15 sec-
onds. The unit fast forwards to the next
track or side and start playing it.
Starting blank skip
�Press the softkey “SKIP”.
Blank skip begins. “SKIP” is highlighted
in the softkey menu. If a blank section
is detected “SKIPPING BLANK SEC-
TION” is displayed in the tape menu.
Tape scan
i
The scan function does not work prop-
erly unless there is enough blank tape
(approx. 2 seconds) separating the indi-
vidual tracks.
i
At the end of the tape, the tape auto-
matically switches to the other side and
scan stops.
Blank skip