Page 72 of 360
72 Safety and SecurityDriving and safety systemsContinuous steady brake pedal pressure
yields the advantages provided by the ABS,
namely braking power and the ability to
steer the vehicle.
On slippery road surfaces, the ABS will re-
spond even with light brake pressure. The
pulsating brake pedal can be an indication
of hazardous road conditions and func-
tions as a reminder to take extra care while
driving.
The
-
warning lamp in the instrument
cluster (�page 24) lights up when you
turn the key to position 2. It goes out when
the engine is running.Braking
At the instant one of the wheels is about to
lock up, a slight pulsation can be felt in the
brake pedal, indicating that the ABS is in
the regulating mode.
�
Keep firm and steady pressure on the
brake pedal while experiencing the pul-
sation.
Emergency brake maneuver
�
Keep continuous full pressure on the
brake pedal.LOW RANGE– ABS
During off-road driving a special low range
system for the antilock brake system (ABS)
is operational with transfer case in position
LOW (
�page 141).
An improved braking action (dig-in effect)
is obtained for vehicle speeds up to
37 mph (60 km/h) through a change in the
ABS control function.
More information can be found in the
“Practical hints” section (
�page 240).
iTo alert following vehicles to slippery
road conditions you discover, operate
your hazard warning flashers as appro-
priate.
iIf the ABS is malfunctioning, the BAS,
EBB, ESP and 4-ETS are also switched
off.
Normal driving and braking functions
are still available.
Page 74 of 360
74 Safety and SecurityDriving and safety systems4-ETS
The 4-ETS improves vehicle’s ability to uti-
lize available traction, especially under
slippery road conditions. The brakes are
applied to the spinning wheel and power is
allowed to flow to the wheel(s) with trac-
tion.
The 4-ETS function is available between ve-
hicle speeds of 0 mph (km/h) and 37 mph
(60 km/h).
The ESP warning lamp
v
in the instru-
ment cluster (
�page 24) lights up when
you turn the key to position2. It goes out
when the engine is running.
The ESP warning lamp
v
starts to flash
at any vehicle speed, as soon as the tires
lose traction and the wheels begin to spin.More information can be found in the
“Practical hints” section (
�page 238).
Warning!
G
When you see the ESP warning lamp
v
flashing in the speedometer dial, then pro-
ceed as follows:
�
While driving off, apply as little throttle
as possible.
�
While driving ease up on the accelera-
tor.
�
Adapt your speed and driving style to
the prevailing road conditions.
Failure to observe these guidelines could
cause the vehicle to skid.
The 4-ETS cannot prevent accidents result-
ing from excessive speed.
!The engine must be shut off when�
the parking brake is being tested on
a brake test dynamometer.
�
the vehicle is being towed with one
axle raised.
Otherwise, the 4-ETS will engage the
brakes and seriously damage the brake
system.
Page 81 of 360
81 Safety and Security
Anti-theft systems
Arming tow-away alarm
When you lock your vehicle, the tow-away
alarm is automatically armed.
When you unlock your vehicle, the
tow-away protection disarms
automatically.
Disarming tow-away alarm
To prevent triggering the tow-away alarm
feature, switch off the tow-away alarm be-
fore towing the vehicle, or when parking on
a surface subject to movement, such as a
ferry or auto train.The switch is located on the center con-
sole.
1Tow-away alarm off switch
2Indicator lamp
�
Turn off the ignition and remove the
key.
�
Press upper half1 of the switch.
Indicator lamp2 in the switch lights up
briefly.
�
Lock your vehicle with the key.
The tow-away alarm remains disarmed un-
til you lock your vehicle again.
iYou cannot disarm the tow-away alarm
if the ignition is turned on.
Page 86 of 360
86 Controls in detailLocking and unlocking
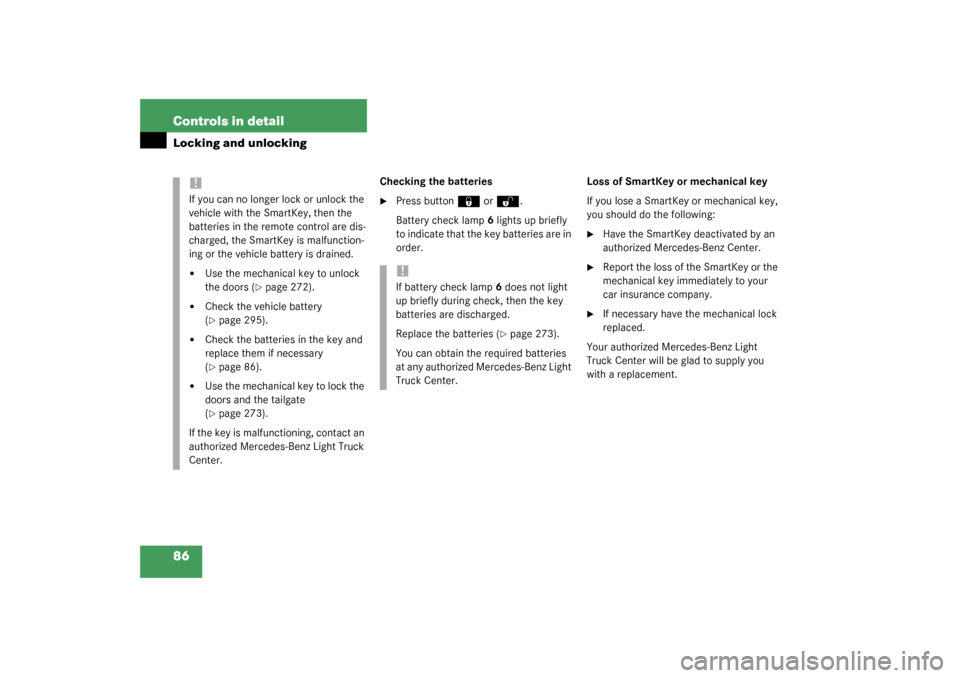
Checking the batteries�
Press button
‹
or
Œ
.
Battery check lamp6 lights up briefly
to indicate that the key batteries are in
order.Loss of SmartKey or mechanical key
If you lose a SmartKey or mechanical key,
you should do the following:
�
Have the SmartKey deactivated by an
authorized Mercedes-Benz Center.
�
Report the loss of the SmartKey or the
mechanical key immediately to your
car insurance company.
�
If necessary have the mechanical lock
replaced.
Your authorized Mercedes-Benz Light
Truck Center will be glad to supply you
with a replacement.
!If you can no longer lock or unlock the
vehicle with the SmartKey, then the
batteries in the remote control are dis-
charged, the SmartKey is malfunction-
ing or the vehicle battery is drained.�
Use the mechanical key to unlock
the doors (
�page 272).
�
Check the vehicle battery
(�page 295).
�
Check the batteries in the key and
replace them if necessary
(�page 86).
�
Use the mechanical key to lock the
doors and the tailgate
(�page 273).
If the key is malfunctioning, contact an
authorized Mercedes-Benz Light Truck
Center.
!If battery check lamp6 does not light
up briefly during check, then the key
batteries are discharged.
Replace the batteries (
�page 273).
You can obtain the required batteries
at any authorized Mercedes-Benz Light
Truck Center.
Page 95 of 360
95 Controls in detail
Seats
Heated seats
Driver’s and front passenger seats
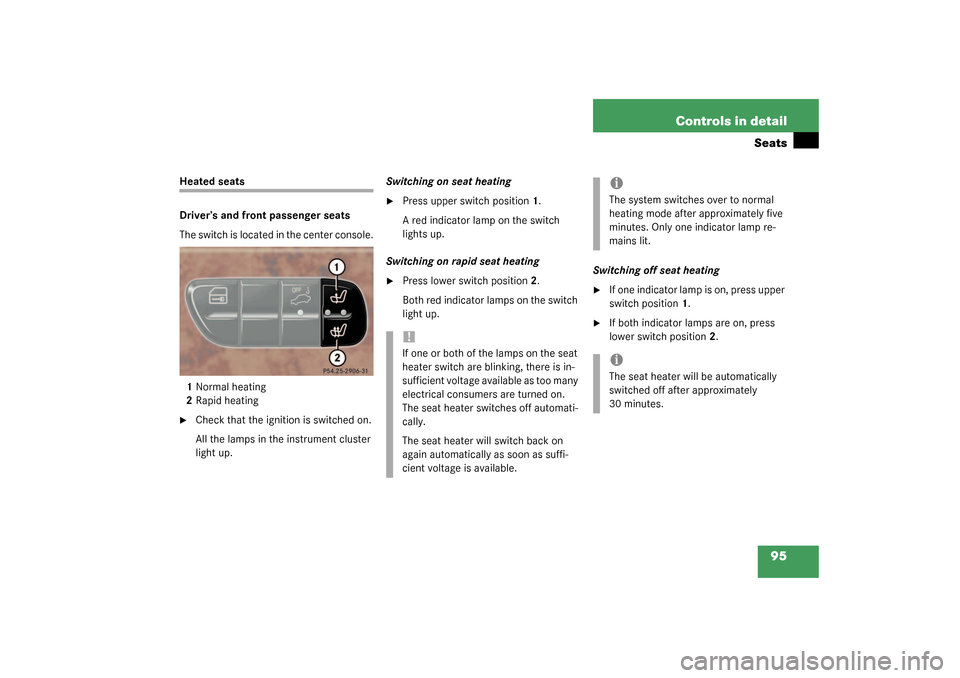
The switch is located in the center console.
1Normal heating
2Rapid heating�
Check that the ignition is switched on.
All the lamps in the instrument cluster
light up.Switching on seat heating
�
Press upper switch position1.
A red indicator lamp on the switch
lights up.
Switching on rapid seat heating
�
Press lower switch position2.
Both red indicator lamps on the switch
light up.Switching off seat heating
�
If one indicator lamp is on, press upper
switch position1.
�
If both indicator lamps are on, press
lower switch position2.
!If one or both of the lamps on the seat
heater switch are blinking, there is in-
sufficient voltage available as too many
electrical consumers are turned on.
The seat heater switches off automati-
cally.
The seat heater will switch back on
again automatically as soon as suffi-
cient voltage is available.
iThe system switches over to normal
heating mode after approximately five
minutes. Only one indicator lamp re-
mains lit. iThe seat heater will be automatically
switched off after approximately
30 minutes.
Page 96 of 360
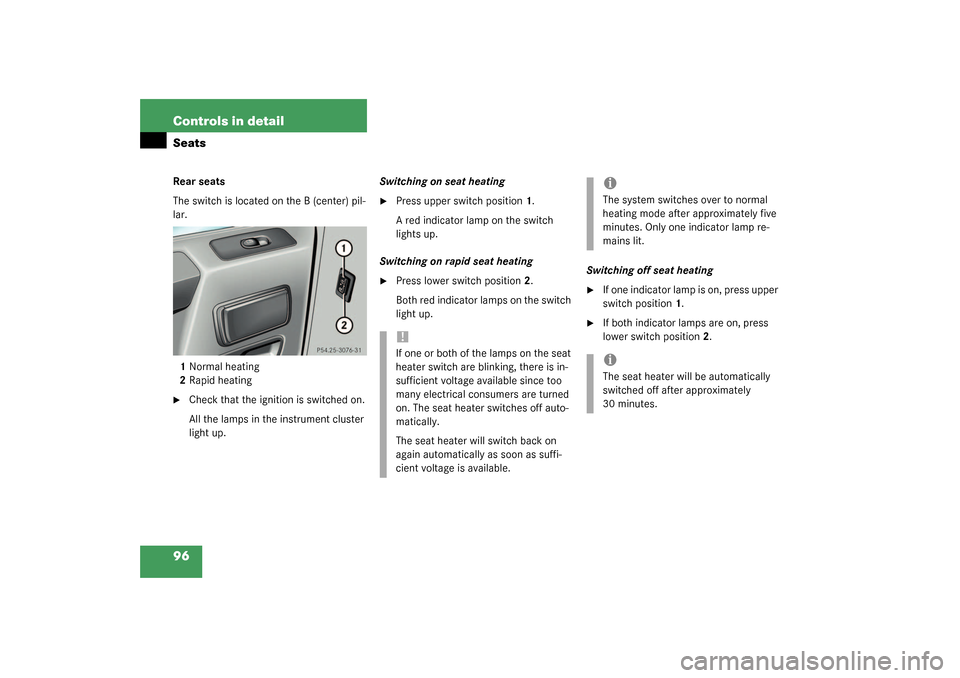
96 Controls in detailSeatsRear seats
The switch is located on the B (center) pil-
lar.
1Normal heating
2Rapid heating�
Check that the ignition is switched on.
All the lamps in the instrument cluster
light up.Switching on seat heating
�
Press upper switch position1.
A red indicator lamp on the switch
lights up.
Switching on rapid seat heating
�
Press lower switch position2.
Both red indicator lamps on the switch
light up.Switching off seat heating
�
If one indicator lamp is on, press upper
switch position1.
�
If both indicator lamps are on, press
lower switch position2.
!If one or both of the lamps on the seat
heater switch are blinking, there is in-
sufficient voltage available since too
many electrical consumers are turned
on. The seat heater switches off auto-
matically.
The seat heater will switch back on
again automatically as soon as suffi-
cient voltage is available.
iThe system switches over to normal
heating mode after approximately five
minutes. Only one indicator lamp re-
mains lit. iThe seat heater will be automatically
switched off after approximately
30 minutes.
Page 100 of 360
100 Controls in detailLighting
LightingFor notes on how to switch on the head-
lamps and use the turn signals, see the
“Getting started” section (
�page 46).
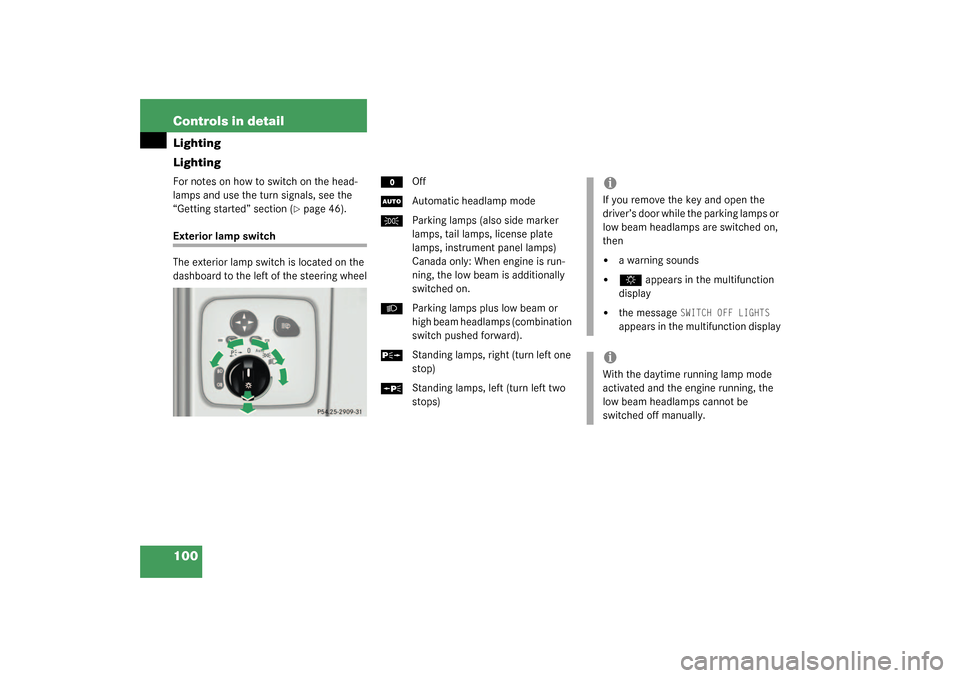
Exterior lamp switch
The exterior lamp switch is located on the
dashboard to the left of the steering wheel
M
Off
U
Automatic headlamp mode
C
Parking lamps (also side marker
lamps, tail lamps, license plate
lamps, instrument panel lamps)
Canada only: When engine is run-
ning, the low beam is additionally
switched on.
B
Parking lamps plus low beam or
high beam headlamps (combination
switch pushed forward).
ˆ
Standing lamps, right (turn left one
stop)
‚
Standing lamps, left (turn left two
stops)
iIf you remove the key and open the
driver’s door while the parking lamps or
low beam headlamps are switched on,
then �
a warning sounds
�
$
appears in the multifunction
display
�
the message
SWITCH OFF LIGHTS
appears in the multifunction display
iWith the daytime running lamp mode
activated and the engine running, the
low beam headlamps cannot be
switched off manually.
Page 101 of 360
101 Controls in detail
Lighting
Manual headlamp mode
The low beam headlamps and parking
lamps can be switched on and off with the
exterior lamp switch. For exterior lamp
switch, see above.
Automatic headlamp mode
The parking lamps, low beam headlamps
and license plate lamps switch on and off
automatically depending on the brightness
of the ambient light.�
Turn the exterior lamp switch to
U
.
Warning!
G
In automatic headlamp mode, the head-
lamps will not be automatically switched on
under foggy conditions. To minimize risk to
you and to others, activate headlamps by
turning exterior lamp switch to
B
.
The driver is responsible for the operation of
the vehicle’s lights at all times. The automat-
ic headlamp feature is only an aid to the driv-
er. Switch on the vehicle lights manually
when driving or when traffic conditions re-
quire you to do so.
iWith the daytime running lamp mode
activated, the low beam headlamps will
not be switched off automatically.
iFront fog lamps and rear fog lamp can
not be switched on manually with exte-
rior lamp switch in position
U
. To
activate the fog lamps, turn exterior
lamp switch to position
B
.
iIf you drive in countries where vehicles
drive on the other side of the road than
the country where the vehicle is regis-
tered, you must have the headlamps
modified for symmetrical low beams.
Relevant information can be obtained
at your authorized Mercedes-Benz
Light Truck Center.