Page 158 of 394
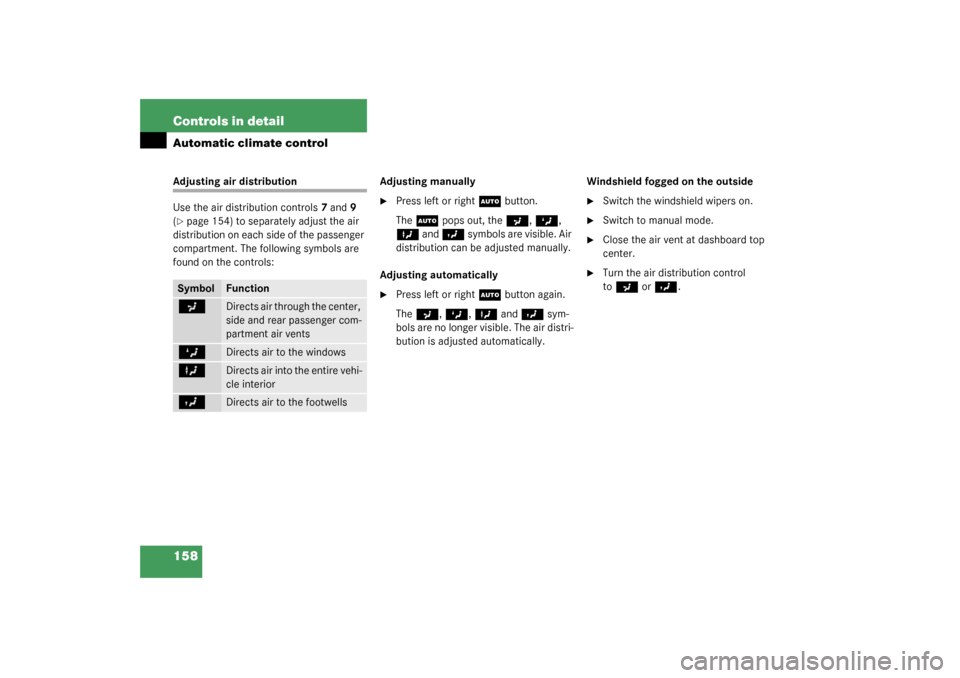
158 Controls in detailAutomatic climate controlAdjusting air distribution
Use the air distribution controls7 and 9
(�page 154) to separately adjust the air
distribution on each side of the passenger
compartment. The following symbols are
found on the controls:Adjusting manually
�
Press left or right
U
button.
The
U
pops out, the
a
, Z
,
X
and
Y
symbols are visible. Air
distribution can be adjusted manually.
Adjusting automatically
�
Press left or right
U
button again.
The
a
, Z
, X
and
Y
sym-
bols are no longer visible. The air distri-
bution is adjusted automatically.Windshield fogged on the outside
�
Switch the windshield wipers on.
�
Switch to manual mode.
�
Close the air vent at dashboard top
center.
�
Turn the air distribution control
to
a
or
Y
.
Symbol
Function
a
Directs air through the center,
side and rear passenger com-
partment air vents
Z
Directs air to the windows
X
Directs air into the entire vehi-
cle interior
Y
Directs air to the footwells
Page 164 of 394
164 Controls in detailAutomatic climate controlDeactivating�
Press button
T
(�page 155).
The indicator lamp on button
T
goes off.
The residual heat is automatically turned
off:
�
when the ignition is switched on
�
after about 30 minutes
�
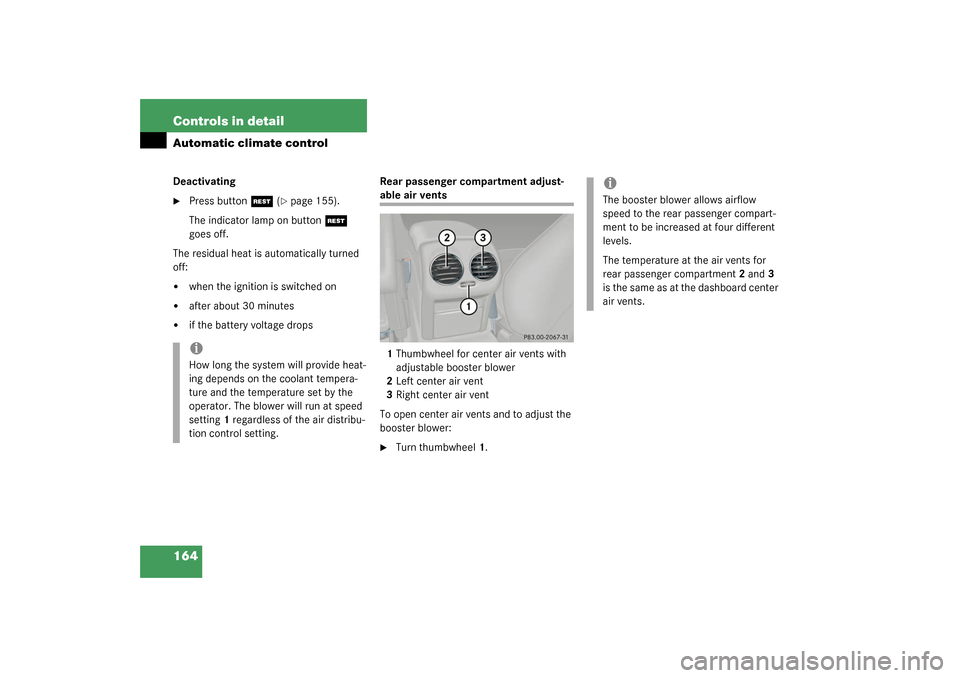
if the battery voltage dropsRear passenger compartment adjust-
able air vents
1Thumbwheel for center air vents with
adjustable booster blower
2Left center air vent
3Right center air vent
To open center air vents and to adjust the
booster blower:�
Turn thumbwheel1.
iHow long the system will provide heat-
ing depends on the coolant tempera-
ture and the temperature set by the
operator. The blower will run at speed
setting1 regardless of the air distribu-
tion control setting.
iThe booster blower allows airflow
speed to the rear passenger compart-
ment to be increased at four different
levels.
The temperature at the air vents for
rear passenger compartment2 and3
is the same as at the dashboard center
air vents.
Page 210 of 394

210 Controls in detailDriving systemsWarning indicators
Visual signals indicate to the driver the rel-
ative distance between the sensors and an
obstacle. The warning indicator for the
front area is located above the center air
vents in the dashboard. The warning indi-
cator for the rear area is integrated in the
rear trim.Front area warning indicator1Left side of the vehicle
2Right side of the vehicleEach warning indicator is divided into six
yellow and two red segments for either
side of the vehicle. The Parktronic system
is ready when the border around the indi-
cator is illuminated.
The position of the gear selector lever de-
termines which warning indicators will be
activated.As your vehicle approaches an object, one
or more segments will light up, depending
on the distance. When the eighth segment
lights up, you have reached the minimum
distance.
�
Front area: An intermittent acoustic
warning will sound as the seventh seg-
ment lights up and a constant acoustic
warning lasting a maximum of three
seconds will sound for the eighth seg-
ment.
�
Rear area: An intermittent acoustic
warning will sound when the first seg-
ment lights up. This signal quickens
with each additional segment lit. When
the eighth segment illuminates, the
acoustic warning becomes a constant
signal. The signal is canceled when the
selector lever is placed in position D
orP.
Selector lever po-
sition
Warning indicator
D
Front area activated
R or N
Rear area activated
P
Neither activated
Page 220 of 394
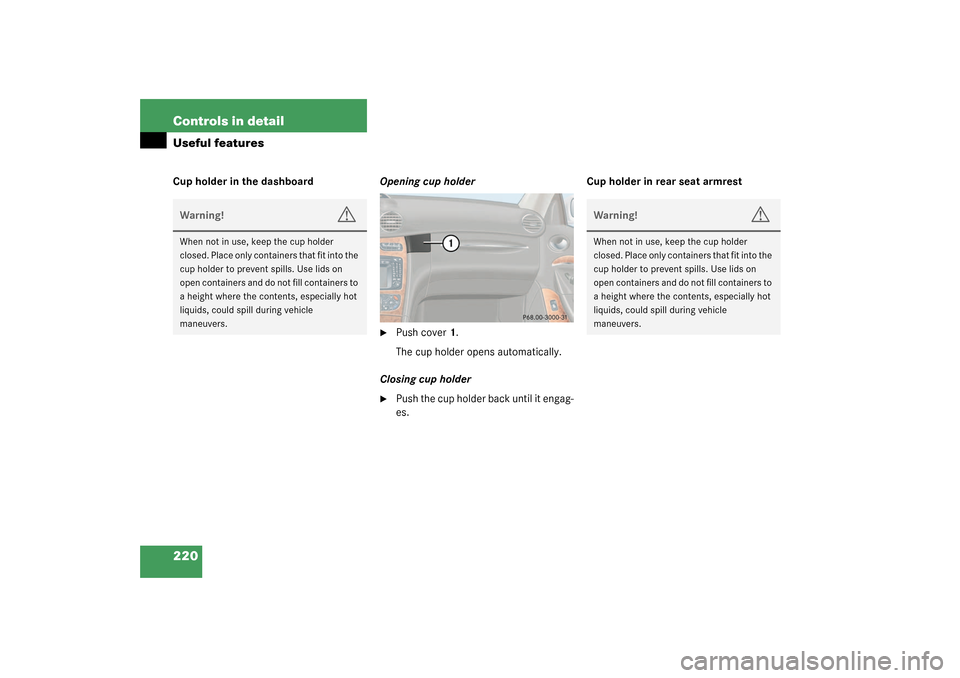
220 Controls in detailUseful featuresCup holder in the dashboardOpening cup holder
�
Push cover1.
The cup holder opens automatically.
Closing cup holder
�
Push the cup holder back until it engag-
es.Cup holder in rear seat armrest
Warning!
G
When not in use, keep the cup holder
closed. Place only containers that fit into the
cup holder to prevent spills. Use lids on
open containers and do not fill containers to
a height where the contents, especially hot
liquids, could spill during vehicle
maneuvers.
Warning!
G
When not in use, keep the cup holder
closed. Place only containers that fit into the
cup holder to prevent spills. Use lids on
open containers and do not fill containers to
a height where the contents, especially hot
liquids, could spill during vehicle
maneuvers.
Page 372 of 394

372 IndexCombination switch 107
High beam flasher 47, 108
Turn signals 47
Windshield wipers 47
Consumer information 358
Control and operation of radio transmitters
248
Control system 114, 362
AUDIO menu 119
Convenience submenu 133
Display digital speedometer 119
Distronic* menu 121
Functions 115, 118
Instrument cluster submenu 126, 128
Lighting submenu 129
Malfunction memory menu 122
Menus 117, 118, 364
Multifunction display 114
Multifunction steering wheel 115
NAVI menu 121
Selecting radio system 120
Settings menu 123
Standard display menu 119
Submenus 116, 118
TEL* menu 138
Trip computer menu 136Vehicle submenu 132
Convenience submenu 133
Activating easy-entry/exit feature 133
Setting key dependency 135
Setting parking position for exterior
rear view mirror 135
Coolant 256, 355
Adding 257
Anticorrosion/antifreeze quantity 355
Capacities 351
Checking level 256
Messages in display 289, 290
Temperature 250
Temperature display 112
Warning lamp 281, 290
Coolant level
Checking 256
Cruise control 193, 362
Canceling 194
Driving downhill 194
Driving uphill 194
Fine adjustment 195
Lever 200
Saving current speed 194
Setting speeds 195
Cruise control lever 193Cup holder
Cleaning 273
Closing 220, 221
In rear seat armrest 220
In the dashboard 220
Opening 220, 221
Customer Assistance Center (CAC) 362
D
Daytime running lamp mode 106
Setting 129, 130
Deactivating
Air conditioning (cooling) 163
Air recirculation mode 160
Alarm 80
Anti-theft alarm system 80
Automatic climate control 155
Central locking (control system) 133
Cruise control 194
Defrost 159
Distance warning function* 205
Distronic* 203
Engine with KEYLESS-GO* 52
Engine with the key 51
ESP 78
Exterior lamps 106
Hazard warning flasher 108