Page 297 of 384
297 Practical hints
Unlocking/locking in an emergency
Unlocking/locking in an emergency
Unlocking the vehicle
Unlocking the driver’s door
If you are unable to unlock the driver’s
door using the SmartKey, open the door
using the mechanical key.
1Mechanical key locking tab
2Mechanical key�
Move locking tab1 in direction of ar-
row and slide the mechanical key out of
the housing.
�
Unlock the door with the mechanical
key. To do so, push the mechanical key
in the lock until it stops and turn it to
the left (position1).
iUnlocking your vehicle with the me-
chanical key will trigger the anti-theft
alarm system. To cancel the alarm, do
one of the following:�
Press button
Œ
or
‹
on the
SmartKey.
�
Insert the key in the starter switch.
�
If KEYLESS-GO* card present,
press the KEYLESS-GO* start/stop
button.
Page 298 of 384

298 Practical hintsUnlocking/locking in an emergencyUnlocking the trunk
If you are unable to unlock the trunk with
the SmartKey, open the trunk with the me-
chanical key as follows:Trunk lock�
Insert the mechanical key into the
trunk lid lock.
�
Turn the key counterclockwise to
position1.
�
Press trunk lid lock2.
The trunk lid swings open.
Locking the vehicle
If you are unable to lock the vehicle with
the SmartKey, lock it with the mechanical
key as follows:�
Close the passenger door and the trunk
lid.
�
Press the central locking switch in the
center console (
�page 95).
�
Check to see whether the locking knob
on the passenger door is still visible. If
necessary push it down manually.
�
Lock the driver’s door with the me-
chanical key.
�
Lock the trunk lid if necessary with the
mechanical key (
�page 90).
!The trunk lid swings open automatical-
ly. Always make sure that there is suffi-
cient overhead clearance. A minimum
height clearance of 6.1 ft (1.90 m) is re-
quired to open the trunk lid. iUnlocking your vehicle with the me-
chanical key will trigger the anti-theft
alarm system. To cancel the alarm, do
one of the following:�
Press button
Œ
or
‹
on the
SmartKey.
�
Insert the key in the starter switch.
�
If KEYLESS-GO* card present,
press the KEYLESS-GO* start/stop
button (
�page 33).
Page 310 of 384
310 Practical hintsFlat tire1Jack support tube cover�
Move cover1 toward rear by pressing
at point indicated by arrow.
�
Remove cover1 carefully to avoid
damage to the locking tabs.1Jack arm
2Jack support tube hole
3Crank
�
Insert jack arm1 fully into tube hole2
up to the stop.
�
Keeping jack in this position, turn
crank3 clockwise until the jack base
meets the ground. Make sure the jack
is vertical (plumb line).
�
Continue to turn the crank until the tire
is a maximum of 1.2 in (3 cm) from the
ground.
Warning!
G
Insert the jack arm fully into the jack sup-
port tube hole up to the stop. Otherwise the
vehicle may fall from the jack and cause per-
sonal injury or damage to the vehicle.
Warning!
G
The jack is intended only for lifting the vehi-
cle briefly for wheel changes. It is not suited
for performing maintenance work under the
vehicle.�
Never start the engine when the vehicle
is raised.
�
Never lie down under the raised vehicle.
Page 313 of 384

313 Practical hints
Battery
Battery
Warning!
G
Failure to follow these instructions can re-
sult in severe injury or death.
Never lean over batteries while connecting,
you might get injured.
Battery fluid contains sulfuric acid. Do not
allow this fluid to come in contact with eyes,
skin or clothing. In case it does, immediately
flush affected area with water and seek
medical help if necessary.
A battery will also produce hydrogen gas,
which is flammable and explosive. Keep
flames or sparks away from battery, avoid
improper connection of jumper cables,
smoking etc.
!Never loosen or detach battery termi-
nal clamps while the engine is running
or the key is in the starter switch. Oth-
erwise the alternator and other elec-
tronic components could be severely
damaged.
Have the battery checked regularly by
an authorized Mercedes-Benz Center.
Refer to Service Booklet for mainte-
nance intervals or contact your autho-
rized Mercedes-Benz Center for further
information.Warning!
G
Do not place metal objects on the battery as
this could result in a short circuit.
Use leak-proof battery only to avoid the risk
of acid burns in the event of an accident.
Warning!
G
With a disconnected battery�
y o u w i l l n o l o n g e r b e a b l e t o t u r n t h e k e y
in the starter switch and pressing the
KEYLESS-GO* start/stop button on the
selector lever will have no effect
�
the selector lever will remain locked in
positionP
Page 320 of 384

320 Practical hintsTowing the vehicle
iTo signal turns while being towed with
the hazard warning flasher in use, turn
key in starter switch to position2 and
activate the combination switch for the
left or right turn signal in the usual
manner – only the selected turn signal
will operate.
Upon canceling the turn signal, the haz-
ard warning flasher will operate again.
!When towing the vehicle with all wheels
on the ground, please note the follow-
ing:
With the automatic central locking acti-
vated and the key in starter switch
position2, or KEYLESS-GO* start/stop
button in position2, the vehicle doors
lock if the left front wheel as well as the
right rear wheel are turning at vehicle
speeds of approx. 9 mph (15 km / h) or
more.
Switch off the tow-away alarm
(�page 78).
To prevent the vehicle door locks from
locking, deactivate the automatic cen-
tral locking (
�page 139).
Towing of the vehicle should only be
done using the properly installed tow-
ing eye bolt. Never attach tow cable,
tow rope or tow rod to the vehicle chas-
sis, frame or suspension parts.
iThe selector lever will remain locked in
positionP and the key will not turn in
the starter switch if the battery is dis-
connected or discharged. See notes on
the battery (
�page 313) or on jump
starting (
�page 316).
Page 324 of 384

324 Practical hintsFusesFuse boxes in engine compartment
There are two fuse boxes located in the en-
gine compartment on both the driver’s and
front passenger side in front of the firewall
(dividing wall between engine compart-
ment and passenger compartment).
1Fuse box cover, driver’s side
2Slide1Fuse box cover, front passenger side
2Slide
Opening
�
Push both slides2 to the
Œ
symbol.
�
Remove cover1.
Closing
�
Replace cover1 and press it down by
hand.
�
Push both slides 2 to the
‹
symbol.
Emergency engine shut-down
If the engine can no longer be stopped us-
ing the SmartKey or the KEYLESS-GO*
start/stop button, the engine can be
turned off by withdrawing two fuses.
For easy removal of fuses, use the fuse ex-
tractor (supplied with vehicle tool kit) to
pull out the fuses marked on the fuse chart
as “ENGINE EMERGENCY STOP”.
The fuse chart is also located in the vehicle
tool kit (
�page 295).
!The cover must fit properly and the
slide must be positioned at the
‹
symbol, as moisture or dirt may impair
the functionality of the fuses.
Page 353 of 384
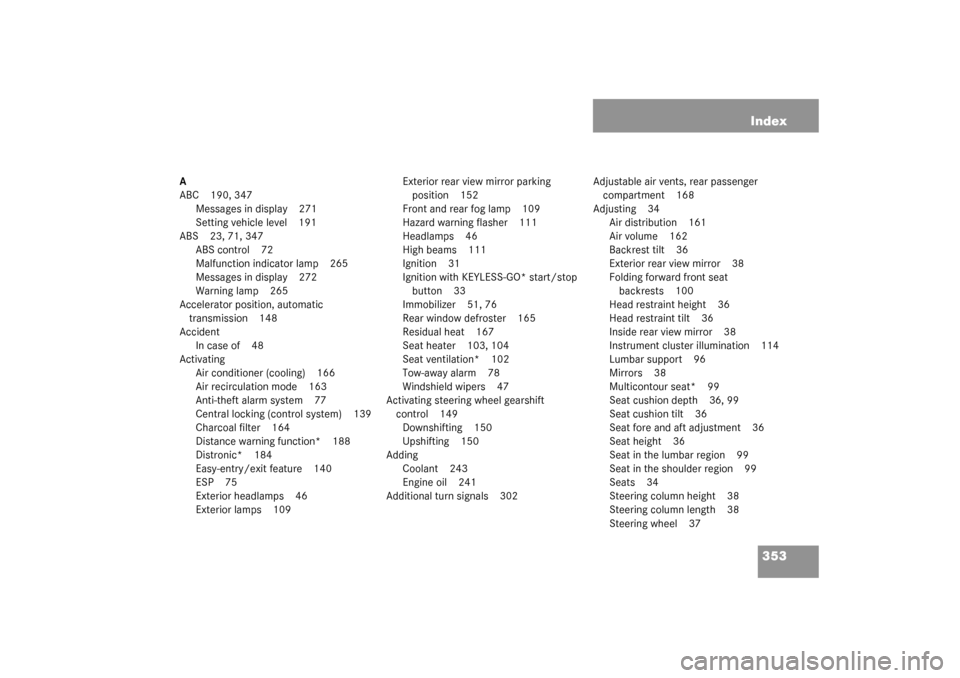
353 Index
A
ABC 190, 347
Messages in display 271
Setting vehicle level 191
ABS 23, 71, 347
ABS control 72
Malfunction indicator lamp 265
Messages in display 272
Warning lamp 265
Accelerator position, automatic
transmission 148
Accident
In case of 48
Activating
Air conditioner (cooling) 166
Air recirculation mode 163
Anti-theft alarm system 77
Central locking (control system) 139
Charcoal filter 164
Distance warning function* 188
Distronic* 184
Easy-entry/exit feature 140
ESP 75
Exterior headlamps 46
Exterior lamps 109Exterior rear view mirror parking
position 152
Front and rear fog lamp 109
Hazard warning flasher 111
Headlamps 46
High beams 111
Ignition 31
Ignition with KEYLESS-GO* start/stop
button 33
Immobilizer 51, 76
Rear window defroster 165
Residual heat 167
Seat heater 103, 104
Seat ventilation* 102
Tow-away alarm 78
Windshield wipers 47
Activating steering wheel gearshift
control 149
Downshifting 150
Upshifting 150
Adding
Coolant 243
Engine oil 241
Additional turn signals 302Adjustable air vents, rear passenger
compartment 168
Adjusting 34
Air distribution 161
Air volume 162
Backrest tilt 36
Exterior rear view mirror 38
Folding forward front seat
backrests 100
Head restraint height 36
Head restraint tilt 36
Inside rear view mirror 38
Instrument cluster illumination 114
Lumbar support 96
Mirrors 38
Multicontour seat* 99
Seat cushion depth 36, 99
Seat cushion tilt 36
Seat fore and aft adjustment 36
Seat height 36
Seat in the lumbar region 99
Seat in the shoulder region 99
Seats 34
Steering column height 38
Steering column length 38
Steering wheel 37
Page 363 of 384

363 Index
Inside rear view mirror
Adjusting 38
Antiglare 151
Installing
Infant and child restraint systems 67
Wiper blades 307
Instrument cluster 21, 22, 114, 349
Cleaning 260
Coolant temperature gauge 115
Illumination 114
Multifunction display 117
Outside temperature indicator 116
Selecting language 135
Instruments and controls see Cockpit 20
Integrated remote control
Canadian programming 220
Erasing memory 220
Hand-held transmitter 218
Operating 220
Rolling code programming 219
Interior lighting 112
Activating automatic control 112
Deactivating automatic control 112
Delayed switch-off 138
Manual operation 113Interior storage spaces 199
Cup holder 202
Glove box 199
Parcel net 205
Storage compartment in front of
armrest 200, 201
J
Jump starting 316
K
Key positions in starter switch 31
Key, KEYLESS-GO* card
Changing the batteries 300
Key, mechanical 297
Key, SmartKey
Battery check lamp 81
Changing the batteries 299
Checking the batteries 82
Factory setting 81
Global locking 81
Global unlocking 81
Loss of 82
Positions in starter switch 31
Remote controls 80
Restoring to factory setting 81
Selective setting 81Starting the engine 43
Turning off the engine 51
Unlocking with 30
KEYLESS-GO start/stop button* 33
KEYLESS-GO* 349
Activating ignition with 33
Closing side windows 86
Closing sliding/pop-up roof 86
Closing sliding/pop-up roof
with 172, 175
Closing windows with 172, 175
Locking the vehicle 86
Messages in display 276
Starting the engine 43
Turning off engine 51
Unlocking with 32

