Page 171 of 225
163 Navigation
Route guidance
Main detour menu
1It is possible to block route sections
ahead
2Ends the detour function, the previous
route is calculated�
Traffic Jam Ahead/Detour in Route
List not activated:
“Cancel” cannot be selected
�
Traffic Jam Ahead/Detour in Route
List activated:
“Cancel” is highlighted
3It is possible to block route sections in
the route list (
�page 165)
�
Press ) at any time.
The main detour menu will appear.
�
Turn the right-hand rotary/push-button
v to highlight the desired menu field
and press to confirm.
^
Selecting a detour
P82.85-9222-31
1223
iTraffic jams are identified by the driver,
not by the COMAND.
If you switch off COMAND for more than
30 minutes during active route
guidance, all manually entered traffic
jams are deleted.
Page 177 of 225
169 Navigation
Route guidance
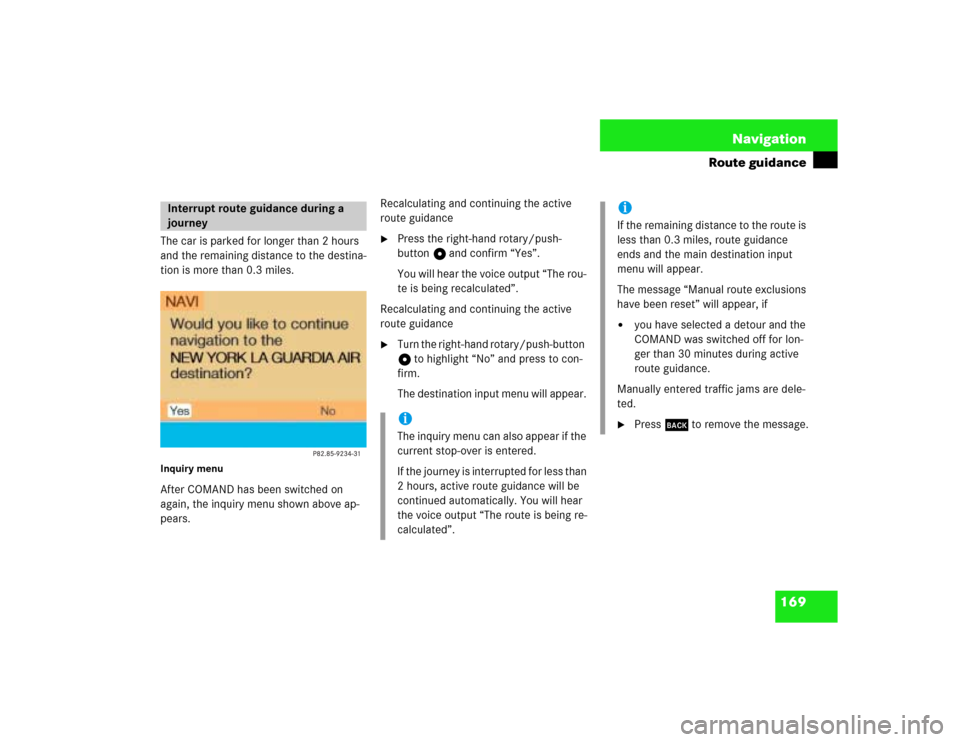
The car is parked for longer than 2 hours
and the remaining distance to the destina-
tion is more than 0.3 miles.Inquiry menuAfter COMAND has been switched on
again, the inquiry menu shown above ap-
pears.Recalculating and continuing the active
route guidance
�
Press the right-hand rotary/push-
button v and confirm “Yes”.
You will hear the voice output “The rou-
te is being recalculated”.
Recalculating and continuing the active
route guidance
�
Turn the right-hand rotary/push-button
v to highlight “No” and press to con-
firm.
The destination input menu will appear.
Interrupt route guidance during a
journey
iThe inquiry menu can also appear if the
current stop-over is entered.
If the journey is interrupted for less than
2 hours, active route guidance will be
continued automatically. You will hear
the voice output “The route is being re-
calculated”.
iIf the remaining distance to the route is
less than 0.3 miles, route guidance
ends and the main destination input
menu will appear.
The message “Manual route exclusions
have been reset” will appear, if�
you have selected a detour and the
COMAND was switched off for lon-
ger than 30 minutes during active
route guidance.
Manually entered traffic jams are dele-
ted.
�
Press * to remove the message.
Page 180 of 225
172 NavigationRoute guidanceRemoving the window
This is done automatically after 3 seconds.
or�
Press *.
The radio is active
�
Selecting a memorized station from the
respective memory (FM, AM or WB)�
Press number keys 1 through 0.
�
Performing station seek�
Press g or h briefly.
�
Starting manual search�
Press g or h longer than
2 seconds.
The search run will start in the desi-
red direction - frequency ranges
FM, AM or WB.CD mode is active
�
Selecting CD with number keys
0 CD drive
1 - 6 CD changer
�
Selecting previous/next track�
Press g or h briefly.
�
Skipping backwards/forwards�
Hold g or h longer than
2 seconds.
Page 188 of 225
180 NavigationSettings
SettingsCOMAND normally determines the vehicle
location automatically with the GPS. In ex-
ceptional cases, this may not be possible.
You can then enter the current vehicle lo-
cation manually in connection with an in-
tersection.�
Turn the right-hand rotary/push-button
v to highlight “Settings” in the main
destination input menu and press to
confirm.
�
Turn the right-hand rotary/push-button
v to highlight “Location...” and press
to confirm.
The input menu to enter the city will ap-
pear.
�
Enter the city/suburb and then the
street and select the required entries
from the corresponding list. See ente-
ring destination address (
�page 123).
After you have selected the street, you will
see a prompt for the intersection.
�
Turn the right-hand rotary/push-button
v to highlight the appropriate cross
street and press to confirm.
The input menu “Location/Intersec-
tion” will appear.
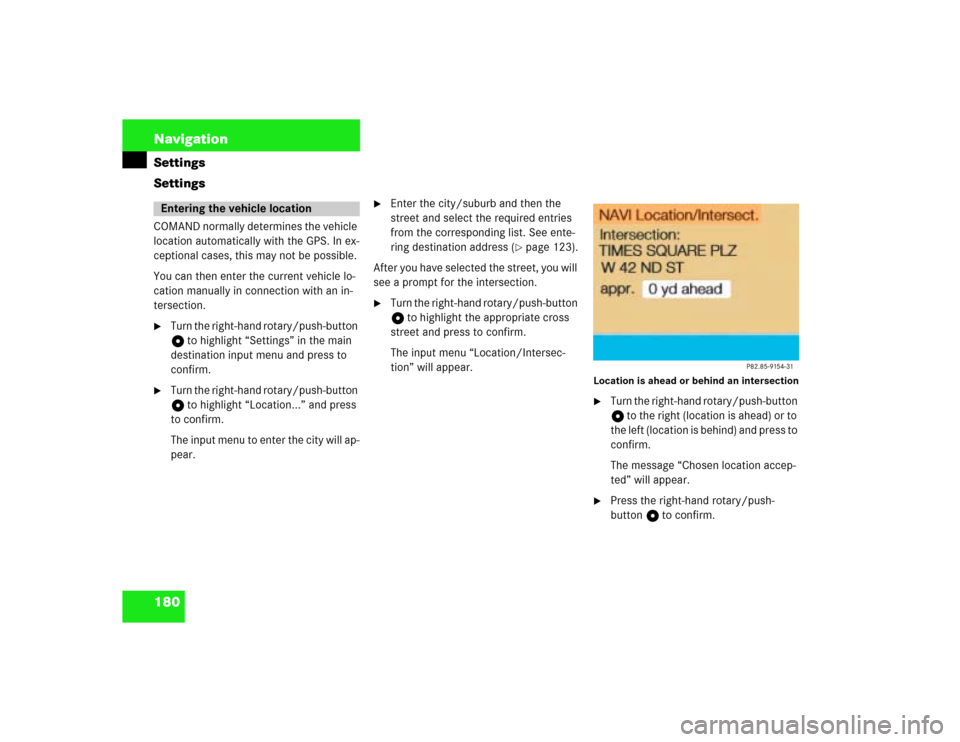
Location is ahead or behind an intersection�
Turn the right-hand rotary/push-button
v to the right (location is ahead) or to
the left (location is behind) and press to
confirm.
The message “Chosen location accep-
ted” will appear.
�
Press the right-hand rotary/push-
button v to confirm.
Entering the vehicle location
Page 198 of 225
190Info Services/System settingsSystem settingsYou can select the following languages�
“Adopt from Instrument Cluster”
COMAND will use the same language
as is set in instrument cluster
�
“Deutsch”
�
“English” (metric)
Distance measured in km,
speed in km/h
�
“English” (imperial)
Distance measured in yards and miles,
speed in miles per hour (mph)
�
“Español”
�
“Français”
�
“Italiano”
�
“Nederlands”COMAND is equipped with an integrated
clock, which it shows in the main system
settings menu.
Automatically
COMAND automatically sets date and time
if the GPS time is received.
However, you can make the following ad-
justments:�
Set the time in increments of 30 minu-
tes (
�page 191)
�
Set the time by selecting a country and
the time zone (
�page 192)Manually
You must always set the clock manually
(
�page 195), if
�
COMAND does not receive a GPS time
�
the clock has been disconnected from
the vehicle battery
�
the dates of the change between sum-
mer and winter time are not available
Setting date and timeiThe clock displays e.g. the estimated
time of arrival at the destination during
route guidance.
Page 202 of 225
194Info Services/System settingsSystem settingsAutomatic time conversion
1Setting change summer/winter time
�
Press the right-hand rotary/push-
button v.
Checkmark P indicates that auto-
matic time change is active.
�
Press the right-hand rotary/push-
button v longer than 2 seconds.
The settings are adopted and the main
system settings menu will appear.
P82.85-9252-31
1
Position 1
Meaning
Automatic sum-
mer/winter time
The time in this
country/timezone
changes, the dates
of the time change
are known
Summer time
The dates of the
time changs are
not known, the
change to winter
time must be made
manually
Page 203 of 225
195
Info Services/System settings
System settings
Manually setting date and clock
You must manually set the date and clock,
if�
COMAND does not receive a GPS time
�
the clock has been disconnected from
the vehicle battery
�
the dates of the change between sum-
mer and winter time are not available
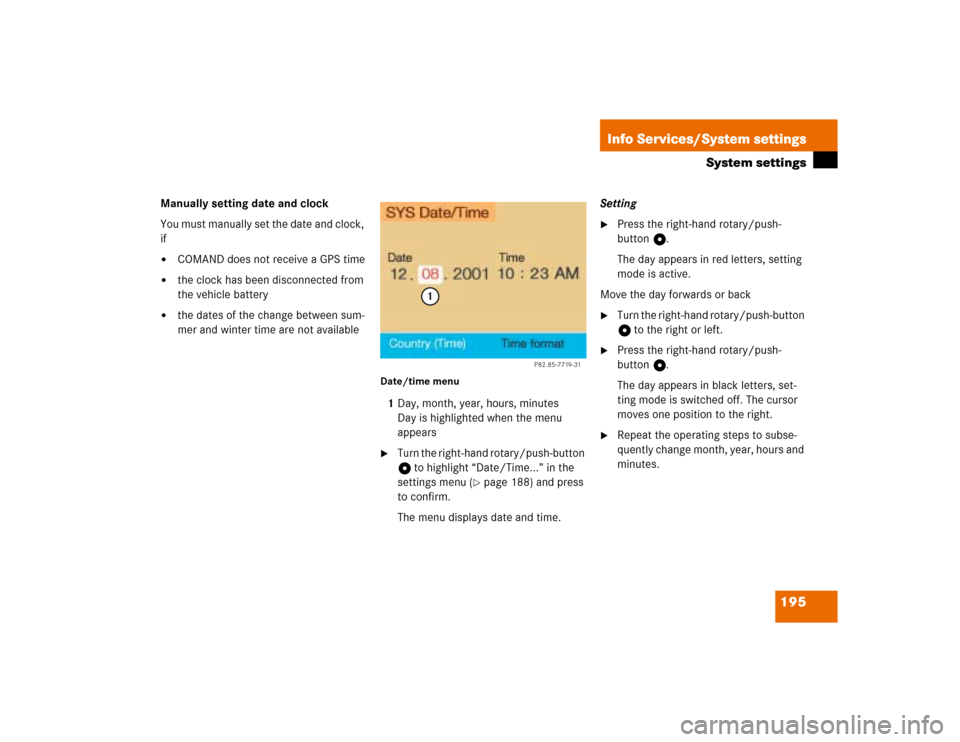
Date/time menu1Day, month, year, hours, minutes
Day is highlighted when the menu
appears�
Turn the right-hand rotary/push-button
v to highlight “Date/Time...” in the
settings menu (
�page 188) and press
to confirm.
The menu displays date and time.Setting
�
Press the right-hand rotary/push-
button v.
The day appears in red letters, setting
mode is active.
Move the day forwards or back
�
Turn the right-hand rotary/push-button
v to the right or left.
�
Press the right-hand rotary/push-
button v.
The day appears in black letters, set-
ting mode is switched off. The cursor
moves one position to the right.
�
Repeat the operating steps to subse-
quently change month, year, hours and
minutes.
P82.85-7719-31
1
Page 213 of 225
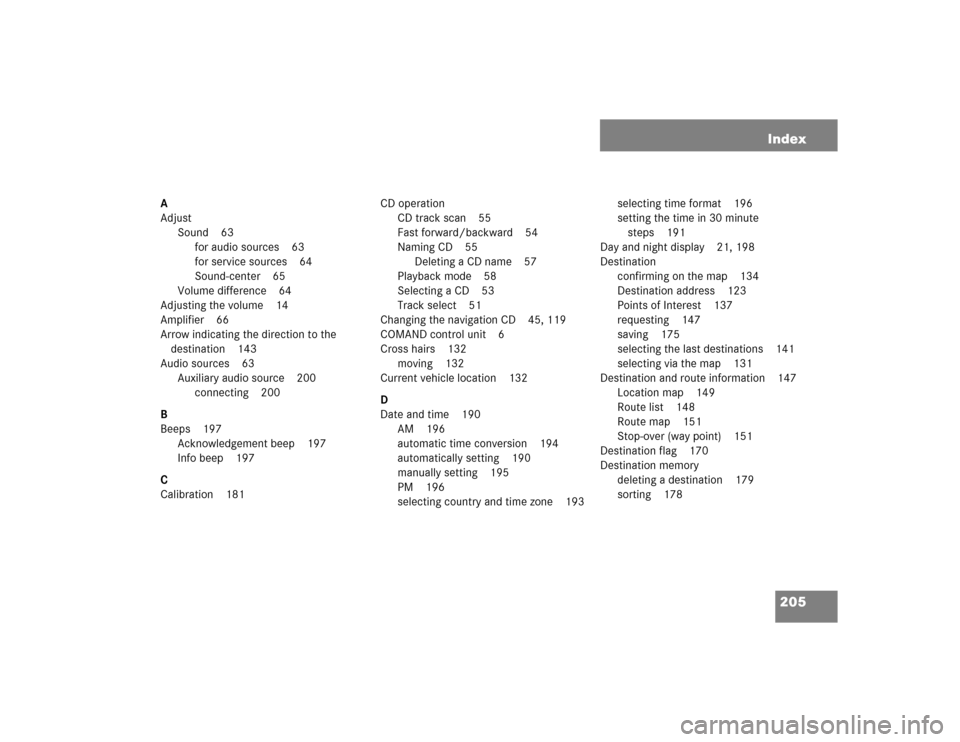
205 Index
A
Adjust
Sound 63
for audio sources 63
for service sources 64
Sound-center 65
Volume difference 64
Adjusting the volume 14
Amplifier 66
Arrow indicating the direction to the
destination 143
Audio sources 63
Auxiliary audio source 200
connecting 200
B
Beeps 197
Acknowledgement beep 197
Info beep 197
C
Calibration 181CD operation
CD track scan 55
Fast forward/backward 54
Naming CD 55
Deleting a CD name 57
Playback mode 58
Selecting a CD 53
Track select 51
Changing the navigation CD 45, 119
COMAND control unit 6
Cross hairs 132
moving 132
Current vehicle location 132
D
Date and time 190
AM 196
automatic time conversion 194
automatically setting 190
manually setting 195
PM 196
selecting country and time zone 193selecting time format 196
setting the time in 30 minute
steps 191
Day and night display 21, 198
Destination
confirming on the map 134
Destination address 123
Points of Interest 137
requesting 147
saving 175
selecting the last destinations 141
selecting via the map 131
Destination and route information 147
Location map 149
Route list 148
Route map 151
Stop-over (way point) 151
Destination flag 170
Destination memory
deleting a destination 179
sorting 178