Page 85 of 288

Replacing foglamp bulbs
1. Make sure the headlamp switch is
in the OFF position and disconnect
the electrical connector from the
foglamp bulb.
2. Rotate the foglamp bulb
counterclockwise and remove from
the foglamp.
Install the new bulb in reverse order.
Replacing high-mount brakelamp bulbs
Your vehicle is equipped with an LED center high-mount stop lamp. It is
designed to last the life of the vehicle. If replacement is required, the
entire assembly must be replaced as follows:
1. Pull down on the headliner, near
the location of the high-mount stop
lamp, to release the dual lock
attachment.
2. Expose enough of the high-mount
stop lamp to disconnect the
electrical wire and remove the two
retaining bolts (8 mm head).
3. Remove and replace the high-mount stop lamp bulb.
Install the new lamp in reverse order.
Replacing tail lamp/backup bulbs
For bulb replacement, see a dealer or qualified technician.
Replacing license plate lamp bulbs
For bulb replacement, see a dealer or qualified technician.
Lights
85
Page 87 of 288
More or less wiping may occur under the following conditions:
•on cool mornings with high humidity
•in very light mist or rain
•salty water/mist
•hydrophobic coating applied to the windshield such as Rain-X or wax
(use of these types of coatings are not recommended)
You can override the moisture sensitive wiper function by selecting
HIGH, LOW and OFF.
The moisture sensitive wiper feature should be turned OFF prior to
entering a car wash.
Changing the wiper blades
To replace the wiper blades:
1. Pull the passenger side wiper arm
away from the windshield into the
service position. Turn the blade at
an angle from the wiper arm.
2. Firmly press the release tab from
the bottom side of the wiper arm to
unlock wiper blade from wiper arm.
3. Pull the wiper blade down toward
the windshield to remove it from the
arm.
Driver Controls
87
Page 88 of 288

4. Attach the new wiper to the
wiper arm and reposition the clip
until it locks.
Repeat for driver’s side wiper arm.
POWER TILT/TELESCOPE STEERING COLUMN
The steering column can be
adjusted manually by moving the
four-way rocker adjustment control
located below the turn signal/wiper
control stalk. Hold the control to
adjust.
The telescope function is adjusted
by moving the control toward the
driver to telescope out and toward
the instrument panel to telescope
in.
The tilt function is adjusted by moving the control up or down.
Easy entry/exit feature
When you remove the key, the column will move, if this feature is
activated through the Message Center, to the full in and up position,
refer to theMessage Centerin theDriver Controlschapter. When the
key is inserted into the ignition, the column will return to the previous
setting.
Memory feature
The steering column positions are saved when doing a memory set
function and can be recalled along with the vehicle personality features
when a memory position is selected through the remote entry
transmitter, keyless entry keypad or memory switch on the driver’s door
(if equipped with memory feature). Refer toMemory seats/steering
column/mirrors/adjustable pedalsin theSeating and Safety
Restraintschapter.
If the steering column adjustment control is pressed during memory
recall it will cancel the automatic operation and the column will respond
to manual adjustment of the control.
Driver Controls
88
Page 89 of 288
Never adjust the steering wheel when the vehicle is moving.
STEERING COLUMN LOCK (IF EQUIPPED)
The steering column will automatically lock when the key is removed
from the ignition. When the vehicle key is inserted into the ignition, the
steering column will automatically unlock.
ILLUMINATED VISOR MIRROR
To turn on the visor mirror lamps,
lift the mirror cover. Adjust the
amount of light by sliding the
control.
OVERHEAD CONSOLE
The appearance of your vehicle’s overhead console will vary according to
your option package.
Storage compartment
Press to open the storage
compartment. The door will open
slightly and can be moved to full
open.
The storage compartment may be
used to secure sunglasses or a
similar object.
AUXILIARY POWER POINT
Power outlets are designed for accessory plugs only. Do not hang
any type of accessory or accessory bracket from the plug.
Improper use of the power outlet can cause damage not covered
by your warranty.
Driver Controls
89
Page 92 of 288

Window lock
The window lock feature allows only
the driver to operate the rear power
windows.
To lock out the rear window
controls press the right side of the
control. Press the left side to
restore the window controls.
MIRRORS
Automatic dimming inside rear view mirror (if equipped)
Your vehicle is equipped with an inside rear view mirror which has an
auto-dimming function. The electronic day/night mirror will change from
the normal state to the non-glare state when bright lights (glare) reach
the mirror. When the mirror detects bright light from front or behind, it
will automatically adjust (darken) to minimize glare.
Press the AUTO control to turn the mirror on. Press the OFF control to
turn the mirror off. Do not block the sensor on the backside of the
mirror since this may impair proper mirror performance.
Ensure the mirror is pulled down low enough to prevent visibility
interference with the overhead console. The mirror support arm has two
pivot points which lets you adjust the mirror UP or DOWN and from
SIDE to SIDE.
The mirror will automatically return
to the normal state whenever the
vehicle is placed in R
(Reverse)(when the mirror is on) to
ensure a bright clear view when
backing up.
Electronic compass (if equipped)
The compass reading will remain accurate during most driving
conditions. Unknown to the driver, the compass is continuously
recalibrating due to magnetic fields and subtle, slow changes in vehicle
magnetics which can occur over the life of the vehicle.
The compass reading will remain fixed when significant levels are
experienced (such as steel bridges). The compass will return to normal
operation upon leaving the magnetized area.
If highly magnetized items (such as magnetic mount antennas) are
placed very near the compass the display will change to“C”for 15
OFF AUTO
Driver Controls
92
Page 102 of 288

•To close from the vent, intermediate and full open positions, push the
rear portion of the control forward.
Do not let children play with the moon roof. They may seriously
hurt themselves.
When closing the moon roof, you should verify they are free of
obstructions and ensure that children and/or pets are not in the
proximity of the window openings.
Bounce Back
When an obstacle has been detected in the moon roof opening as the
moon roof is closing, the moon roof will automatically open and stop at a
prescribed position.
Bounce Back Override
To override Bounce Back, within 2 seconds after reaching Bounce Back
position, if the switch is moved from the Neutral to the auto close
positionthe moon roof will close with no bounce back protection.
If the switch is released before the moon roof reaches fully closed
position, the moon roof will stop. For example: Bounce Back Override
can be used to overcome the resistance of ice on the moon roof or seals.
HOMELINK�UNIVERSAL TRANSCEIVER (IF EQUIPPED)
The HomeLink�Universal Transceiver, located on the driver’s visor,
provides a convenient way to replace up to three hand-held transmitters
with a single built-in device. This feature will learn the radio frequency
codes of most current transmitters to operate garage doors, entry gate
operators, security systems, entry door locks, and home or office lighting.
When programming your HomeLink�Universal Transceiver to a
garage door or gate, be sure that people and objects are out of
the way to prevent potential harm or damage.
Do not use the HomeLink�Universal Transceiver with any garage door
opener that lacks safety stop and reverse features as required by U.S.
federal safety standards (this includes any garage door opener model
manufactured before April 1, 1982). A garage door which cannot detect
an object, signaling the door to stop and reverse, does not meet current
U.S. federal safety standards. For more information, contact HomeLink�
at:www.homelink.comor1–800–355–3515.
Driver Controls
102
Page 105 of 288

seconds(“cycle”) your hand-held transmitter until the frequency
signal has been accepted by the HomeLink�. The red indicator light
will flash slowly and then rapidly after HomeLink�accepts the radio
frequency signal.
•Proceed with step 4 in the“Programming”section.
Operating the HomeLink�Universal Transceiver
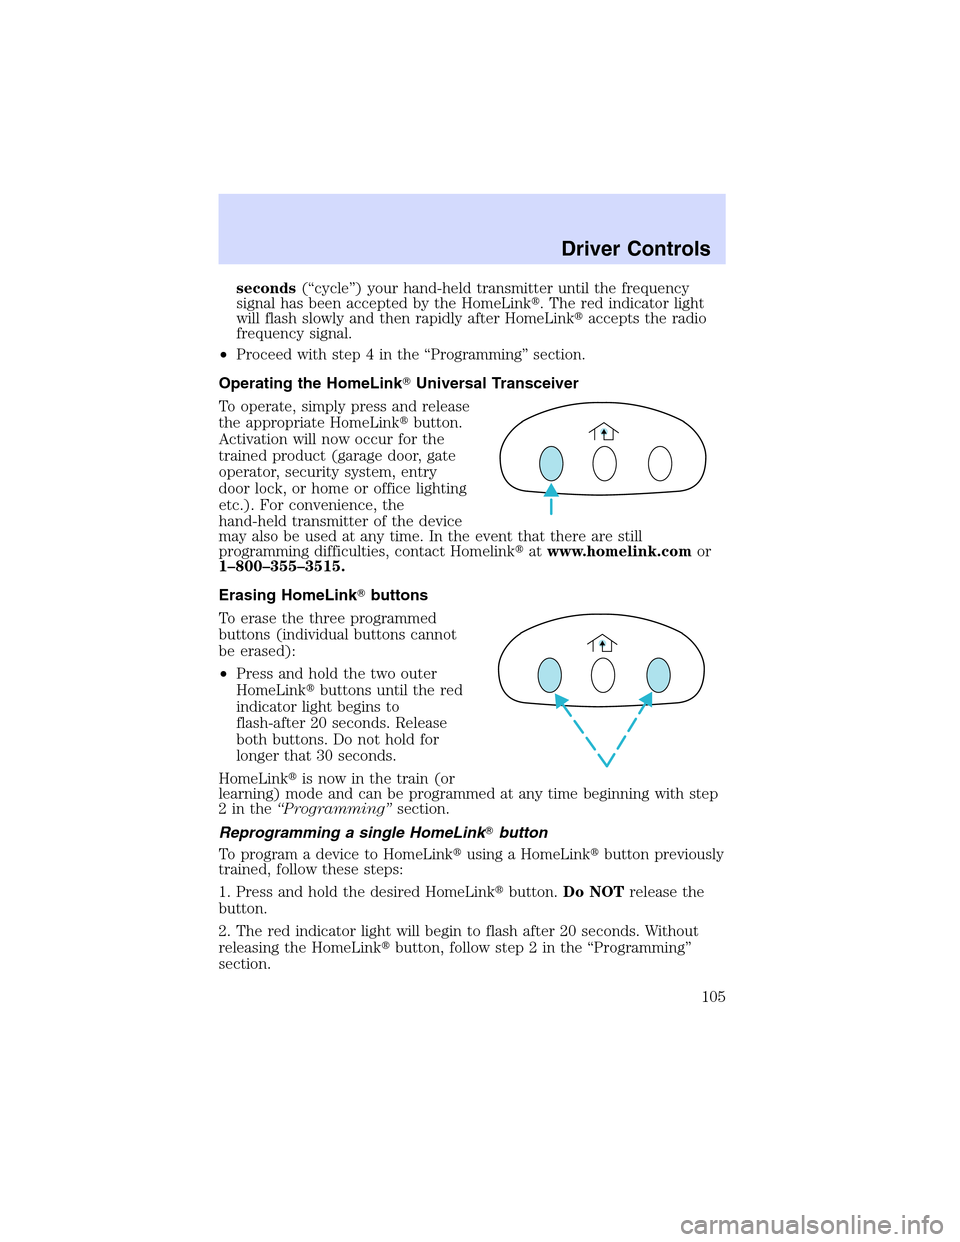
To operate, simply press and release
the appropriate HomeLink�button.
Activation will now occur for the
trained product (garage door, gate
operator, security system, entry
door lock, or home or office lighting
etc.). For convenience, the
hand-held transmitter of the device
may also be used at any time. In the event that there are still
programming difficulties, contact Homelink�atwww.homelink.comor
1–800–355–3515.
Erasing HomeLink�buttons
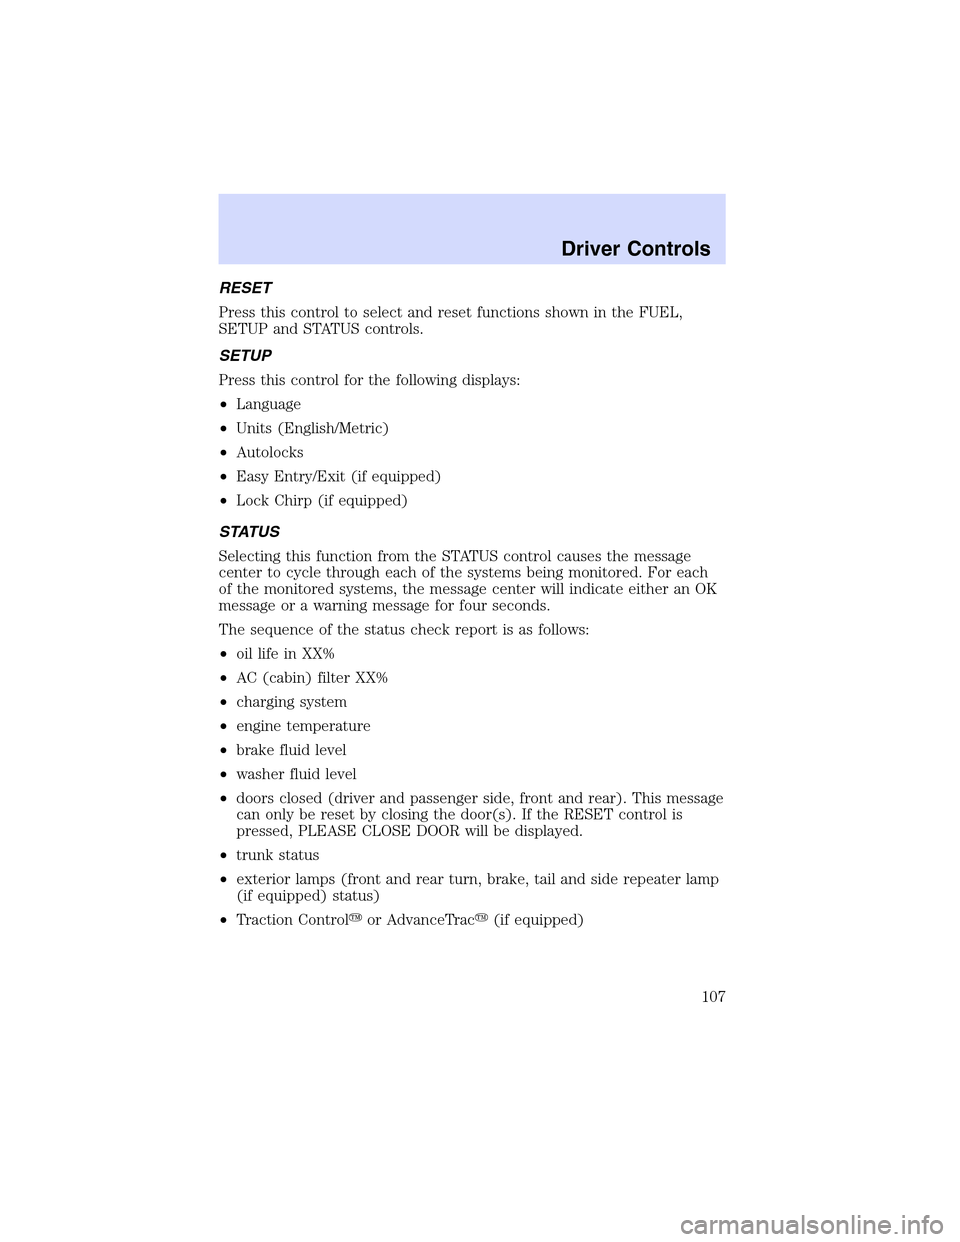
To erase the three programmed
buttons (individual buttons cannot
be erased):
•Press and hold the two outer
HomeLink�buttons until the red
indicator light begins to
flash-after 20 seconds. Release
both buttons. Do not hold for
longer that 30 seconds.
HomeLink�is now in the train (or
learning) mode and can be programmed at any time beginning with step
2inthe“Programming”section.
Reprogramming a single HomeLink�button
To program a device to HomeLink�using a HomeLink�button previously
trained, follow these steps:
1. Press and hold the desired HomeLink�button.Do NOTrelease the
button.
2. The red indicator light will begin to flash after 20 seconds. Without
releasing the HomeLink�button, follow step 2 in the“Programming”
section.
Driver Controls
105
Page 107 of 288

RESET
Press this control to select and reset functions shown in the FUEL,
SETUP and STATUS controls.
SETUP
Press this control for the following displays:
•Language
•Units (English/Metric)
•Autolocks
•Easy Entry/Exit (if equipped)
•Lock Chirp (if equipped)
STATUS
Selecting this function from the STATUS control causes the message
center to cycle through each of the systems being monitored. For each
of the monitored systems, the message center will indicate either an OK
message or a warning message for four seconds.
The sequence of the status check report is as follows:
•oil life in XX%
•AC (cabin) filter XX%
•charging system
•engine temperature
•brake fluid level
•washer fluid level
•doors closed (driver and passenger side, front and rear). This message
can only be reset by closing the door(s). If the RESET control is
pressed, PLEASE CLOSE DOOR will be displayed.
•trunk status
•exterior lamps (front and rear turn, brake, tail and side repeater lamp
(if equipped) status)
•Traction Control�or AdvanceTrac�(if equipped)
Driver Controls
107