Page 23 of 280

Setting the clock:Press RDS until SELECT HOUR or SELECT MINS is
displayed. Use the SEL control to manually increase/decrease (
/)
the time.
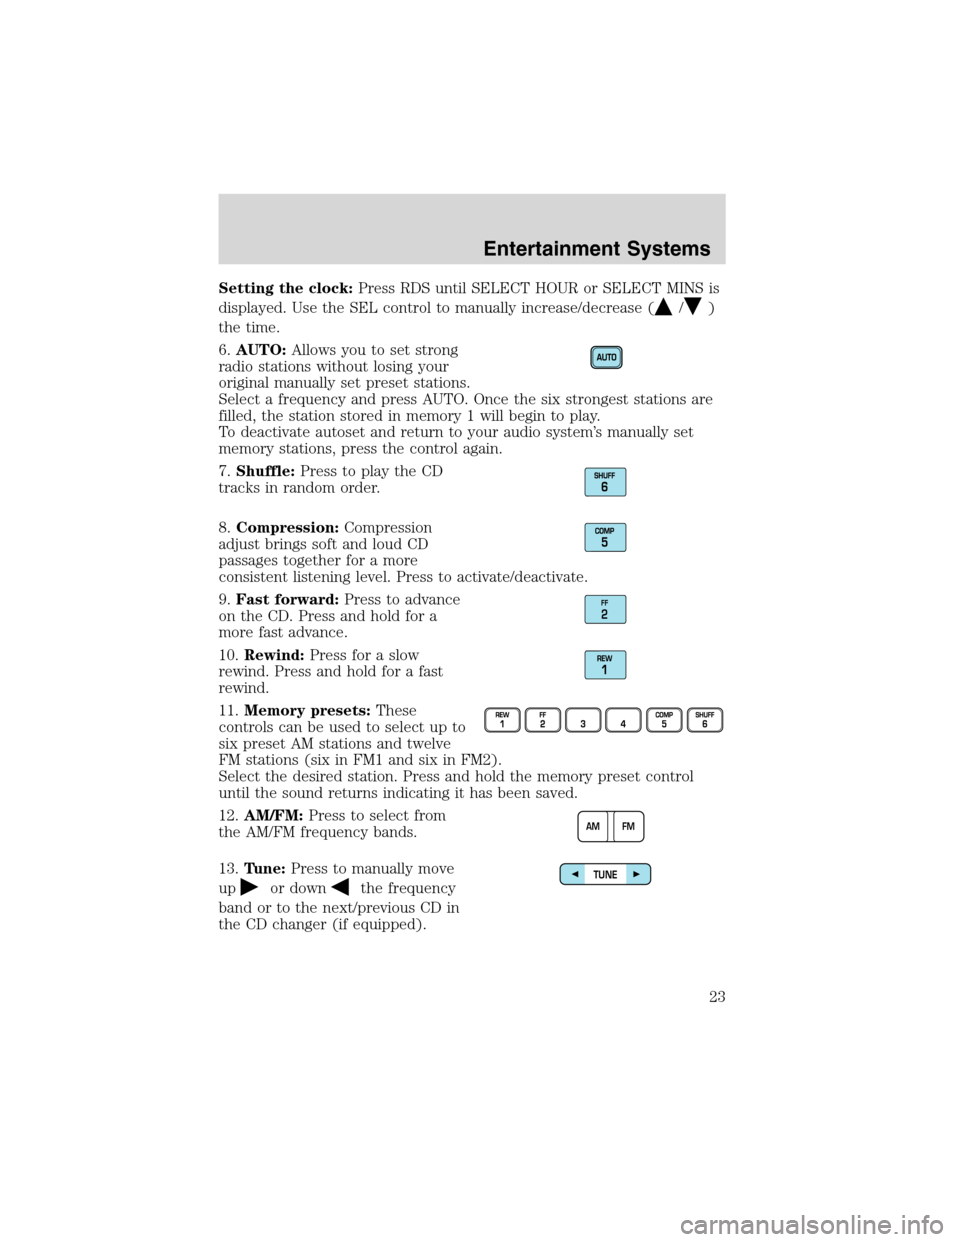
6.AUTO:Allows you to set strong
radio stations without losing your
original manually set preset stations.
Select a frequency and press AUTO. Once the six strongest stations are
filled, the station stored in memory 1 will begin to play.
To deactivate autoset and return to your audio system’s manually set
memory stations, press the control again.
7.Shuffle:Press to play the CD
tracks in random order.
8.Compression:Compression
adjust brings soft and loud CD
passages together for a more
consistent listening level. Press to activate/deactivate.
9.Fast forward:Press to advance
on the CD. Press and hold for a
more fast advance.
10.Rewind:Press for a slow
rewind. Press and hold for a fast
rewind.
11.Memory presets:These
controls can be used to select up to
six preset AM stations and twelve
FM stations (six in FM1 and six in FM2).
Select the desired station. Press and hold the memory preset control
until the sound returns indicating it has been saved.
12.AM/FM:Press to select from
the AM/FM frequency bands.
13.Tune:Press to manually move
up
or downthe frequency
band or to the next/previous CD in
the CD changer (if equipped).
FF2
AM FM
TUNE
Entertainment Systems
23
Page 27 of 280

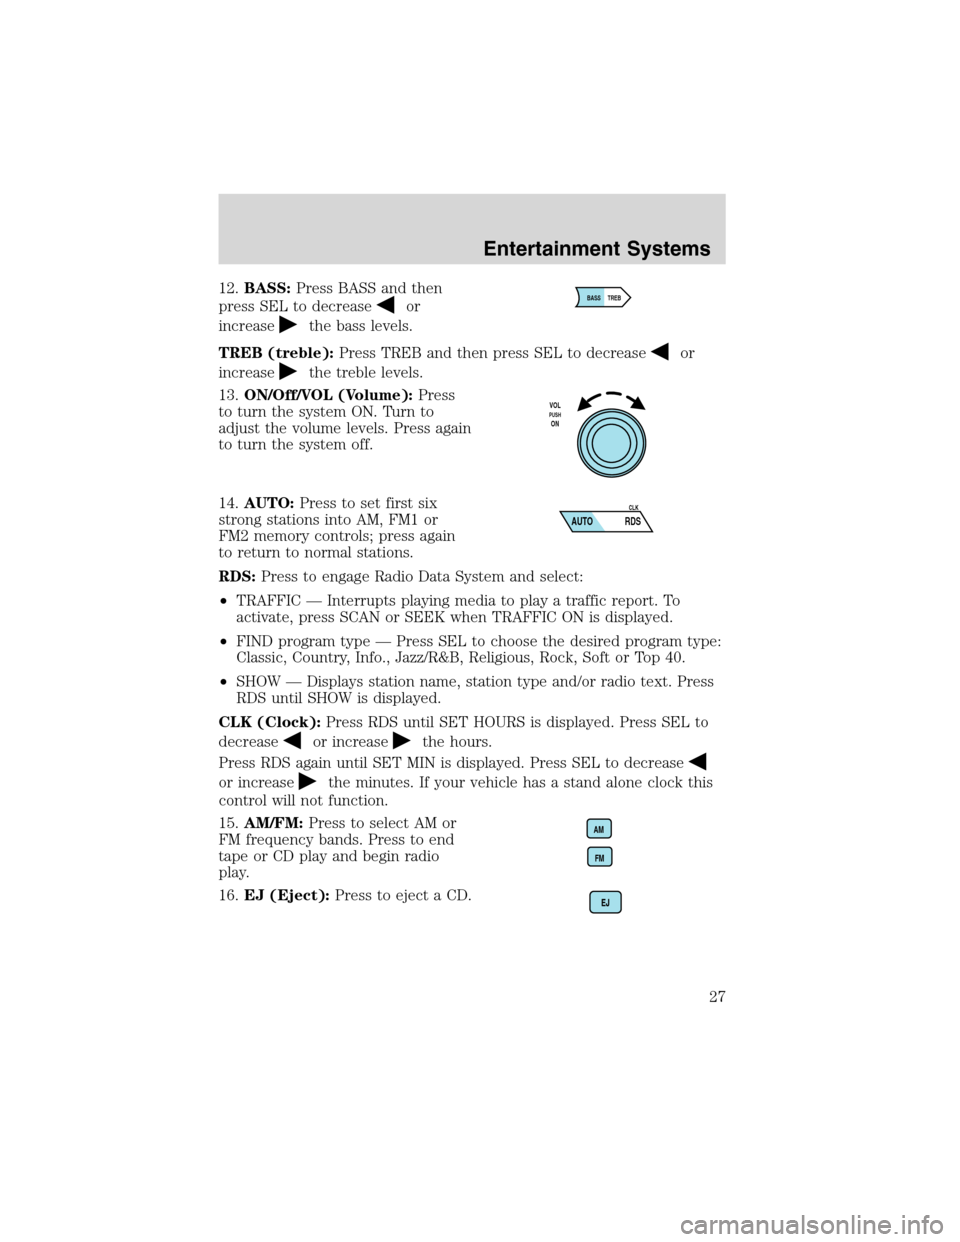
12.BASS:Press BASS and then
press SEL to decrease
or
increase
the bass levels.
TREB (treble):Press TREB and then press SEL to decrease
or
increase
the treble levels.
13.ON/Off/VOL (Volume):Press
to turn the system ON. Turn to
adjust the volume levels. Press again
to turn the system off.
14.AUTO:Press to set first six
strong stations into AM, FM1 or
FM2 memory controls; press again
to return to normal stations.
RDS:Press to engage Radio Data System and select:
•TRAFFIC—Interrupts playing media to play a traffic report. To
activate, press SCAN or SEEK when TRAFFIC ON is displayed.
•FIND program type—Press SEL to choose the desired program type:
Classic, Country, Info., Jazz/R&B, Religious, Rock, Soft or Top 40.
•SHOW—Displays station name, station type and/or radio text. Press
RDS until SHOW is displayed.
CLK (Clock):Press RDS until SET HOURS is displayed. Press SEL to
decrease
or increasethe hours.
Press RDS again until SET MIN is displayed. Press SEL to decrease
or increasethe minutes. If your vehicle has a stand alone clock this
control will not function.
15.AM/FM:Press to select AM or
FM frequency bands. Press to end
tape or CD play and begin radio
play.
16.EJ (Eject):Press to eject a CD.
BASS TREB
VOLPUSHON
AUTO RDSCLK
AM
FM
Entertainment Systems
27
Page 29 of 280

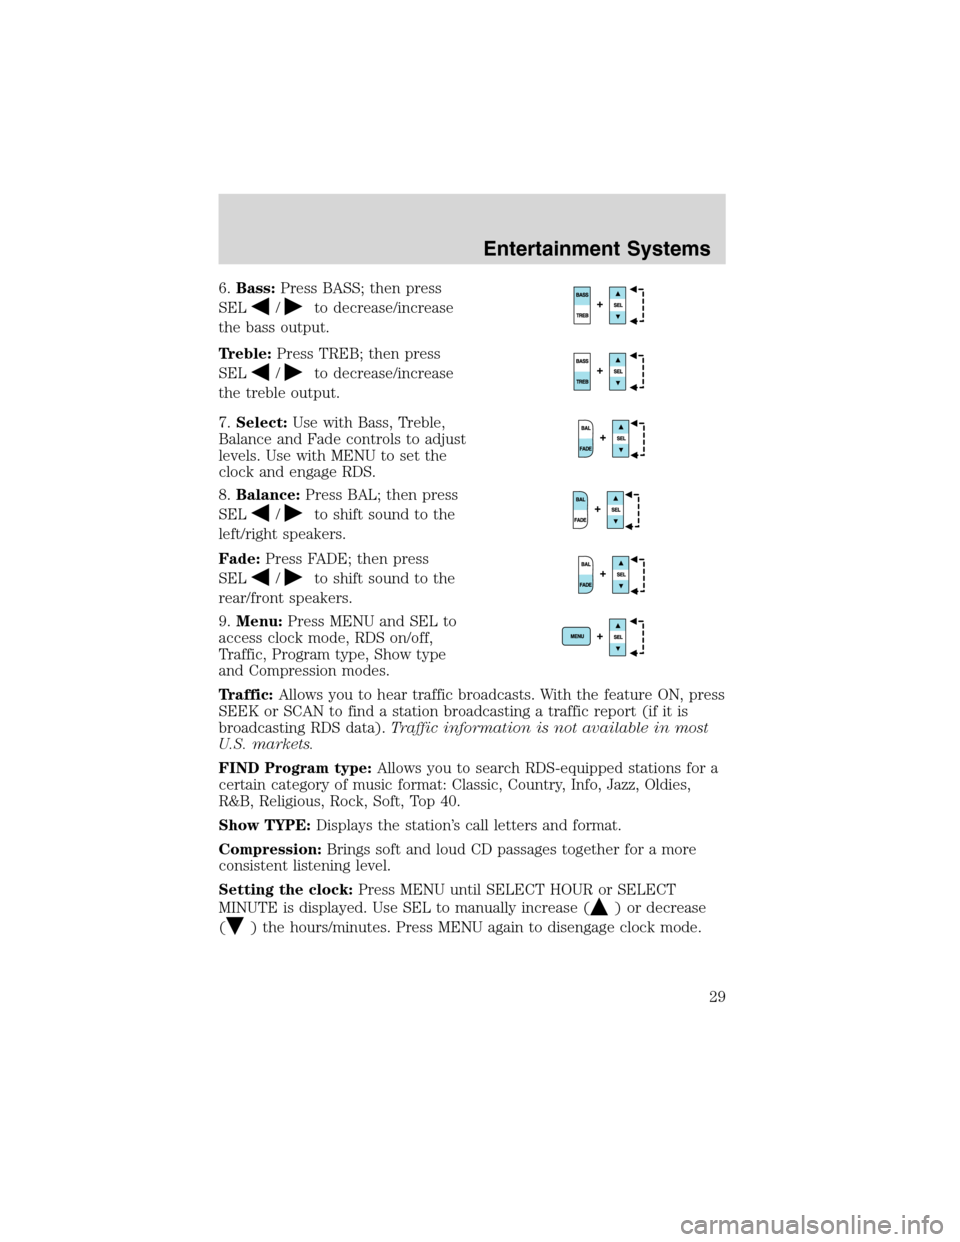
6.Bass:Press BASS; then press
SEL
/to decrease/increase
the bass output.
Treble:Press TREB; then press
SEL
/to decrease/increase
the treble output.
7.Select:Use with Bass, Treble,
Balance and Fade controls to adjust
levels. Use with MENU to set the
clock and engage RDS.
8.Balance:Press BAL; then press
SEL
/to shift sound to the
left/right speakers.
Fade:Press FADE; then press
SEL
/to shift sound to the
rear/front speakers.
9.Menu:Press MENU and SEL to
access clock mode, RDS on/off,
Traffic, Program type, Show type
and Compression modes.
Traffic:Allows you to hear traffic broadcasts. With the feature ON, press
SEEK or SCAN to find a station broadcasting a traffic report (if it is
broadcasting RDS data).Traffic information is not available in most
U.S. markets.
FIND Program type:Allows you to search RDS-equipped stations for a
certain category of music format: Classic, Country, Info, Jazz, Oldies,
R&B, Religious, Rock, Soft, Top 40.
Show TYPE:Displays the station’s call letters and format.
Compression:Brings soft and loud CD passages together for a more
consistent listening level.
Setting the clock:Press MENU until SELECT HOUR or SELECT
MINUTE is displayed. Use SEL to manually increase (
) or decrease
(
) the hours/minutes. Press MENU again to disengage clock mode.
Entertainment Systems
29
Page 31 of 280
17.Disc/Tune:Radio: Press
orto manually tune down or up
the frequency band.
CD: Press
orto select the previous or next track on the CD.
18.CD door:Insert a CD label side
up.
PREMIUM AM/FM STEREO/CASSETTE/SINGLE CD
1.Power/volume:Press to turn
ON/OFF; turn
clockwise/counterclockwise to
increase/decrease volume.
2.Scan:Press SCAN to move up
the radio frequency band. SCAN
automatically finds a station, plays it
SCAN
Entertainment Systems
31
Page 33 of 280
9.CLK:Press and hold to set the
clock.
Press SEEK to decrease/increase
(
/) the hours.
Press TUNE to decrease/increase
(
/) the minutes.
10.Balance:Press BAL; then press
SEL
/to shift sound to the
left/right speakers.
Fade:Press FADE; then press
SEL
/to shift sound to the
rear/front speakers.
11.Memory preset buttons:To
set a station: Select frequency band
AM/FM; tune to a station, press and
hold a preset button until sound returns.
12.Shuffle (CD):Press to play
tracks in random order.
13.Compression (CD):Press to
bring soft and loud passages
together for a more consistent
listening level.
14.
Dolby�noise reduction:
Reduces tape noise and hiss; press
to activate/deactivate.
15.Side 1–2:Press to play reverse
side of the tape.
Entertainment Systems
33
Page 44 of 280
HEADLAMP CONTROL
Turns the lamps off.
Turns on the parking lamps,
instrument panel lamps, license
plate lamps and tail lamps.
Turns the headlamps on.
Autolamp control (if equipped)
The autolamp system sets the
headlamps to turn on and off
automatically. It also keeps the
lights on for approximately 20
seconds after the ignition switch is
turned to the OFF position.
•To turn autolamps on, rotate the
control counterclockwise.
•To turn autolamps off, rotate the
control clockwise to the OFF
position.
•Foglamps are not controlled by the autolamps. In order to turn on the
foglamps, you must turn the lamp switch to the
position and
pull toward you for foglamps.
Foglamp control (if equipped)
The foglamps can be turned on only
when the headlamp control is in
the
position and the high
beams are not turned on.
Pull headlamp control towards you
to turn foglamps on. The foglamp
indicator light
will illuminate.
A
A
A
Lights
44
Page 50 of 280
4. Remove bulb retainer ring by
turning it counterclockwise, then
slide the ring off the plastic base.
5. Carefully pull bulb assembly out
of headlamp assembly and replace.
Handle a halogen headlamp bulb carefully and keep out of
children’s reach. Grasp the bulb only by its plastic base and do
not touch the glass. The oil from your hand could cause the bulb to
break the next time the headlamps are operated.
Install the new bulb in reverse order.
Replacing front parking lamp/turn signal bulbs
1. Make sure the headlamp control
is in the OFF position and open the
hood.
2. Remove screw from the lamp
assembly and disengage lamp
assembly by pulling straight forward,
to disengage two hidden snap-in
retainers.
Lights
50
Page 51 of 280
3. Remove bulb socket from the
parking lamp assembly by turning it
counterclockwise.
4. Pull bulb straight out of socket
and press in the new bulb.
Install the new bulb(s) in reverse order.
Replacing tail/brake/turn signal/backup lamp bulbs
1. Make sure the headlamp control
is in the OFF position.
2. Open the liftgate to expose the
lamp assembly screws and remove
the two bolts from the tail lamp
assembly.
3. Carefully pull the lamp assembly
straight rearward from the tailgate
pillar to disengage two hidden snap-in retainers. (Flare side and Super
Crew tail lamps are not equipped with snap-in retainers.)
4. Remove bulb socket from the lamp assembly by turning it
counterclockwise.
5. Pull bulb straight out of socket and press in the new bulb.
Install the new bulb(s) in reverse order.
Lights
51