2003 LINCOLN AVIATOR stop start
[x] Cancel search: stop startPage 21 of 288
Scan function in tape mode
Press the SCAN control to hear a short sampling of all selections on the
tape. (The tape scans in a forward direction. At the end of the tape’s
first side, direction automatically reverses to the opposite side of the
tape.) To stop on a particular selection, press the control again.
Scan function in CD mode
Press the SCAN control to hear a short sampling of all selections on the
CD. (The CD scans in a forward direction, wrapping back to the first
track at the end of the CD.) To stop on a particular selection, press the
control again.
Radio station memory preset
The radio is equipped with six station memory preset controls. These
controls can be used to select upto six preset AM stations and twelve
FM stations (six in FM1 and six in FM2).
Setting memory preset stations
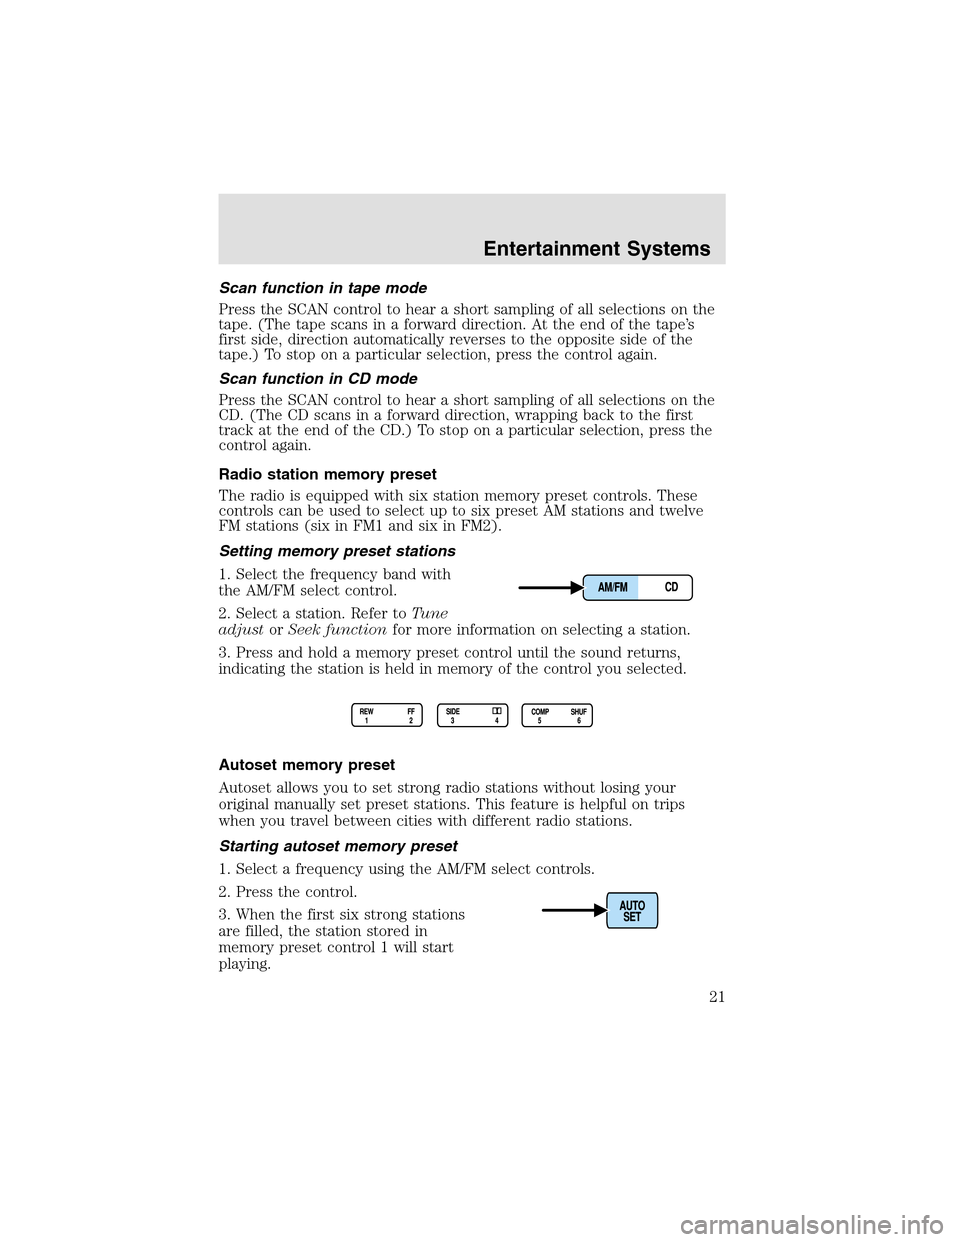
1. Select the frequency band with
the AM/FM select control.
2. Select a station. Refer toTune
adjustorSeek functionfor more information on selecting a station.
3. Press and hold a memory preset control until the sound returns,
indicating the station is held in memory of the control you selected.
Autoset memory preset
Autoset allows you to set strong radio stations without losing your
original manually set preset stations. This feature is helpful on trips
when you travel between cities with different radio stations.
Starting autoset memory preset
1. Select a frequency using the AM/FM select controls.
2. Press the control.
3. When the first six strong stations
are filled, the station stored in
memory preset control 1 will start
playing.
Entertainment Systems
21
Page 30 of 288
Scan function in CD mode
Press the SCAN control to hear a short sampling of all selections on the
CD. (The CD scans in a forward direction, wrapping back to the first
track at the end of the CD.) To stop on a particular selection, press the
control again.
Radio station memory preset
The radio is equipped with six station memory preset controls. These
controls can be used to select upto six preset AM stations and twelve
FM stations (six in FM1 and six in FM2).
Setting memory preset stations
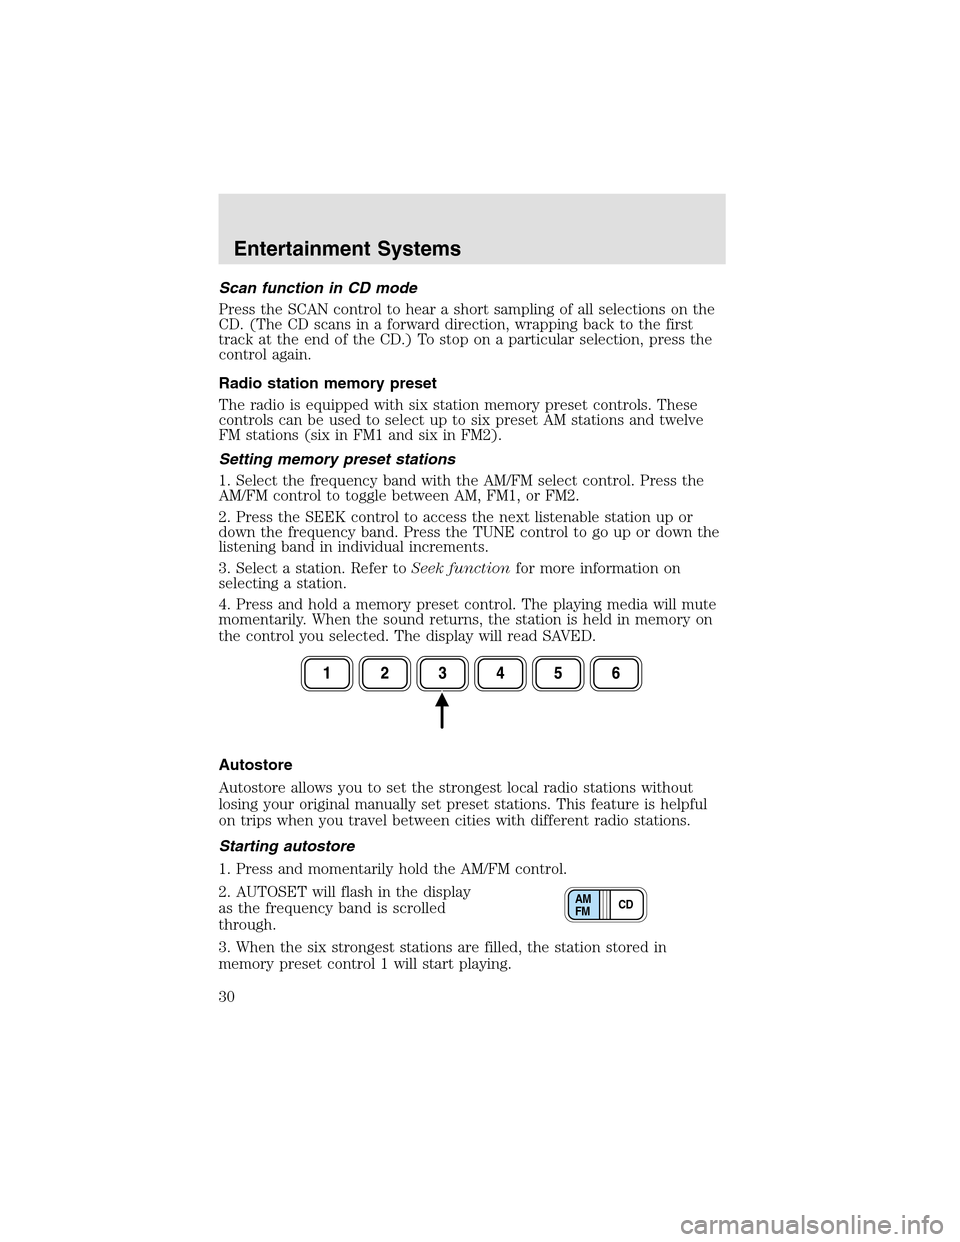
1. Select the frequency band with the AM/FM select control. Press the
AM/FM control to toggle between AM, FM1, or FM2.
2. Press the SEEK control to access the next listenable station upor
down the frequency band. Press the TUNE control to go upor down the
listening band in individual increments.
3. Select a station. Refer toSeek functionfor more information on
selecting a station.
4. Press and hold a memory preset control. The playing media will mute
momentarily. When the sound returns, the station is held in memory on
the control you selected. The display will read SAVED.
Autostore
Autostore allows you to set the strongest local radio stations without
losing your original manually set preset stations. This feature is helpful
on trips when you travel between cities with different radio stations.
Starting autostore
1. Press and momentarily hold the AM/FM control.
2. AUTOSET will flash in the display
as the frequency band is scrolled
through.
3. When the six strongest stations are filled, the station stored in
memory preset control 1 will start playing.
CD AM
FM
Entertainment Systems
30
Page 167 of 288
3. If the temperature is below -12° C (10° F) and the engine does not
start in 15 seconds on the first try, turn the key OFF and wait 10
seconds and try again. If the engine does not start in two attempts, press
the accelerator pedal all the way to floor and hold. Turn the key to
START position.
4. When the engine starts, release the key, then release the accelerator
pedal gradually as the engine speeds up.
5. After idling for a few seconds, apply the brake, shift into gear and
drive.
Using the engine block heater (if equipped)
An engine block heater warms the engine coolant which aids in starting
and heater/defroster performance. Use of an engine block heater is
strongly recommended if you live in a region where temperatures reach
-23° C (-10° F) or below. For best results, plug the heater in at least
three hours before starting the vehicle. The heater can be plugged in the
night before starting the vehicle.
To prevent electrical shock, do not use your heater with
ungrounded electrical systems or two-pronged (cheater)
adapters.
Guarding against exhaust fumes
Carbon monoxide is present in exhaust fumes. Take precautions to avoid
its dangerous effects.
If you smell exhaust fumes inside your vehicle, have your dealer
inspect your vehicle immediately. Do not drive if you smell
exhaust fumes.
Important ventilating information
If the engine is idling while the vehicle is stopped for a long period of
time, open the windows at least 2.5 cm (one inch) or adjust the heating
or air conditioning to bring in fresh air.
BRAKES
Your service brakes are self-adjusting. Refer to the scheduled
maintenance guide for scheduled maintenance.
Occasional brake noise is normal and often does not indicate a
performance concern with the vehicle’s brake system. In normal
Driving
167
Page 168 of 288

operation, automotive brake systems may emit occasional or intermittent
squeal or groan noises when the brakes are applied. Such noises are
usually heard during the first few brake applications in the morning;
however, they may be heard at any time while braking and can be
aggravated by environmental conditions such as cold, heat, moisture,
road dust, salt or mud. If a “metal-to-metal,” “continuous grinding” or
“continuous squeal” sound is present while braking, the brake linings
may be worn-out and should be inspected by a qualified service
technician.
If you are driving down a long or steephill, shift to a lower gear.
Do not apply your brakes continuously, as they may overheat
and become less effective.
Anti-lock brake system (ABS)
On ABS-equipped vehicles, a noise from the hydraulic pump motor and
pulsation in the pedal may be observed during ABS braking events. Pedal
pulsation coupled with noise while braking under panic conditions or on
loose gravel, bumps, wet or snowy roads is normal and indicates proper
functioning of the vehicle’s anti-lock brake system. The ABS performs a
self-check after you start the engine and begin to drive away. A brief
mechanical noise may be heard during this test. This is normal. If a
malfunction is found, the ABS warning light will come on. If the vehicle
has continuous vibration or shudder in the steering wheel while braking,
the vehicle should be inspected by a qualified service technician.
The ABS operates by detecting the onset of wheel lockup during brake
applications and compensates for this tendency. The wheels are
prevented from locking even when the brakes are firmly applied.
Using ABS
•In an emergency or when maximum efficiency from the four-wheel
ABS is required, apply continuous force on the brake. The four wheel
ABS will be activated immediately, thus allowing you to retain steering
control of your vehicle and, providing there is sufficient space, will
enable you to avoid obstacles and bring the vehicle to a controlled
stop.
•The anti-lock system does not always reduce stopping distance.
Always leave enough room between your vehicle and the vehicle in
front of you to stop.
•We recommend that you familiarize yourself with this braking
technique. However, avoid taking any unnecessary risks.
Driving
168
Page 169 of 288
Brake Assist (if equipped)
The Brake Assist system provides full braking force during panic braking
situations. It detects a rapid application of the brake pedal and
maximizes the amount of brake booster assist, helping the driver to
achieve maximum braking pressure. Once a panic brake application is
detected, the system will remain activated as long as the brake pedal is
depressed. The system is deactivated by releasing the brake pedal.
When the system activates, the brake pedal will travel with very little
effort; this is normal.
ABS warning lamp
ABS
TheABSwarning lampin the instrument cluster momentarily illuminates
when the ignition is turned to the ON position. If the light does not
illuminate momentarily at start up, remains on or continues to flash, the
ABS needs to be serviced.
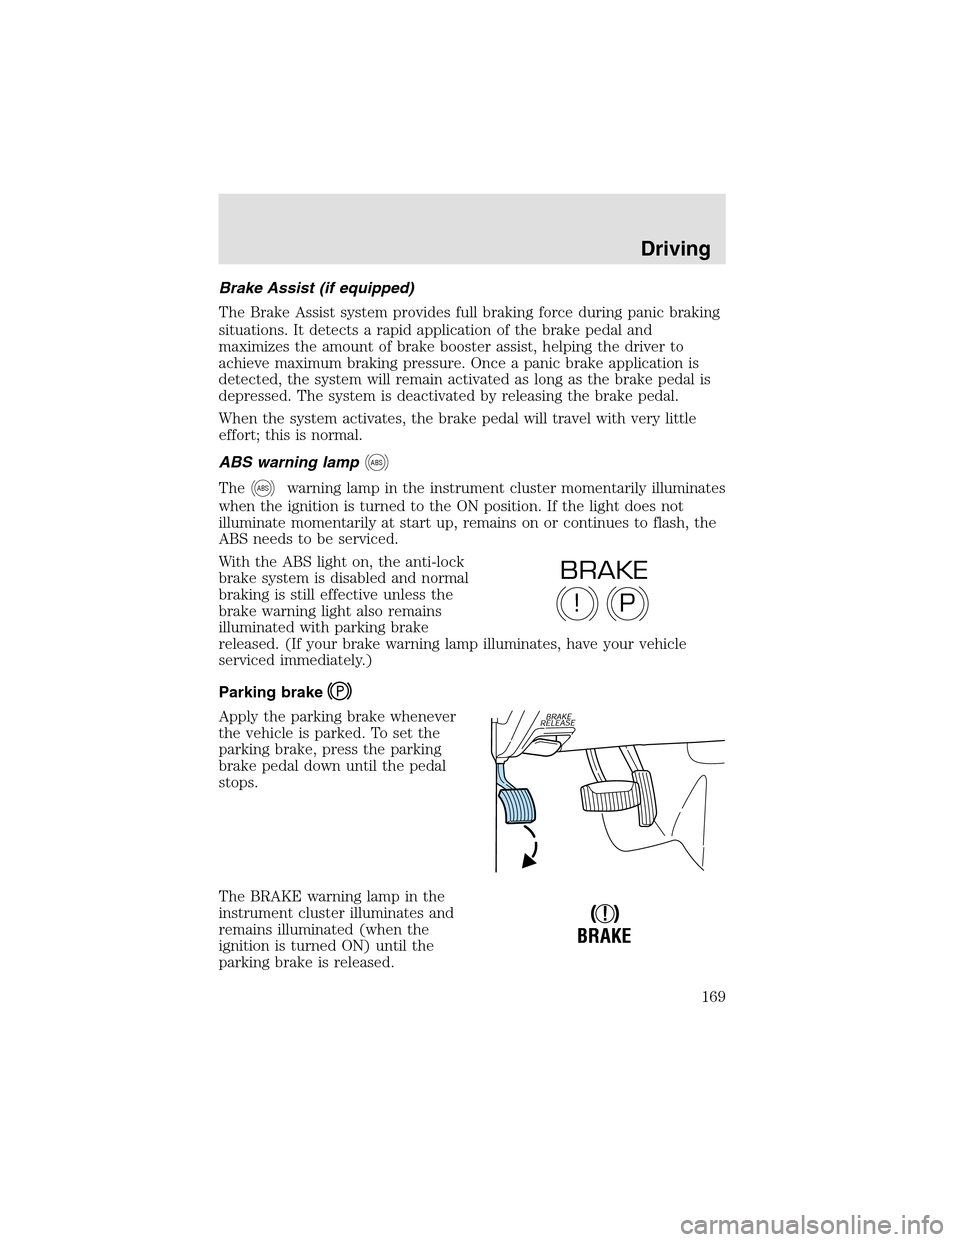
With the ABS light on, the anti-lock
brake system is disabled and normal
braking is still effective unless the
brake warning light also remains
illuminated with parking brake
released. (If your brake warning lampilluminates, have your vehicle
serviced immediately.)
Parking brake
Apply the parking brake whenever
the vehicle is parked. To set the
parking brake, press the parking
brake pedal down until the pedal
stops.
The BRAKE warning lampin the
instrument cluster illuminates and
remains illuminated (when the
ignition is turned ON) until the
parking brake is released.
P!
BRAKE
!
BRAKE
Driving
169
Page 176 of 288
Driving with a 5–speed automatic transmission
Your transmission is equipped with an adaptive learning strategy found in
the vehicle computer. This feature is designed to increase durability, and
provide consistent shift feel over the life of the vehicle. A new vehicle or
transmission may have firm and/or soft shifts. This operation is
considered normal and will not affect function or durability of the
transmission. Over time, the adaptive learning process will fully update
transmission operation. Additionally, whenever the battery is
disconnected or a new battery is installed, the strategy must relearn.
Understanding gearshift positions
Hold the brake pedal down while you move the gearshift lever
from P (Park) to another position. If you do not hold the brake
pedal down, your vehicle may move unexpectedly and injure someone.
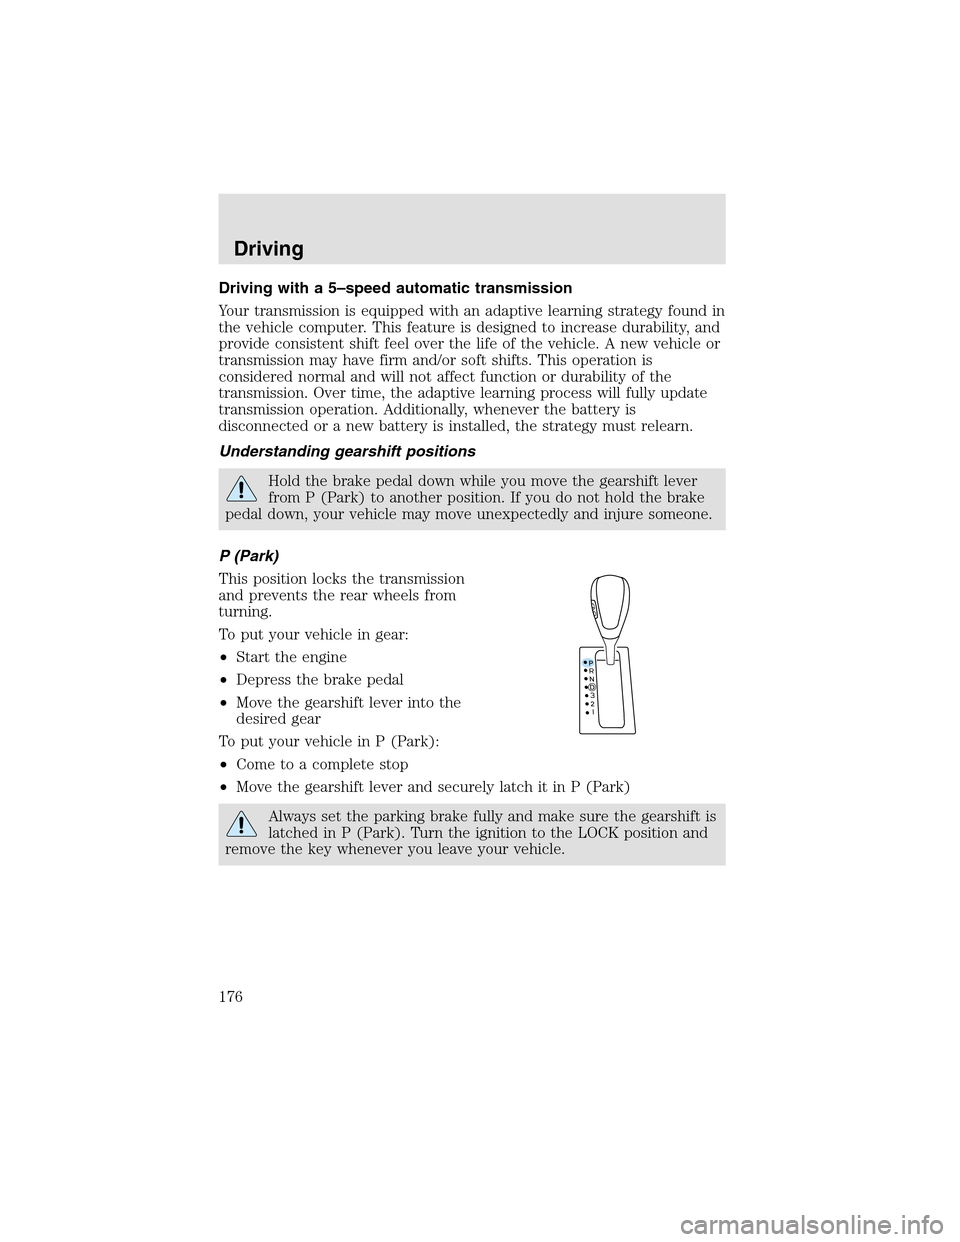
P (Park)
This position locks the transmission
and prevents the rear wheels from
turning.
To put your vehicle in gear:
•Start the engine
•Depress the brake pedal
•Move the gearshift lever into the
desired gear
To put your vehicle in P (Park):
•Come to a complete stop
•Move the gearshift lever and securely latch it in P (Park)
Always set the parking brake fully and make sure the gearshift is
latched in P (Park). Turn the ignition to the LOCK position and
remove the key whenever you leave your vehicle.
Driving
176
Page 177 of 288
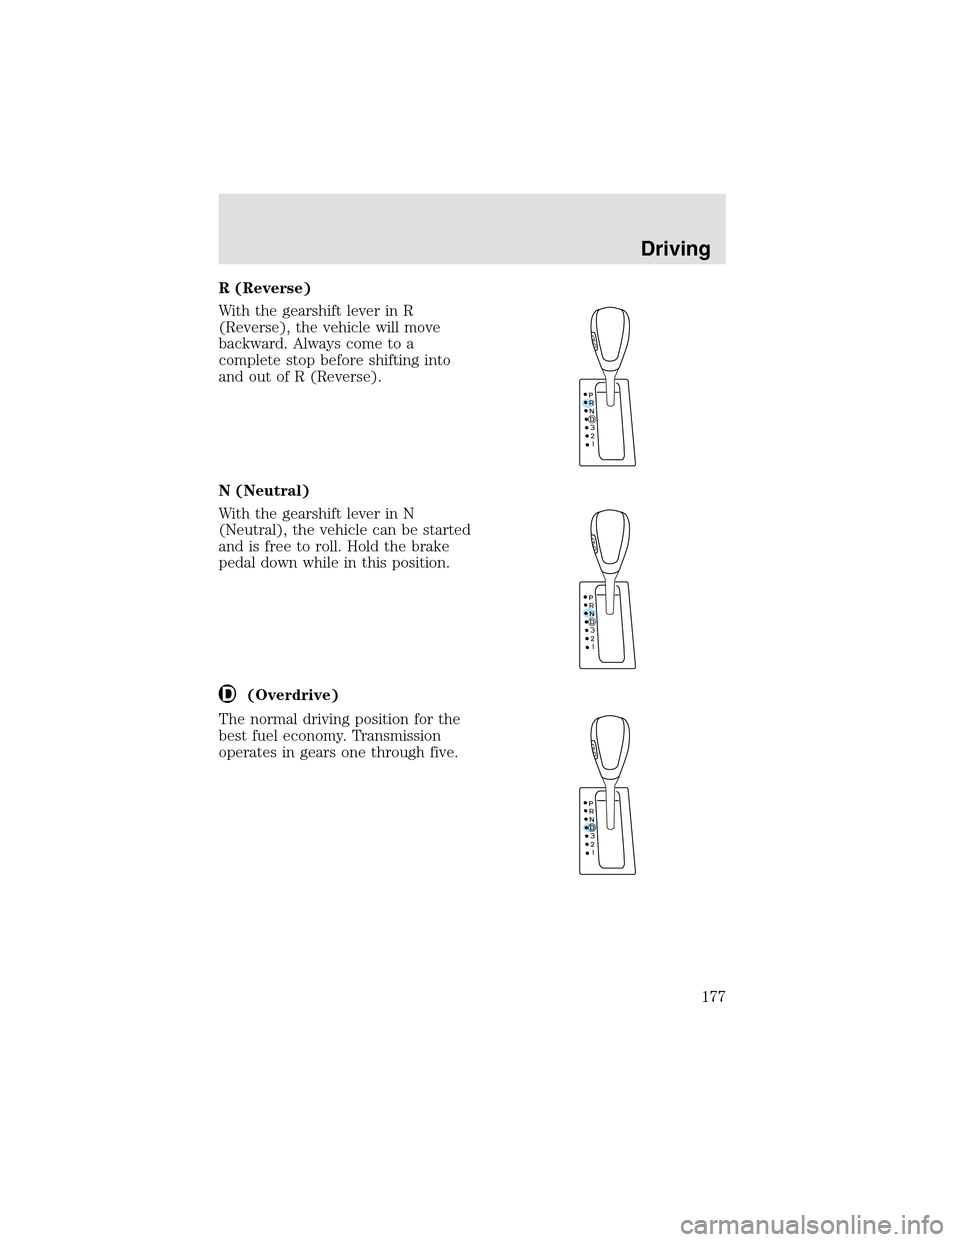
R (Reverse)
With the gearshift lever in R
(Reverse), the vehicle will move
backward. Always come to a
complete stop before shifting into
and out of R (Reverse).
N (Neutral)
With the gearshift lever in N
(Neutral), the vehicle can be started
and is free to roll. Hold the brake
pedal down while in this position.
(Overdrive)
The normal driving position for the
best fuel economy. Transmission
operates in gears one through five.
Driving
177
Page 188 of 288
Apply just enough power to the wheels to climb the hill. Too much
power will cause the tires to slip, spin or lose traction, resulting in loss of
vehicle control.
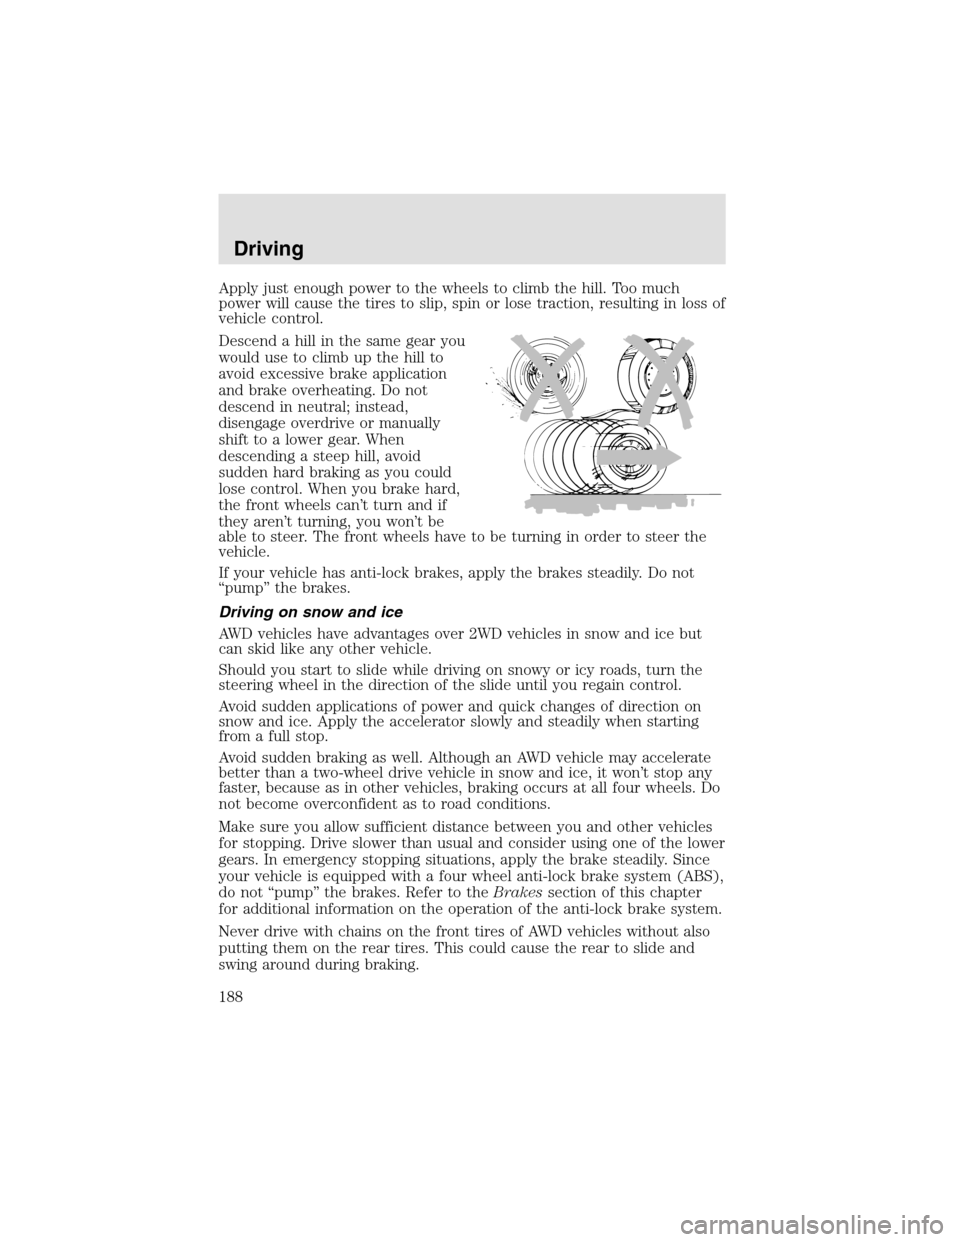
Descend a hill in the same gear you
would use to climb upthe hill to
avoid excessive brake application
and brake overheating. Do not
descend in neutral; instead,
disengage overdrive or manually
shift to a lower gear. When
descending a steephill, avoid
sudden hard braking as you could
lose control. When you brake hard,
the front wheels can’t turn and if
they aren’t turning, you won’t be
able to steer. The front wheels have to be turning in order to steer the
vehicle.
If your vehicle has anti-lock brakes, apply the brakes steadily. Do not
“pump” the brakes.
Driving on snow and ice
AWD vehicles have advantages over 2WD vehicles in snow and ice but
can skid like any other vehicle.
Should you start to slide while driving on snowy or icy roads, turn the
steering wheel in the direction of the slide until you regain control.
Avoid sudden applications of power and quick changes of direction on
snow and ice. Apply the accelerator slowly and steadily when starting
from a full stop.
Avoid sudden braking as well. Although an AWD vehicle may accelerate
better than a two-wheel drive vehicle in snow and ice, it won’t stopany
faster, because as in other vehicles, braking occurs at all four wheels. Do
not become overconfident as to road conditions.
Make sure you allow sufficient distance between you and other vehicles
for stopping. Drive slower than usual and consider using one of the lower
gears. In emergency stopping situations, apply the brake steadily. Since
your vehicle is equipped with a four wheel anti-lock brake system (ABS),
do not “pump” the brakes. Refer to theBrakessection of this chapter
for additional information on the operation of the anti-lock brake system.
Never drive with chains on the front tires of AWD vehicles without also
putting them on the rear tires. This could cause the rear to slide and
swing around during braking.
Driving
188