2003 Hyundai Santa Fe speaker
[x] Cancel search: speakerPage 96 of 221
1- 84 FEATURES OF YOUR HYUNDAI
B750A02A-AATSTEREO SOUND SYSTEM
How Car Audio Works
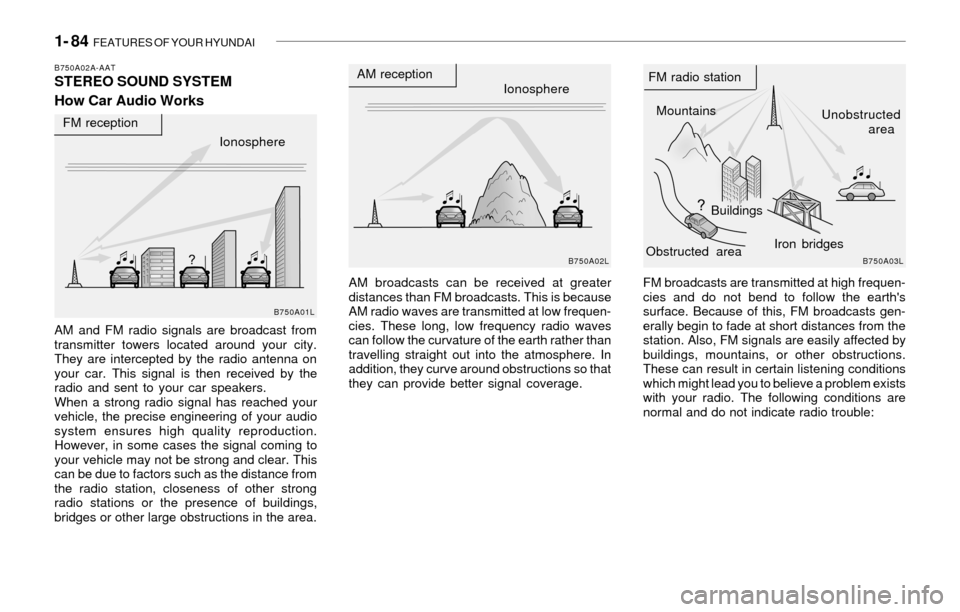
AM broadcasts can be received at greater
distances than FM broadcasts. This is because
AM radio waves are transmitted at low frequen-
cies. These long, low frequency radio waves
can follow the curvature of the earth rather than
travelling straight out into the atmosphere. In
addition, they curve around obstructions so that
they can provide better signal coverage. AM and FM radio signals are broadcast from
transmitter towers located around your city.
They are intercepted by the radio antenna on
your car. This signal is then received by the
radio and sent to your car speakers.
When a strong radio signal has reached your
vehicle, the precise engineering of your audio
system ensures high quality reproduction.
However, in some cases the signal coming to
your vehicle may not be strong and clear. This
can be due to factors such as the distance from
the radio station, closeness of other strong
radio stations or the presence of buildings,
bridges or other large obstructions in the area.FM broadcasts are transmitted at high frequen-
cies and do not bend to follow the earth's
surface. Because of this, FM broadcasts gen-
erally begin to fade at short distances from the
station. Also, FM signals are easily affected by
buildings, mountains, or other obstructions.
These can result in certain listening conditions
which might lead you to believe a problem exists
with your radio. The following conditions are
normal and do not indicate radio trouble:
Ionosphere
B750A02L
AM reception
Mountains
BuildingsUnobstructed
area FM radio station
B750A03L
Ionosphere FM reception
B750A01L
Obstructed areaIron bridges
Page 99 of 221
FEATURES OF YOUR HYUNDAI 1- 87
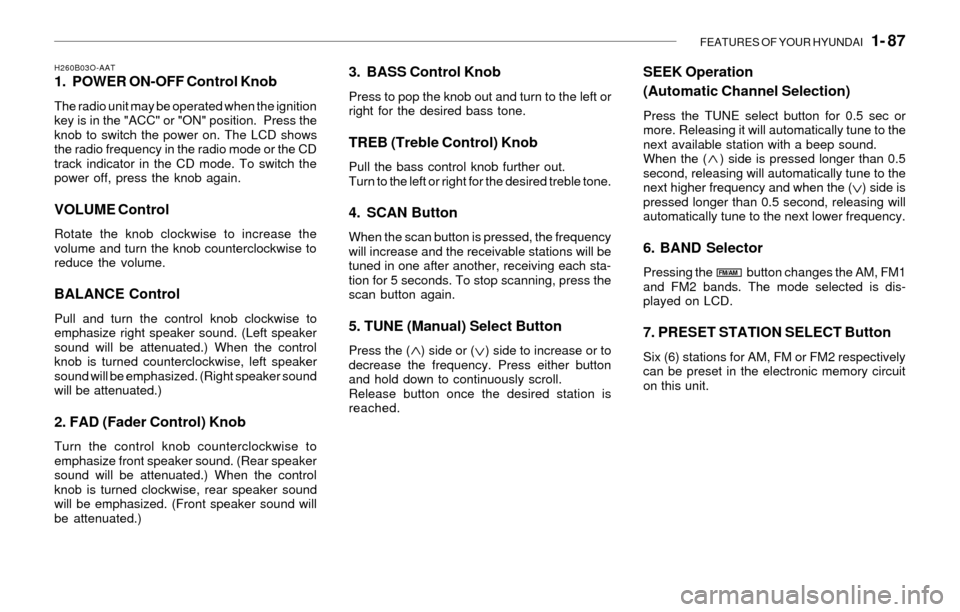
H260B03O-AAT1. POWER ON-OFF Control Knob
The radio unit may be operated when the ignition
key is in the "ACC" or "ON" position. Press the
knob to switch the power on. The LCD shows
the radio frequency in the radio mode or the CD
track indicator in the CD mode. To switch the
power off, press the knob again.
VOLUME Control
Rotate the knob clockwise to increase the
volume and turn the knob counterclockwise to
reduce the volume.
BALANCE Control
Pull and turn the control knob clockwise to
emphasize right speaker sound. (Left speaker
sound will be attenuated.) When the control
knob is turned counterclockwise, left speaker
sound will be emphasized. (Right speaker sound
will be attenuated.)
2. FAD (Fader Control) Knob
Turn the control knob counterclockwise to
emphasize front speaker sound. (Rear speaker
sound will be attenuated.) When the control
knob is turned clockwise, rear speaker sound
will be emphasized. (Front speaker sound will
be attenuated.)
3. BASS Control Knob
Press to pop the knob out and turn to the left or
right for the desired bass tone.
TREB (Treble Control) Knob
Pull the bass control knob further out.
Turn to the left or right for the desired treble tone.
4. SCAN Button
When the scan button is pressed, the frequency
will increase and the receivable stations will be
tuned in one after another, receiving each sta-
tion for 5 seconds. To stop scanning, press the
scan button again.
5. TUNE (Manual) Select Button
Press the ( ) side or ( ) side to increase or to
decrease the frequency. Press either button
and hold down to continuously scroll.
Release button once the desired station is
reached.
SEEK Operation
(Automatic Channel Selection)
Press the TUNE select button for 0.5 sec or
more. Releasing it will automatically tune to the
next available station with a beep sound.
When the ( ) side is pressed longer than 0.5
second, releasing will automatically tune to the
next higher frequency and when the ( ) side is
pressed longer than 0.5 second, releasing will
automatically tune to the next lower frequency.
6. BAND Selector
Pressing the button changes the AM, FM1
and FM2 bands. The mode selected is dis-
played on LCD.
7. PRESET STATION SELECT Button
Six (6) stations for AM, FM or FM2 respectively
can be preset in the electronic memory circuit
on this unit.
FM/AM
Page 102 of 221
1- 90 FEATURES OF YOUR HYUNDAI
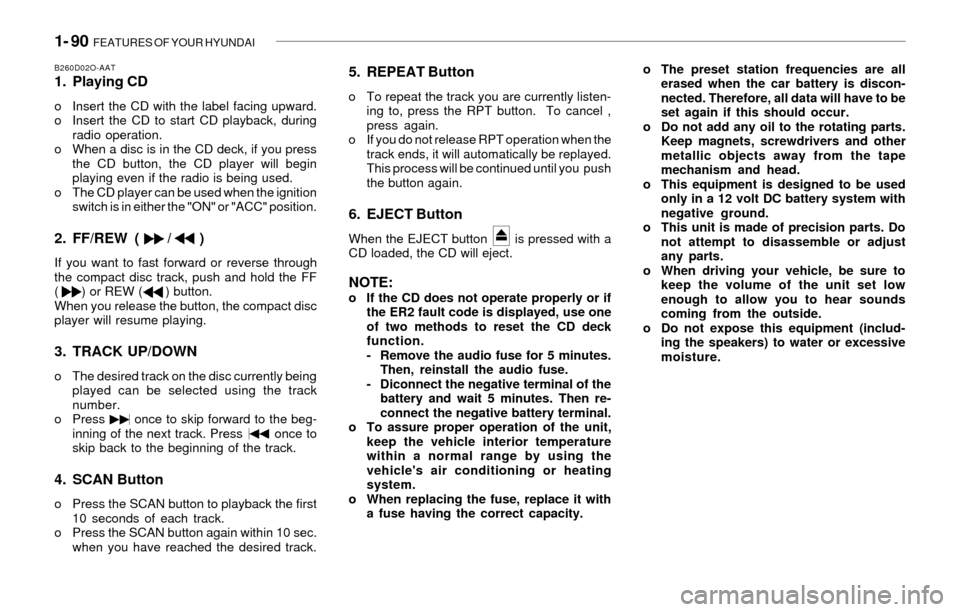
B260D02O-AAT1. Playing CD
o Insert the CD with the label facing upward.
o Insert the CD to start CD playback, during
radio operation.
o When a disc is in the CD deck, if you press
the CD button, the CD player will begin
playing even if the radio is being used.
o The CD player can be used when the ignition
switch is in either the "ON" or "ACC" position.
2. FF/REW ( / )
If you want to fast forward or reverse through
the compact disc track, push and hold the FF
( ) or REW ( ) button.
When you release the button, the compact disc
player will resume playing.
3. TRACK UP/DOWN
o The desired track on the disc currently being
played can be selected using the track
number.
o Press once to skip forward to the beg-
inning of the next track. Press once to
skip back to the beginning of the track.
4. SCAN Button
o Press the SCAN button to playback the first
10 seconds of each track.
o Press the SCAN button again within 10 sec.
when you have reached the desired track.
5. REPEAT Button
o To repeat the track you are currently listen-
ing to, press the RPT button. To cancel ,
press again.
o If you do not release RPT operation when the
track ends, it will automatically be replayed.
This process will be continued until you push
the button again.
6. EJECT Button
When the EJECT button is pressed with a
CD loaded, the CD will eject.
NOTE:o If the CD does not operate properly or if
the ER2 fault code is displayed, use one
of two methods to reset the CD deck
function.
- Remove the audio fuse for 5 minutes.
Then, reinstall the audio fuse.
- Diconnect the negative terminal of the
battery and wait 5 minutes. Then re-
connect the negative battery terminal.
o To assure proper operation of the unit,
keep the vehicle interior temperature
within a normal range by using the
vehicle's air conditioning or heating
system.
o When replacing the fuse, replace it with
a fuse having the correct capacity.o The preset station frequencies are all
erased when the car battery is discon-
nected. Therefore, all data will have to be
set again if this should occur.
o Do not add any oil to the rotating parts.
Keep magnets, screwdrivers and other
metallic objects away from the tape
mechanism and head.
o This equipment is designed to be used
only in a 12 volt DC battery system with
negative ground.
o This unit is made of precision parts. Do
not attempt to disassemble or adjust
any parts.
o When driving your vehicle, be sure to
keep the volume of the unit set low
enough to allow you to hear sounds
coming from the outside.
o Do not expose this equipment (includ-
ing the speakers) to water or excessive
moisture.
Page 105 of 221
FEATURES OF YOUR HYUNDAI 1- 93
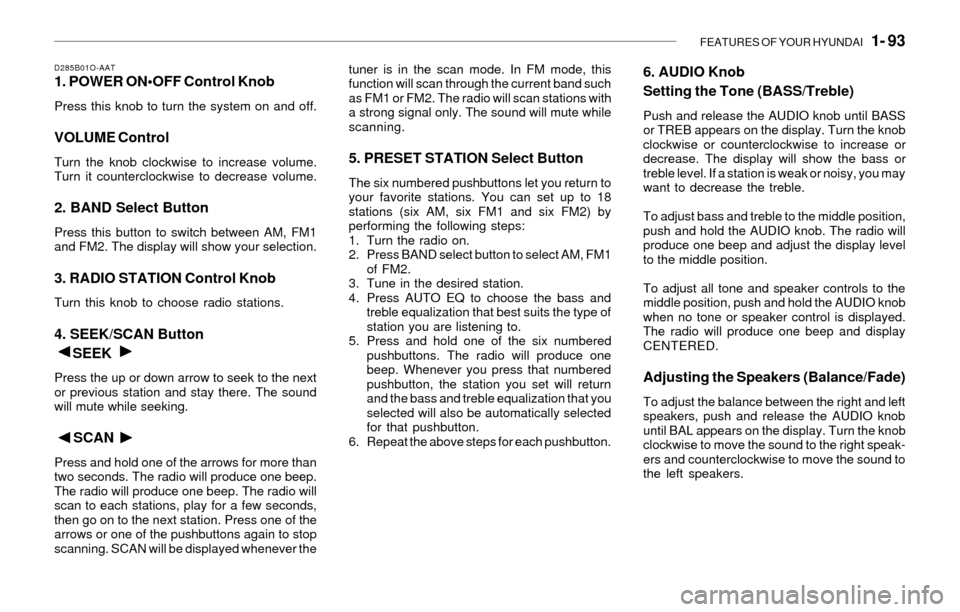
D285B01O-AAT1. POWER ON•OFF Control Knob
Press this knob to turn the system on and off.
VOLUME Control
Turn the knob clockwise to increase volume.
Turn it counterclockwise to decrease volume.
2. BAND Select Button
Press this button to switch between AM, FM1
and FM2. The display will show your selection.
3. RADIO STATION Control Knob
Turn this knob to choose radio stations.
4. SEEK/SCAN Button
SEEK
Press the up or down arrow to seek to the next
or previous station and stay there. The sound
will mute while seeking.
SCAN
Press and hold one of the arrows for more than
two seconds. The radio will produce one beep.
The radio will produce one beep. The radio will
scan to each stations, play for a few seconds,
then go on to the next station. Press one of the
arrows or one of the pushbuttons again to stop
scanning. SCAN will be displayed whenever thetuner is in the scan mode. In FM mode, this
function will scan through the current band such
as FM1 or FM2. The radio will scan stations with
a strong signal only. The sound will mute while
scanning.
5. PRESET STATION Select Button
The six numbered pushbuttons let you return to
your favorite stations. You can set up to 18
stations (six AM, six FM1 and six FM2) by
performing the following steps:
1. Turn the radio on.
2. Press BAND select button to select AM, FM1
of FM2.
3. Tune in the desired station.
4. Press AUTO EQ to choose the bass and
treble equalization that best suits the type of
station you are listening to.
5. Press and hold one of the six numbered
pushbuttons. The radio will produce one
beep. Whenever you press that numbered
pushbutton, the station you set will return
and the bass and treble equalization that you
selected will also be automatically selected
for that pushbutton.
6. Repeat the above steps for each pushbutton.
6. AUDIO Knob
Setting the Tone (BASS/Treble)
Push and release the AUDIO knob until BASS
or TREB appears on the display. Turn the knob
clockwise or counterclockwise to increase or
decrease. The display will show the bass or
treble level. If a station is weak or noisy, you may
want to decrease the treble.
To adjust bass and treble to the middle position,
push and hold the AUDIO knob. The radio will
produce one beep and adjust the display level
to the middle position.
To adjust all tone and speaker controls to the
middle position, push and hold the AUDIO knob
when no tone or speaker control is displayed.
The radio will produce one beep and display
CENTERED.
Adjusting the Speakers (Balance/Fade)
To adjust the balance between the right and left
speakers, push and release the AUDIO knob
until BAL appears on the display. Turn the knob
clockwise to move the sound to the right speak-
ers and counterclockwise to move the sound to
the left speakers.
Page 106 of 221
1- 94 FEATURES OF YOUR HYUNDAI
To adjust the fade between the front and rear
speakers push and release the AUDIO knob
until FADE appears on the display. Turn the
knob clockwise to move the sound to the front
speakers and counterclockwise to move the
sound to the rear speakers.
The middle position balances the sound be-
tween the speakers. To adjust the balance and
fade to the middle position, push the AUDIO
knob then push it again and hold it until you hear
one beep. The balance and fade will be adjusted
to the middle position and the display will show
the speaker balance.
To adjust all tone and speaker controls to the
middle position, push and hold the AUDIO knob
when no tone or speaker control is display ALL
with the level display in the middle position.
7. AUTO EQUALIZER
This feature allows you to choose bass and
treble equalization settings designed for coun-
try jazz, news, pop, rock and classical stations.
Each time you press the AUTO TONE button,
this feature will change to one of the preset
equalization settings previously listed.
To return the bass and treble to the custom
mode, push and release the AUDIO knob until
custom is displayed.
8. Tips About Your Audio System
Hearing damage form loud noise is almost
undetectable until it is too late. Your hearing can
adapt to higher volumes of sound. Sound that
seems normal can be loud and harmful to your
hearing. Take precautions by adjusting the
volume control on your radio to a safe sound
level before your hearing adapts to it.
To help avoid hearing loss or damage do the
following:
1. Adjust the volume knob to the lowest setting.
2. Increase volume slowly until you hear com-
fortably and clearly.
Page 115 of 221
FEATURES OF YOUR HYUNDAI 1- 103
D295B01O-AAT1. POWER ON
Press this knob to turn the system on and off.
VOLUME Control
To increase volume, turn the knob clockwise.
Turn it counterclockwise to decrease volume.
2. BAND Select Button
Press this button to switch between AM, FM1
and FM2. Then Display shows your selection.
3. RADIO STATION Control Knob
Turn this knob to select radio stations.
4. SEEK/SCAN Button
SEEK
Press the up or down arrow to go to the next
higher or lower station and stay there. The
sound will mute while seeking.
SCAN
Press and hold either SEEK/SCAN arrow for
two seconds until SCAN appears on the display
and you hear a beep. Use SCAN to listen to
stations for a few seconds. The radio will go to
a station, stop for a few seconds, then go to the
next station. Press either SEEK/SCAN arrow
again to stop scanning. If you press SEEK/
SCAN for more than four seconds, the radio will
change to preset scan mode. Then sound will
mute while scanning.
5. PRESET STATION Select Button
The six numbered pushbuttons let you return to
your favorite stations. You can set up to 18
stations (six AM, six FM1 and six FM2) by
performing the following steps:
1. Turn the radio on.
2. Press AM · FM to select the band.
3. Tune in the desired station.
4. Press AUTO EQ to select the equalization
that best suited type of station selected.
5. Press and hold one of the six numbered
buttons until you hear a beep. Whenever you
press that numbered button, the station you
set will return and the equalization that you
selected will also be automatically selected
for that button.
6. Repeat the above steps for each pushbutton.
PRESET SCAN
Press and hold either SEEK/SCAN arrow for
more than four seconds, PRESET SCAN will
appear on the display. You will hear a double
beep. Use PERSET SCAN to listen to each of
your preset stations for a few seconds. The
radio will go to a preset station stored on your
pushbuttons, stop for a few seconds, then go on
to the next preset stations. Press either SEEK/
SCAN arrow again to stop scanning presets.
6. AUDIO Knob
BASS
Press the AUDIO knob until BASS appears on
the display. Turn the knob to increase or de-
crease bass. When you use this control, the
radio's tone setting will switch to custom mode.
To set the bass to the middle position, select
BASS and press and hold the AUDIO knob. The
radio will produce one beep and set the display
level to zero. To set all tone and speaker
controls to the middle position, press and hold
the AUDIO knob when no tone or speaker
control is active. The radio will produce one
beep and CENTERED will appear on the dis-
play.
Page 116 of 221
1- 104 FEATURES OF YOUR HYUNDAI
MID
Press the AUDIO knob until MID appears on the
display. Turn the knob to increase or decrease
mid. When you use this control, the radio's tone
setting will switch to custom mode.
To set the mid to the middle position, select MID
and press and hold the AUDIO knob. The radio
will produce one beep and set the display level
to zero. To set all tone and speaker controls to
the middle position, press and hold the AUDIO
knob when no tone or speaker control is active.
Then radio will produce one beep and CEN-
TERED will appear on the display.
TREB
Press the AUDIO knob until TREB appears on
the display. Turn the knob to increase to de-
crease treble. When you use this control, the
radio's tone setting will switch to custom mode.
If a station is weak or noisy, you may want to
decrease the treble.
To set treble to the middle position, select TREB
and press and hold the AUDIO knob. The radio
will produce one beep and set the display level
to zero. To set all tone and speaker controls to
the middle position, press and hold the AUDIO
knob when no tone or speaker control is active.
The radio will produce one beep and CEN-
TERED will appear on the display.
7. AUTO EQUALIZER Button
This feature allows you to choose preset bass,
mid and treble equalization settings designed
for country, jazz, talk, pop, rock and classical
stations. The last setting will appear on the
display when you first press AUTO EQ. Each
time you press AUTO EQ, another setting will
appear on the display. Press AUTO EQ again
country disappear and CUSTOM will appear.
Tone control will return to the BASS, MID and
TREB. Also, if you alter BASS, MID, or TREB
while in an auto EQ setting, the radio will return
to CUSTOM. CUSTOM will appear on the dis-
play.
8. Adjusting the Speakers
BAL-FADE
The AUDIO knob adjusts balance and fade. To
adjust balance, press the AUDIO knob until BAL
appears on the display. Turn the knob to adjust
the sound to the left or right speakers. The
middle position balances the sound between the
speakers. To adjust fade, press and hold the
AUDIO knob until FAD appears on the display.
Turn the knob to adjust the sound to the front or
rear speakers. The middle position balances
the sound between the speakers.To set the balance and fade to the middle
position, select balance or fade and press and
hold the AUDIO knob.
The radio will beep once and will set the display
level to the middle position, To set all tone and
speaker controls to the middle position, press
and hold the AUDIO knob when tone or speaker
controls are not active. The radio will produce
one beep and CENTERED will appear on the
display.
Page 122 of 221
1- 110 FEATURES OF YOUR HYUNDAI
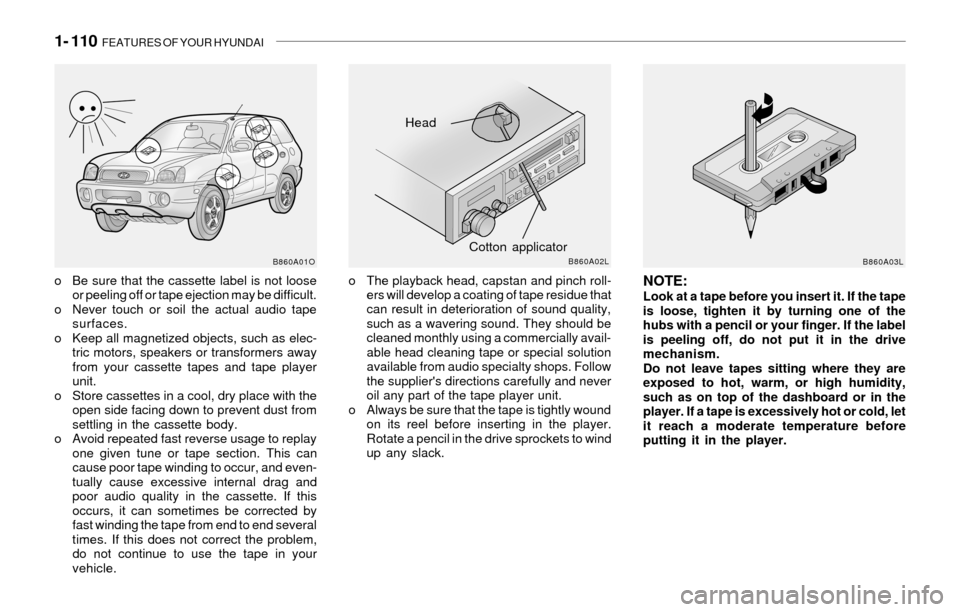
o Be sure that the cassette label is not loose
or peeling off or tape ejection may be difficult.
o Never touch or soil the actual audio tape
surfaces.
o Keep all magnetized objects, such as elec-
tric motors, speakers or transformers away
from your cassette tapes and tape player
unit.
o Store cassettes in a cool, dry place with the
open side facing down to prevent dust from
settling in the cassette body.
o Avoid repeated fast reverse usage to replay
one given tune or tape section. This can
cause poor tape winding to occur, and even-
tually cause excessive internal drag and
poor audio quality in the cassette. If this
occurs, it can sometimes be corrected by
fast winding the tape from end to end several
times. If this does not correct the problem,
do not continue to use the tape in your
vehicle.NOTE:Look at a tape before you insert it. If the tape
is loose, tighten it by turning one of the
hubs with a pencil or your finger. If the label
is peeling off, do not put it in the drive
mechanism.
Do not leave tapes sitting where they are
exposed to hot, warm, or high humidity,
such as on top of the dashboard or in the
player. If a tape is excessively hot or cold, let
it reach a moderate temperature before
putting it in the player.
Head
Cotton applicator
B860A01OB860A02LB860A03L
o The playback head, capstan and pinch roll-
ers will develop a coating of tape residue that
can result in deterioration of sound quality,
such as a wavering sound. They should be
cleaned monthly using a commercially avail-
able head cleaning tape or special solution
available from audio specialty shops. Follow
the supplier's directions carefully and never
oil any part of the tape player unit.
o Always be sure that the tape is tightly wound
on its reel before inserting in the player.
Rotate a pencil in the drive sprockets to wind
up any slack.