Page 88 of 392

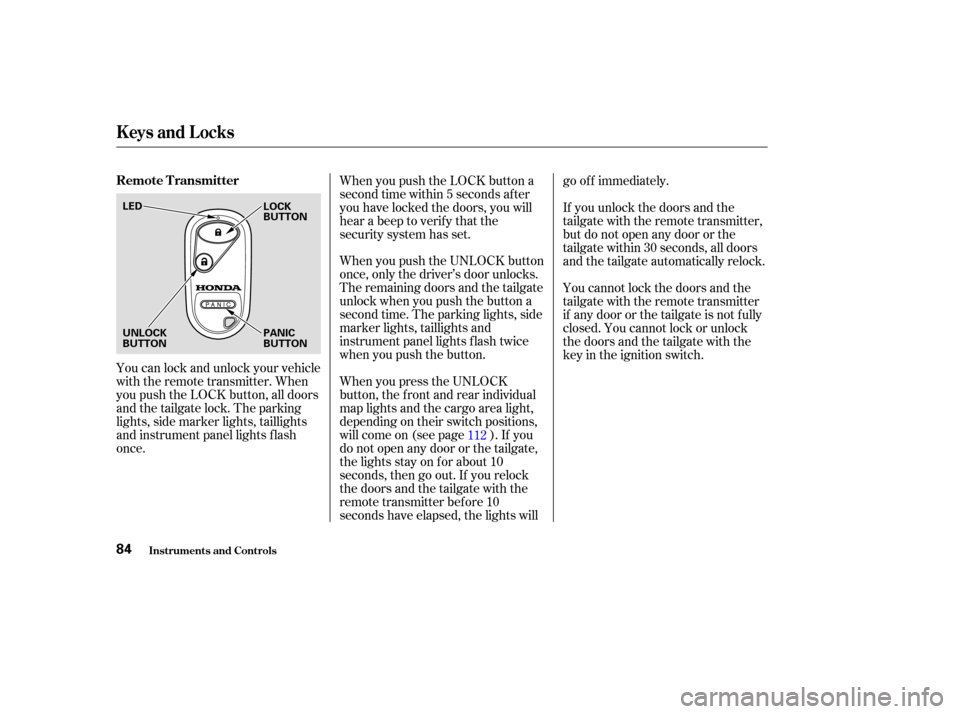
You can lock and unlock your vehicle
with the remote transmitter. When
you push the LOCK button, all doors
and the tailgate lock. The parking
lights, side marker lights, taillights
and instrument panel lights f lash
once.When you push the LOCK button a
second time within 5 seconds after
you have locked the doors, you will
hear a beep to verify that the
security system has set.
When you push the UNLOCK button
once, only the driver’s door unlocks.
The remaining doors and the tailgate
unlock when you push the button a
second time. The parking lights, side
marker lights, taillights and
instrument panel lights f lash twice
when you push the button.
When you press the UNLOCK
button, the f ront and rear individual
map lights and the cargo area light,
depending on their switch positions,
will come on (see page ). If you
do not open any door or the tailgate,
the lights stay on for about 10
seconds, then go out. If you relock
thedoorsandthetailgatewiththe
remote transmitter before 10
seconds have elapsed, the lights willgo of f immediately.
If you unlock the doors and the
tailgate with the remote transmitter,
but do not open any door or the
tailgate within 30 seconds, all doors
and the tailgate automatically relock.
You cannot lock the doors and the
tailgate with the remote transmitter
if any door or the tailgate is not f ully
closed. You cannot lock or unlock
thedoorsandthetailgatewiththe
key in the ignition switch.
112
Keys and Locks
Inst rument s and Cont rols
Remote Transmitter
84
LED LOCK
BUTTON
UNLOCK
BUTTON PANIC
BUTTON
Page 89 of 392

Panic mode allows you to remotely
activate your vehicle’s horn and
lights to attract attention. When
activated, the horn will sound, and
the headlights, parking lights, side
marker lights, taillights and
instrument panel lights will f lash f or
about 30 seconds. To activate panic
mode,pressandholdthePANIC
button f or about one second.When the remote transmitter’s
battery begins to get weak, it may
take several pushes on the button to
lock or unlock the doors and the
tailgate, and the LED will get dim.
Replace the battery as soon as
possible.
Battery type: CR2025
To cancel Panic mode bef ore 30
seconds, press any button on the
remote transmitter. You can also
turn the ignition switch to ON (II).
Panic mode will not activate if the
key is in the ON (II) position.
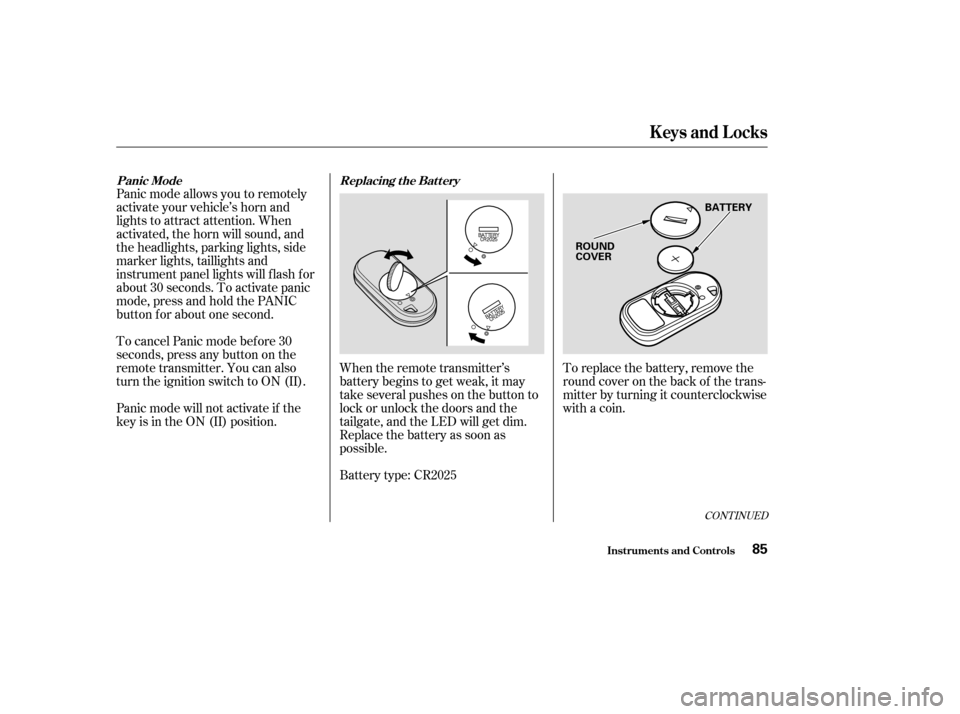
To replace the battery, remove the
round cover on the back of the trans-
mitter by turning it counterclockwise
with a coin.
CONT INUED
Panic Mode
Replacing t he Bat t ery
Keys and Locks
Inst rument s and Cont rols85
ROUND
COVERBATTERY
Page 91 of 392
See page for information on
cargo loading. Keep the tailgate
closed at all times while driving to
avoid damaging the tailgate and to
prevent exhaust gas f rom getting
into the interior. Seeon page .
To open the tailgate, pull the handle,
then lif t up the tailgate.
The childproof door locks are
designed to prevent children seated
in the rear f rom accidentally opening
the rear doors. Each rear door has a
lock lever near the edge. With the
lever in the LOCK position, the door
cannot be opened f rom the inside
regardless of the position of the lock
tab. To open the door, pull the lock
tab up and use the outside door
handle. To close the tailgate, use the inner
handle to pull the tailgate down, then
press down on the back edge.
56
225
Carbon
Monoxide Hazard
Childproof Door L ocks
T ailgate
Keys and Locks
Inst rument s and Cont rols87
LOCK LEVER HANDLE
Page 109 of 392
Spilled liquids can also damage the
upholstery, carpeting, and electrical
components in the interior. Be caref ul when you are using the
beverage holders. A spilled liquid
that is very hot can scald you or your
passengers. Liquid can also spill
f rom the rear door pocket beverage
holders when you close the rear
doors. Use only resealable
containers in the door pockets.
To open the f ront beverage holder,
push the lock lever and slide the lid
forward.
The second row seat has a beverage
holder and tray in the center armrest.
To use it, pivot the armrest down.
CONT INUED
Beverage Holders
Inst rument s and Cont rols
Second Row Center A rmrest
105
Page 117 of 392
The lights go out about six seconds
after all the doors and the tailgate
are closed.
With the light control switch in the
Door Activated position, all the
individual map lights come on when
you unlock the door with the remote
transmitter (see page ).
Withanydoororthetailgateleft
open, the lights stay on about three
minutes, then go out.When the switch is in the ON
position:
All the individual map lights come on
andstayonaslongastheswitch
remains in the ON position.
84
Interior Lights
Inst rument s and Cont rols113
Page 210 of 392

Once the security system is set,
opening any door (without using the
key or the remote transmitter), or
the hood, will cause it to alarm. It
also alarms if the radio is removed
f rom the dashboard or the wiring is
cut.Do not attempt to alter this system
or add other devices to it. The security system will not set if
the hood, tailgate, or any door is not
f ully closed. If the system will not set,
check the Door and Tailgate Open
Monitor on the instrument panel
(see page ) to see if the doors and
tailgate are f ully closed. Since it is
notpartofthemonitordisplay,
manually check the hood.
The security system helps to protect
your vehicle and valuables f rom thef t.
The horn sounds and a combination
of headlights, parking lights, side
marker lights, and taillights f lash if
someone attempts to break into your
vehicleorremovetheradio.This
alarm continues f or two minutes,
then the system resets. To reset an
alarming system before the two
minutes have elapsed, unlock the
driver’s f ront door with the key or
the remote transmitter.
The security system sets auto-
matically, f if teen seconds af ter you
lock the doors, hood, and tailgate.
For the system to activate, you must
lock the doors f rom the outside with
the key, or remote transmitter. The
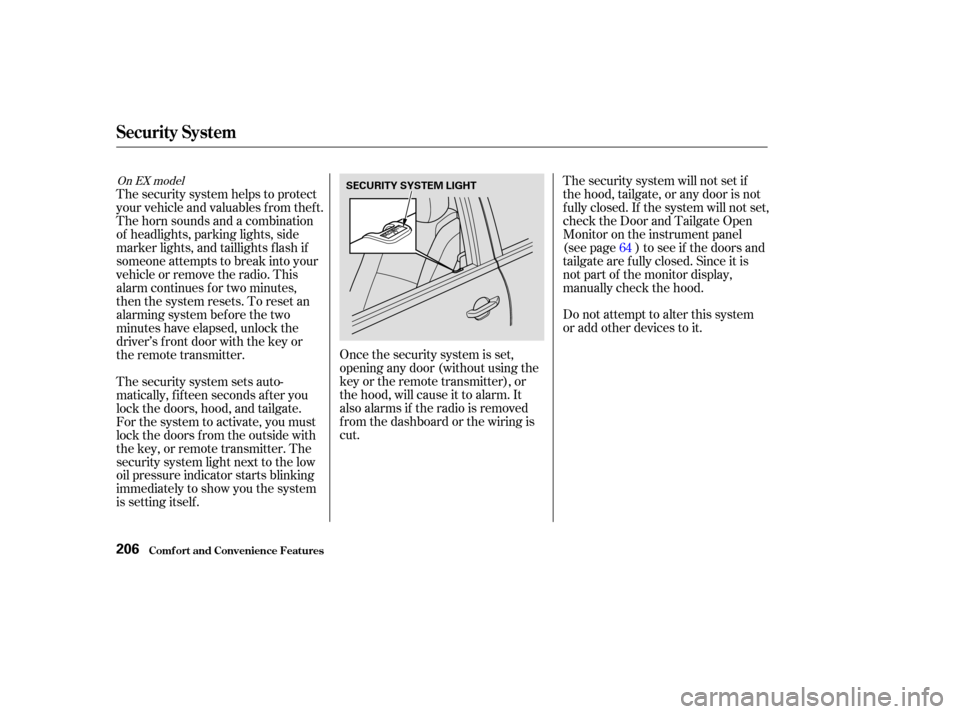
security system light next to the low
oil pressure indicator starts blinking
immediately to show you the system
is setting itself . 64
On EX model
Security System
Comf ort and Convenience Feat ures206
SECURITY SYSTEM LIGHT
Page 215 of 392

�µ
If you are training the second or
third buttons, go directly to Step 1. Unplug the garage door opener
motor f rom the house current.
Bef ore you can use HomeLink to
operate devices around your home, it
must ‘‘learn’’ the proper codes. For
example, to train HomeLink to open
and close the garage door:
If you just took
delivery of your vehicle and have not
trained any of the buttons in
HomeLink bef ore, you should erase
any previously learned codes bef ore
training the f irst button. To do this,
press and hold the two outside
buttons on the HomeLink
transceiver for about 20 seconds,
until the red light f lashes. Release
the buttons, then proceed to Step 1.
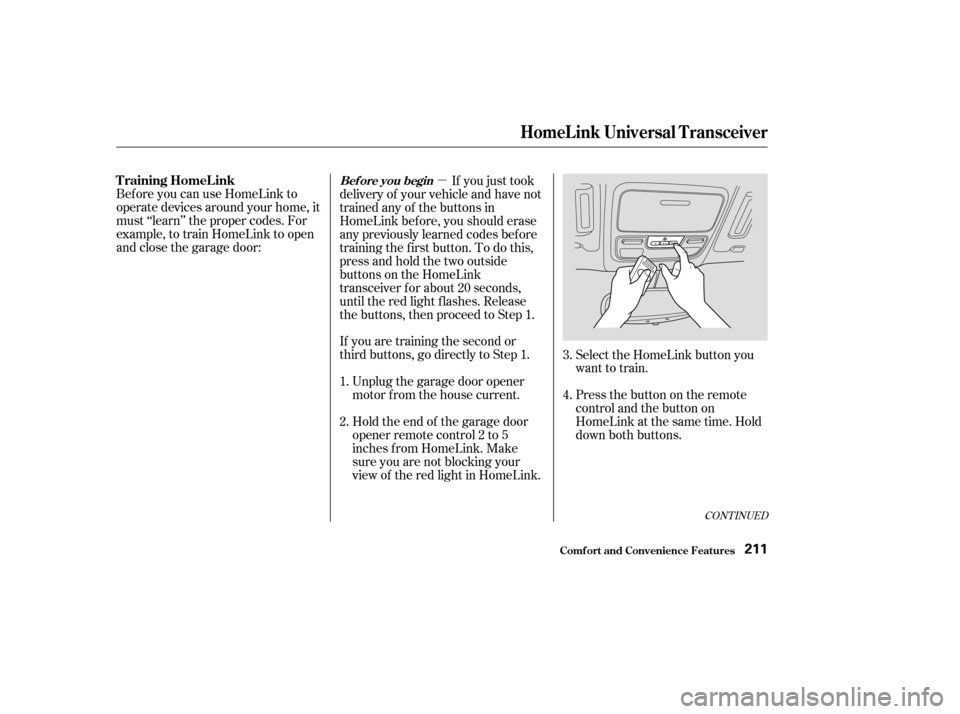
Holdtheendof thegaragedoor
opener remote control 2 to 5
inches f rom HomeLink. Make
sure you are not blocking your
view of the red light in HomeLink. Select the HomeLink button you
want to train.
Press the button on the remote
control and the button on
HomeLink at the same time. Hold
down both buttons.
2. 3.
4.
1.
CONT INUED
T raining HomeL inkBef ore you begin
HomeL ink Universal T ransceiver
Comf ort and Convenience Feat ures211
Page 228 of 392

Any object
attached to or placed on the covers
marked ‘‘SRS AIRBAG,’’ in the
center of the steering wheel and
on top of the dashboard, could
interf ere with the proper operation
of the airbags. Or, if the airbags
inf late, the objects could be
propelled inside the vehicle and
hurt someone.
If a side airbag
inflates,acupholderorotherhard
object attached on or near the
door could be propelled inside the
vehicle and hurt someone.
Covering the outside edge of a
f ront seat-back, with a non-Honda
seat cover for example, could
prevent the airbag from inflating
properly.
Some examples are:
Lowering the vehicle with an
aftermarket suspension kit that
signif icantly reduces ground
clearance can allow the
undercarriage to impact speed
bumps or other raised objects,
which could cause the airbags to
deploy.
Raising the vehicle with an
af termarket suspension kit can
af f ect the handling and stability.
Af termarket wheels, because they
are a universal design, can cause
excessive stress on suspension
components. Do not modif y your steering wheel
or any other part of your
Supplemental Restraint System.
Modif ications could make the
system inef f ective.
If you plan to modif y your vehicle,
consult with your Honda dealer.
Larger or smaller wheels and tires
can interf ere with the operation of
your vehicle’s anti-lock brakes and
other systems.
Removing parts f rom your vehicle,
or replacing components with non-
Honda (af termarket) components
could seriously af f ect your vehicle’s
handling, stability, and reliability. Modif ications
Additional Saf ety Precaution
A ccessories and Modif ications
Bef ore Driving
Do not at t ach or place object s on
the airbag covers.
Do not at t ach hard object s on ornear a f ront door.
Do not place any object s over t heoutsideedgeof afront seat-back.
224